Can You Paint Over a Stained Deck? Yes, If You Prep It Right
Yes, you can paint over a stained deck — but only if you treat it as a real repaint job, not a color swap. Clean the deck, degloss or scuff-sand the existing stain, then prime with a bonding primer matched to the stain type before any topcoat goes on. Skip that prep and the paint typically peels within a season, because most stains — oil-based ones especially — leave a surface ordinary paint can’t grip.
The good news: if the existing stain is intact and not peeling, you don’t need to strip the deck down to bare wood. What actually determines whether the paint job holds is matching your primer to what’s already on the wood and using a true exterior deck-rated topcoat, not leftover wall paint pressed into outdoor duty. Here’s the full process, including the one prep step most how-to guides skip.
Why Paint Your Stained Deck Instead of Re-Staining?
Before you grab a brush, it’s worth confirming painting is actually the right call for your deck. Both painting and re-staining have a place, but they solve different problems.
Best Bonding Primer for Stained Wood
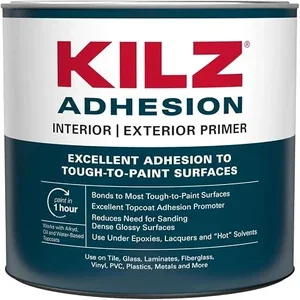 |
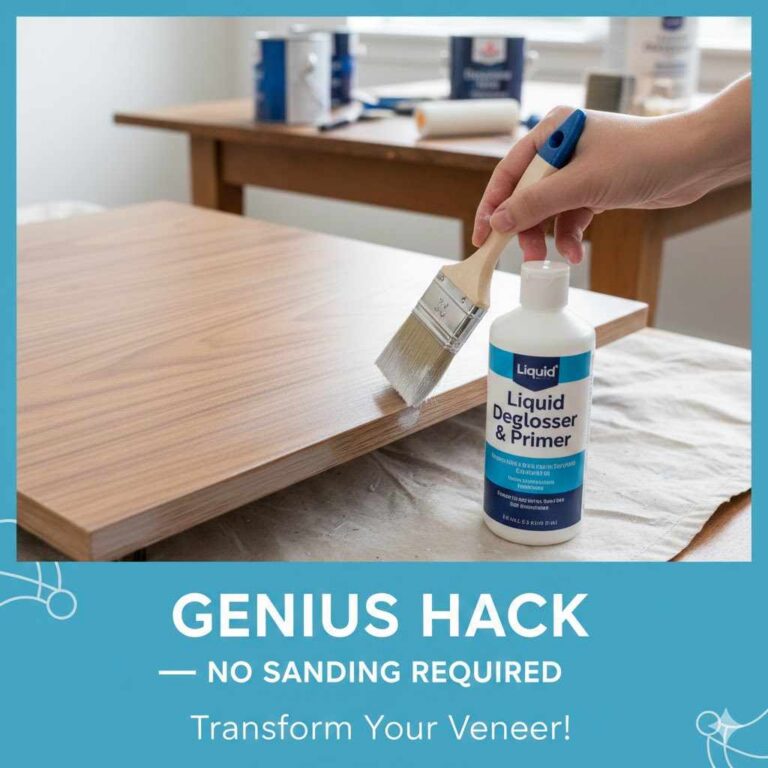
KILZ Adhesion Primer, Interior/Exterior, 1 Quart – $42.99 This is the primer to reach for when you don’t want to sand a stained deck down to bare wood — it’s built to bond to glossy, tannin-rich surfaces that make ordinary primers fail.
|
The Benefits of Painting a Deck
- Stronger surface protection: paint forms a continuous film on top of the wood that blocks moisture, rot, and UV in a way transparent and semi-transparent stains, which soak in rather than seal over, generally can’t match.
- Hides old damage: a deck with blotchy stain, patch repairs, or mismatched boards disappears under an opaque coat — stain can’t hide what’s underneath it the way paint can.
- Any color you want: stain keeps you in earth tones that show the grain; paint lets you match trim, furniture, or siding exactly.
- Easier day-to-day cleaning: a smooth painted surface sheds dirt more easily than the slightly porous surface a stain leaves behind.
Potential Downsides to Consider
- Wood grain disappears: if you like seeing the actual wood, paint hides it completely — a semi-transparent stain is the better fit if that matters to you.
- Prep is non-negotiable: cleaning, deglossing or sanding, and priming aren’t optional steps you can shortcut — skip them and the paint job fails early.
- Traction on horizontal surfaces: some deck paints get slick when wet; look for one labeled for porches or floors, which usually includes anti-slip additives.
- Repairs show more: a chip in paint is more visually obvious than a worn patch in stain, and fixing it means sand, prime, and repaint rather than a quick re-coat.
Painting vs. Re-Staining: A Quick Comparison
| Feature | Painting Your Deck | Re-Staining Your Deck |
|---|---|---|
| Appearance | Opaque, uniform color; hides wood grain entirely. | Transparent to semi-transparent; grain stays visible. |
| Protection | Forms a surface film that blocks moisture and UV. | Penetrates the wood to repel water from within. |
| Best for | Older decks with imperfections, or a full color change. | Newer decks where you want the wood itself to show. |
| Prep required | Intensive: clean, degloss/sand, and prime. | Moderate: clean and a light scuff-sand. |
| Recoat interval | Roughly 5–10 years with proper prep. | Roughly every 2–4 years. |
The Detail Most Guides Skip: Paint vs. Solid-Color Stain on the Actual Deck Floor
Most articles on this topic treat “paint over a stained deck” as a single decision, but painters and deck contractors often split it in two. On the horizontal boards you actually walk on, true paint sits as a film on the surface, and that film has to flex every time the boards swell and shrink with moisture and temperature — which is exactly where peeling starts on high-traffic decking. A solid-color deck stain, by contrast, penetrates into the wood fibers instead of coating over them, so there’s no surface film to crack loose underfoot. For that reason, many pros will paint the vertical surfaces — railings, skirting, stair risers — where there’s no foot traffic to stress the coating, and use a solid-color stain on the horizontal deck boards themselves. It’s not a rule you have to follow, but if your deck floor sees heavy use, ask about a solid stain for the walking surface before you commit to a full paint job there.
First Things First: Identify Your Existing Deck Stain
Before any prep work, figure out what kind of stain is already on the deck. It matters because oil and water-based coatings don’t bond to each other reliably — putting a water-based primer straight over an unprepped oil-based stain is a common cause of early peeling.
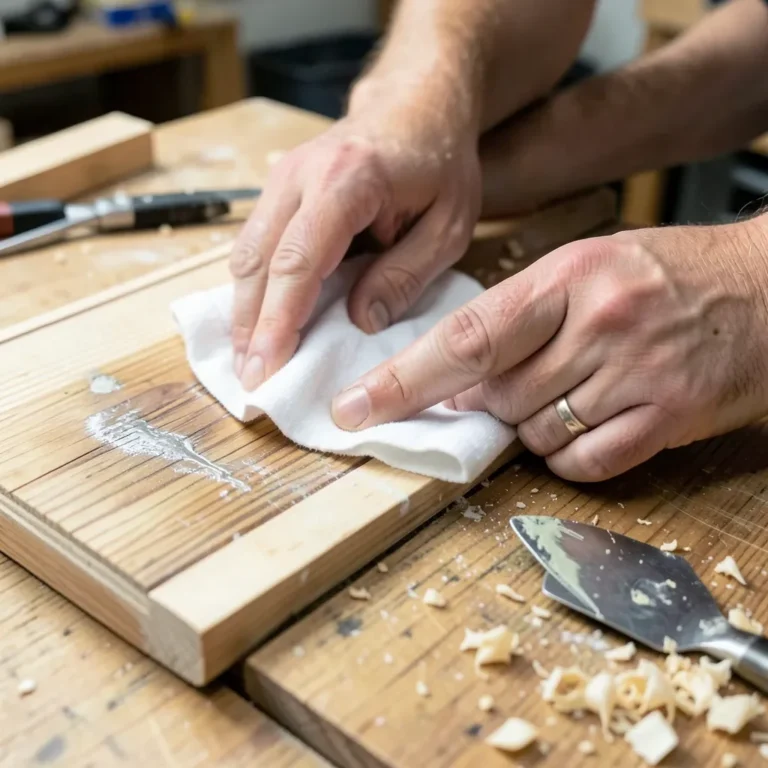
Is It Oil-Based or Water-Based? The Rag Test
You only need a clean rag and rubbing alcohol.
- Pick an out-of-the-way spot, like under a railing.
- Soak a rag with isopropyl alcohol.
- Rub the stained area firmly for 15–20 seconds.
- Check the rag: color transfer means a water-based stain; little to none means oil-based.
If it’s oil-based, plan on a TSP (trisodium phosphate) wash after cleaning to help cut the residual oils, followed by a bonding primer built for slick or glossy surfaces — or a dedicated oil-based stain-blocking primer, which also blocks tannins from bleeding through the topcoat. Water-based stains are more forgiving and generally just need a quality acrylic exterior primer.
Gather Your Tools and Materials
Having everything on hand before you start keeps the project moving. Here’s the checklist.
For Cleaning and Prep:
- Stiff-bristled brush or push broom
- Garden hose with spray nozzle, or a pressure washer on a low setting
- Deck cleaner (plus TSP if the stain is oil-based)
- Bucket
- Scraper or 5-in-1 tool for peeling spots
- Orbital sander or sanding pole
- 80–120 grit sandpaper
- Exterior wood filler for cracks or holes
- Painter’s tape and plastic sheeting
For Priming and Painting:
- Bonding or stain-blocking exterior primer, matched to your stain type
- Exterior porch-and-floor paint, or a solid-color deck stain for horizontal boards
- Paint tray and liners
- Paint roller with an extension pole
- 2–3 inch angled brush for edges
For Safety:
- Safety glasses, gloves, dust mask for sanding, and knee pads
Step-by-Step: How to Paint Over a Stained Deck
Work through these in order — skipping ahead is where most painted decks fail.
Step 1: Clear the Deck and Protect Surroundings
Remove furniture, grills, and planters. Sweep away loose dirt and cobwebs, then mask off siding, unpainted railings, doors, and nearby plants with tape and plastic sheeting.
Step 2: Inspect and Repair Damage
- Popped fasteners: re-drive or replace with longer deck screws.
- Loose or warped boards: re-secure; replace anything badly split.
- Rot: probe suspect spots with a screwdriver — soft, spongy wood needs replacing, since paint can’t fix rot.
- Cracks and holes: fill with exterior wood filler per the product’s cure time.
Step 3: Deep Clean (Don’t Skip This)
Paint won’t bond to dirt, mildew, or algae. Mix your deck cleaner (add TSP to the wash if you confirmed an oil-based stain), wet the deck, scrub in sections with a stiff brush — working cleaner into the gaps between boards — then rinse thoroughly. The USDA Forest Products Laboratory notes that removing surface contaminants is essential for finish longevity. Let the deck dry completely — 24 to 48 hours depending on weather — before sanding or priming.
Step 4: Strip, or Just Scuff-Sand?
Once dry, deal with the existing stain. The goal is a slightly rough, porous surface for primer to grip — not bare wood.
| Condition of Old Stain | Action | Why |
|---|---|---|
| Peeling, flaking, or a thick solid stain | Chemical stripper first, then sand | Strippers remove failing, thick coatings far faster than sanding alone. |
| Worn, faded, thin, or a transparent/semi-transparent stain | Scuff-sand only | There’s nothing to strip — sanding alone breaks the sheen and removes loose fibers. |
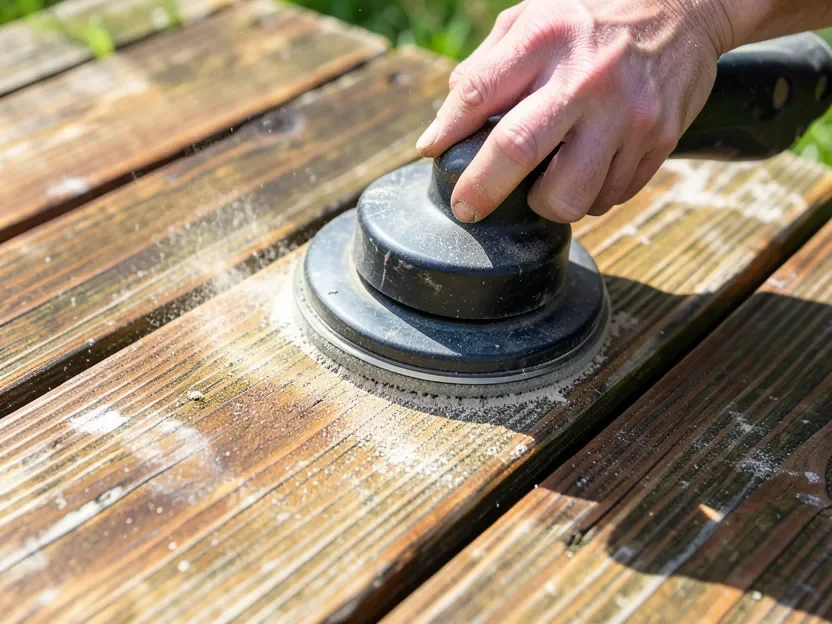
If sanding, an 80-grit orbital sander handles the main boards fastest; use a sanding block for railings and corners. You’re only scuffing the surface, not chasing every trace of color. Sweep and vacuum thoroughly once you’re done.
Step 5: Prime
Skipping primer is the single most common mistake in a deck repaint. It helps the topcoat adhere and blocks tannins and old stain from bleeding through and discoloring your new color.
Oil-based stain underneath: use an oil-based stain-blocking primer, or a bonding primer rated for glossy/tannin-heavy surfaces after a TSP wash. Water-based stain underneath: a quality acrylic exterior primer is enough. Cut in edges and railings with an angled brush first, then roll the boards in a thin, even coat, and let it cure fully per the label — usually several hours, sometimes overnight.
Step 6: Paint
Use a paint labeled “Porch & Floor Paint” or “Deck Paint” — these are formulated for foot traffic and weather in a way trim or wall paint isn’t. Major manufacturers including Sherwin-Williams and Behr sell dedicated deck lines. Paint on a mild, overcast day, not in direct sun or with rain forecast. Cut in details and edges first, then roll the field working from the house toward the stairs so you don’t paint yourself into a corner. Apply two thin coats rather than one thick one — thick coats cure slower and peel sooner — and let each coat hit its recoat window before the next. Give the final coat up to 72 hours to cure before furniture goes back on.
Maintaining Your Painted Deck
A little upkeep keeps a painted deck looking right for years.
- Clean regularly: sweep often; wash at least once a year with a mild detergent and soft brush.
- Touch up chips fast: sand the small area, prime, and spot-coat before moisture gets under the film.
- Use furniture pads: felt pads under heavy furniture legs prevent scratches in the paint film.
Frequently Asked Questions
What is the best paint to use on a deck?
A high-quality 100% acrylic latex paint labeled specifically for porches, floors, or decks. These formulas are built to flex with temperature swings and resist scuffing and foot traffic in a way regular wall or trim paint isn’t, and most also add mildew resistance and UV blockers.
Do I really have to sand the deck before painting?
Yes, but only enough to break the sheen and remove any loose fibers – you’re not sanding down to bare wood. A quick scuff-sand (or a bonding primer built for glossy surfaces) gives the primer something to grip instead of sliding off a slick, sealed stain film.
How long will a painted deck last?
Five to ten years before it needs a full recoat if the prep was done right and you used a real deck-rated paint. Climate, foot traffic, and how quickly you touch up chips all shift that number – a shaded deck in a mild climate will outlast one that bakes in direct sun all summer.
Can I paint over a deck that has peeling stain?
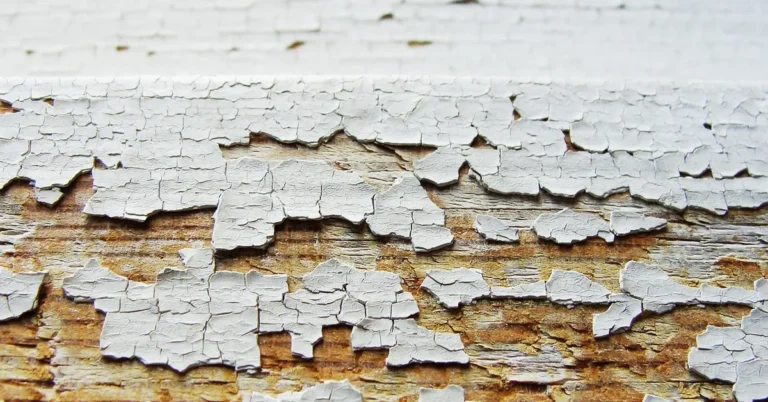
No. Paint will only bond to the loose stain sitting on top of it, and when that stain lets go, your new paint goes with it. Scrape and sand every peeling or flaking patch down to a solid edge before you prime – patchy prep is the single most common cause of a painted deck failing in its first year.
Can I use a pressure washer to clean my deck before painting?
Yes, but keep it under 1,500 PSI with a fan tip and stay at least a foot off the wood. Anything hotter can blow open the wood grain and leave a fuzzy surface that telegraphs through the paint. A garden hose and a stiff-bristled brush is the safer call if you’re not used to running a pressure washer.
What happens if I use water-based primer on an oil-based stain?
Poor adhesion, and usually fast – peeling, bubbling, or chipping within weeks. Oil and water-based coatings don’t bond well to each other, so an unprepped oil-based stain needs either an oil-based stain-blocking primer, or a TSP wash followed by a water-based bonding primer made for slick surfaces.
Should I use paint or a solid-color stain on the deck floor?
For the horizontal deck boards you walk on, most pros lean toward a solid-color deck stain over true paint, because stain penetrates the wood instead of sitting on top of it as a film that can crack and peel under foot traffic and seasonal swelling. Paint is generally fine on railings, skirting, and other vertical trim, where there’s no foot traffic to flex the coating.
The Bottom Line
Painting over a stained deck works, and it’s a real fix for a faded, blotchy, or patched-up surface — but the paint itself is the easy part. Cleaning, deglossing or scuff-sanding, and priming with the right product for your stain type are what decide whether it lasts five years or peels by next spring. If your deck floor takes heavy foot traffic, weigh a solid-color stain for the boards instead of true paint, and save the paint for railings and trim where it holds up best.
Sponsored / affiliate links. As an Amazon Associate I earn from qualifying purchases. I may earn additional commission from eligible campaigns.