How to Veneer Wood: Glue Choice, Pressing and Safety (2026)
To veneer wood, sand the substrate flat, spread adhesive evenly on the substrate (and on the veneer too if you use contact cement), lay the veneer down, and apply firm, even pressure until the glue sets. The glue you pick decides almost everything else: how much time you get, how much pressure you need, and how careful you must be about fumes.
Most failed veneer jobs trace back to uneven glue or uneven pressure, and a trapped air pocket shows up later as a bubble you can feel with your thumb. This guide compares contact cement, veneer PVA and hide glue using the adhesive makers’ own numbers, and covers the solvent safety rules for contact cement that most tutorials skip.
What Is Wood Veneering?
| BEST VENEER GLUE PICK | |
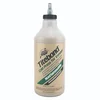 |
Titebond Cold Press for Veneer
A water-based, nonflammable PVA made for gluing veneer to flat panels, sold as an alternative to contact cement.
|
As an Amazon Associate, we earn from qualifying purchases.
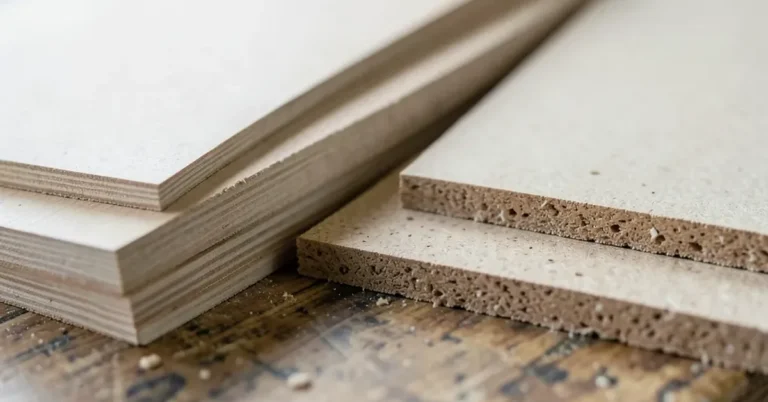
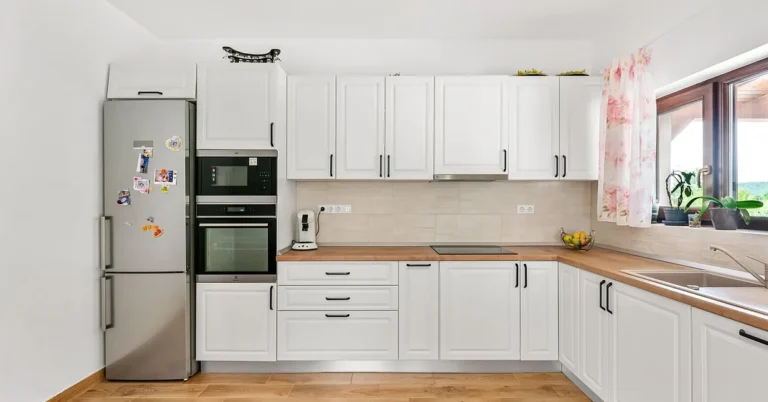
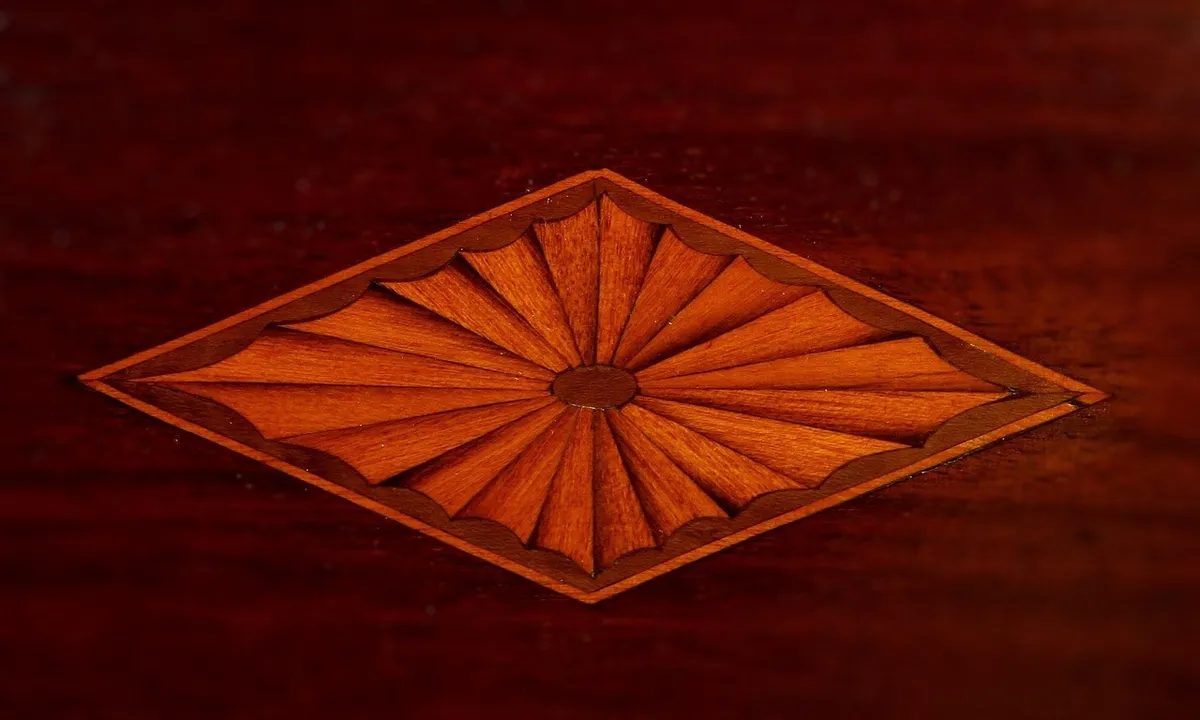
Wood veneering is gluing a thin slice of real wood onto a more stable, cheaper core such as plywood, MDF or particleboard. You get the look of figured hardwood without the cost, weight or seasonal movement of solid boards, which is why most cabinets and a lot of furniture are built this way. See our guide to ash wood veneer grades and cost for one common species.
Tools and Materials You Need
- Veneer: raw (unbacked) sheets, or paper-backed or peel-and-stick sheets for easier handling.
- Substrate: plywood, MDF or particleboard, sanded flat. Veneer will telegraph every ridge and gouge underneath.
- Adhesive: contact cement, veneer PVA or liquid hide glue (compared below).
- Cutting: a sharp knife or veneer saw and a straightedge. Use a fresh blade, because dull blades tear the grain.
- Pressure: a J-roller for contact cement, or cauls, clamps, a press or a vacuum bag for PVA and hide glue.
- Spreader or roller: a foam or short-nap roller, or a notched spreader, for an even coat.
- Trimming and sanding: a flush-trim bit or edge trimmer, plus fine sandpaper.
Contact Cement vs PVA vs Hide Glue: What the Makers Actually Say
Tutorials often say any wood glue works. The adhesive makers’ data sheets show real differences in working time and pressure. Here are the published figures we found for each type:
| Adhesive | Working time (maker data) | Pressure needed | Key caution |
|---|---|---|---|
| Solvent contact cement (DAP Weldwood Original) | Dry 15 to 20 minutes per coat; may be assembled up to 2 hours after application | Firm rolling; bond is immediate on contact | Classified flammable liquid; vapors can travel to a distant ignition source |
| Veneer PVA (Titebond Cold Press for Veneer) | 15 minute open time; 15 to 20 minutes total assembly at 70 F and 50% humidity | Maker lists 100 to 250 psi, depending on substrates | Apply above 50 F; spread about 6 mils (roughly 250 sq ft per gallon) |
| Liquid hide glue (Titebond Liquid Hide) | 10 minute open time; 20 to 30 minutes total assembly | Clamp 30 to 60 minutes; full hardness after 24 hours | Bond can be reversed with heat and moisture, so keep finished pieces away from damp heat |
Two practical conclusions fall out of these numbers. First, the 100 to 250 psi on the PVA data sheet is press territory. Hand clamps and a roller rarely deliver that evenly across a whole panel, so treat veneer PVA as a press or vacuum bag glue. Second, contact cement is the only one of the three that needs no clamping, but it is also the least forgiving, because it grabs on first contact. For a deeper comparison see how to glue veneer to wood and our adhesives for veneer on plywood picks.
Contact Cement Safety: Fire and Fumes
This is the part most veneer how-tos leave out. The safety data sheet for Weldwood Original Contact Cement classifies it as a flammable liquid. It warns that vapors can form an ignitable mixture with air and flow along surfaces to a distant ignition source, and that the product is harmful if inhaled and irritates skin, eyes and the respiratory tract.
- Work with strong cross ventilation, ideally with a door and window open and a fan pushing air outside.
- Turn off pilot lights and heaters and unplug sparking tools before you open the can. A water heater pilot in the next room counts.
- Keep the can closed between coats, and keep it away from heat.
- Wear nitrile gloves and eye protection, and read the SDS for the right respirator type for your product.
- If fumes worry you, a nonflammable water-based contact cement or a veneer PVA avoids the flammability problem entirely.
Our Weldwood contact cement guide goes deeper on application.
How to Veneer Wood Step by Step
1. Prepare the substrate
Sand the core flat and vacuum off all dust. If you are using MDF, seal the edges first, because raw MDF edges absorb glue like a sponge. Our guide on sealing MDF, edges first covers methods that also work as a glue-sizing step. Let veneer and core acclimate in the room for a day or two.
2. Cut the veneer oversize
Cut the sheet about 1/2 inch larger than the panel in each direction, with a sharp knife against a straightedge. Cut with the grain first to avoid splitting. Oversize cuts give you room to trim flush later.
3. Apply the adhesive
For contact cement, apply one even coat to the substrate and the back of the veneer and let both dry to a glossy, tacky state (about 15 to 20 minutes for Weldwood Original, per DAP). Porous surfaces may need a second coat. For PVA or hide glue, spread glue on the substrate only, thin and even, using a roller or notched spreader, and watch the open time.
4. Lay the veneer
With contact cement, place a sheet of wax paper or kraft paper between the two coated surfaces, line up the veneer, then slide the paper out gradually as you press from the center outward. This is a common shop technique and the practical way to position contact cement accurately. With PVA, lay the veneer within the open time and move straight to pressure.
5. Press it flat
Roll contact cement firmly with a J-roller from the center toward the edges. For PVA or hide glue, sandwich the panel between flat cauls and clamp so pressure reaches the middle, or use a press or vacuum bag. Veneer on one face only can make a panel curl, so veneering both faces keeps it balanced.
6. Trim, sand and finish
Trim overhang with a flush-trim bit or a sharp knife. Sand lightly, because veneer is thin and it is easy to sand through the face. Apply a finish that suits the species. Our veneer edge gluing guide helps if edges lift later.
Common Veneering Problems and Fixes
| Problem | Likely cause | Fix |
|---|---|---|
| Bubble or soft spot | Air trapped or uneven glue | Slit along the grain and reflow with heat (PVA, hide), or roll from the center outward |
| Glue bleeds through | Thin or open-grained veneer with wet glue | Use a veneer-specific glue made to limit bleed-through on open-grained and unbacked veneer, and spread thin |
| Edges lift | Edge sealed poorly or pressure missed the edge | Reglue with thin glue and clamp, or see our edge guide above |
| Veneer splits | Cut across the grain or dull blade | Cut with the grain first and use a fresh blade |
| Panel curls | Veneer on one face only | Veneer both faces or use a balanced core |
Frequently Asked Questions
How do you prepare wood for veneering?
Sand the substrate flat and clean, then remove all dust. Seal the edges of MDF or particleboard, because raw edges soak up glue and can leave starved spots. Let both the substrate and the veneer sit in the shop for a day or two so they match the room’s moisture level before gluing.
What glue is best for veneer?
It depends on the job. Contact cement bonds instantly and needs no clamps, but it cannot be repositioned and the common solvent type is flammable. A veneer-specific PVA such as Titebond Cold Press gives about 15 minutes of open time but needs a press or vacuum bag. Liquid hide glue gives time to work and the bond can be reversed with heat and moisture, which suits small repairs.
Can you veneer over stained or finished wood?
Not reliably. Glue bonds to bare wood, so sand through the stain or finish back to clean, bare wood first. Veneering over a slick finish risks the veneer lifting later.
How do you remove bubbles under veneer?
With contact cement you cannot lift the sheet once it touches, so work from the center outward with a roller and avoid trapping air at the start. With PVA or hide glue, a bubble can sometimes be flattened by slitting it along the grain and pressing, or by warming it with a household iron through a cloth, because heat re-softens the glue. Check the glue maker’s guidance first.
Conclusion
Pick the adhesive first, since it sets your working time, your pressure needs and your safety plan. Choose contact cement for large flat panels if you can ventilate well and keep ignition sources away, a veneer PVA if you have a press or vacuum bag, and hide glue for small, repairable work. Prepare the core carefully, press evenly, and trim last.
Sponsored / affiliate links. As an Amazon Associate I earn from qualifying purchases. I may earn additional commission from eligible campaigns.