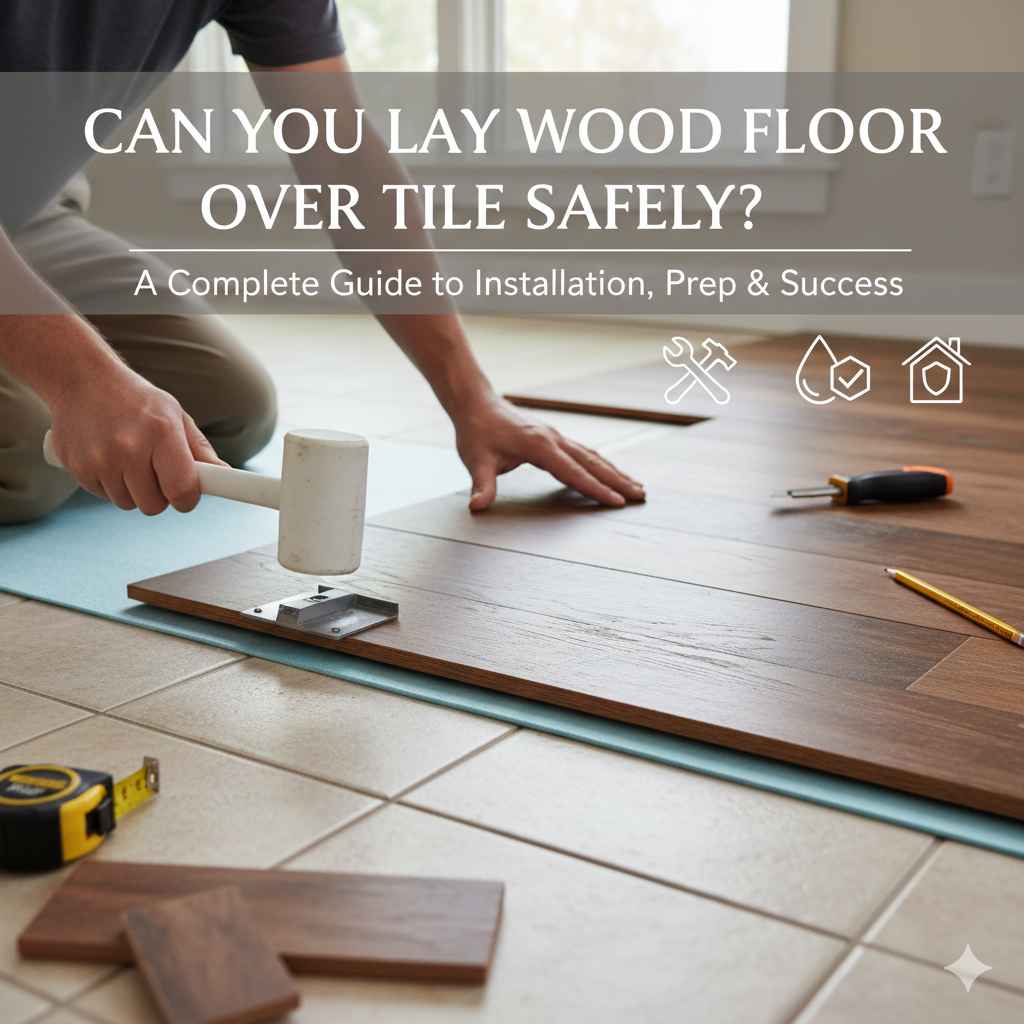
Can You Lay Wood Floor Over Tile Safely? A Complete Guide
Thinking about updating your floors? You might be wondering, Can You Lay Wood Floor Over Tile Safely? It’s a common question, especially for those new to home improvement. Getting it right involves a few key steps. Don’t worry; we’ll break down everything in a simple way. We’ll show you how to check your existing tile, pick the best wood flooring options, and get your new floor installed without any problems. Let’s get started!
Evaluating Your Existing Tile Before a Wood Floor Installation
Before you decide to install a wood floor over tile, the first step is to assess the current condition of your tile. This is important to ensure a successful and long-lasting installation. A poorly prepared base can lead to problems later on. We’ll explore the things you should look for, which tools you might need, and how to get everything ready for your new wood floor.
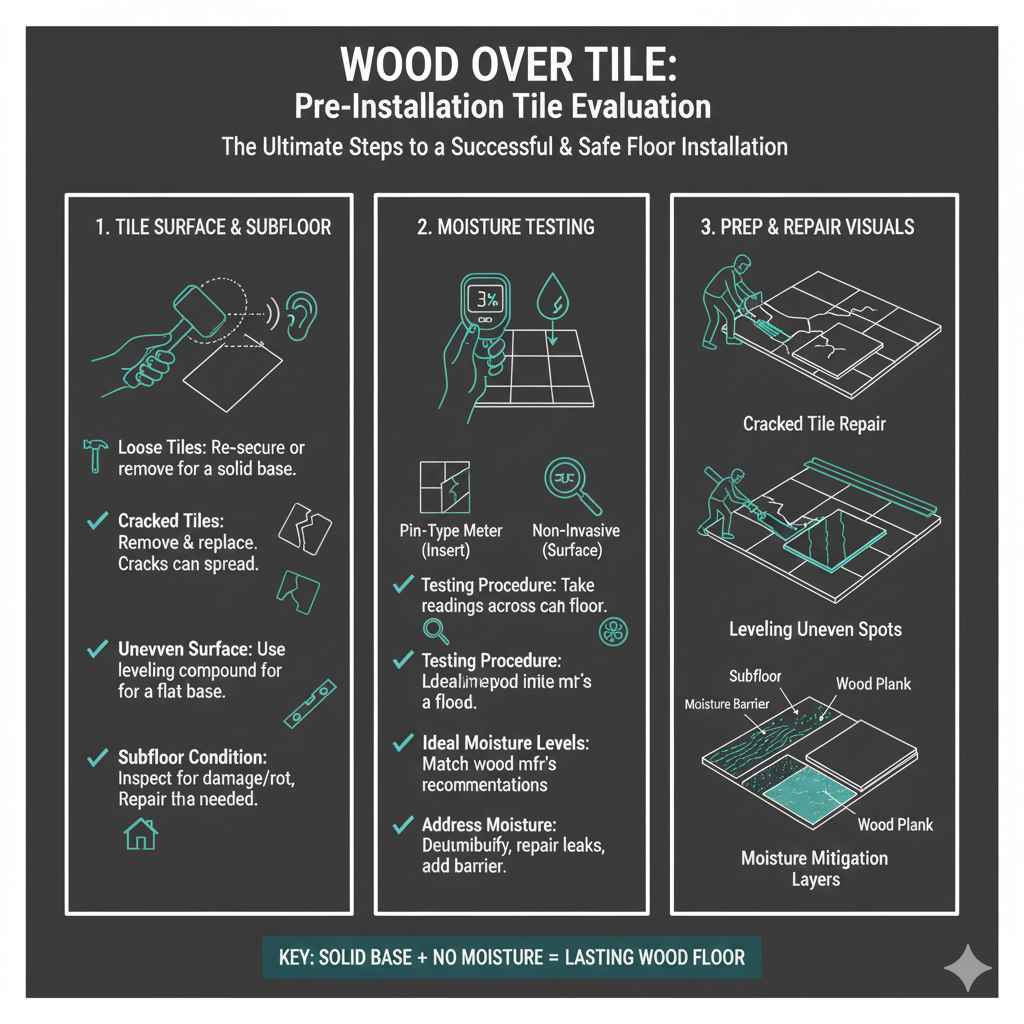
Checking Tile Surface and Subfloor
Begin by carefully inspecting the tile surface. Check for any loose, cracked, or uneven tiles. Gently tap each tile with a rubber mallet or your knuckles. Listen for a hollow sound, which might mean the tile isn’t properly bonded to the subfloor. If you find loose tiles, they need to be fixed or removed. Any cracks also require attention, as they can worsen when the wood floor is placed on top. You should also examine the grout lines. These may impact the installation of your wood flooring. Make sure everything is in good shape. Otherwise, your wood floor won’t be as good as it can be.
- Loose Tiles: Remove any loose tiles and re-secure them. If the subfloor has problems, you might need to rebuild sections.
This ensures a solid base for the new flooring. Using a trowel, apply the appropriate adhesive.
- Cracked Tiles: Remove and replace cracked tiles before installing the wood floor.
Cracks can spread under the weight of the wood flooring. This can cause more damage. For tile replacement, use a grout saw or oscillating multi-tool to carefully remove the grout around the damaged tile. Use a chisel and hammer to remove the broken tile. After cleaning the area, apply the adhesive, and set the new tile in place. Make sure to use the correct grout color for a seamless look.
- Uneven Surface: Use a leveling compound to create a flat surface.
Unevenness can cause problems with the wood floor’s stability. It can also lead to squeaking or other issues. Leveling compounds are self-leveling materials. They can fill in small dips and bumps. Use a straight edge to see where the floor is uneven. Clean the existing tiles. Then, mix the compound according to the manufacturer’s instructions, and spread it evenly across the tile surface. Make sure the floor is perfectly flat before installing the new wood flooring.
- Subfloor Condition: The subfloor’s condition can affect your wood floor.
The subfloor supports everything. If your subfloor is in bad shape, your new floor will have problems. Inspect for any water damage or rot. Remove the old tiles. Then you can repair the subfloor or replace it if necessary. A stable, solid subfloor is a must for your wood flooring project.
Moisture Testing and Its Importance
Moisture can be a serious issue for wood floors. Before the installation, measure moisture levels in both the tile and the surrounding environment. This helps you avoid future problems like warping or buckling. You need a moisture meter designed for this purpose. It measures the moisture content of the tile. Also, note the humidity levels in the air. These readings will tell you if the conditions are right for installing wood flooring. This process is important to get your floor to last a long time.
- Moisture Meter Types: Choose the right meter.
Use a pin-type moisture meter that has probes. You can insert them into the tile. Use a non-invasive meter that uses radio frequency to measure moisture content without damaging the tile surface. Each type works best in certain situations.
- Testing Procedures: Follow the proper steps.
Use a pin-type meter to are no issues with the tile. Take readings in various spots across the floor. This provides an average moisture level. Then compare the readings to the wood flooring manufacturer’s recommendations. Make sure conditions are good.
- Ideal Moisture Levels: Know the recommended ranges.
The moisture content of the tile must match the recommended levels. These recommendations come from the wood flooring manufacturer. If the tile’s moisture content is too high, it might absorb moisture. This can cause the wood floor to expand and warp. If the tile is too dry, it could shrink, which can also cause damage. If levels are off, address this before putting down the wood flooring.
- Addressing Moisture Issues: Fix moisture issues early.
If the tile has moisture issues, it’s critical to address them. This might include using a dehumidifier to dry the area. You can also repair any leaks or water damage. Another option is to install a moisture barrier. This goes between the tile and wood flooring. Ensure that the subfloor is dry and stable before the wood floor installation.
Selecting the Right Wood Floor Type for Tile
Choosing the right type of wood flooring for your project is key. Several types work well over tile. They each have different features and benefits. The type you select will affect the look, feel, and cost of your finished floor. This section covers the options you have and will help you pick the best one for your space.
Engineered Wood vs. Solid Wood
The choice between engineered wood and solid wood is a big one. Engineered wood is built from multiple layers of wood, with a top layer of real wood. Solid wood is a single piece of wood. Each type has its own pros and cons for going over tile. Think about your needs and the environment to make the best choice. This will help you know the options you have available.
- Engineered Wood: Understand its construction and benefits.
Engineered wood is made with layers of plywood or fiberboard. A top layer of real wood is glued to the top. This makes it strong and stable. Engineered wood is less likely to warp or expand with changes in humidity. The multiple layers provide more stability, which is great for installing over tile. This is a common choice.
- Solid Wood: Learn about its features and requirements.
Solid wood is a single piece of hardwood. It provides a classic look. Solid wood can change with changes in temperature and humidity. This means it may expand and contract. Solid wood flooring typically needs a perfectly flat surface and might need more care. It is beautiful, but requires more preparation for an install over tile.
- Installation Considerations: Think about how it installs.
Engineered wood often clicks or glues together. Solid wood usually needs to be nailed or glued to the subfloor. Some types of engineered wood are made for floating installations. These don’t require glue or nails. These are helpful for laying over tile. Make sure to consider the installation method that works best.
- Cost and Durability: Weigh these aspects.
Engineered wood is often less expensive than solid wood. It can be made for many different price ranges. Both are durable, but engineered wood is often more resistant to moisture. Engineered wood is a good choice for people who want a floor that is both pretty and able to handle normal use.
Wood Flooring Options: Styles and Materials
Once you’ve decided between engineered and solid wood, you can start looking at styles and materials. There are many options to consider, from different wood species to a range of styles and finishes. These selections will affect the look and function of your new floor. This will help you select the best materials.
- Wood Species: Consider different types of wood.
Popular choices include oak, maple, and hickory. Each has different features. Oak is common and known for its strength. Maple is smooth and light in color. Hickory is hard and very durable. Select a species based on how it looks and how it works with your lifestyle.
- Plank Widths and Lengths: Choose the right size.
Wider planks can make a room look bigger, while narrower ones offer a traditional feel. The length of the planks can influence the visual effect. Think about the space and how different sizes might look. Different sizes can impact the style of your space.
- Finishes and Treatments: Look at various finishes.
You can pick from different finishes, like oil-based, water-based, or pre-finished. Oil-based finishes offer a warm look but require more upkeep. Water-based finishes are durable and clear. Pre-finished wood flooring has a factory-applied finish. You can install it right away. Some wood floors are stained or distressed for a unique style.
- Visual Effects: Think about the overall look.
Consider the color and grain of the wood. Lighter colors can make a room look bigger and brighter. Darker colors add warmth and sophistication. The grain pattern also impacts the look. This is from a clear, linear grain to a more rustic, knotty appearance. The options will affect the overall look of your space.
Preparation and Installation
Proper preparation is important for a successful installation of a wood floor over tile. From prepping the tile surface to installing the underlayment, each step affects the outcome. We’ll go over the steps needed to get everything ready. These are essential for a beautiful and long-lasting wood floor.
Tile Surface Preparation
Preparing the tile surface correctly is key to making sure the wood floor adheres well. This involves cleaning the tile, making it level, and checking for any problems. These steps will make the installation process easy. Plus, it will help you create a reliable base for your wood floor. This will help you in your preparation for the flooring.
- Cleaning the Tile: Clear off the area.
Make sure the tile is clean and free of dirt. Remove any old adhesive residue or debris. Use a cleaner designed for tile surfaces. Make sure it is completely dry before moving on. This improves how the adhesive sticks. This will help the new floor stay in place.
- Leveling the Surface: Make the surface flat.
Even small bumps or dips can cause issues with your wood floor. Use a self-leveling compound to fill in any uneven spots. This is extremely helpful. Make sure the surface is flat and smooth. This is important for a stable and even base. This will improve the look of the new flooring.
- Addressing Imperfections: Fix any issues.
Fill any cracks, gaps, or damaged areas. This prevents problems from spreading to the wood floor. This step is important for fixing flaws in the tile. Addressing issues before installing wood flooring will help extend the life of your new floor.
- Surface Roughing: Improve adhesion.
You may need to gently sand the tile surface. This will improve adhesion. Be careful not to damage the tile. This can help the adhesive used for the wood floor stick properly. This will make the installation of the wood floor secure.
Installing Underlayment
Underlayment is a critical layer that goes between the tile and the wood floor. It offers several benefits, like moisture protection, sound absorption, and cushioning. Choosing the right underlayment is as important as the wood flooring itself. Learn more about the advantages and installation of underlayment.
- Types of Underlayment: Decide which to pick.
Several types of underlayment are made for wood floors installed over tile. Common choices include foam, rubber, and cork. Foam underlayment is inexpensive. Rubber underlayment offers good sound control. Cork underlayment is eco-friendly and provides cushioning. It is key to choosing the correct type of underlayment for your needs. This choice affects the comfort of the flooring.
- Moisture Barriers: Protect against moisture.
Underlayment often includes a moisture barrier. This protects the wood floor from moisture from the tile. This is important for spaces where moisture is a concern. Moisture barriers help keep your wood floor dry and lasting.
- Soundproofing: Reduce noise.
Some underlayments offer sound-dampening qualities. This helps reduce noise from walking. This is great for homes or apartments where noise control is needed. Soundproofing is a nice feature.
- Installation Process: Install the underlayment.
Follow the manufacturer’s instructions for installing the underlayment. This will help prevent issues with the wood flooring. Underlayment typically comes in rolls or sheets. Lay it out over the prepared tile surface. Make sure the underlayment overlaps properly. Secure it with tape or adhesive.
Wood Floor Installation Methods
You can use different methods to install wood flooring over tile. The best method depends on the type of wood flooring you choose, the condition of the tile, and the results you want. Getting the installation right is important for the look, feel, and life of the floor. We’ll go over the main installation techniques to help you choose the best one.
- Floating Floor Installation: Easy and flexible.
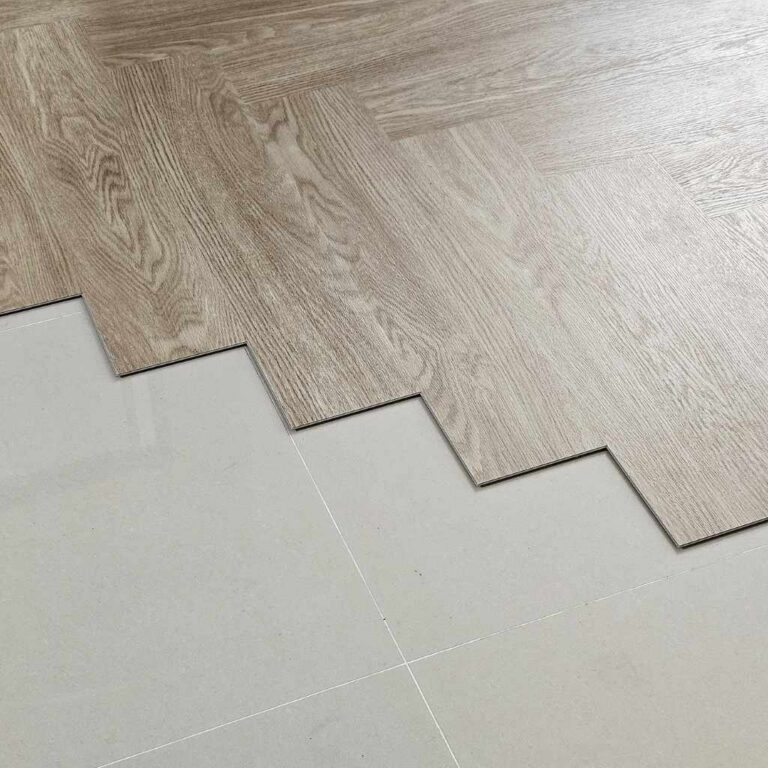
A floating floor does not connect to the subfloor. Instead, it “floats” on top of the underlayment. The planks snap together or are glued along the edges. This method is often easier and can be used with engineered wood floors. It’s a great option for people who want to install a floor themselves. It is ideal for uneven surfaces. It moves with the subfloor. This reduces the risk of problems caused by tile movement.
- Glue-Down Installation: Secure and stable.
For glue-down installation, use a special adhesive. The wood flooring is glued directly to the tile surface or underlayment. This method provides a strong bond and is ideal for solid wood floors. This is the most popular way to install wood flooring. Using glue-down gives great stability. However, it takes more work and skill. This method is best for flat, level tile surfaces.
- Nail-Down Installation: For experienced installers.
Nail-down installation involves nailing the wood flooring directly to the subfloor or to a plywood subfloor attached to the tile. This method is often used for solid wood floors. It requires experience and special tools like a flooring nailer. If this method is done right, it can provide a strong and lasting installation. Because it’s a permanent attachment, it’s not a great choice for tile floors. Nail-down installation may not be a good choice for tile floors because it can crack the tiles.
- Choosing the Right Method: Decide what works.
When selecting your installation method, you should consider the type of wood flooring. You should also think about the tile’s condition and your level of experience. Floating floors are easier for DIY projects. Glue-down offers stability. Nail-down installations are for those with experience. Always follow the manufacturer’s instructions for the best results.
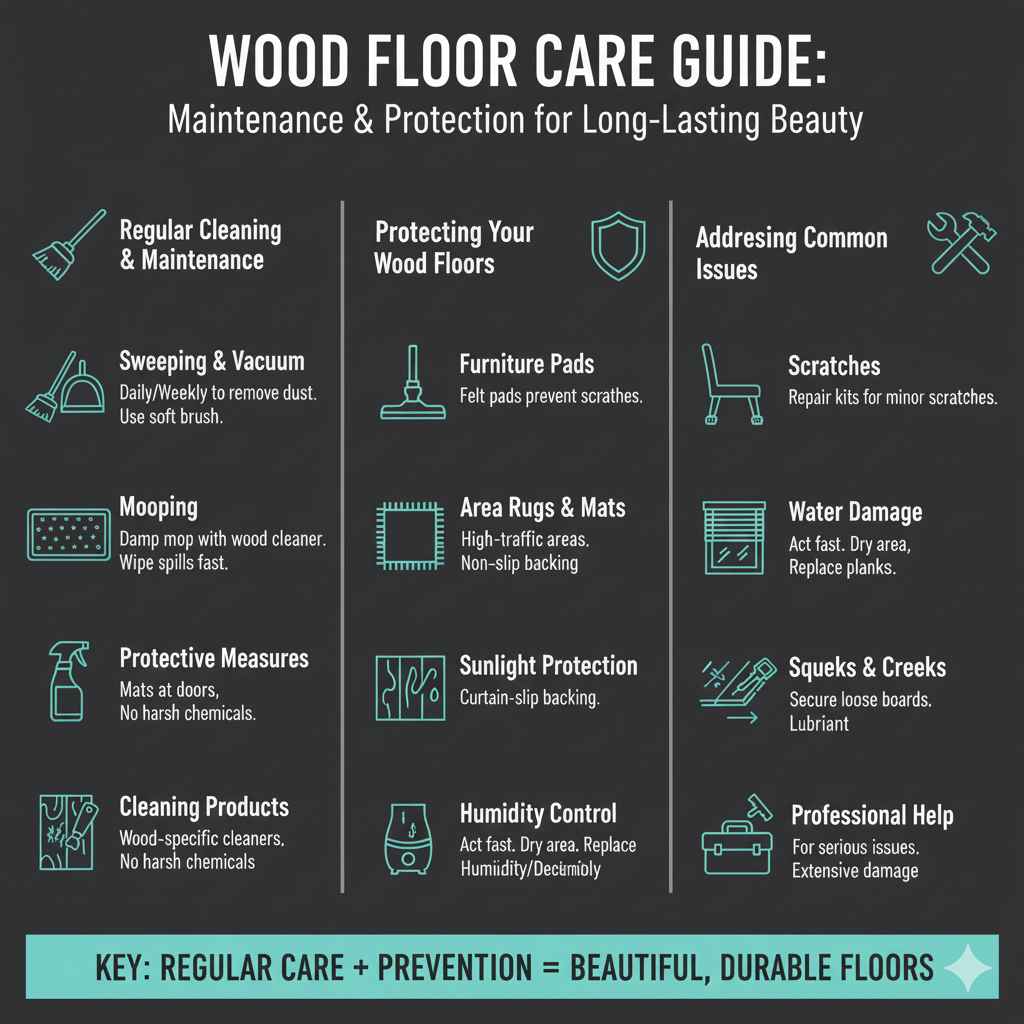
Maintenance and Care of Wood Floors
After installing your wood floor over tile, proper maintenance is crucial to its beauty and durability. Regular care and cleaning will keep the floor looking great for a long time. This section provides tips on how to care for your floor and prevent issues.
Regular Cleaning and Maintenance
Regular cleaning is the most important thing you can do to care for your wood floor. This prevents dirt, dust, and debris from building up and causing damage. This is how to keep your floor in good shape.
- Sweeping and Vacuuming: Make this a habit.
Sweep or vacuum your floor several times a week. Use a soft-bristled broom or a vacuum cleaner made for wood floors. This will get rid of dust and dirt. Avoid vacuums with beater bars, which can scratch the wood surface.
- Mopping: Damp mop gently.
Mop your wood floor with a damp mop as needed. Use a cleaner specifically made for wood floors. Make sure the mop is not too wet. Too much water can damage the wood. Wipe up spills immediately to prevent them from soaking into the wood.
- Protective Measures: Add protection.
Place mats at doorways to trap dirt and debris. Use furniture pads under table legs, chair legs, and other furniture to prevent scratches. This will help prevent damage from moving furniture.
- Cleaning Products: Use the right products.
Use cleaners made for wood floors. Avoid harsh chemicals or abrasive cleaners that can damage the finish. Follow the directions on the cleaning products carefully to get the best results.
Protecting Your Wood Floors
Taking measures to protect your wood floors helps keep them in good condition for years. Small things like furniture pads and mats can make a big difference. Let’s look at ways to avoid damage from everyday use.
- Furniture Pads: Protect your floor.
Put felt pads under furniture legs. This can prevent scratches when you move furniture. Choose pads that are the right size for the legs of your furniture. Make sure to replace pads as they wear down.
- Area Rugs and Mats: Add extra protection.
Use area rugs and mats in high-traffic areas and under furniture. Place rugs in entryways to catch dirt. This can reduce wear and tear. Choose rugs with a non-slip backing to prevent accidents.
- Sunlight Protection: Shield from the sun.
Sunlight can fade wood floors over time. Use curtains or blinds to limit sun exposure. You can rotate rugs. This way, different sections of the floor get exposed to the sun. This helps maintain the floor’s color and finish.
- Humidity Control: Watch humidity.
Keep a moderate humidity level in your home. Use a humidifier in the winter to prevent the wood from drying out. In the summer, use a dehumidifier to avoid excess moisture. The right humidity can prevent the wood from expanding or shrinking.
Addressing Common Issues
Even with careful maintenance, problems can occur. From scratches to water damage, it’s important to know how to fix problems. This helps extend the life of your wood floor. Here are some of the most common issues and how to deal with them.
- Scratches: Fix small scratches.
Use a wood floor repair kit to fix minor scratches. These kits often include color-matched fillers or stain. Clean the scratched area. Then apply the filler or stain. Let it dry. Then sand it lightly. This can help fix small issues in the floor.
- Water Damage: Act fast for water damage.
Water damage can cause swelling, warping, and discoloration. If you see water damage, remove the water immediately. Dry the area with fans and dehumidifiers. For serious damage, you might need to replace the damaged planks. Take action quickly to stop the damage.
- Squeaks and Creaks: Address these sounds.
Squeaks and creaks can develop over time. Check for loose boards. You might need to add nails or screws to secure them. Using a lubricant can reduce squeaking. The exact method will depend on your installation method and the type of floor.
- Professional Help: When to get it.
If you’re not comfortable repairing problems yourself, consider calling a professional. They can handle more serious problems, like extensive water damage or structural issues. It’s best to call a pro when you’re unsure how to proceed. A professional can help.
Frequently Asked Questions
Question: Can I install a wood floor directly over any type of tile?
Answer: No, it’s very important to check the tile. Make sure it’s stable, flat, and free of moisture before installing wood flooring. Also, it’s best to avoid installing wood flooring over cracked or loose tiles.
Question: What type of underlayment is best for installing wood flooring over tile?
Answer: The best underlayment often depends on your needs. Foam underlayment is good for budget-friendliness. Rubber underlayment is great for sound. Cork underlayment is eco-friendly. Make sure to choose one that will hold up over tile.
Question: Is it okay to use a nail-down installation method over tile?
Answer: Nail-down installations are not usually recommended for tile. This is because they can cause the tile to crack. Floating or glue-down methods work much better for this type of project.
Question: How do I prevent moisture problems when installing wood flooring over tile?
Answer: Use a moisture meter to check the tile’s moisture levels before you begin. Use underlayment that includes a moisture barrier. Also, make sure that the area is properly ventilated. This helps prevent moisture from the bottom.
Question: How often should I clean my wood floors?
Answer: You should sweep or vacuum your wood floors at least a few times a week to remove dirt and debris. Damp mop them with a wood floor cleaner as needed. Regular cleaning keeps your floors looking their best.
Final Thoughts
So, Can You Lay Wood Floor Over Tile Safely? Absolutely, with the right prep and materials. Make sure to evaluate your tile, select the right type of wood flooring and installation method, and understand the care required. Start with a solid tile base, choose the type of wood and installation style that works best for your situation. Take steps to protect your investment. By taking these actions, you can create a beautiful and durable floor. With proper attention and care, your new wood floor will bring warmth and charm to your home for years to come. Now, get ready to transform your space with confidence!