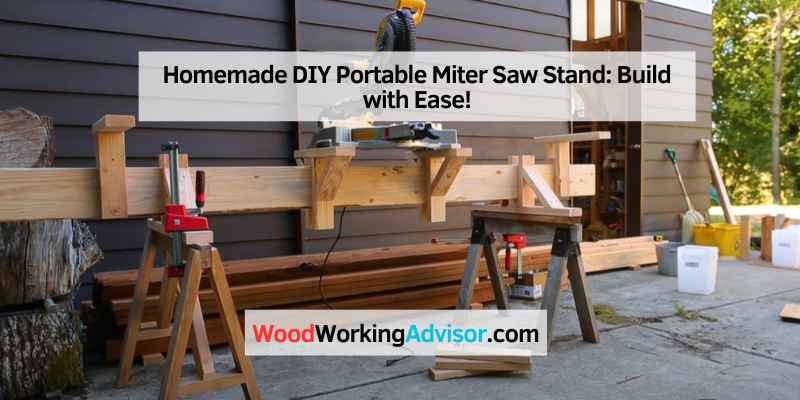
Homemade DIY Portable Miter Saw Stand: Build with Ease!
Looking to build a DIY portable miter saw stand? Learn how to create a homemade one.
A homemade DIY portable miter saw stand is a versatile and cost-effective solution for woodworkers who need a portable workstation for their miter saw. With a few basic materials and some simple tools, you can easily construct a custom stand that meets your specific needs.
In this blog post, we will guide you through the process of building your own portable miter saw stand, providing step-by-step instructions and helpful tips along the way. Whether you’re a seasoned DIY enthusiast or a beginner looking to take on a new project, this guide will help you create a functional and practical miter saw stand that you can easily transport to different job sites.
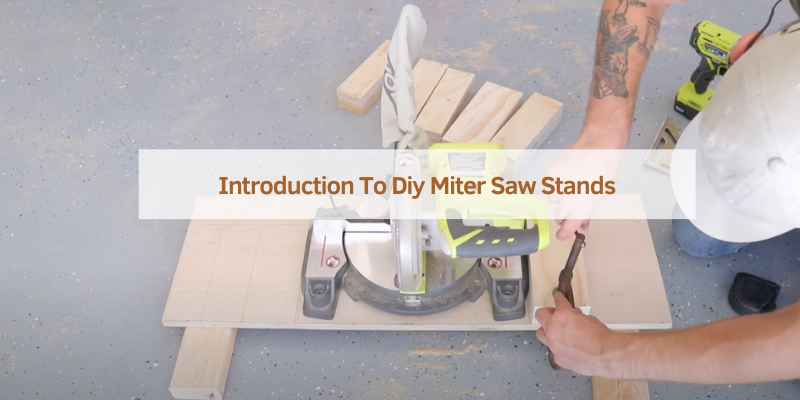
Introduction To Diy Miter Saw Stands
A homemade DIY portable miter saw stand can be a great addition to your workspace. With the right tools and materials, building a miter saw stand can be a fun and rewarding project. A portable stand can help you work comfortably and efficiently, and can be customized to fit your specific needs and preferences.
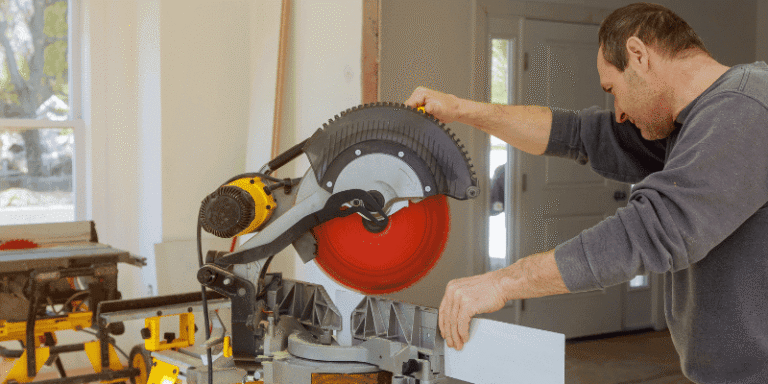
Are you an avid DIY enthusiast or a professional woodworker? If so, you know the importance of having a reliable and sturdy miter saw stand. A miter saw stand provides a stable work surface, allowing you to make precise cuts with ease. While there are plenty of ready-made stands available in the market, building your own DIY miter saw stand can be a rewarding and cost-effective option. In this blog post, we will explore the benefits of a custom stand and discuss the essential tools and materials required for building one.
Benefits Of A Custom Stand
Building your own miter saw stand offers several advantages over purchasing a pre-made one:
- Cost-effective: By using readily available materials and tools, you can save money compared to buying a commercial stand.
- Customization: With a DIY stand, you have the freedom to design it according to your specific needs and preferences. You can incorporate additional features or modifications to enhance its functionality.
- Portability: Creating a portable miter saw stand allows you to easily transport it to different job sites or store it when not in use.
- Sturdiness: By using quality materials and construction techniques, you can ensure that your homemade stand provides a stable and secure platform for your miter saw.
Essential Tools And Materials
Before embarking on your DIY miter saw stand project, gather the following tools and materials:
| Tools | Materials |
|---|---|
|
|
With these tools and materials at hand, you are ready to start building your own portable miter saw stand. Let’s dive into the step-by-step process of creating a DIY miter saw stand in our next blog post.
Designing Your Miter Saw Stand
Designing a homemade DIY portable miter saw stand can greatly enhance the functionality and versatility of your miter saw. By customizing the dimensions and features, you can create a stand that perfectly suits your workspace and specific cutting needs. Let’s explore the key aspects to consider when designing your miter saw stand.
Determining Dimensions
When determining the dimensions of your miter saw stand, consider the available space in your workshop or job site. Ensure that the stand provides ample support for long workpieces while maintaining portability. Measure the height of your miter saw’s base to determine the ideal working height for comfortable operation. Additionally, consider the width and depth required to accommodate various workpiece sizes.
Features To Consider
- Portability: Ensure the stand is easily transportable, with foldable or detachable components for convenient storage and movement.
- Stability: Incorporate sturdy materials and a well-balanced design to provide a stable platform for precise cutting.
- Material Support: Include extendable arms or rollers to support long pieces of wood, enhancing the stand’s versatility.
- Storage: Integrate compartments or hooks for storing essential tools and accessories within reach.
- Adjustability: Consider adding features for adjusting the height and angle of the saw to accommodate different cutting tasks.
Choosing The Right Materials
When it comes to building a homemade DIY portable miter saw stand, choosing the right materials is crucial. You want to ensure that your stand is not only sturdy and durable but also lightweight and easy to transport. In this section, we will explore the options of wood and metal for your miter saw stand, focusing on the factors of durability and portability.
Wood Vs. Metal Options
When deciding between wood and metal for your miter saw stand, there are a few key considerations to keep in mind. Let’s take a closer look at the advantages and disadvantages of each:
Wood Options
Wood is a popular choice for DIY miter saw stands due to its accessibility and affordability. It is relatively easy to work with, making it suitable for beginners. Additionally, wood offers a natural aesthetic appeal and can be customized to fit your specific needs.
However, it’s important to note that wood may not be as durable as metal, especially when exposed to harsh weather conditions or heavy use. It may be prone to warping or splitting over time, requiring regular maintenance and repairs.
Metal Options
Metal miter saw stands are known for their superior durability and strength. They can withstand heavy loads and provide a stable base for your miter saw. Metal stands are also more resistant to weather elements, making them suitable for outdoor use.
However, metal stands tend to be more expensive than their wooden counterparts. They can also be heavier, which may affect their portability. It’s important to strike a balance between durability and portability when choosing a metal miter saw stand.
Durability And Portability
When it comes to durability, metal miter saw stands have the upper hand. They offer a long-lasting solution that can withstand the test of time and heavy use. However, if portability is a top priority for you, wood stands may be a better option.
Wooden stands are generally lighter in weight, making them easier to transport from one job site to another. They are also more forgiving when it comes to accidental bumps and drops, as wood is less likely to dent or scratch compared to metal.
Ultimately, the choice between wood and metal for your homemade DIY portable miter saw stand depends on your specific needs and preferences. Consider factors such as budget, durability, and portability to make an informed decision. Whether you opt for the natural charm of wood or the robustness of metal, your miter saw stand will serve as a reliable companion for your woodworking projects.
Step-by-step Construction Guide
When it comes to constructing your very own portable miter saw stand, a step-by-step guide can make the process easier and more manageable. Follow this comprehensive construction guide to create a sturdy and versatile stand for your miter saw.
Building The Base
Start by gathering the necessary materials including plywood sheets, wood screws, and 2×4 lumber. Cut the 2x4s to the desired length and construct a rectangular frame using these pieces. Secure the frame with wood screws and add additional support as needed to ensure stability.
Constructing The Work Surface
Next, create the work surface by cutting a piece of plywood to the appropriate size. Attach this plywood to the top of the frame using wood screws, ensuring it is level and securely fastened. Consider adding reinforcing braces underneath the work surface for added strength.
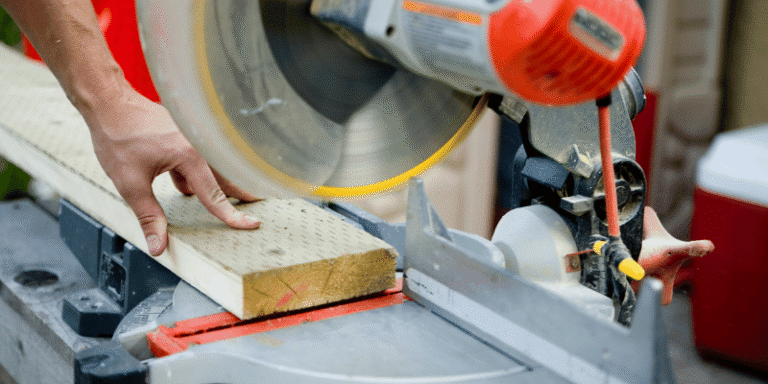
Attaching The Miter Saw
Position the miter saw on the work surface and mark the locations for mounting holes. Drill pilot holes and attach the miter saw to the stand using bolts and washers. Ensure the saw is securely fastened and that it is positioned to allow for smooth and accurate cuts.
Adding Mobility To Your Stand
Adding mobility to your homemade DIY portable miter saw stand is an excellent idea to make your work more efficient. It allows you to move the stand easily from one place to another without putting in too much effort. In this section, we will discuss the two crucial aspects of adding mobility to your miter saw stand – selecting wheels and installing a folding mechanism.
Selecting Wheels
Choosing the right wheels for your miter saw stand is essential to ensure the stand’s stability and mobility. Here are some factors to consider when selecting wheels:
- Load Capacity: Make sure the wheels you choose can support the weight of your miter saw and the stand.
- Wheel Size: Larger wheels are more stable and move smoothly over uneven surfaces, while smaller wheels are more suitable for smooth surfaces.
- Material: Wheels made of rubber or polyurethane provide better traction and are more durable.
Based on these factors, you can select the appropriate wheels for your miter saw stand.
Installing A Folding Mechanism
A folding mechanism is an excellent addition to your miter saw stand, making it more compact and easy to store. Here are some steps to follow when installing a folding mechanism:
- Measure the width of the stand and cut the metal tubing accordingly.
- Weld the metal tubing to the base of the stand.
- Attach hinges to the metal tubing and the legs of the stand.
- Attach locking mechanisms to the hinges, ensuring that they lock securely when in use.
Once you have installed the folding mechanism, you can easily fold and store the miter saw stand when not in use.
Safety Features And Accessories
When setting up a DIY Portable Miter Saw Stand, it’s essential to prioritize safety features and accessories.
Incorporating Guards
Guards are crucial to prevent accidents during cutting tasks.
Outfeed And Side Support
Outfeed and side support aids in stabilizing longer workpieces.
Customization And Improvements
When it comes to the Homemade DIY Portable Miter Saw Stand, the possibilities for Customization and Improvements are endless. Let’s explore some key features that allow you to tailor this project to your specific needs.
Adjustable Arms
One standout feature of this miter saw stand is its Adjustable Arms. These arms can be easily modified to accommodate different lengths of wood, providing flexibility for various cutting projects.
Tool Storage Solutions
Another area where you can make Customizations and Improvements is in the Tool Storage Solutions. By adding shelves, hooks, or compartments, you can keep your tools organized and within reach while working on your projects.
Maintenance And Care Tips
Proper maintenance ensures your DIY portable miter saw stand stays durable and efficient. To keep it in top shape, follow these essential care tips:
Regular Check-ups
- Inspect stand for loose screws or parts.
- Check alignment of saw blade regularly.
- Clean sawdust and debris after each use.
Long-term Durability Practices
- Apply a rust-resistant coating annually.
- Store stand in a dry, covered area when not in use.
- Lubricate moving parts every few months.
Final Thoughts
Wrap up your DIY miter saw stand project by considering the portability and sturdiness of the design. Ensure the stand can support the weight of your saw and materials while being easily transportable. Additionally, prioritize safety features to make the stand reliable for your woodworking projects.
Recap Of Benefits
Here’s a quick overview of the advantages of building your own portable miter saw stand:
- Economical solution for DIY enthusiasts
- Customizable to fit your specific needs
- Enhanced portability for convenience
Encouragement For First-time Builders
For those attempting their first DIY project, building a portable miter saw stand can be a rewarding experience. Remember, start small, follow instructions carefully, and don’t rush the process.

Frequently Asked Questions
How Can I Build A Homemade Diy Portable Miter Saw Stand?
To build a homemade DIY portable miter saw stand, start by gathering materials like wood, screws, and wheels. Follow detailed online tutorials or purchase pre-made plans for guidance. Customize the dimensions to fit your miter saw and ensure sturdy construction for safety and stability.
What Are The Advantages Of Using A Portable Miter Saw Stand?
Using a portable miter saw stand offers increased mobility, convenience in moving between job sites, and enhanced productivity. It provides stability for accurate cuts, saves space in your workshop, and allows for easy storage when not in use.
Can I Adjust The Height Of A Diy Portable Miter Saw Stand?
Yes, you can adjust the height of a DIY portable miter saw stand to suit your comfort and working preferences. Consider adding adjustable legs or using different sizes of wood for the frame to achieve the desired height for optimal working conditions.
What Safety Measures Should I Follow When Using A Miter Saw Stand?
When using a miter saw stand, always wear appropriate safety gear such as goggles and ear protection. Secure the workpiece properly before cutting, keep hands away from the blade path, and follow all manufacturer’s instructions for safe operation of the miter saw.
Conclusion
Building a homemade DIY portable miter saw stand is a practical and cost-effective solution for woodworking enthusiasts. With just a few materials and tools, you can create a sturdy and versatile stand that can support your miter saw and make your work easier.
By following the steps outlined in this post, you can customize your stand according to your preferences and needs. So why not give it a try and see the benefits for yourself? Happy woodworking!