How to Cut 22.5-Degree Angles on a Miter Saw (135° Corner Guide)
A 22.5-degree miter saw setting cuts a 135-degree corner, not a 90-degree one — two 22.5° cuts meet at 45°, and two of those joints complete an octagon’s 135° angle. Confusing this with a square corner (which needs 45° cuts instead) is the most common mistake with this setting. This guide covers the correct setup, a compound-cut method for standing molding, and a full angle-reference table for any multi-sided shape.
Quick Answer
Set your miter saw to 22.5° when two pieces need to meet at a 135° corner — used for octagons, 8-sided boxes, and bay-window trim that turns 45° off a straight wall. For a standard square 90° corner, set the saw to 45° instead, never 22.5°.
What Angle Does a 22.5-Degree Cut Actually Create?
Best Digital Angle Finder Pick
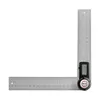
GemRed 82305 Digital Angle Finder – $16.99
Clamps flush against a metal miter saw table or fence so you can confirm the true 22.5° setting before making the cut described above.
- Best for: everyday shop verification of miter settings
- Why we picked it: magnetic stainless-steel body holds itself against the saw table while you read the digital display
- Main drawback: small LCD can be hard to read in a dim garage without added lighting
Compare more angle finder options
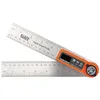 Option 1 Klein Tools 935DAF – $39.67
|
 Option 2 LEXIVON Angle Finder – $29.97
|
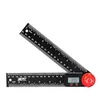 Option 3 UNIPEC Angle Finder – $9.99
|
As an Amazon Associate we earn from qualifying purchases.
A 22.5-degree cut is half of a 45-degree miter, and two of them joined together form a 45-degree total angle — not 90 degrees. The math behind it: for any regular n-sided shape, each piece is cut at 180° ÷ n. For an octagon (n = 8), that’s 180 ÷ 8 = 22.5°, and the resulting interior corner measures 135°, not 90°. A standard square corner (90°) still needs a 45° miter angle on each piece (180 ÷ 4 = 45) — the same cut most trim carpenters use every day for baseboard and door casing.
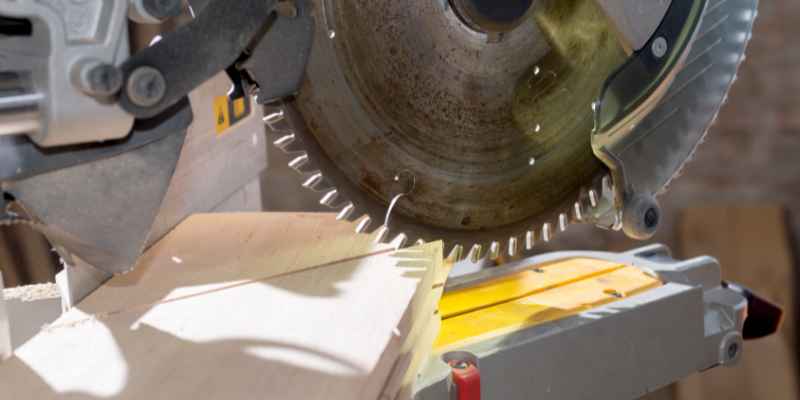
“In our shop, the single most common mix-up on this cut isn’t the saw setting itself — it’s assuming 22.5° automatically makes a square corner. It doesn’t. If the project needs a 90° corner, set the saw to 45°. Reach for 22.5° only when the finished corner is supposed to measure 135° or 45°, like on an octagon, a bay-window return, or an 8-sided planter box.”
📊 Most 10-inch miter saws include a positive detent (click-stop) at exactly 22.5° — one of just six standard preset stops (0°, 15°, 22.5°, 31.6°, 33.9°, 45°) built into the miter scale on most saws. Source: SawSchool, miter saw detent guide
How to Cut a 22.5-Degree Angle on a Miter Saw
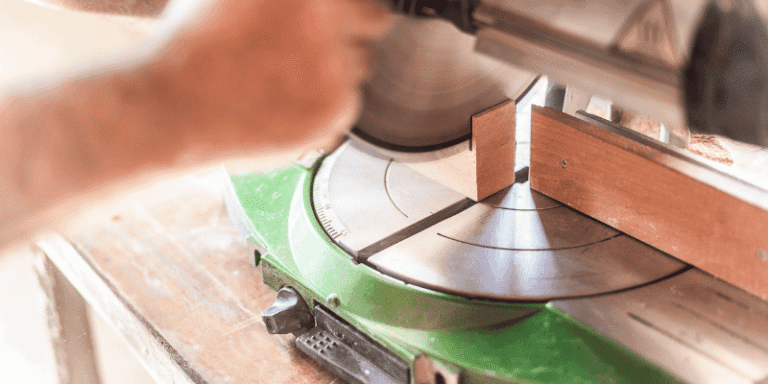
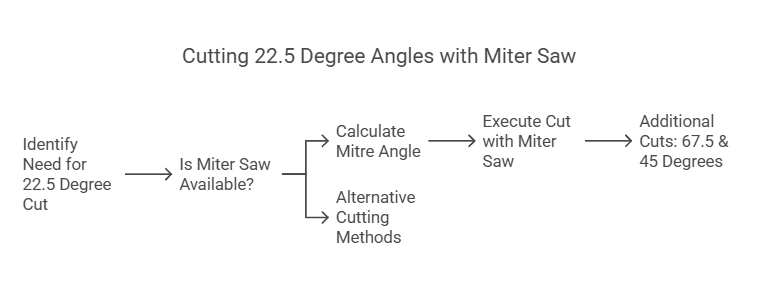
Once you’ve confirmed a 22.5° cut is actually the angle your project needs (see above), setting up the miter saw itself is quick:
- Loosen the miter lock: release the miter table’s lock lever so it can rotate freely.
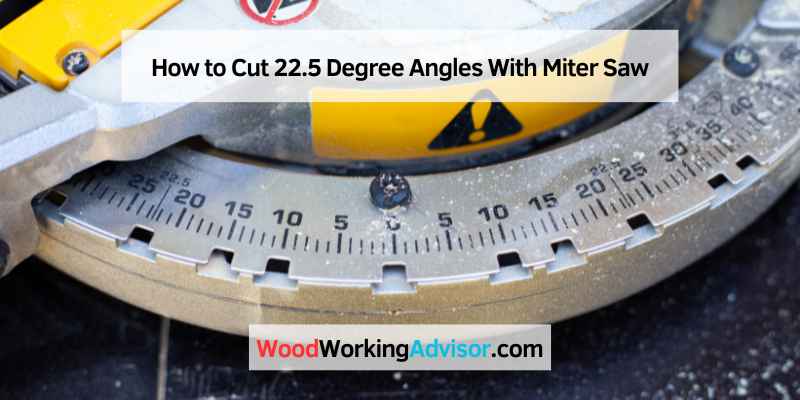
- Rotate to 22.5°: swing the table until the pointer lines up with the 22.5° mark — most saws have a positive detent stop here that clicks into place.
- Lock and verify: tighten the miter lock, then confirm the angle with a digital angle finder before you cut anything.
- Set the workpiece: hold the board flush against the fence, mark your cut line, and clamp it if the piece is short.
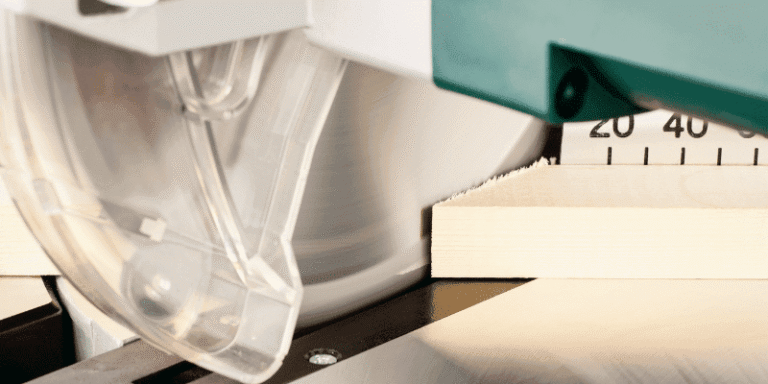
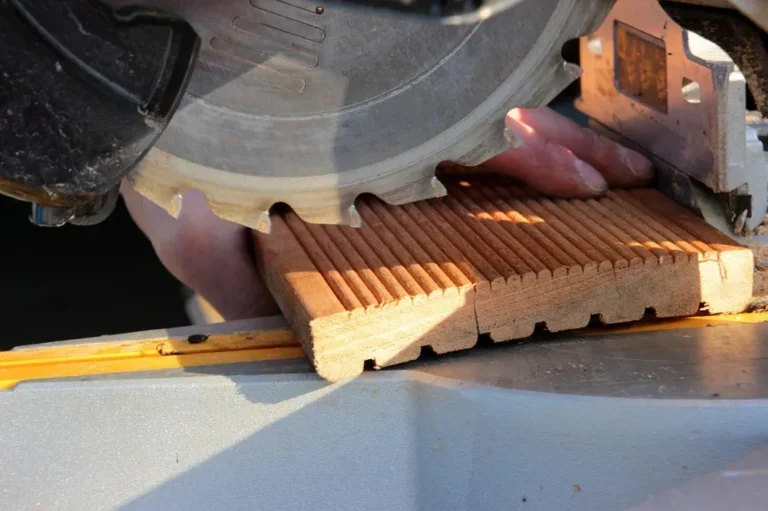
- Cut slowly: let the blade reach full speed before it contacts the wood, using a fine-tooth crosscut blade for a clean edge.
- Cut the mating piece as a mirror image: rotate the table to the opposite side of zero for a “reverse” 22.5° cut, so the two bevel faces meet flush when the pieces come together.
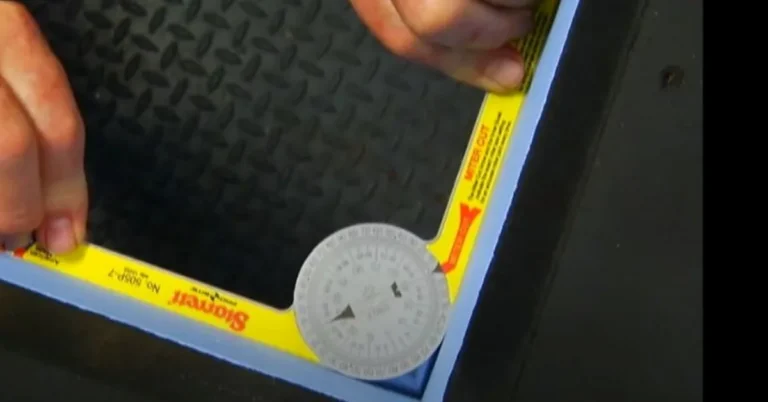
Dry-fit both pieces against a speed square before gluing or fastening — any visible gap on either face means the angle needs fine adjustment before you commit to the cut on your good stock.
Miter Saw Angle Reference for Any Multi-Sided Shape
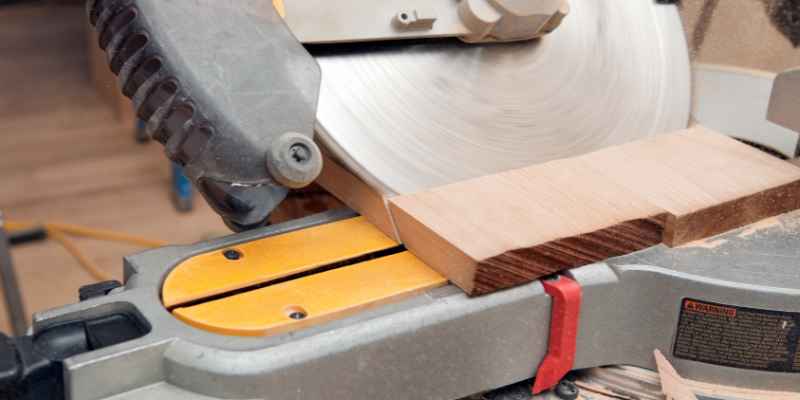
Octagons aren’t the only shape that uses a non-standard miter angle. The same formula — each piece cut at 180° ÷ the number of sides — works for any regular polygon, from a triangle up to a 12-sided lazy susan. Use this table instead of recalculating the formula every time, or check the full miter saw angle chart for even more settings.
| Sides | Interior Corner Angle | Miter Saw Setting | Common Project |
|---|---|---|---|
| 3 | 60° | 60° | Triangular shelf brackets |
| 4 | 90° | 45° | Picture frames, door casing, baseboard |
| 5 | 108° | 36° | Pentagon planters |
| 6 | 120° | 30° | Hexagonal boxes, 6-sided planters |
| 8 | 135° | 22.5° | Octagonal frames, bay-window trim |
| 10 | 144° | 18° | 10-sided decorative boxes |
| 12 | 150° | 15° | 12-sided lazy susans, clock faces |
Building a full octagon specifically? That project has its own dedicated walkthrough with stop-block setup and assembly order.
How to Make a Compound 22.5-Degree Cut
A compound cut combines a miter angle (the rotation of the saw table) with a bevel angle (the tilt of the blade) so the workpiece can stay flat on the table instead of standing up on edge. This matters most for crown molding and other angled trim that’s installed tilted against a wall. For a genuine compound 22.5-degree corner — like crown molding on a wall that turns 45° — the miter and bevel angles interact and aren’t simply 22.5°/22.5°; run the numbers through a compound-angle calculator or your saw’s crown-stop chart rather than guessing. The common 31.6°-miter/33.9°-bevel detent built into many saws is set up for standard 45/45 square corners, not a true 22.5-degree wall turn, so don’t reach for that preset here.
How to Cut a 22.5-Degree Angle Without a Miter Saw
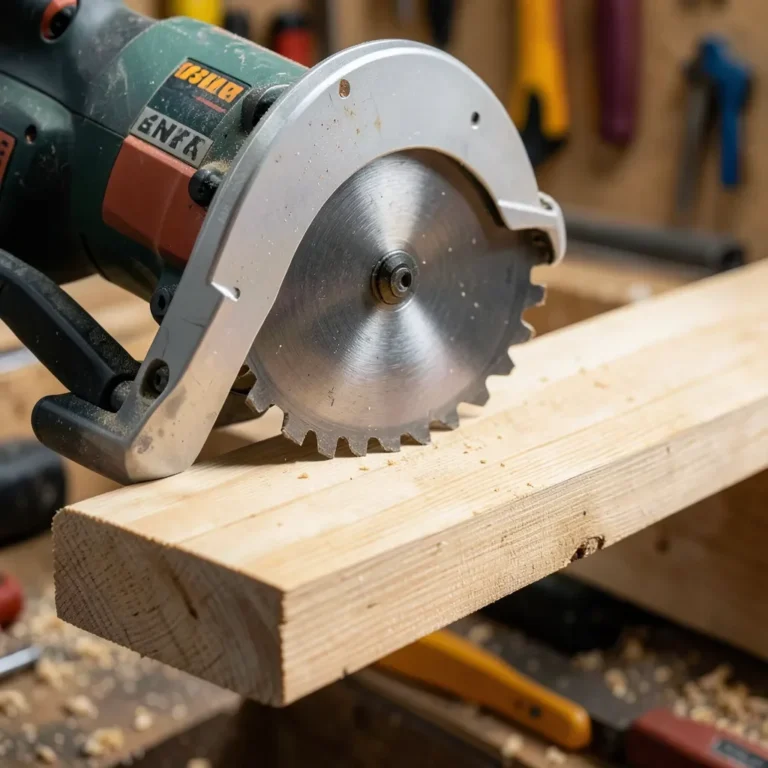
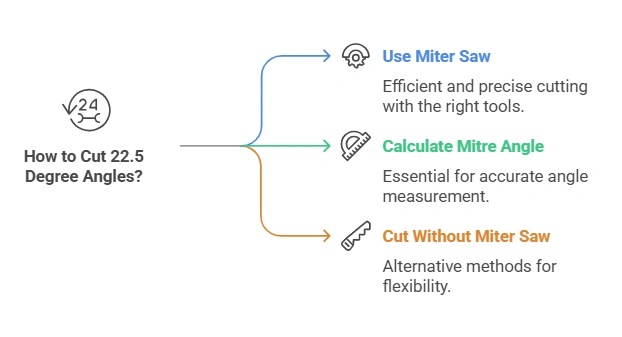
No miter saw on hand? A few tools can still get you a clean 22.5-degree angle. Mark the angle first with a protractor or an adjustable bevel gauge set against a speed square, then cut along that line with a handheld circular saw or a jigsaw — set the blade depth so it only cuts through the thickness of the board, and guide it slowly along your marked line. Both methods take more cleanup afterward than a miter saw’s clean cut, so plan on a light pass with sandpaper or a block plane to true up the edge before assembly.
Cutting Angles Beyond 45 Degrees (Extreme and Reverse Cuts)
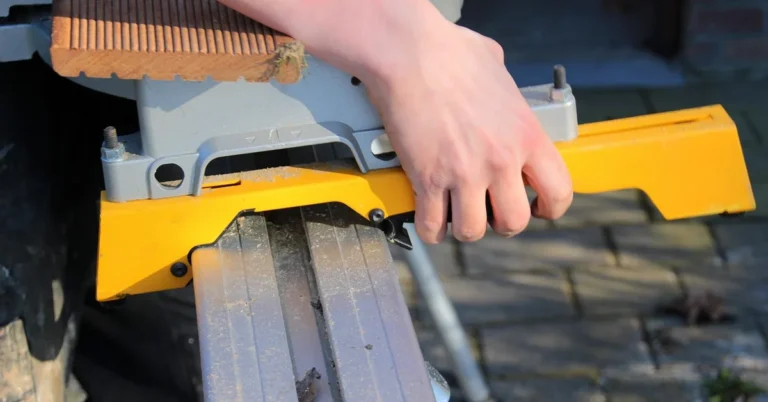
Most miter saws only rotate to 45-50° per side, so a steeper angle — like the 67.5° setting that’s the mirror complement of 22.5° (67.5° + 22.5° = 90°) — falls outside the saw’s native range on many models. For these, build or buy a simple angle jig: a scrap-wood fence clamped to the saw table at the extra angle you need, so the workpiece registers against the jig instead of the saw’s built-in stops. A “reverse” cut is simpler — it just means rotating the miter table to the opposite side of the zero mark, so the mating piece is a mirror image of the first one rather than an identical copy, which is exactly what a two-piece corner joint needs.
The Most Common 22.5-Degree Miter Mistake
Beyond the corner-angle mix-up above, two smaller mistakes show up often on this cut: skipping the test cut on scrap before committing to good stock, and trusting the saw’s printed scale without verifying it with a digital angle finder — printed miter scales can be off by a degree or more after years of shop use, which is enough to leave a visible gap on a tight octagon or bay-window joint.
FAQ: 22.5-Degree Miter Cuts
Does a 22.5-degree miter cut make a 90-degree corner?
No. A 22.5-degree cut on each of two pieces creates a 45-degree corner when joined, and the reverse pairing (two 22.5° cuts angled the other way) creates a 135-degree corner — the angle used on octagons and bay-window returns. A standard 90-degree square corner needs 45-degree cuts on each piece instead.
How do you cut a 22.5-degree angle without a miter saw?
Mark the angle with a protractor or adjustable bevel gauge, then cut along the line with a handheld circular saw or jigsaw set to a shallow blade depth. Clean up the cut edge afterward with sandpaper or a block plane, since a hand-guided cut is rarely as clean as a miter saw’s.
What is a reverse 22.5-degree cut?
A reverse cut is a mirror image of the first cut, made by rotating the miter table to the opposite side of the zero mark rather than repeating the same setting. Two-piece corner joints need one of each — identical settings on both pieces won’t close the joint properly.
How do you compound-cut a 22.5-degree angle?
Combine a miter angle (table rotation) with a bevel angle (blade tilt) so the workpiece stays flat instead of standing on edge — common for crown molding installed against an angled wall. The exact miter and bevel numbers for a true 22.5-degree corner come from a compound-angle calculator or your saw’s crown chart, not from setting both angles to 22.5° directly.
How do you measure a 22.5-degree angle without a protractor?
Bisect a 45-degree angle. Since 22.5 is exactly half of 45, you can fold a paper template of a 45-degree angle in half to mark 22.5 degrees, or use a combination square to lay out 45 degrees first and then split that angle visually with a compass.
What other shapes use a 22.5-degree cut besides octagons?
Bay-window trim returns and any wall or frame section that turns 45 degrees off a straight line use the same 22.5-degree setting, since the math is identical to an octagon’s corner — both close a 135-degree interior angle.
Getting a 22.5-degree cut right comes down to one distinction: know which corner your project actually needs before you touch the miter lock. Use 45° for a standard square corner, and save 22.5° for the 135° (or 45°) joints on octagons, bay-window returns, and other multi-sided builds — then verify the setting with a digital angle finder and a test cut before committing to your good stock.
Sponsored / affiliate links. As an Amazon Associate I earn from qualifying purchases. I may earn additional commission from eligible campaigns.