How to Bring Out Wood Grain Without Staining (3 Genuinely Stain-Free Methods)
True stain-free grain enhancement means one of two things: mechanically texturing the wood (water-raising plus a wire brush) or charring it (shou sugi ban). Clear grain enhancer products work too, since they’re formulated not to change the wood’s base color. What doesn’t qualify, despite often being marketed as a “no-stain” trick: a black walnut hull wash — the tannins in walnut hulls are a natural dye, and a dye that darkens wood is doing the same job as a stain, just from a plant instead of a can. This guide covers the methods that are genuinely stain-free, in the order that actually works on raw wood.
To bring out wood grain with zero color change, use water-raising plus a wire brush (mechanically textures raw wood, permanent) or shou sugi ban charring (chars and brushes away soft wood, also permanent). A clear grain enhancer works if you want a subtler highlight under a topcoat. Skip walnut-hull washes if “no color change” is the actual goal — that method is a natural dye, not a stain-free technique.
Preparing the Wood (Same First Step for Every Method)
Best Stain-Free Grain Prep Pick
Varathane Pre-Stain Wood Conditioner, Quart (Pack of 2)
Same Varathane line as our original pick — preps raw wood so any grain enhancer or clear topcoat absorbs evenly instead of blotching.
- Best for: raw wood that needs even absorption before a clear grain enhancer or topcoat
- Why we picked it: water-based Varathane formula, prevents the blotching that hides grain pattern
- Main drawback: a prep step, not a finish on its own — still needs a topcoat afterward
Compare more stain-free grain-raising tools
 Option 1 Rocaris 10-Pack Carbon Steel Wire Wheel Cup Brush Set
|
 Option 2 Forney Carbon Steel Hand Wire Scratch Brush
|
 Option 3 Iwatani PRO2 Culinary Butane Torch
|
As an Amazon Associate we earn from qualifying purchases.
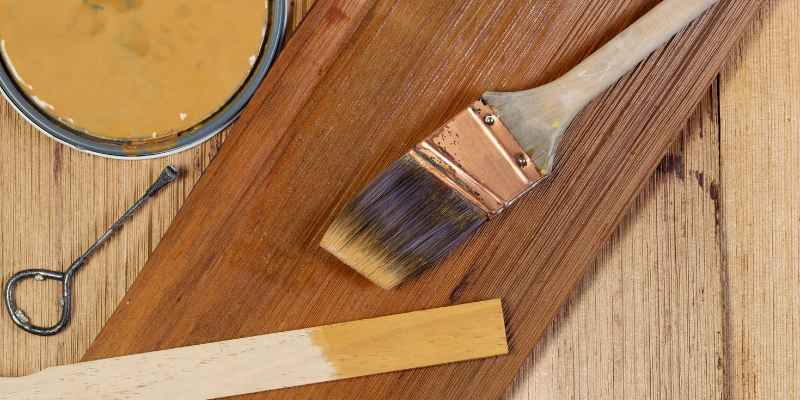
Every stain-free method below starts from a clean, sanded surface, and the sequence matters: raise the grain with water first, sand it down, and only then do the final dust-removal wipe — cleaning with water after sanding just raises the grain again and undoes the work.
- Strip any existing finish. None of these methods work over an old topcoat, paint, or previous stain.
- Fill any knots or defects. Use a natural-colored, water-based wood filler and let it cure 2–4 hours before sanding.
- Sand with the grain, 120-grit up to 150–180-grit. Sanding across the grain leaves scratches that show through every method here.
- Wet the surface with a damp cloth and let it dry fully — this raises the grain fibers so the next light sanding knocks down the fuzz cleanly, rather than leaving it rough under a clear finish.
- Remove all dust with a dry tack cloth only — don’t reintroduce water at this final stage, or you’ll raise the grain again right before finishing.
Method 1: Water-Raising and Wire Brushing (Permanent Texture)
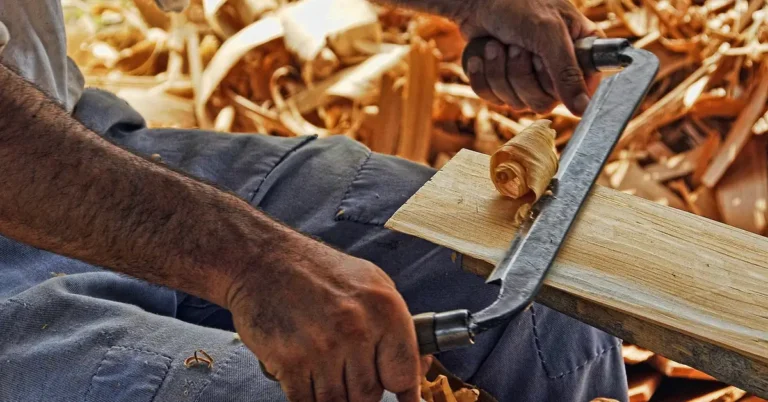
This is the only method on this page that physically changes the wood’s surface rather than just highlighting what’s already there. It works by removing the softer earlywood between the harder growth rings, so the ring pattern stands out in relief — with zero color added.
- Wet the surface completely with warm water and let it sit 2–3 minutes so the fibers swell.
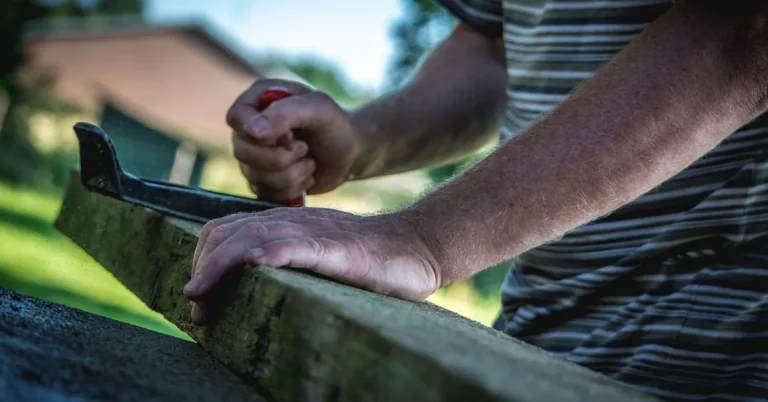
- Drag a rack of full-size nails firmly along the grain direction, tracing any knots or swirls, while the wood is still swollen and soft.
- Let it dry completely — typically 1–2 hours — before brushing.
- Scrub firmly with a stiff wire brush along the grain (never across it), which sinks the low spots deeper and exposes the harder latewood ridges.
- Vacuum and wipe away loose fibers before applying a clear topcoat.
“A drill-mounted wire wheel cuts this step from real arm-and-shoulder work down to a few minutes on a tabletop-sized piece — worth it the first time you try doing a full door by hand instead.” — Woodworking Advisor team note
Method 2: Shou Sugi Ban (Charring)
The traditional Japanese technique of charring wood with an open flame, then brushing away the burnt layer, produces the most dramatic texture of any stain-free method — and it’s genuinely stain-free in the literal sense, since the darkening comes from carbonized wood fibers, not a pigment or dye penetrating the surface.
⚠️ This method uses an open flame directly on wood. Work outdoors or in a well-ventilated space with a fire extinguisher or hose within reach, keep the torch moving, and never do this indoors or near flammable materials. If you’re not confident controlling an open flame safely, Method 1 produces a similar textured look with no fire risk.
- Char the surface evenly with a butane or propane torch until it darkens — more charring means a more pronounced texture once brushed.
- Let the wood cool completely before touching it; charred wood holds heat longer than it looks.
- Brush off the burnt layer with a metal wire brush, exposing the harder latewood underneath.
- Wipe away char dust, then seal with a clear oil or finish.
Method 3: Clear Grain Enhancer
A grain enhancer is formulated specifically to penetrate and highlight the wood’s existing pattern without adding overall color — the honest stain-free option if you want the visual pop of a finish without changing the wood’s base tone. Apply against the grain with a lint-free cloth so it penetrates deep into the pores, then wipe away the excess and let it dry overnight before topcoating.
Why Black Walnut Hull Wash Isn’t Actually Stain-Free
Crushed black walnut hulls steeped in water make a genuinely effective natural wood darkener, and plenty of guides list it as a “without staining” method because it doesn’t involve a can labeled “stain.” But the tannins in the hulls chemically bond with and darken the wood fibers — that’s a dye. If the goal is truly zero color change, skip this method and use Method 1, 2, or 3 above instead. If a natural-looking color change is actually fine (just not a commercial pigmented stain), a walnut hull wash is a reasonable choice — just go in knowing what it is.
📊 All three genuinely stain-free methods above are either mechanical (Methods 1) or thermal (Method 2), or explicitly formulated to avoid base-color change (Method 3, per the product’s own stated purpose).
Frequently Asked Questions
How Do You Make Wood Grain More Visible Without Staining It?
Use water-raising followed by a wire brush to mechanically texture raw wood, char the surface with shou sugi ban for a darker permanent texture, or apply a clear grain enhancer formulated to highlight pattern without adding color. All three avoid pigmented stain entirely.
Is Wetting Wood With Water the Same as Staining It?
No. Water temporarily raises the wood’s grain fibers by causing them to swell — it adds no color and evaporates away, leaving the wood’s natural tone unchanged. That’s different from a stain or dye, which permanently alters the wood’s color.
Are Black Walnut Hulls a Stain-Free Method?
No — despite being a popular “natural” alternative, walnut hull tannins chemically dye the wood darker, the same net effect as a commercial stain. It’s a natural dye, not a stain-free technique, even though it doesn’t come from a can.
Does a Clear Topcoat Change the Wood’s Color?
Most clear topcoats (polyurethane, lacquer, shellac) add a slight warm amber tint, though it’s much subtler than a pigmented stain. If truly zero color shift matters, look specifically for a water-based clear finish, which ambers the least of the common options.
Conclusion
Genuinely stain-free grain enhancement comes down to three real options: mechanical texturing with water and a wire brush, charring with shou sugi ban, or a clear grain enhancer product built specifically not to change the wood’s base color. A walnut hull wash is a fine finish in its own right, but it’s a natural dye, not a stain-free trick — know which category a method actually falls into before choosing one.
If you’re open to stain as one of your options (not just the stain-free methods above), see our complete comparison of all 4 grain-texturing methods, including oil-based stain and colored wax. For more on finishing choices generally, see our guide to sealing end grain and the wood tone and color pairing guide.
Sponsored / affiliate links. As an Amazon Associate I earn from qualifying purchases. I may earn additional commission from eligible campaigns.