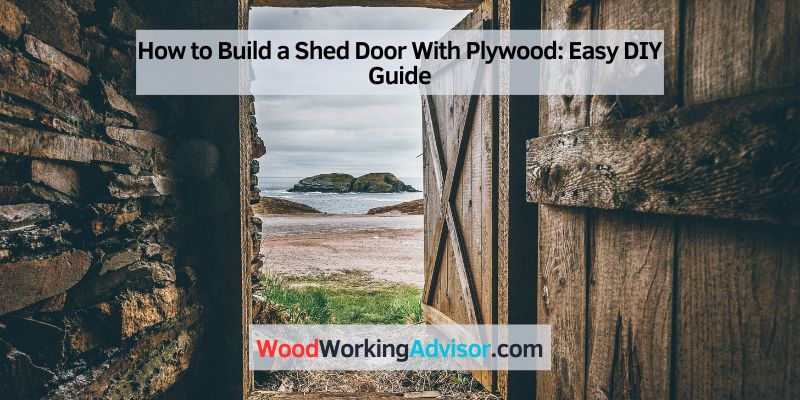
How to Build a Shed Door With Plywood: Easy DIY Guide
To build a shed door with plywood, first measure the opening, then cut the plywood to size and attach it to the door frame with hinges.
1. Materials And Tools
Are you looking to build a shed door with plywood? One of the crucial aspects of a successful shed project is selecting the right materials and tools for the job. In this section, we will discuss the required materials and essential tools needed to build a sturdy and functional shed door. By ensuring you have the right supplies, you can approach this project with confidence and achieve outstanding results.
1.1 Required materials
Before you start building your shed door, gather the following materials:
- 3/4 inch thick plywood sheets
- 2×4 inch pressure-treated lumber
- 2×2 inch pressure-treated lumber
- Wood glue
- 1-1/4 inch screws
- 3 inch screws
- Hinges
- Door handle
- Paint or sealant for finishing
Make sure to choose high-quality materials that can withstand the outdoor elements, ensuring the longevity of your shed door.
1.2 Essential tools
Here’s a list of tools you will need to build your shed door:
- Measuring tape
- Pencil
- Circular saw
- Broad chisel
- Drill
- Screwdriver bit
- Hinge template or router
- Clamps
- Sandpaper or sander
- Paintbrush or roller
Having these tools at your disposal will make the construction process smoother and more efficient. Double-check that you have all the necessary tools before you begin.

2. Step-by-step Guide
Building your own shed door with plywood can be a cost-effective and rewarding DIY project. With the right tools and some basic woodworking skills, you can create a sturdy and functional door that will complement your shed. This step-by-step guide will walk you through the process, from measuring and cutting the plywood to installing the finished door.
2.1 Measuring And Cutting Plywood
The first step in building your shed door is to measure and cut the plywood panels. Here’s how you can do it:
- Measure the width and height of the door opening in your shed. Make sure to account for any gaps or clearance needed for the door to open and close smoothly.
- Using a circular saw or a table saw, carefully cut the plywood panels to the measured dimensions. Remember to wear safety goggles and follow the manufacturer’s instructions for your specific saw.
- Double-check the measurements and make any necessary adjustments before proceeding to the next step.
2.2 Assembling The Frame
Once you have the plywood panels cut to size, it’s time to assemble the frame for your shed door:
- Create a frame by cutting four pieces of 2×4 lumber to the width and height of the door opening. These will serve as the vertical and horizontal frame members.
- Use wood screws or nails to attach the frame members together, ensuring they are securely joined.
- Check the frame for squareness by measuring the diagonals. Adjust the frame as needed until the diagonals are equal in length.
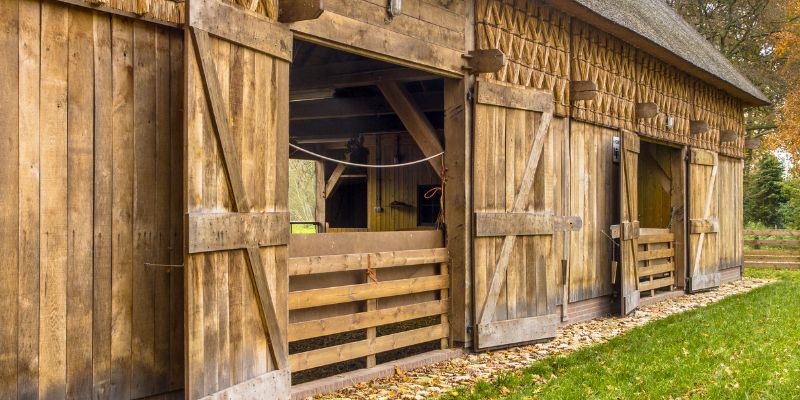
2.3 Attaching Hinges And Handle
With the frame assembled, you can now attach the hinges and handle to your shed door:
- Position the hinges on the vertical frame members, ensuring that they are evenly spaced and aligned with the top and bottom edges of the door.
- Secure the hinges to the frame using the provided screws or nails. Make sure they are tightly fastened for smooth operation.
- Install the handle on the opposite side of the hinges, at a comfortable height for opening and closing the door.
2.4 Installing The Door
Now that your shed door is fully assembled, it’s time to install it in your shed:
- Position the door in the door opening, ensuring it is centered and level.
- Insert shims or wedges underneath the door to maintain an even gap along the bottom edge. This will allow the door to open and close smoothly.
- Secure the door to the shed frame using screws or nails, making sure it is firmly attached.
- Test the door by opening and closing it to ensure it operates smoothly. Make any necessary adjustments if needed.
By following this step-by-step guide, you can confidently build a shed door with plywood. Remember to take accurate measurements, assemble the frame securely, and install the door properly for a durable and functional addition to your shed.
Frequently Asked Questions On How To Build A Shed Door With Plywood
Can You Use Plywood For Shed Door?
Yes, plywood can be used for shed doors. It is a versatile and cost-effective option that provides durability. However, it is important to choose a thick and sturdy plywood and properly seal and protect it from weather conditions to ensure longevity.
What Kind Of Wood Should I Use For A Shed Door?
For shed doors, it is best to use solid wood like cedar or redwood. These types of wood are durable, weather-resistant, and resistant to rot and decay. They provide strength and security for your shed.
How To Make A Temporary Plywood Door?
To make a temporary plywood door, follow these steps:
1. Measure and cut a plywood sheet to fit the door frame.
2. Secure the plywood to the frame using screws or nails.
3. Add hinges to the plywood and attach it to the frame.
4. Install a temporary lock or latch for security.
5. Paint or stain the plywood for a finished look, if desired.
How Do You Watertight A Shed Door?
To watertight a shed door, apply weather stripping or a door sweep to seal gaps. Ensure hinges and hardware are tightened and adjusted to create a tight seal. Consider using a waterproof sealant or paint to protect the door from moisture.
Regularly inspect and maintain the door for any signs of damage or leaks.
Conclusion
Constructing a shed door with plywood is a practical and cost-effective solution for any DIY enthusiast. By following the step-by-step process outlined in this blog post, you can create a sturdy and reliable door that will enhance the functionality and aesthetics of your shed.
Remember to measure accurately, use quality materials, and follow proper safety precautions. With a little patience and attention to detail, you’ll have a functional shed door that will withstand the test of time. Happy building!