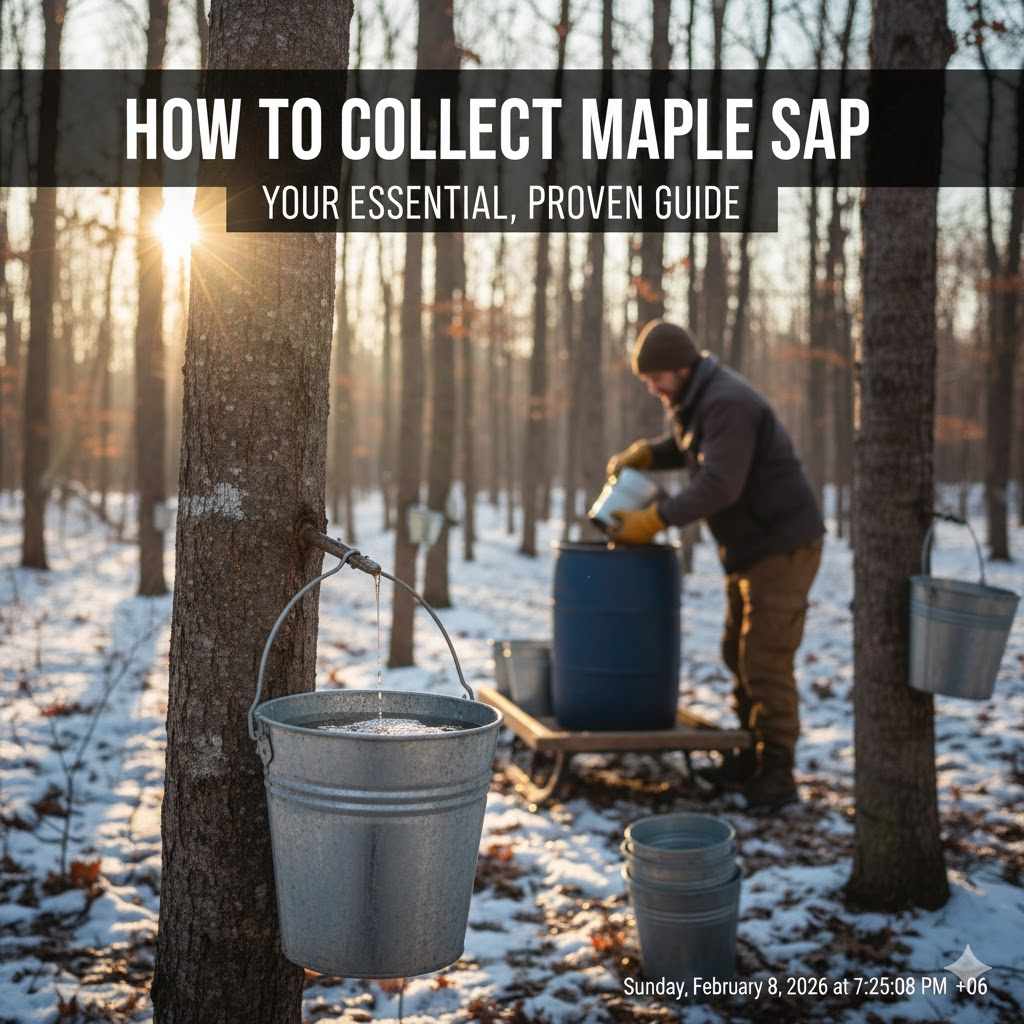
How To Collect Maple Sap: Your Essential, Proven Guide
To collect maple sap, first identify a healthy maple tree at least 10 inches wide. When days are above freezing and nights are below, drill a 1.5-inch deep hole at a slight upward angle. Gently tap in a spile, hang a food-grade bucket, and cover it to collect the clear, dripping sap.
Have you ever tasted real maple syrup and wondered, “Could I do that?” The idea of turning a tree’s watery sap into sweet, golden syrup feels like magic. But for many, it also feels complicated and out of reach. You might worry about hurting the tree, getting the wrong equipment, or just not knowing where to start. It’s a common feeling, but I promise you, it’s easier than you think.
You don’t need a giant forest or expensive gear to get started. All you need is a maple tree, a few simple tools, and the right guidance. In this guide, I’ll walk you through every single step in plain, simple language. We’ll go from finding the right tree to collecting your very first drops of sap. Let’s get you started on this wonderful journey!
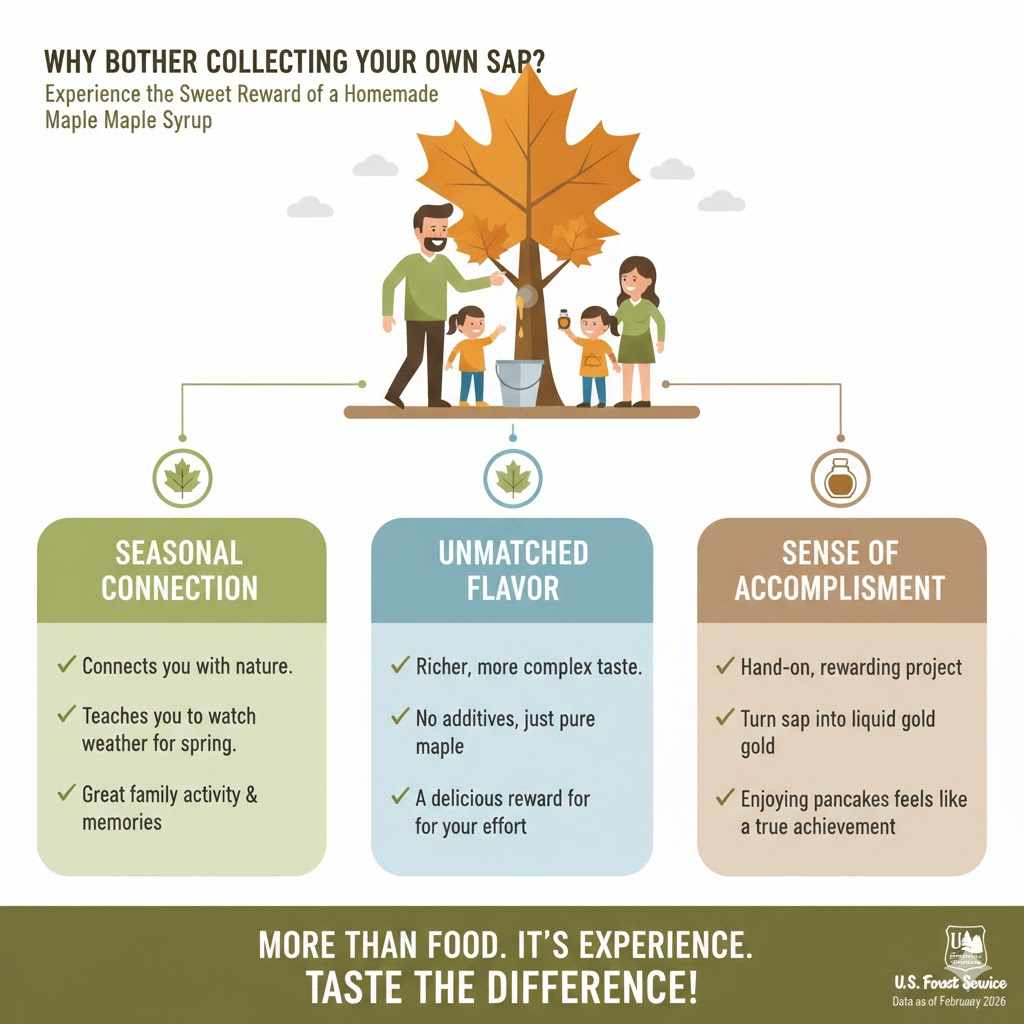
Why Bother Collecting Your Own Sap?
Before we grab our tools, let’s talk about the reward. Collecting your own maple sap is more than just a project; it’s an experience. It connects you with the changing seasons in a very real way. You learn to watch the weather and notice the subtle signs that spring is on its way. It’s a fantastic activity to do with family, creating memories that last much longer than the syrup does.
And the taste? There is absolutely nothing like pure, homemade maple syrup that you made yourself. The flavor is richer and more complex than anything you can buy in a store. It’s a small reward for your patience and effort, and pouring it over pancakes feels like a true accomplishment.
Understanding When the Sap Flows
Timing is everything in maple sugaring. The sap doesn’t flow all year. It runs for a short window of about 4 to 6 weeks in the late winter or early spring. The magic happens when the temperature creates a perfect natural pump inside the tree.
Here’s the simple recipe for sap flow:
- Freezing nights: Temperatures need to drop below 32°F (0°C). This causes the tree to pull water up from its roots.
- Thawing days: Temperatures need to rise above 32°F (0°C), ideally into the 40s F (around 5°C). This creates pressure inside the tree, which pushes the sweet sap out of any opening—like our tap hole!
This freeze-thaw cycle is the engine that drives the whole process. When you see a forecast with cold nights and warm, sunny days, get ready! That’s prime time for sap collection.
How to Identify the Right Maple Tree
The first and most important step is to correctly identify a maple tree. Tapping the wrong tree won’t hurt it, but you won’t get the right kind of sap. Thankfully, maples have a few key features that make them easy to spot, even in winter without their leaves.
The Golden Rule: Opposite Branching
The number one clue for identifying a maple is its branching pattern. Look at a small twig or branch. Do the smaller branches grow directly opposite each other? If so, you’re likely looking at a maple. Most other trees have an alternating pattern, where branches stagger up the main stem. Remember the simple acronym MAD Horse: Maple, Ash, Dogwood, and Horse Chestnut are the primary trees with opposite branching. For more detailed guides, the U.S. Forest Service offers excellent resources for tree identification.
Look at the Bark
The bark can also give you clues. Young maple trees have smooth, gray bark. As they get older, the bark becomes rougher. Sugar maples, the superstars of syrup, develop thick, gray plates of bark that can look like they’re peeling away from the trunk.
Which Maples Are Best?
While you can technically tap many types of maple, some are much better than others because their sap contains more sugar. This means you have to boil less sap to make a gallon of syrup.
| Maple Species | Sugar Content | Identification Tips | Syrup Flavor |
|---|---|---|---|
| Sugar Maple (Acer saccharum) | Highest (2-3%) | Opposite branching. Bark has thick vertical ridges and plates. Pointed, sharp buds on twigs. | Classic, rich, and sweet. The standard for high-quality syrup. |
| Red Maple (Acer rubrum) | Medium (1.5-2%) | Opposite branching. Smoother, lighter gray bark than a Sugar Maple. Reddish buds and twigs. | A slightly lighter, but still delicious flavor. Buds earlier, ending the season sooner. |
| Silver Maple (Acer saccharinum) | Lower (1-1.5%) | Opposite branching. Bark is shaggy and peels in long, thin strips. Often found near water. | Mild flavor. Requires more boiling due to lower sugar content. Also buds early. |
Tree Size and Health are Crucial
Once you’ve found a maple, make sure it’s ready to be tapped. A tree should be healthy and large enough to handle tapping without stress.
- Measure the Diameter: Use a tape measure to check the tree’s width at about chest height. It must be at least 10 inches in diameter to support one tap.
- Check for Health: Look for a full, healthy crown from the previous summer (if you can remember it). Avoid trees with large dead branches, fungus, or obvious signs of damage or decay. A healthy tree gives more sap and recovers easily.
Your Essential Maple Tapping Toolkit
You don’t need a lot of fancy equipment to get started. Here’s a simple checklist of what you’ll need. The most important rule is to make sure anything that touches the sap is food-grade and clean.
- A Drill: A cordless drill is perfect for this.
- A Drill Bit: The size depends on your taps. Most modern taps use either a 5/16-inch or 7/16-inch bit. Check your spiles before you drill!
- Spiles (Taps): These are the spouts you’ll insert into the tree. You can find metal or plastic ones online or at farm supply stores.
- A Hammer or Mallet: To gently tap the spiles into the tree.
- Collection Containers: Food-grade buckets with lids are ideal. You can also use food-grade plastic jugs or special sap collection bags. Lids are very important to keep out rain, snow, bugs, and bits of bark.
- Cheesecloth or another fine filter: For straining debris out of the raw sap before you store or boil it.
Your Step-by-Step Tapping Guide
Alright, you’ve found your tree, the weather is right, and you have your tools. It’s time for the exciting part! Follow these steps carefully, and you’ll see sap flowing in no time.
Step 1: Find the Perfect Spot on the Tree
Walk around your chosen maple tree and look for the best place to drill. Ideally, you want:
- The South Side: The sun warms the south side of the tree first, often getting the sap to flow earlier in the day.
- Healthy Bark: Choose a spot with solid, healthy-looking bark.
- Below a Large Branch: Areas under a large, healthy branch or over a large root often yield more sap.
- Avoid Old Holes: Look for the round scars of previous tap holes. You must drill at least 6 inches away (horizontally) and 2 feet away (vertically) from any old tap holes to allow the tree to heal.
Step 2: Drill the Tap Hole with Care
This step requires a gentle hand. You want a clean hole that allows sap to flow freely without causing unnecessary damage to the tree.
- Mark Your Depth: Wrap a piece of masking tape around your drill bit about 1.5 to 2 inches from the tip. This will stop you from drilling too deep. You only want to drill through the bark and into the white sapwood just underneath it.
- Angle Upward Slightly: Hold your drill perpendicular to the trunk, then tilt it upward just a tiny bit. This slight angle helps the sap flow downhill and out of the spile.
- Drill the Hole: Drill steadily into the tree until your tape marker reaches the bark. Don’t push too hard. Let the drill do the work.
- Clean the Hole: Pull the drill straight out. You should see light-colored, wet wood shavings. The sap might even start dripping right away! Blow gently into the hole or use a clean twig to clear out any remaining wood chips.
Step 3: Gently Set the Spile
Now it’s time to insert the tap.
- Place the Spile: Push the spile into the hole by hand as far as it will comfortably go.
- Tap it In: Using your hammer or mallet, give the spile a few gentle taps. Do not drive it in like a nail! You want it to be snug and firm, but not so tight that you risk splitting the wood.
- Listen for the Sound: A properly set metal spile will make a solid “thunk” sound, a change from the higher-pitched sound it makes while being tapped in. Once you hear that solid sound, stop.
If you did it right, you should see sap begin to drip from the end of the spile almost immediately on a good day.
Step 4: Hang Your Collection Bucket
The final step is to put your container in place to catch every precious drop.
- If your spile has a hook, simply hang your bucket on it.
- If you are using bags, slide the bag over the holder designed for your spile.
- Place a lid or cover over your bucket. This is one of the most important things you can do to keep your sap clean and pure.
That’s it! You have officially tapped a maple tree. Now you get to watch and wait as your bucket slowly fills with clear, fresh sap.
From Tree to Kitchen: Handling Your Sap Safely
Collecting the sap is only half the job. Raw sap is mostly water with a little bit of sugar, which means it can spoil quickly, just like milk. Proper handling and storage are essential for safety and for making great-tasting syrup.
Collect Your Sap Daily
On days when the sap is flowing well, you should empty your buckets every day. Don’t let sap sit in the collection buckets for more than a day or two, especially if the weather warms up. Warm temperatures encourage bacteria to grow, which can give the sap a sour taste and cloudy look. If sap looks cloudy or smells off, it’s best to discard it.
Filter It Immediately
As you collect the sap, you’ll notice bits of bark, dirt, or even a few insects in it. The first step is to filter these out. Pour the fresh sap from your collection buckets through a few layers of clean cheesecloth or a special sap filter into a large, food-grade storage container.
Store it Cold
After filtering, the sap must be kept cold to stay fresh. The ideal temperature is 38°F (3°C) or colder, without freezing solid. You can store it in a spare refrigerator, in a cooler with ice packs, or even in clean buckets buried in a deep snowbank. According to the University of New Hampshire Extension, sap can be stored for up to 7 days if kept cold, but it’s always best to boil it as soon as you have enough.
| Storage Location | Ideal Temperature | Maximum Storage Time | Helpful Tip |
|---|---|---|---|
| Refrigerator | 33-38°F (1-3°C) | Up to 7 days | Best option for maintaining quality and safety. |
| Cooler with Ice/Snow | 32-40°F (0-4°C) | 2-4 days | Check and replace ice/snow daily to keep the temperature low. |
| Outdoor Snowbank | Varies | 1-3 days | Only works if ambient temperatures stay consistently near or below freezing. |
Common Beginner Mistakes (And How to Fix Them)
Everyone makes a few mistakes when they first start. Here are some of the most common ones and how you can easily avoid them.
- Tapping Trees That Are Too Small: This is the biggest rule to follow. Tapping a small tree can stress it and won’t give you much sap anyway. Always measure first! Stick to the 10-inch diameter minimum.
- Drilling Too Deep: Drilling past the white sapwood and into the darker heartwood provides no benefit and creates a larger wound for the tree to heal. Use that piece of tape on your drill bit to ensure the perfect depth.
- Using Dirty Equipment: Bacteria is the enemy of good syrup. Make sure your drill bit, spiles, buckets, and storage containers are all clean before you begin.
- Setting the Tap Too Hard: It’s tempting to give the spile a few extra whacks, but this can crack the bark and cause a leaky tap hole. A few gentle, firm taps are all you need.
- Leaving Sap Out for Too Long: Remember, sap is perishable. Treat it like milk. Collect it daily and keep it cold until you’re ready to boil.
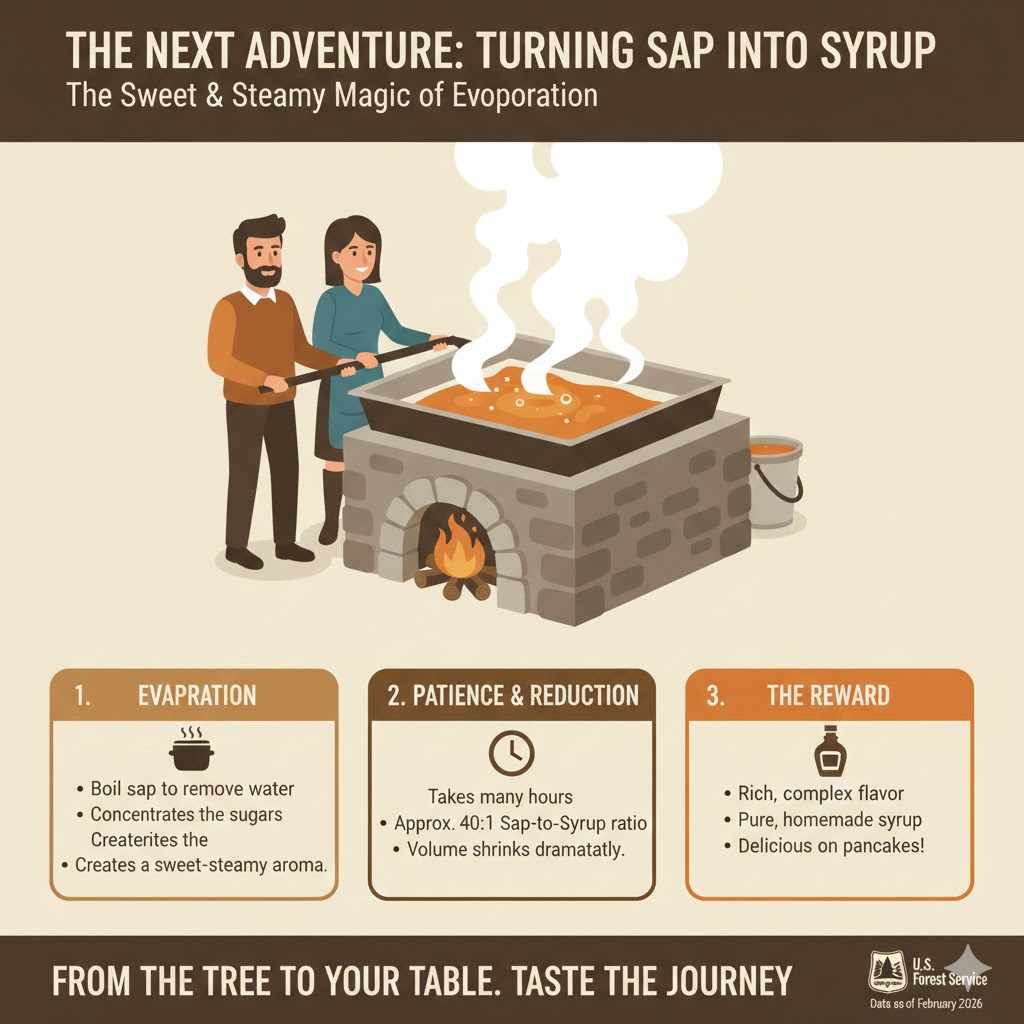
The Next Adventure: Turning Sap into Syrup
Once you have a good amount of sap collected—several gallons at least—you’re ready for the next magical step: boiling it down into syrup. This process involves evaporating huge amounts of water to concentrate the sugar. It’s a fun project of its own that fills the air with a sweet, steamy aroma. While that’s a topic for another day, know that the hard work of collecting your sap is the foundation for creating that amazing final product.
Frequently Asked Questions About Collecting Maple Sap
How many taps can I put in one tree?
The general rule is based on the tree’s diameter. A tree 10-18 inches in diameter can safely handle one tap. A tree 18-24 inches can handle two taps. And a tree over 25 inches can handle three taps. Never put more than three taps in a single tree, no matter how large it is.
Does tapping hurt the tree?
When done correctly on a healthy, mature tree, tapping causes only a small wound that the tree can easily heal. Think of it like a person giving blood. The tree creates new wood to cover the hole, and in a year or two, it will be sealed. By following proper guidelines, you ensure the long-term health of the tree.
What does fresh maple sap taste like?
Fresh maple sap looks and feels just like water, but it has a faint, slightly sweet taste. The sweetness is very subtle because it’s only about 2-3% sugar. The strong maple flavor we all know only develops during the boiling process.
How much sap will I get from one tap?
This can vary widely depending on the tree, the weather, and the time of season. On a good day, one tap can produce a gallon or more of sap. Over a whole season, you might expect to get between 10 to 20 gallons of sap per tap.
When should I remove the taps?
You should remove your taps when the season ends. The clearest sign is when the tree’s buds begin to swell and break open. When this happens, the chemistry of the sap changes, giving it an unpleasant “buddy” flavor. At this point, the sap flow will also slow down or stop. Gently pull the spiles out with the claw of a hammer, and the tree will begin to heal the hole on its own.
Do I need to plug the hole after I remove the spile?
No, you should never plug the tap hole. Trees have their own natural way of healing, and plugging the hole can trap moisture and bacteria, leading to decay. Just let it be, and the tree will take care of it.
Can I tap other trees besides maples?
Yes, you can! Birch and Walnut trees can also be tapped for sap, though their sap has a lower sugar content and a different flavor profile. The process is very similar, but for that classic maple syrup taste, you need a maple tree.
Your Journey into Sugaring Has Begun
Congratulations! You now have all the knowledge you need to go out and confidently collect your own maple sap. You know how to find the right tree, use the tools properly, and handle the sap safely. It might seem like a lot of steps on paper, but once you’re outside with your hands on the tree, you’ll find it’s a simple and intuitive process.
Remember that every drop of sap in your bucket is a small victory. It’s a gift from the forest, a sign of changing seasons, and the first step toward a delicious reward. So, watch the weather, gather your tools, and get ready to enjoy one of the most satisfying DIY projects you can do. Happy tapping!