How to Hide Screws in Wood: Simple DIY Solutions
The right way to cover a screw in wood depends on how deep it sits and whether you’ll need to remove it again later. A flush screw hides under a plastic snap cap or a wood plug in minutes. A screw that’s driven too deep, or a stripped hole that won’t hold anymore, usually needs filler first. This guide covers each method, when to use it, and a step-by-step process that works for most projects.
A protruding screw isn’t just an appearance issue, either – a sharp, exposed screw head or point on furniture, shelving, or a walkway can genuinely snag clothing or cut skin, which is worth keeping in mind if the piece will be used or handled by kids or pets.
Choosing the Right Method
For The Cleanest, Most Permanent Cover
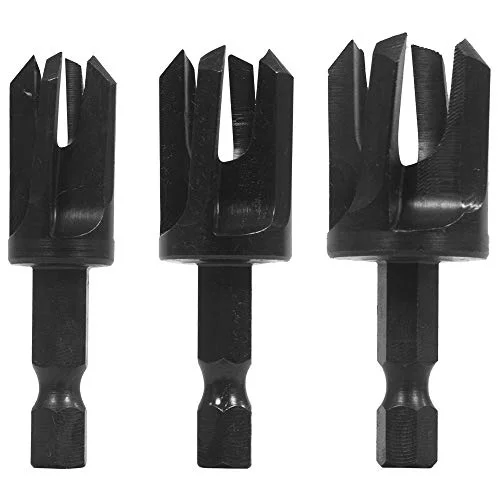 |
Make it Snappy Tools 3-Piece Tapered Plug Cutter Set Cuts your own matching wood plugs straight from an offcut of the same board, for the closest possible grain match over a countersunk screw.
|
- Wood plugs – the cleanest, most durable option when you’ve countersunk the screw below the surface on purpose. A matching-species plug can be nearly invisible once sanded and finished.
- Screw caps (snap-on or adhesive) – fastest option for a flush or slightly recessed screw, especially on furniture or shelving where you might need to remove the screw again later.
- Wood filler or putty – best for small holes, minor gaps, or touch-up work where color-matching stain or paint will hide the seam.
- Auto body filler (Bondo) – the strongest option for a deep, stripped, or oversized hole that wood filler alone won’t bridge.
- Countersinking and re-driving – if the screw is simply too long for the material, swapping to a shorter screw solves the problem at the source instead of covering it up.
Using Wood Plugs
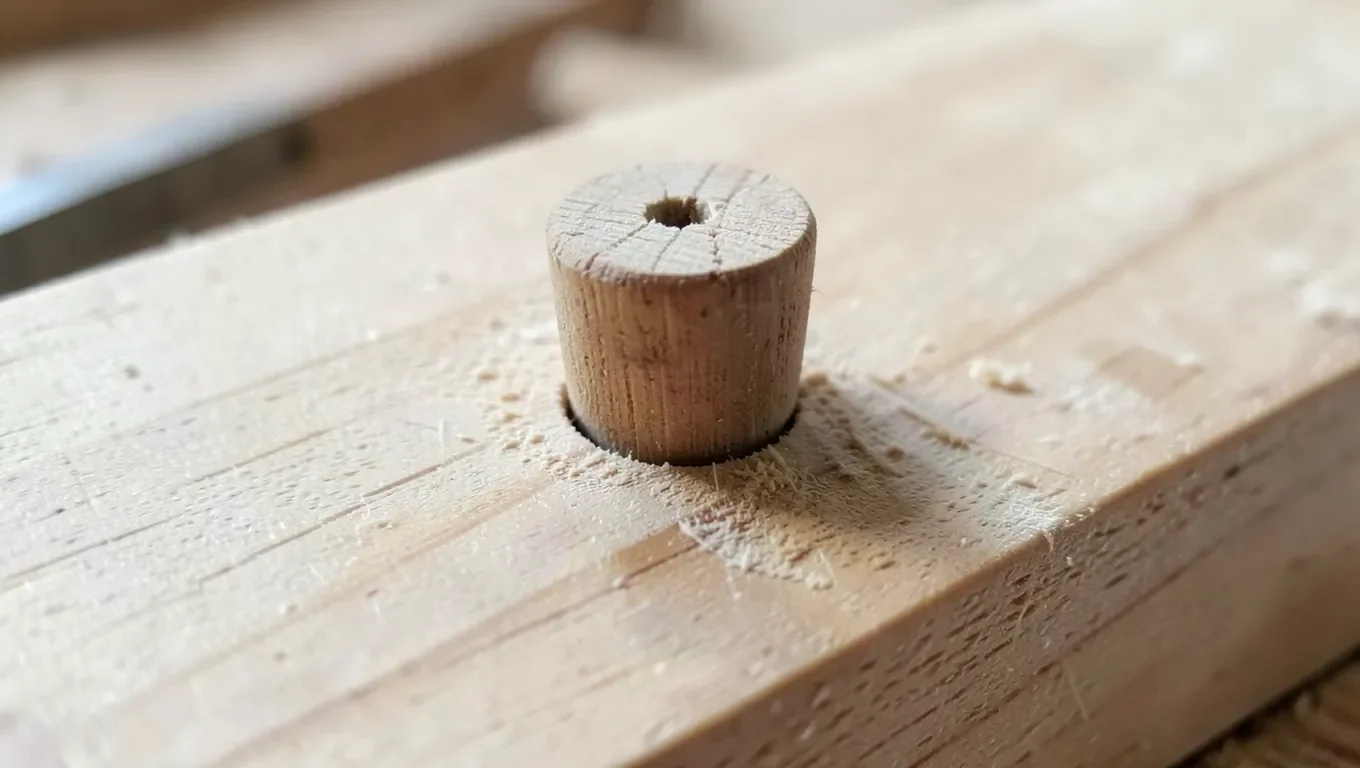
Drill a hole slightly larger than the screw head, using a countersink or plug-cutting bit, and drive the screw so its head sits below the surface. Add a small drop of wood glue into the recess, then tap a matching wood plug in with a hammer, grain running the same direction as the surrounding wood for the least visible seam. Once the glue sets, sand the plug flush and finish to match – a plug cut from an offcut of the same board gives the closest possible grain match.
You can buy pre-made wood plugs in common species and diameters, or cut your own with a plug-cutter bit chucked into a drill press. Cutting your own is worth the extra step whenever the piece is visible up close, since a store-bought plug rarely matches your specific board’s grain pattern and color as closely as one cut from the same piece of lumber.
Using Screw Caps
Snap-on screw caps are small plastic or metal covers sized to click over a specific screw head diameter, and they work best when the screw sits flush or just slightly below the surface – too far recessed and the cap won’t seat properly. Adhesive screw caps are even simpler: peel the backing and press one over the screw head, no snap-fit required, though they’re better suited to lighter-duty spots than structural joints that see regular flexing.
Caps come in a range of colors and finishes meant to blend with common cabinet and furniture hardware, so matching the cap to the surrounding material (or intentionally contrasting it as a design accent) is worth a moment’s thought before buying a box of them. They’re also the easiest option to remove cleanly later, which matters for anything you expect to disassemble, adjust, or service down the road.
Using Wood Filler or Auto Body Filler
For a small, shallow hole, wood filler applied with a putty knife and leveled off works well – let it dry fully, then sand flush before staining or painting. For a deep hole, a stripped screw hole that no longer grips, or anywhere the wood itself has been damaged around the screw, auto body filler (Bondo) bonds and cures harder than wood filler and can be built up in layers. Clear dust from the hole first, mix only what you’ll use within its working time, and sand it level once fully cured.
Wood filler and auto body filler behave differently under stain, which matters if the piece will be stained rather than painted. Most wood fillers don’t absorb stain the same way real wood does, leaving a visibly lighter or darker patch even after sanding flush – if color match matters, test the filler on scrap first, or plan to paint over the repair instead of staining it. Auto body filler doesn’t take stain at all and should be reserved for areas that will be painted or hidden.
Step-by-Step: Hiding a Screw From Scratch
- Clean the surface around the screw location, removing dust and debris so any adhesive or filler bonds properly.
- Drill a pilot hole slightly smaller than the screw’s diameter, which prevents splitting and gives the screw a tight grip.
- Countersink if you’re planning to plug or fill it – drive the screw so the head sits below the surface rather than flush, leaving room for the cover material.
- Choose your cover method based on how deep the screw sits and how the piece will be used – a plug for a permanent, structural look, a cap for something you might need to remove later.
- Apply and let it cure fully before sanding – sanding a plug or filler too early smears it instead of leveling it.
- Sand flush and finish with stain, paint, or clear coat to match the surrounding wood.
When the Screw Is Actually the Problem
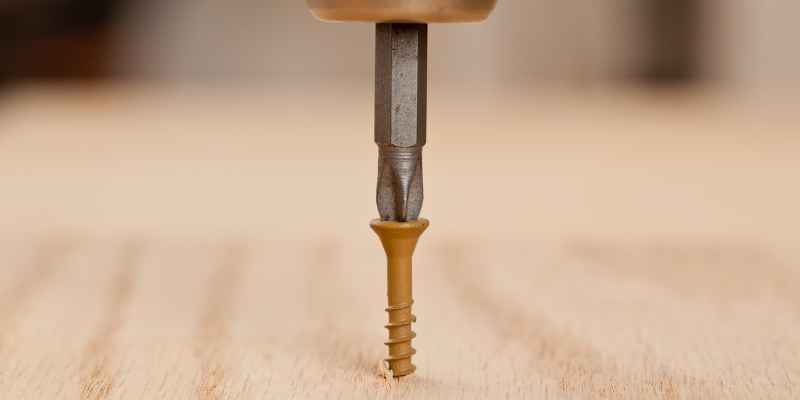
Sometimes the real fix isn’t a cover at all. If a screw is simply too long for the material and punches through the other side, swapping in a shorter screw solves it permanently instead of hiding a problem that could work its way loose again. A stripped screw hole that won’t hold torque needs to be filled and re-drilled (or plugged) before a new screw goes in – driving a new screw into an already-stripped hole just strips it further.
A screw driven at the wrong angle is another common cause of a proud, protruding head that no amount of tightening will fully seat – if a screw stops well short of flush and won’t advance further, back it out, check the pilot hole for splitting or debris, and redrive it rather than forcing it and risking a sheared screw head.
Frequently Asked Questions
How do you cover screws poking through wood?
Use wood plugs, screw caps, or fill the hole with wood filler or auto body filler, depending on how deep the screw sits. If the screw is simply too long for the material, switching to a shorter screw fixes the underlying problem instead of just covering it.
How do you hide screws that stick out?
Countersink the screw below the surface, then cover it with a wood plug for a permanent look or a snap-on cap if you might need to remove the screw later. For screws that are already driven and can’t be recessed further, a chiseled recess or a shorter replacement screw are the more reliable fixes.
What can I use to cover exposed screws?
Snap-on or adhesive screw caps work fastest for a flush screw. For a screw you don’t need to access again, a wood plug glued and sanded flush gives the most durable, least visible result once finished to match the surrounding wood.
What do you do with a stripped screw hole?
Fill the stripped hole with wood filler or a glued wood plug, let it cure fully, then drill a fresh pilot hole through the repair before driving a new screw. Driving a new screw straight into an already-stripped hole usually strips it further instead of fixing it.
Conclusion
Covering a screw in wood comes down to matching the method to the hole: a wood plug for a permanent, professional look, a screw cap for speed or future access, and filler for small gaps or damaged holes. Take the time to countersink properly and match the grain or finish, and the repair disappears into the piece instead of standing out. Whichever method you choose, do a quick test on scrap material first if you’re unsure how it will look once sanded and finished – a five-minute test avoids an obvious patch on the actual project.
Sponsored / affiliate links. As an Amazon Associate I earn from qualifying purchases. I may earn additional commission from eligible campaigns.