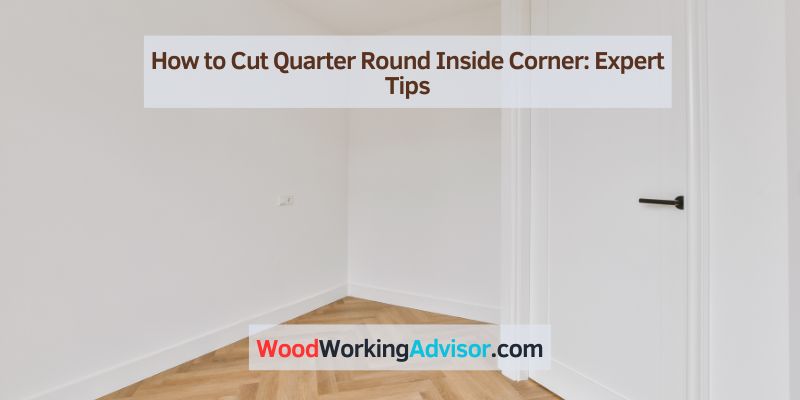
How to Cut Quarter Round Inside Corner: Expert Tips
To cut a quarter round inside corner, miter both pieces at 45 degrees in opposite directions — but a coped joint holds up better as the wood moves. A miter can open a visible gap as humidity changes the wood, while coping keeps the joint tight because one piece’s profile is cut to nest against the other. This guide covers both the miter and coping techniques, the tools each needs, and how to handle corners that aren’t exactly 90 degrees.
Cutting Quarter Round For Inside Corners
Installing quarter round usually involves cutting the pieces to fit neatly in corners. Cutting quarter round for inside corners can be a bit tricky, but with the right techniques, it can be achieved seamlessly. In this section, we will explore the proper methods for cutting quarter round for inside corners to achieve a professional finish.
Understanding The Structure Of Quarter Round Molding
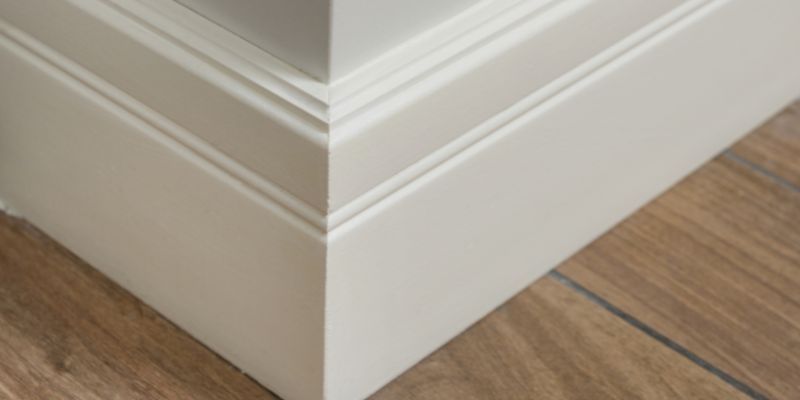
Before delving into the cutting process, it’s crucial to understand the structure of quarter round molding. Quarter round is a small, convex molding that is commonly used to cover gaps between baseboards and flooring or to provide a finished look to cabinetry or furniture. It is typically installed at a 90-degree angle, forming inside and outside corners. When cutting quarter round for inside corners, precise measurements and angles are essential for a seamless fit.
Importance Of Accurate Cuts For Interior Finishing
Accurate cuts are crucial in interior finishing to ensure a professional and polished appearance. When it comes to cutting quarter round for inside corners, precision is key in achieving tight, gap-free joints. Properly cut quarter round not only enhances the aesthetic appeal of a room but also prevents potential problems such as water damage and pest intrusion by sealing off gaps effectively.
Tools For Quarter Round Cutting
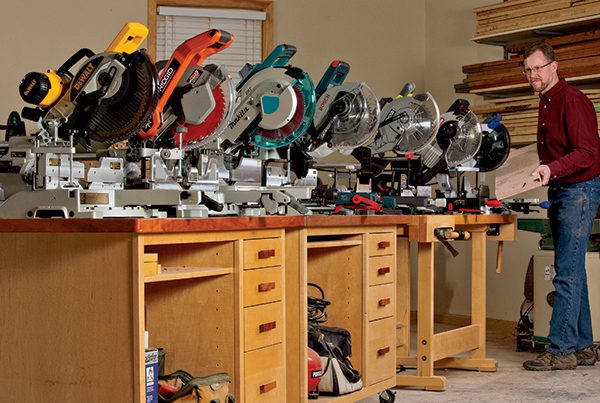
When it comes to installing quarter round moldings, having the right tools for the job is crucial for achieving professional results. In this section, we’ll discuss the essential tools you’ll need for cutting quarter round moldings, including measuring tape and pencil, miter saw, and coping saw. Each tool plays a unique role in achieving precise and seamless quarter round cuts.
Measuring Tape And Pencil For Precision
Before cutting quarter round moldings, accurate measurements are key to ensure a seamless fit. Using a measuring tape allows you to obtain precise dimensions, while a pencil is essential for marking the molding with the exact cutting points.
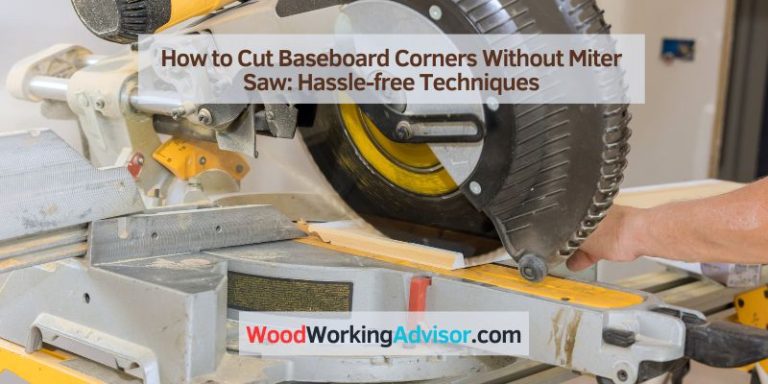
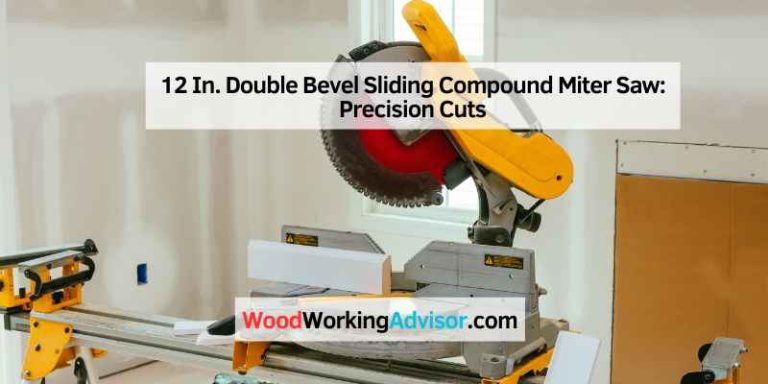
Miter Saw – A Crucial Tool For Expert Cuts
A miter saw is an indispensable tool for achieving perfectly angled cuts on quarter round moldings. It allows for quick and accurate cutting at various angles, ensuring seamless corners and a professional finish.
Coping Saw For Detailed And Complex Angles
When facing detailed and complex angles, a coping saw is essential for achieving intricate cuts. It allows for precise trimming to match the contour of the adjoining molding, ensuring each joint fits seamlessly for a polished look.
Expert Tips On Measuring Inside Corners
How To Ensure Accurate Measurements Every Time
When cutting quarter round inside corners, it is crucial to take precise measurements to ensure a perfect fit. Here are some expert tips to help you achieve accurate measurements every time:
- Use a high-quality measuring tape to obtain precise measurements of the inside corner angles.
- Double-check the measurements to avoid any errors before making any cuts.
- Ensure the quarter round moldings are tightly pressed against the inside corner when measuring to get the most accurate measurements.
Using A Coping Saw Vs. A Miter Saw For Better Fit
Choosing the right tool for cutting quarter round inside corners can make a significant difference in the fit and finish of the moldings. Here are some considerations for using a coping saw or a miter saw:
| Tool | Pros | Cons |
|---|---|---|
| Coping Saw | Allows for intricate cuts to match the shape of the molding for a seamless fit. | Requires practice and skill to master the coping technique. |
| Miter Saw | Provides quick and precise straight cuts for inside corners. | May not achieve the same level of detail and custom fit as a coping saw. |
Coping Vs. Mitering: Which Method Actually Fits Better?
The table above compares the tools, but the real decision is the joint method itself. A mitered inside corner — two 45-degree cuts nailed together — is faster, but it opens up as wood moves with humidity. A coped joint is the professional standard for inside corners because the profile of one piece is cut to nest directly against the face of the other, so the fit stays tight even as the wood expands and contracts.
How To Cope A Quarter Round Inside Corner
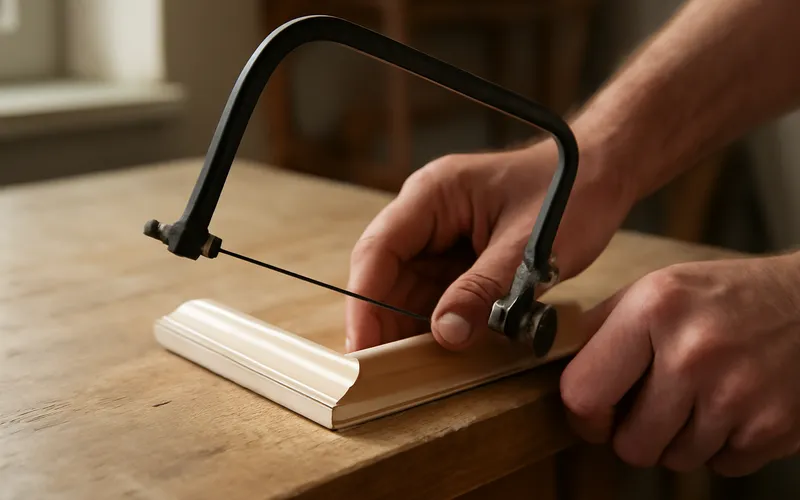
- Cut the first piece square and press it into the corner against one wall.
- Cut the second piece with a 45-degree miter, face up, but keep it long — this exposes the profile of the molding on the cut face.
- Follow the profile line with a coping saw, angling the blade back slightly (undercutting) so only the front edge of the profile makes contact.
- Test-fit against the first piece and shave down high spots with a round file or sandpaper until the two pieces meet with no visible gap.
What If The Corner Isn’t Exactly 90 Degrees?
Most homes have at least one corner that’s slightly out of square, which is why a standard 45-degree miter sometimes leaves a visible gap on one side no matter how carefully it’s cut. Two practical fixes:
- Split the difference: hold a piece of scrap in the corner, mark the actual angle formed by the two walls, and cut each piece at half that angle instead of assuming a fixed 45 degrees.
- Use a small corner block: cut a short filler piece of quarter round to bridge the gap, with both ends cut to match the actual (not assumed) angle on each side. This is a common trick for corners that are noticeably off from square.
Coping still works on out-of-square corners too — it’s more forgiving than a miter because the profile-to-profile fit hides small angle errors that a miter joint would expose as a gap.
Best Coping Saw Pick
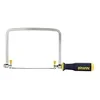
IRWIN Tools ProTouch Coping Saw
A dedicated coping saw with a comfortable grip and a thin, replaceable blade built for exactly the profile-following cut this article’s coping technique needs.
Best for: Coping quarter round and base shoe inside corners for a gap-free fit.
Why we picked it: Thin blade and tensioning frame make it easy to follow the profile line described in the coping steps above.
Main drawback: Coping takes practice — the first few joints will likely need a couple of test cuts before they look clean.
Option 1

JORGENSEN Pro Coping Saw
Best for: Anyone who wants spare blades on hand.
Why we picked it: Ships with 2 extra blades, useful since coping blades wear fast.
Main drawback: Frame is bulkier than the IRWIN in tight spaces.
Option 2

LEXIVON Angle Finder
Best for: Measuring the real angle on out-of-square corners.
Why we picked it: Directly solves the “corner isn’t 90 degrees” problem covered above — reads the actual wall angle instead of guessing.
Main drawback: One more tool to buy if you only ever cut standard square corners.
Option 3

Quarter Round Corner Block
Best for: Skipping angle-cutting entirely on tricky corners.
Why we picked it: A pre-formed corner piece is a genuine no-cut alternative for beginners who don’t want to mess with mitering or coping at all.
Main drawback: Only comes in limited profile sizes/colors, may not match every quarter round exactly.
As an Amazon Associate we earn from qualifying purchases.
How To Cut Quarter Round Inside Corner : Expert Tips
Trimming quarter round molding for inside corners can be tricky, but with the right technique and expert tips, you can achieve clean and precise cuts. Below, we outline the step-by-step process on the cutting technique, along with valuable tips to handle complex angles and tricky cuts.
Step-by-step Process On The Cutting Technique
When cutting quarter round molding for inside corners, it’s essential to follow a precise process to ensure a seamless fit. Below are the steps to execute the cutting technique with expertise:
- Measure the inside corner angle using a protractor or specialized angle measuring tool. This will help determine the exact miter angle for the quarter round.
- Set the miter saw to the identified angle and make a test cut on a scrap piece to verify the accuracy of the angle before cutting the actual piece of quarter round.
- Once the angle is confirmed, place the quarter round molding in the miter saw, ensuring it is held securely against the fence to prevent any slippage during the cut.
- With steady hands, carefully lower the saw blade onto the molding and make the cut, ensuring a smooth and even motion to avoid splintering.
- Test the cut piece against the corner to check for accuracy and make adjustments if necessary.
Tips To Handle Complex Angles And Tricky Cuts
Dealing with complex angles and intricate cuts requires finesse and attention to detail. Here are expert tips to navigate these challenges effectively:
- Use a coping saw for coping inside corners, especially when dealing with irregular angles or non-90-degree corners. Coping ensures a tight seam and reduces the risk of unsightly gaps.
- Opt for a compound miter saw for bevel cuts on quarter round molding, as it allows for both miter and bevel adjustments, making it ideal for complex corner cuts.
- Take accurate measurements and double-check the angles before cutting, as precision is crucial to achieving a flawless fit for inside corners.
- Consider creating a template for challenging corners to ensure consistency across multiple cuts, especially in cases where the room features multiple inside corners with varying angles.
- Utilize a quality sharp blade to minimize splintering and ensure clean, precise cuts, enhancing the overall finish of the quarter round molding.
Finishing Touches Post-cutting
Cutting quarter round inside corners can transform the look of your room, but the finishing touches are equally important to achieve a polished final result. After cutting the quarter round, these additional steps will ensure a professional and flawless finish.
Sanding The Edges For A Smooth Finish
Sanding the edges of the quarter round is crucial for achieving a smooth finish. Use a fine-grit sandpaper to gently sand the edges, removing any rough spots or imperfections. This step will not only improve the appearance of the quarter round but also ensure a seamless transition between the adjoining walls and floors.
Checking For Gaps And Applying Appropriate Caulk
After cutting and fitting the quarter round, it’s essential to meticulously check for gaps between the quarter round and the wall or floor. Any noticeable gaps should be filled with an appropriate caulk to maintain a consistent and polished look. Choose a caulk color that matches the quarter round to achieve a seamless and professional finish.
Painting Or Staining For An Impeccable Look
Painting or staining the quarter round is the final step to achieve an impeccable look. Select a high-quality paint or stain that complements your existing interior design. Apply a smooth and even coat, ensuring complete coverage and a uniform finish. This finishing touch will enhance the overall aesthetics of the room and elevate the visual appeal of the quarter round.
Frequently Asked Questions On How To Cut Quarter Round Inside Corner
What Angle Do You Cut Quarter Round For An Inside Corner?
Standard inside corners are cut at 45 degrees on each piece so they meet at a 90-degree joint. If the corner is out of square, hold a scrap piece in place, mark the actual angle, and cut half that angle on each piece instead of assuming a fixed 45 degrees.
Is It Better To Cope Or Miter Quarter Round Inside Corners?
Coping is the professional standard for inside corners because the profile of one piece nests against the face of the other, so the joint stays tight as wood expands and contracts. A miter is faster but more likely to open up a visible gap over time.
What Tools Do I Need To Cut Quarter Round Inside Corners?
You will need a miter saw for the initial angle cuts, a coping saw for the profile cut on coped joints, a measuring tape, a pencil for marking, and a round file or sandpaper to fine-tune the fit.
How Do You Cut Quarter Round For A Corner That Isn’t 90 Degrees?
Measure the actual angle the two walls form instead of assuming 90 degrees, then cut each piece at half that angle. Coping the joint instead of mitering it also hides small angle errors better, since the profile-to-profile fit is more forgiving than a straight miter.
Conclusion
Cutting quarter round inside corners requires precision and attention to detail. Follow the steps carefully, and you can achieve clean and professional-looking results. Remember to measure accurately and use the right tools for the job. With practice, you’ll gain confidence in your abilities to complete this task with ease.
Keep practicing and refining your technique for best outcomes.