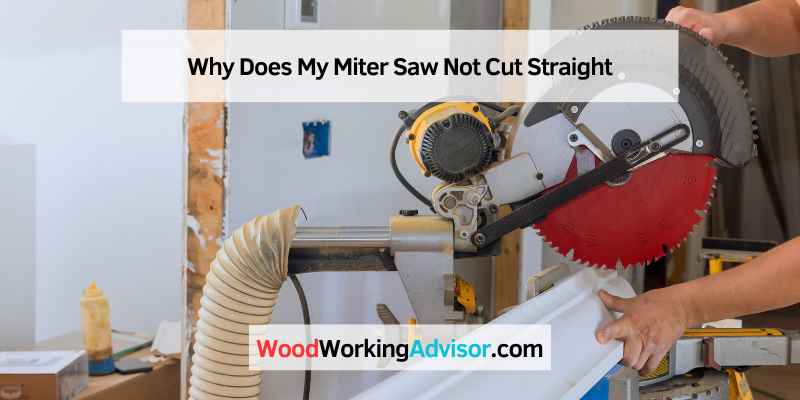
Why Does My Miter Saw Not Cut Straight? (6 Causes & Fixes)
A miter saw cuts crooked when the fence isn’t square to the blade, the blade has runout or is dull, or the miter and bevel gauges have drifted out of calibration — the saw is rarely actually broken. Cutting a whole run of trim before you catch a 1-degree error wastes real material. This guide covers testing the fence for square, checking blade runout with a low-cost gauge, and a 2-board test cut that pinpoints the exact cause in minutes.
This post contains affiliate links. As an Amazon Associate we earn from qualifying purchases — see our affiliate disclosure for details.
Quick Answer
Crooked cuts on a miter saw trace to one of six things: a fence that isn’t square to the blade, a dull or warped blade, blade arbor runout over 0.003″, an unclamped workpiece shifting during bevel cuts, or a miter or bevel gauge that has drifted out of calibration. Test the fence with a speed square first — it’s the most common cause and the fastest one to rule out.
Test Your Miter Saw Fence for Square (Do This First)
Best Fence-Square Check Pick
Swanson 7″ Speed Square
A cast aluminum speed square with a permanently etched scale — the standard tool for checking a miter saw fence against the blade in seconds.
- Best for: Checking fence-to-blade square in under a minute
- Why we picked it: It’s the exact tool used in the fence-square test above — no substitute needed
- Main drawback: Not precise enough to catch tiny errors — pair with the 2-board test cut for that
Compare more miter saw calibration tools
 Option 1 Freud Diablo 12″ 80T Crosscut Blade
|
 Option 2 IRWIN Quick-Grip 6″ Bar Clamp
|
 Option 3 NEIKO 6″ Digital Caliper
|
As an Amazon Associate we earn from qualifying purchases.
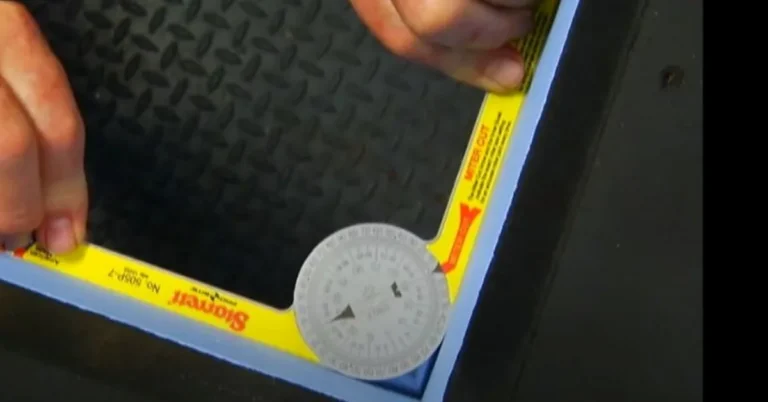
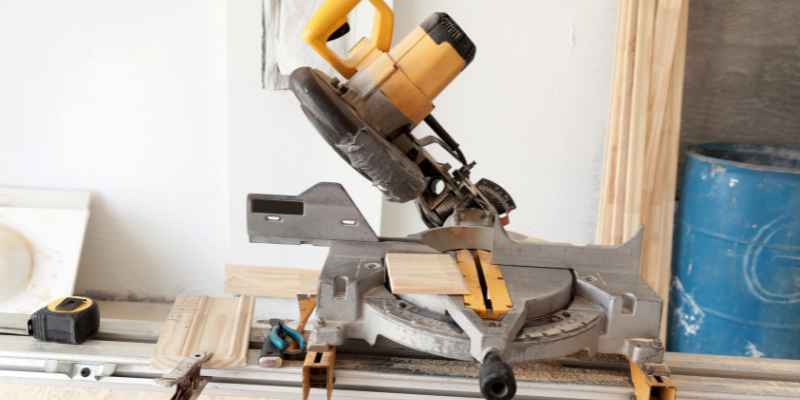
A fence that isn’t exactly 90 degrees to the blade is the single most common reason a miter saw cuts crooked, and it’s also the fastest thing to check. Unplug the saw, raise the blade, and hold a speed square or a reliable miter gauge flush against both the fence and the flat body of the blade — not a tooth, since the teeth are set slightly wider than the blade plate and will throw off the reading.
- Unplug the saw: Disconnect power before touching the blade or fence for any check.
- Raise the blade and place a speed square against the fence: Set the square’s blade edge flat against the fence and slide it until the other leg touches the saw blade’s flat body, not a tooth.
- Check for light gaps: Look for any gap between the square and the blade body — even a hairline gap means the fence is out of square.
- Loosen the fence mounting screws: Most miter saws use two or three screws in slotted holes at the base of the fence; loosen them just enough to let the fence shift.
- Adjust the fence until flush: Nudge the fence until the speed square sits flush against both the fence and the blade with no visible gap.
- Re-tighten and re-check: Tighten the screws fully, then re-test with the square since fences can shift slightly as screws are torqued down.
The 2-Board Test Cut: Tell Fence Error From Blade Deflection in Under 5 Minutes
A speed square check catches a badly out-of-square fence, but small errors — a few hundredths of a degree — are hard to see against a square’s edge and easy to miss. Woodworkers use a doubling trick borrowed from table saw sled calibration to make a tiny error visible: cut a test piece, flip one half, and let the error double itself so you can actually see it.
- Joint one edge of a wide scrap board so you have a known-straight reference edge.
- Crosscut the board in half using your normal miter saw setup, cutting through the full width.
- Flip one half end-for-end and butt the two freshly-cut edges back together on a flat surface.
- Look for a gap. If the fence or blade is off by even a small amount, a V-shaped gap opens on one side — and because both boards were cut with the same error, the gap is roughly twice the size of the actual error, making it easy to see and measure with a caliper.
Where the gap opens tells you what to fix. A gap that is consistent in one direction across the full width usually points to the fence angle; a gap that changes size unevenly from one face to the other points to blade deflection instead. This is genuinely the fastest way to confirm which one you’re dealing with before you start adjusting anything.
Check Blade Arbor Runout (0.003″ Is the Cutoff)
If the fence checks out square but cuts are still off, the blade itself may be wobbling as it spins — called runout. Mount a dial indicator on a magnetic base, position the tip against the flat body of the blade near the outer edge (not on a tooth), and rotate the blade by hand while watching the needle swing.
📊 0.003 inch of runout is the generally accepted ceiling before it starts visibly affecting cut accuracy; anything past 0.010 inch produces a rough or wavy cut edge. — Source: woodworking machinist forum consensus (FineWoodworking, Sawmill Creek), cross-checked against table saw arbor tolerance standards.
Runout past that range almost always means a bent arbor, a warped blade, or a blade that isn’t seated flush against the arbor flange — check for sawdust or a burr trapped between the blade and flange before assuming the blade itself is bad.
Is the Blade Itself the Problem? Dull, Warped, or Wrong Blade
A dull blade drags through wood instead of slicing it, and that drag pulls the cut off-line even when the fence and gauges are perfectly calibrated. To check for warping, unplug the saw, shine a light across the blade’s flat face, and spin it slowly by hand — a warped blade shows an uneven, shifting shadow instead of a stable reflection.
Most miter saws ship with a general-purpose 24 to 40-tooth blade meant for fast, rough crosscuts, not precision trim work. Swapping in an 80-tooth fine-finish crosscut blade won’t fix a misaligned fence, but it removes blade drag as a variable and leaves a noticeably cleaner edge on miter joints and molding.
Recalibrate the Miter and Bevel Gauges
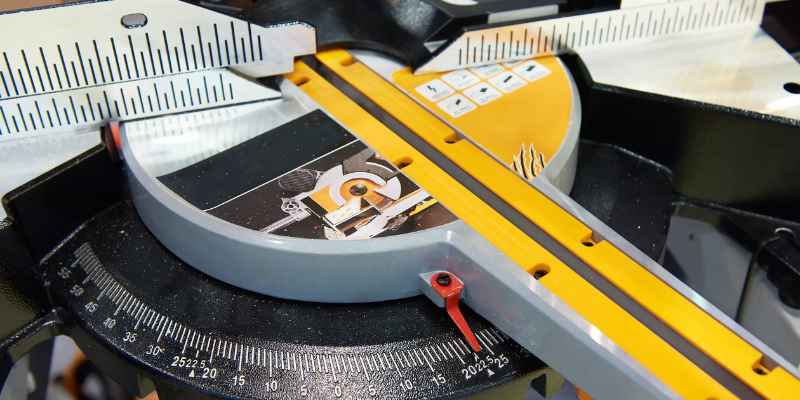
The miter gauge and the bevel gauge are two separate systems, and each one can drift independently — which is why a saw can crosscut perfectly at 0 degrees but still cut bad miters or bad bevels. Recalibrating a miter saw means resetting each gauge’s detent stop against a known reference, not just eyeballing the printed scale.
- Set the miter gauge to 0 degrees and verify with a square against the fence, then adjust the detent stop screw until it matches — not the printed scale.
- Rotate to the 45-degree stop and check with a speed square’s 45-degree edge; most saws have a separate adjustment screw for this stop.
- Repeat the same process for the bevel gauge at 0 and 45 degrees, tilting the saw head instead of rotating the table.
- Re-test with an actual cut on scrap after every adjustment — printed scales and detents can be off even after calibration if the pointer itself has shifted.
Clamp the Workpiece for Bevel Cuts
On a bevel cut, the saw head is tilted, and the combination of blade rotation and the tilted angle pulls the workpiece toward the blade as you lower it. Holding the board down by hand works for a straight 90-degree crosscut, but on a bevel the pulling force is often stronger than a hand can resist, and even a small shift mid-cut throws the angle off. Clamp the workpiece to the fence or the saw’s base plate before making any bevel cut, especially on narrow or short offcuts where there’s little material to grip.
Diagnostic Table: Match Your Symptom to the Cause
Use this table alongside the 2-board test cut above to narrow down which of the six causes is actually behind your crooked cuts, instead of guessing and adjusting everything at once.
| Symptom | Likely Cause | Fix |
|---|---|---|
| Gap opens after flipping boards face-to-face in the 2-board test | Fence not square to blade | Re-square the fence with a speed square |
| Gap is uneven — wider at the top than the bottom of the cut | Blade deflection or runout | Check arbor runout with a dial indicator; replace blade if warped |
| Straight crosscuts are clean but 45° miters don’t close | Miter gauge out of calibration | Recalibrate the miter detent at 45° against a square reference |
| Bevel cuts are off but 90° crosscuts are fine | Bevel gauge out of calibration | Reset the bevel stop at 0° and 45° separately |
| Cut edge is rough or slightly wavy, not just off-angle | Dull or wrong-tooth-count blade | Swap in a sharp 80-tooth crosscut blade |
“The fence-square check catches this problem more often than any other single fix in the shop — it’s also the fastest one to rule out, so I always test it first before touching the blade or gauges.”
Frequently Asked Questions
Can a miter saw be out of square right out of the box?
Yes. Factory fence alignment on new miter saws is often off by a few thousandths of an inch, and rough handling during shipping can knock a bevel or miter gauge out of calibration before the saw is ever used. Check the fence for square with a speed square before the first cut, even on a brand-new saw.
How much blade runout is too much on a miter saw?
More than 0.003 inch of runout at the blade’s edge is generally considered the point where it starts affecting cut quality, and anything over 0.010 inch will produce a visibly rough or wavy cut. Measure it with a dial indicator and magnetic base touching the blade near the outer edge while rotating it by hand.
Why are my bevel cuts off but my straight crosscuts are fine?
This points to the bevel gauge specifically, not the fence or blade. The bevel gauge calibrates the saw head’s tilt independently from the 90-degree fence-to-blade relationship, so it can drift out of alignment while straight 0-degree crosscuts stay accurate. Recalibrate the bevel stop at 0 and 45 degrees separately.
Do I need a new miter saw if it won’t cut straight?
Almost never. The overwhelming majority of crooked-cut complaints trace back to a misaligned fence, a worn blade, or an uncalibrated gauge — all fixable with hand tools in under 30 minutes. A full saw replacement is only necessary if the arbor itself is bent or the motor housing has been damaged in a drop or impact.
How often should I recalibrate my miter saw?
Check fence-to-blade square every few months with normal use, and immediately after the saw is dropped, moved between job sites, or shipped. Woodworkers who do frequent bevel work should re-verify the 45-degree bevel stop each time they switch between flat crosscutting and angled cuts for an extended run.
Conclusion
Start with the speed square check on the fence — it resolves this problem more often than any other single fix. If the fence checks out square, run the 2-board test cut to confirm whether the remaining error is blade deflection or a gauge calibration issue before you start swapping parts. If you also want to browse more miter saw setup and troubleshooting guides, or walk through a full step-by-step squaring procedure at this dedicated guide for a specific saw brand, or need to dial in specific miter angles for a project, those guides cover the brand-specific adjustment screws in more depth.
Sponsored / affiliate links. As an Amazon Associate I earn from qualifying purchases. I may earn additional commission from eligible campaigns.