Cut Quarter Round Without a Miter Saw (4 Hand-Tool Ways)
To cut quarter round without a miter saw, clamp the molding in a wooden miter box and cut with a fine-tooth backsaw, or freehand the profile with a coping saw for tight inside corners. Both methods rely on marking the angle accurately before the first cut — the saw doesn’t need to be powered to get a clean joint, but the layout has to be right.
A power miter saw is convenient, but it’s not the only way to get a tight-fitting corner on quarter round. Hand tools produce zero dust, work in an occupied room without earplugs, and for coped inside corners actually give a better fit than a miter saw alone. This guide covers the tools that actually work for this job, how to mark angles without a miter gauge, and the coping and miter-box techniques that get a professional-looking result.
Tools That Cut Quarter Round Without a Power Miter Saw
Quarter round is thin, soft-profile trim — usually pine, poplar, or MDF — so it doesn’t need a powered blade to cut cleanly. Four hand tools handle nearly every cut you’ll need:
- Coping saw – a thin, replaceable blade in a C-shaped frame that can pivot mid-cut. This is the tool for coping inside corners, where the profile of one piece has to be cut to fit against the face of the other instead of mitered.
- Miter box and backsaw – a plastic or wooden box with pre-cut slots (usually 45°, 90°, and sometimes 22.5°) that guides a stiff-backed backsaw. This is the closest hand-tool equivalent to a miter saw and the fastest option for outside corners.
- Oscillating multi-tool with a flush-cut blade – slower to set up but useful for trimming an installed piece in place, such as shortening quarter round against a door casing where you can’t get a saw blade in flat.
- Sharp utility knife – only for scoring thin MDF or vinyl-wrapped quarter round before a final snap or knife-through cut; it will tear solid pine rather than cut it cleanly, so treat it as a last resort, not a primary tool.
For most rooms you’ll use the miter box for straight 45° corners and the coping saw for the two or three inside corners that need a coped joint. That combination is what we recommend below.
Best Coping Saw For Quarter Round
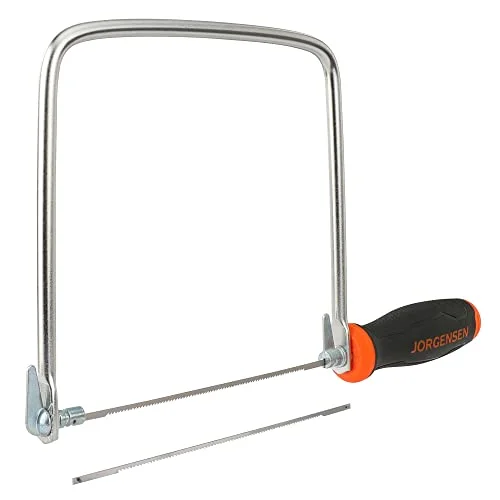 |
JORGENSEN Pro Coping Saw Set – $22.49 A 15-TPI blade and a tool-free blade release — you rotate the handle to swap blades instead of hunting for a wrench, which matters when you’re coping six or eight corners in one afternoon.
|
Marking Angles Without a Miter Saw
A miter saw’s fence and angle gauge do the layout work for you. Without one, you have to transfer the angle to the molding yourself before you cut — this is the step most rushed hand-tool cuts get wrong, not the sawing itself.
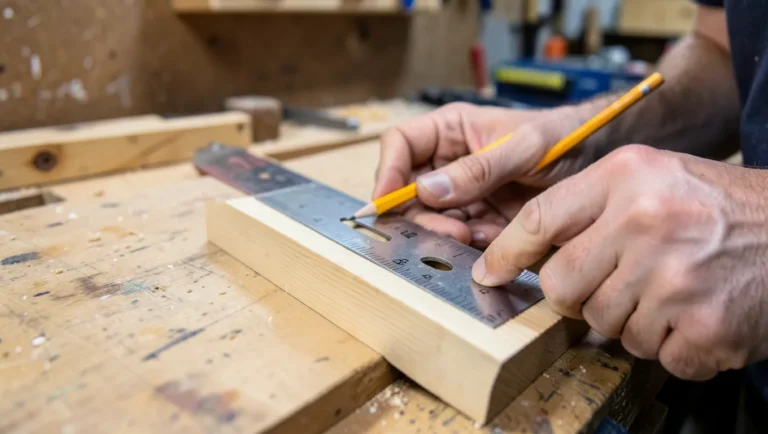
For a standard 90° inside or outside corner, most cuts are simply 45°, and a combination square’s 45° edge is fast enough to mark it directly on the molding. For an out-of-square corner — common in older houses, where walls can be off by several degrees — use a bevel gauge or T-bevel to capture the actual wall angle, then transfer that reading onto the quarter round with a protractor or angle finder. Cutting to the marked wall angle instead of assuming a true 45° is the difference between a hairline gap and one you can see from across the room.
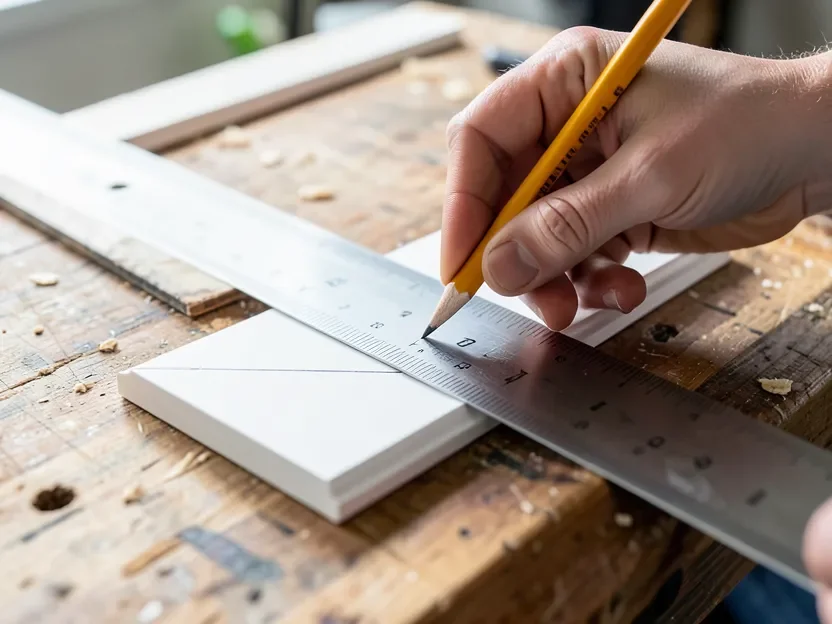
Mark the line with a sharp pencil, not a pen — a pen line is wider than the actual saw kerf and will throw the cut off by a hair on trim this thin. Always cut on the waste side of the line, not through the center of it; splitting the pencil line itself is the single most common reason a hand-cut miter comes up short.
Step-by-Step: Coping an Inside Corner With a Coping Saw
Coping is the reason a coping saw earns a permanent spot in a trim kit — it produces a tighter inside-corner joint than a straight 45° miter, because the coped piece’s profile sits flush against the face of the butting piece instead of relying on two angled cuts meeting perfectly.
- Cut the first piece of quarter round square and install it running into the corner, flush to the wall.
- Cut the second piece at a 45° miter, as if you were making a normal inside-corner miter joint in a miter box.
- The 45° cut exposes the profile of the molding as a visible edge — trace that edge with a pencil if it’s hard to see.
- Angle the coping saw back 3–5° from square (undercutting slightly) and follow the profile line, removing the back edge of the wood behind the cut so only the front face of the profile makes contact.
- Test-fit against the first piece often. Shave high spots with the coping saw or a round file rather than recutting from scratch — a coped joint is fine-tuned in place, not cut once and done.
The undercut in step 4 is the detail most tutorials skip. Cutting exactly square to the line leaves the full back edge of the profile touching the other piece, and any tiny variation in the wall or the molding shows up as a visible gap. Undercutting removes material you can’t see anyway and gives the visible front edge of the profile all the contact.
Using a Miter Box and Backsaw for Outside Corners
Outside corners don’t need coping — a straight 45° miter from a box and backsaw is faster and looks identical to a power-miter cut once it’s installed. Set the quarter round in the box against the back fence, hold it firmly (a spring clamp frees up your other hand), and let the box’s slot guide the backsaw instead of trying to steer the blade yourself. Saw with long, full strokes; short, choppy strokes are what tear the edge of the profile instead of shearing it cleanly.
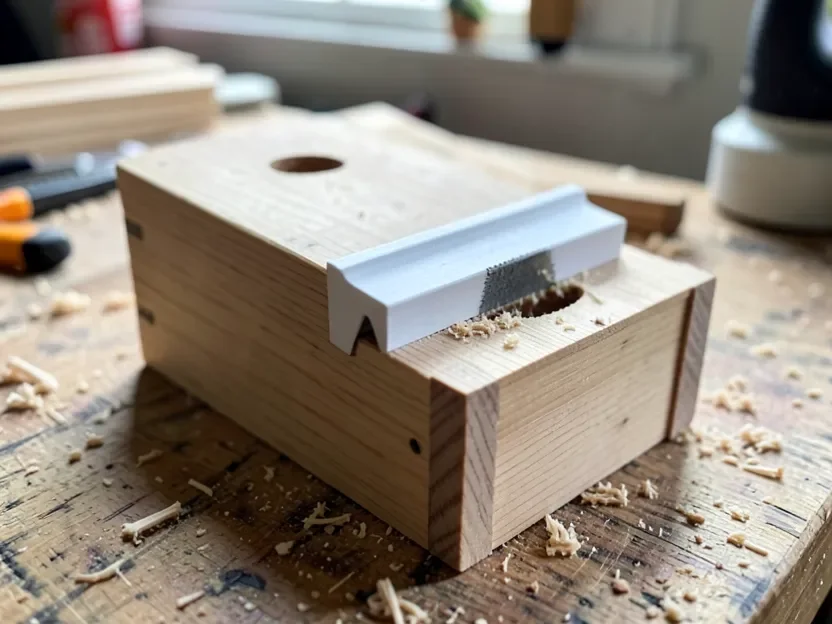
If you’re setting up a miter box for the first time or want a walkthrough of choosing blade TPI and correcting a short cut, our dedicated miter box guide covers the box and blade selection in more depth — this page focuses on the full set of no-power-tool options, including coping, which a miter box alone can’t do for inside corners.
Common Mistakes That Ruin the Fit
Most gaps in hand-cut quarter round trace back to one of three habits, not to the tool being underpowered:
- Assuming every corner is exactly 90°. Very few are. Check every corner with a bevel gauge before cutting rather than cutting both pieces at a blind 45° and hoping.
- Reaching for wood filler as the first fix for a visible gap. Filler hides a gap under about 1/16″; anything wider will crack out of the joint within a season as the wood moves. If the gap is bigger than that, recut the angle — don’t fill it.
- Cutting through the pencil line instead of beside it. On a piece this narrow, the width of the pencil mark itself is a meaningful fraction of the final joint. Always leave the full line on the keeper piece and cut into the waste side.
Sanding and Installing After the Cut
Hand-sawn edges are usually cleaner than a power-miter cut on soft pine, but they can still carry light saw marks. Knock those down with 120-grit, then 220-grit sandpaper on a block, and wipe the piece with a tack cloth before installing.
Run a light bead of workbench vise-stabilized test fits before nailing anything, then set the quarter round with construction adhesive on the back and finish nails driven at a slight angle into the baseboard. For the nailing pattern and spacing, see our guide on nailing in quarter round. If you’re not sure your corners are actually square before you start cutting, our guide to cutting quarter round for a 90-degree corner covers checking and correcting for out-of-square walls in more detail.
Frequently Asked Questions
Can I cut quarter round without a miter saw and still get a tight corner?
Yes. A miter box and backsaw handle outside corners as cleanly as a power miter saw, and a coping saw actually produces a tighter inside-corner joint than a straight miter, because it fits the profile of one piece against the face of the other instead of relying on two angled cuts lining up perfectly.
What’s the best hand tool for cutting quarter round?
Use both: a miter box and backsaw for straight 45° outside corners, and a coping saw for coped inside corners. An oscillating multi-tool with a flush-cut blade is useful for trimming a piece that’s already installed, and a utility knife should only be used to score thin MDF trim before a final cut, not to cut solid pine.
Why does my hand-cut quarter round leave a gap at the corner?
Almost always because the corner wasn’t actually 90° and both pieces were cut at a blind 45° instead of the corner’s real angle, or because the cut was made through the center of the pencil line instead of on the waste side. Check every corner with a bevel gauge before cutting, and recut a gap wider than about 1/16 inch rather than filling it.
Conclusion
A power miter saw is faster, but it isn’t required for a professional-looking quarter round install. A miter box and backsaw handle the straight 45° corners, a coping saw handles the inside corners a miter alone can’t fit tightly, and accurate angle transfer — not the tool’s power — is what actually determines whether the joint closes up or leaves a visible gap.
Sponsored / affiliate links. As an Amazon Associate I earn from qualifying purchases. I may earn additional commission from eligible campaigns.