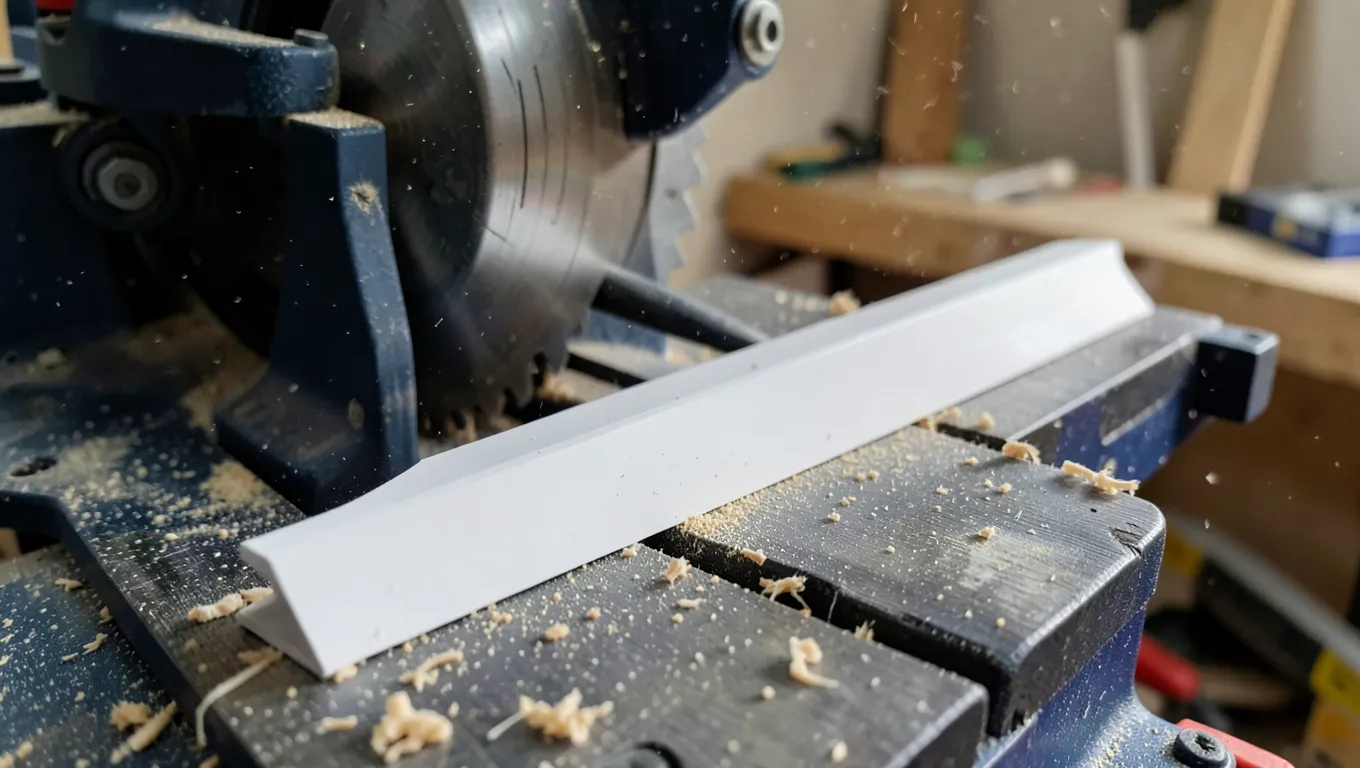
How to Cut Quarter Round for a 90-Degree Corner (Miter or Cope)
For an outside 90-degree corner, cut two 45-degree miters that meet to form the corner. For an inside 90-degree corner, don’t miter it at all — cope the joint instead. That distinction is the single biggest thing most guides skip, and it’s the difference between a corner that stays tight for years and one that opens up into a visible gap by next winter.
Inside Corners vs. Outside Corners: Two Different Techniques
Best For Coping Inside Corners
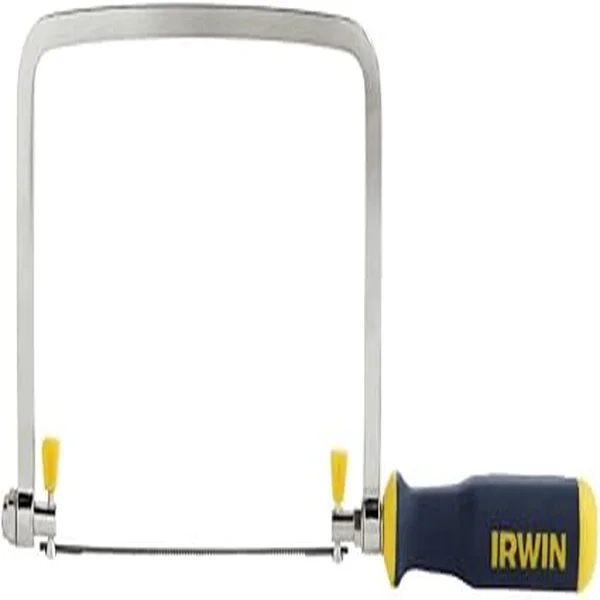 |
IRWIN Tools ProTouch Coping Saw (2014400) – $8.99 A deep-throat coping saw is what actually makes coped inside corners possible — a miter saw alone can’t cut the curved back-profile a coped joint needs.
|
Quarter round is nailed to a wall that’s rarely a perfect 90 degrees, and it expands and contracts slightly with humidity all year. On an outside corner (the corner sticks out into the room, like the end of a half-wall), two 45-degree miters meeting point-to-point work fine and look clean.
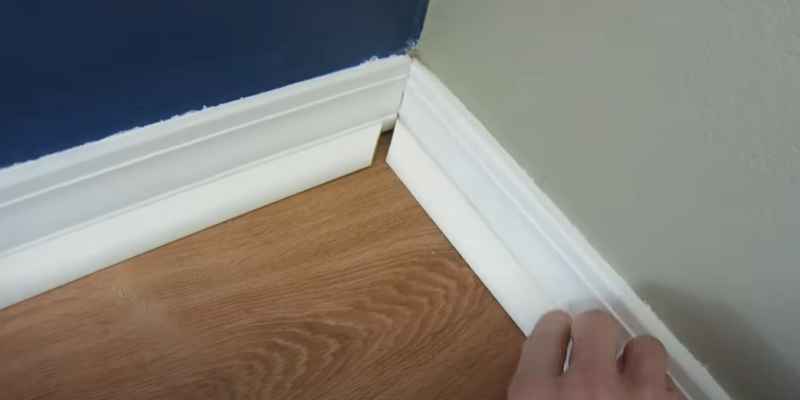
On an inside corner (the corner recedes into the room, like where two walls meet in a standard room), a mitered joint is the weaker choice. As the wood moves seasonally, a mitered inside corner tends to open up at the seam, leaving a visible dark gap. Finish carpenters cope inside corners instead: one piece runs straight into the corner, and the second piece is cut with a coping saw so its profile fits over the face of the first piece like a puzzle piece. As the wood moves, a coped joint just slides slightly against itself instead of pulling apart into a gap.
Cutting an Outside Corner (Miter Method)
- Hold a piece of quarter round in place and mark where it meets the corner’s edge on the back (the wall-facing side).
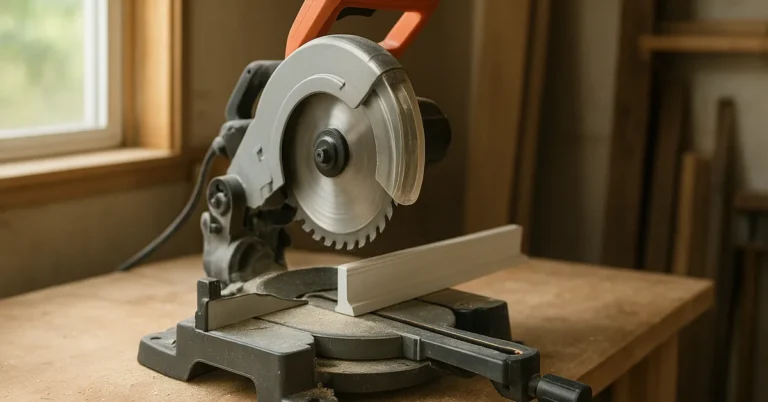
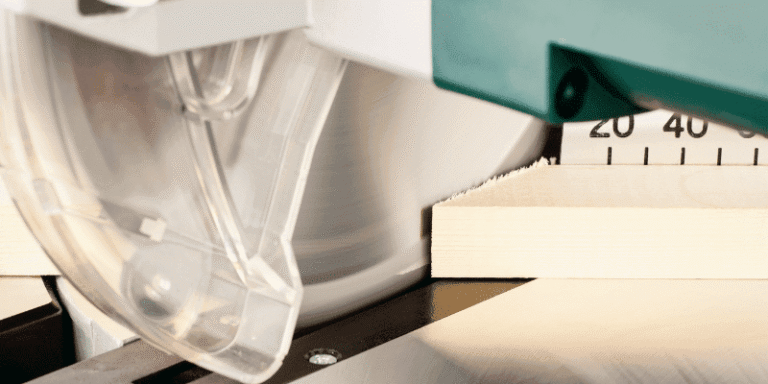
- Set your miter saw to 45 degrees. Most compound miter saws have a detent right at 45° on both sides — use it, it’s more repeatable than eyeballing a number on the scale.
- Cut the first piece with the long point of the miter on the side that will meet the corner, and the short point on the wall side.
- Flip the miter angle to the mirror image (45° the other direction) and cut the second piece the same way.
- Dry-fit both pieces against the actual corner before nailing anything. A gap here means the wall isn’t a true 90° and you’ll need to split the difference — try 44°/46° instead of 45°/45°.
Coping an Inside Corner (The Better Method)
- Run the first piece of quarter round straight into the corner, square-cut, and nail it in place.
- Cut the second piece with a 45-degree miter, as if you were going to miter the inside corner normally — but don’t install it yet. This miter cut exposes the exact profile of the molding on the cut face.
- Using a coping saw, follow that exposed profile line, angling the saw blade back slightly (undercutting) as you cut so only the front edge of the profile makes contact with the first piece.
- Test-fit the coped piece against the installed piece. It should hug the face of the first piece and close the corner from the front. Sand or shave down any high spots with a utility knife or round file until it seats fully.
- Once it fits tight, nail the coped piece in place.
Common Mistakes That Ruin the Fit
- Assuming every wall corner is exactly 90°. Very few actually are. Always dry-fit before nailing, and adjust the miter angle a degree or two if there’s a gap.
- Mitering an inside corner instead of coping it. It looks fine on install day and opens into a visible gap within a season as the wood and the house settle.
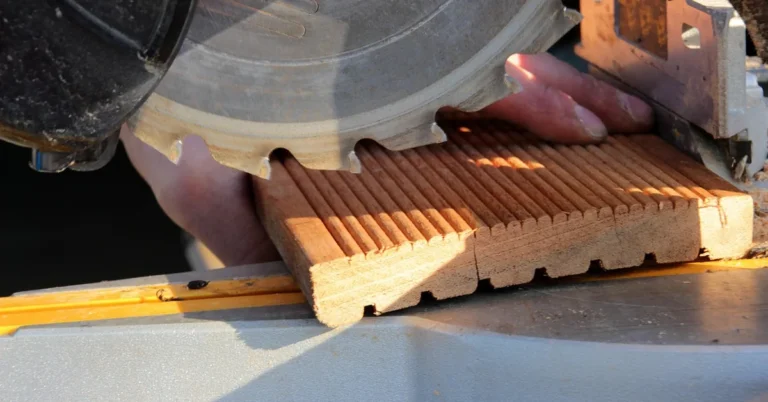
- Cutting with the wrong face against the fence. Quarter round has a flat back and a rounded face — keep the flat back against the saw’s fence and base consistently, or your angles will be off even though the saw reads 45°.
- Using a dull or coarse blade. Quarter round is thin and prone to splintering; a fine-tooth blade (or a fresh coping saw blade) is what keeps the profile edge crisp.
- Forcing a coped joint that doesn’t fit. If it’s not seating flush, shave more material off the back of the cope rather than forcing it — forcing it just cracks the thin edge of the profile.
Finishing the Cut Ends
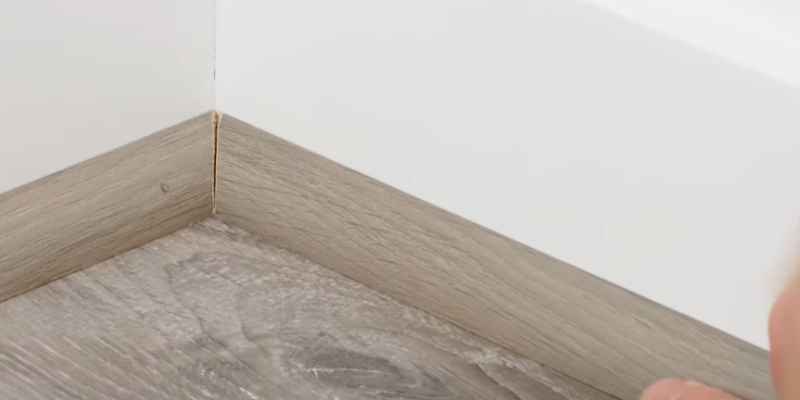
Once both pieces are cut and test-fit, lightly sand the cut edges with fine-grit sandpaper to knock off any splinters before nailing. If you’re painting, caulk the seam lightly for a seamless look (skip this on coped joints — caulking a coped joint defeats the point, since the wood needs to be able to move against itself). If you’re staining to match existing trim, stain and finish the pieces before final installation whenever possible; it’s much easier to wipe finish onto a flat piece on a bench than to cut in around a corner after it’s nailed to the wall.
Frequently Asked Questions
What angle do you cut quarter round for corners?
For an outside corner, cut two pieces at 45 degrees so they meet to form 90 degrees. For an inside corner, the better method is to cope the joint rather than miter it, since coped joints resist gapping as the wood moves.
How do you cut trim at a 90-degree angle?
Set your miter saw to 45 degrees and cut two pieces with mirrored angles so they form a 90-degree corner when joined. For inside corners specifically, cope one piece instead of mitering it for a joint that stays tight over time.
How do you cut quarter round for inside corners?
Install the first piece square into the corner. Cut the second piece at a 45-degree miter to expose its profile, then use a coping saw to cut along that profile line, undercutting slightly so the front edge fits snugly against the first piece.
How do you join two pieces of quarter round in a straight run?
For a straight run (not a corner), cut both ends at matching shallow angles (a “scarf joint,” typically 30-45 degrees) instead of a square butt joint, apply wood glue to both cut faces, and nail through the joint. The angled cut hides the seam far better than a straight butt joint.
Do you need to cope or can you always just miter?
You can miter both inside and outside corners, and it will look acceptable on install day. But inside miters are far more likely to open into a visible gap within a year as the wood and house settle, which is why coping is the standard finish-carpentry practice for inside corners specifically.
Bottom Line
Outside corners get two 45-degree miters. Inside corners get a coped joint, not a miter — that one distinction is what separates trim that stays tight for a decade from trim you’ll be re-caulking every winter. Dry-fit everything before you nail it, and don’t be afraid to adjust your angle a degree or two if the actual wall corner isn’t a perfect 90.
Sponsored / affiliate links. As an Amazon Associate I earn from qualifying purchases. I may earn additional commission from eligible campaigns.