How to Cut Wood at an Angle Lengthwise: 3 Safe Methods
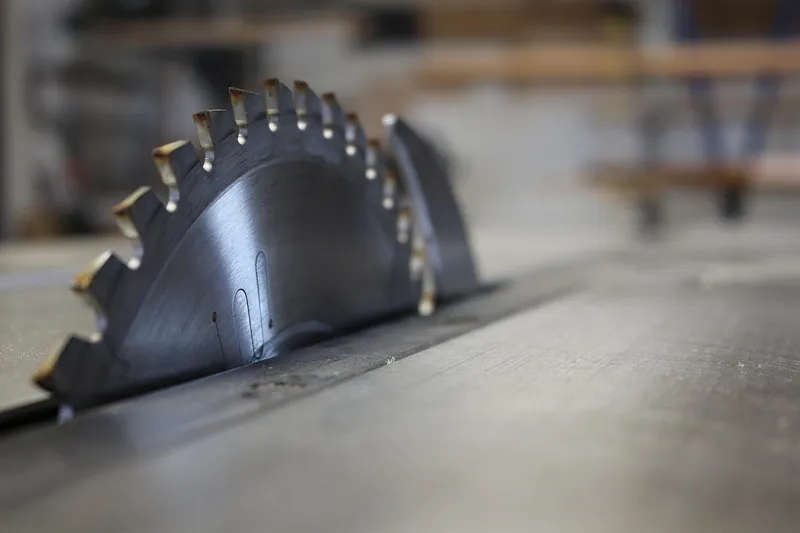
To cut wood at an angle lengthwise, tilt a table saw blade (or a circular saw base) to the angle you want and run the board along a fence or straightedge. The catch is that most advice mixes up three different cuts: angled crosscuts, bevels across the thickness, and true lengthwise angles. This guide separates them, gives you the numbers to set your saw, and covers the table saw safety setup for the lengthwise cut.
Disclosure: This post may contain affiliate links. As an Amazon Associate we earn from qualifying purchases.
First, Which Angled Cut Do You Actually Need?
Best Angle Gauge Pick
 |
Klein Tools 935DAG Digital Electronic Level and Angle Gauge – $32.97 (Amazon listing, Oct 7, 2026) A magnetic digital gauge that reads angles from 0 to 90 or 0 to 180 degrees, so you can set a saw blade tilt or check a cut edge without squinting at a tiny scale.
|
People search for this topic with very different jobs in mind: trimming a bevel along a tabletop edge, cutting a long taper for a leg, or marking an angle on a timber. The saw you pick depends on which of these you mean.
| Cut type | What changes | Best tool | Deep dive |
|---|---|---|---|
| Miter (angled crosscut) | Angle in the plane of the board, across the width | Miter saw or table saw with miter gauge | Cutting angles with a miter saw |
| Bevel | Blade tilts through the thickness | Table saw, circular saw, hand plane | How to bevel wood |
| Angled rip (lengthwise) | Blade tilts and the cut runs along the length | Table saw, or circular saw with guide | How to rip an angle on a table saw |
| Taper | Cut line is angled across the face, not parallel to the edge | Table saw with a taper jig | Table saw jigs |
This page is the starting point for the lengthwise cut: how to read and measure the angle, how to set the saw, and how to stay safe. For the table saw step-by-step with a blade-tilt chart, see our guide to ripping an angle on a table saw.
How to Measure the Angle on a Board
The most common problem starts before the saw: getting the angle itself. There are three practical ways, from cheapest to most precise.
- Sliding bevel (T-bevel): lock the blade against the existing board, then carry that exact angle to your saw table or layout line. It copies an angle without telling you the number.
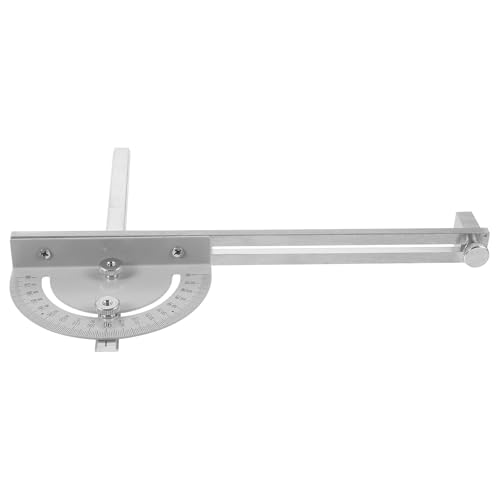
- Digital angle gauge: lay it on the board face to read the angle directly. Zero it on a flat reference surface first; the manufacturer lists a zero-calibration feature for relative readings.
- Rise over run: measure how far the board drops over a known distance, then convert to degrees (table below). This is how you get a cut angle for a roof timber or a sloped shelf from tape measure numbers alone.
Slope to degrees: rise over a 12 inch run
| Rise per 12 in run | Angle from level (degrees) |
|---|---|
| 3 in | 14.04 |
| 4 in | 18.43 |
| 5 in | 22.62 |
| 6 in | 26.57 |
| 8 in | 33.69 |
| 10 in | 39.81 |
| 12 in | 45.00 |
These are calculated as the inverse tangent of rise divided by run. If you want a quick tool, our roof pitch calculator does the conversion, and the common rafters guide shows where the plumb cut falls on a real rafter.
The Angle on Your Saw Is Measured From Square
This is the correction that saves the most scrap. A saw scale does not show the corner angle between two boards. It shows how far the blade is off square. At 0 degrees the blade is square and the edge is 90 degrees. Set it to 30 and the cut edge is 30 degrees off square, which leaves a 60 degree angle between the face and the edge on the acute side.
When you need a specific corner angle between two pieces (for example, a hexagon frame at 120 degrees), take 180 minus the corner angle and divide by two. That is the setting for each board.
| Corner angle you want | Setting per board (degrees) | Common use |
|---|---|---|
| 90 | 45 | Picture frame, square corner |
| 120 | 30 | Hexagon frame or planter |
| 135 | 22.5 | Octagon (see our octagon angle guide) |
| 144 | 18 | Ten-sided frame |
| 150 | 15 | Twelve-sided frame |
For a 163 degree corner, such as landscape timbers meeting at a gentle bend, the math gives 180 minus 163 = 17 degrees of total deviation, or 8.5 degrees on each timber if the cut is split evenly.
Method 1: Table Saw With the Blade Tilted
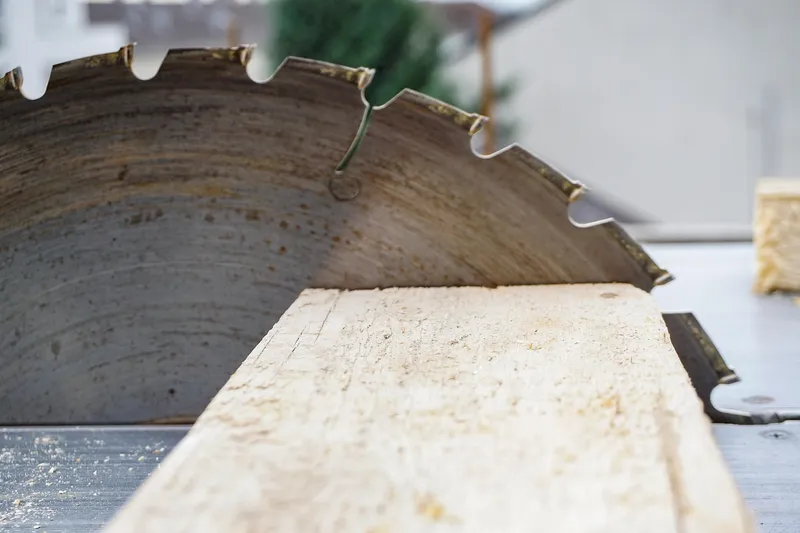
For clean, repeatable lengthwise angles on boards, the table saw is the standard choice because the fence holds the board at a constant distance from the blade. Our full table saw guide has the blade-tilt chart; here is the short version:
- Pick the angle and mark it on the end of the board so you can check the setup against the real piece.
- Tilt the blade and confirm the angle with a digital gauge on the blade or a sliding bevel against it. Saw tilt scales can be off, so trust a test cut over the printed scale.
- Set the fence so the blade tilts away from it (see the safety section).
- Cut a test piece of scrap, then measure the edge with your bevel or gauge before touching the good board.
- Feed with steady pressure, finish the cut with a push stick, and let the blade stop before you remove the offcut.
Table Saw Safety for Angled Rips
A tilted blade changes where the offcut goes, which is why bevel rips deserve their own checklist. Common woodworking safety guidance for bevel rips:
- Tilt the blade away from the fence. A blade tilted toward the fence can trap the offcut and push the board into kickback. On a left-tilt saw making a left bevel, keep the fence on the right side of the blade; a right-tilt saw is the mirror image.
- Keep a riving knife or splitter in place. Riving knives tilt with the blade, so they can stay installed for bevel cuts.
- Use a push stick for the last part of the cut and keep your hands out of line with the blade.
- Add a feather board to hold the board tight against the fence on long bevel rips.
- Never use the miter gauge and fence together to guide the same piece, and never freehand the cut.
A table saw gripper can help hold small or narrow stock, and any taper or bevel jig should clamp the piece rather than rely on your hands.
Method 2: Circular Saw and a Straightedge Guide
When the board is too long or heavy for your table saw, a circular saw with a clamped guide cuts an angled edge without moving the stock. The saw base tilts to the bevel angle, and the straightedge replaces the table saw fence.
- Measure from the saw blade to the edge of the base plate and set the guide that distance from your cut line. On a bevel the offset changes, so measure at the angle you will cut.
- Clamp the guide firmly to the board, and clamp the board down so it cannot slide.
- Support both sides of the cut so the offcut cannot sag and pinch the blade.
- Run a test cut on scrap at the same angle and thickness before cutting the good board.
- Keep the saw base flat on the guide and let the blade stop before lifting the saw.
Not sure which saw to buy for this? See our best circular saw comparison. If you are cutting across the board at an angle instead of along it, a miter saw is the faster route, and if it drifts, read why a miter saw may not cut straight.
Method 3: Hand Plane for Small Angles and Clean-Up
For a gentle edge angle on a short piece, a hand plane is slower but safer and leaves a clean surface. Scribe the angle on both ends with a sliding bevel, then plane down to the lines. A hand plane is also the quickest way to correct a table saw edge that came out a degree or two off, which is easier than resetting the blade for a tiny correction.
Common Mistakes With Angled Lengthwise Cuts
- Setting the saw to the corner angle instead of the deviation from square.
- Trusting the saw scale without a test cut.
- Not supporting the offcut on a circular saw cut, which pinches the blade.
- Tilting the blade toward the fence on a table saw.
- Using a dull or crosscut-style blade for a long rip, which burns the edge and raises the force needed to feed the board.
- Cutting the good board first. Always cut scrap to confirm the angle.
Frequently Asked Questions
Can I cut wood at an angle lengthwise with a miter saw?
Not in the usual sense. A miter saw cuts across the board, so it makes angled crosscuts and bevels across the width. To cut an angle along the length, such as a bevelled edge or a taper, use a table saw or a circular saw with a straightedge guide.
What does the angle on my saw scale actually mean?
It is measured from square. A table saw blade at 0 degrees gives a 90 degree edge, and a blade tilted to 30 degrees leaves an edge that is 30 degrees off square. If you want a corner angle between two boards, subtract it from 180 and halve the result for each board.
Which way should the table saw blade tilt when ripping a bevel?
Away from the fence whenever you can. Woodworking safety guidance warns that a blade tilted toward the fence can trap the offcut between blade and fence and invite kickback, so move the fence to the other side of the blade if your saw allows it.
How do I cut a long angled edge without a table saw?
Clamp a straightedge to the board, set a circular saw to the bevel angle, and run the saw shoe along the guide. Support both pieces so the offcut cannot drop and pinch the blade, and make a test cut on scrap first.
How do I find the angle of a board I need to copy?
Lock a sliding bevel (or a digital angle gauge) against the board, then transfer it to your saw or layout. A digital gauge gives you the number, while a sliding bevel just copies the angle.
Do I need a rip blade for an angled lengthwise cut?
A rip-style blade is built to cut along the grain and clears waste faster, which helps on long cuts. A general-purpose blade works for short cuts, but expect more effort and a rougher edge on thick hardwood.
Bottom Line
Decide whether you need a miter, a bevel, or a true lengthwise angle. Remember the saw scale shows the deviation from square, measure the angle with a bevel or gauge, make a test cut on scrap, and tilt the table saw blade away from the fence. Then read our deeper guides on bevelling wood and ripping an angle for the exact setups.
Sponsored / affiliate links. As an Amazon Associate I earn from qualifying purchases. I may earn additional commission from eligible campaigns.