A Beginner’s Guide To Getting The Best Finish On Wood Using Bark
Wood finishing is an essential step in the woodworking process. It protects your wood from moisture and dirt and makes it look more attractive. There are many different ways to finish wood, but one of the most unique and beautiful finishes is with bark.
Bark finishing is a bit more time-consuming than other methods, but it’s well worth the effort.
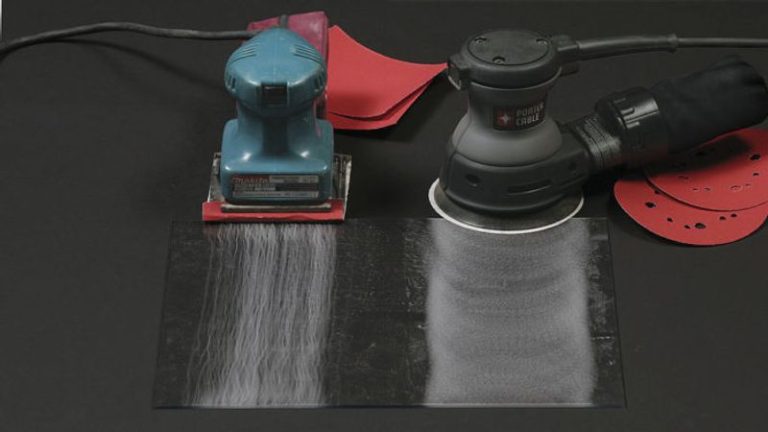
- Start by sanding the wood to create a smooth surface
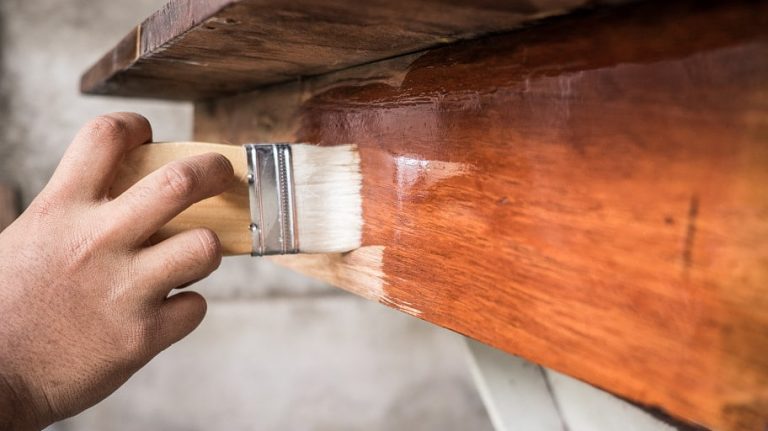
- Apply a layer of primer to the wood using a brush or roller
- This will help the paint adhere better to the wood
- Paint the wood with your desired color of paint using a brush or roller
- Allow the paint to dry completely before proceeding to the next step
- Place strips of bark onto the painted wood, pressing them down so that they adhere well
- You can use glue or another adhesive if desired
- Allow the bark to dry in place for several hours or overnight before proceeding to the next step
- 6
- Finish off by coating the entire piece with a clear sealer or varnish, using a brush or roller
Can You Leave Bark on Wood Furniture?
It’s generally not a good idea to leave the bark on wood furniture. Bark can eventually rot and fall off, leaving your furniture vulnerable to damage. Additionally, bark can attract insects which could infest your furniture.
If you decide to leave the bark on your furniture, regularly inspect it for signs of damage or infestation.
Will Bark Stay on a Live Edge Table?
A live edge table is a beautiful and unique piece of furniture that can add a touch of nature to any home. Many people use bark on their live edge tables because it gives the table a rustic look. Bark can be attached to the live edge table in several different ways.
The most common way is to use screws or nails to attach the bark to the table. Another option is to glue the dinghy onto the table. If you choose this option, make sure you use a strong adhesive so the bark does not come off the table.
Is It Better to Dry Wood With Bark on Or Off?
When drying wood, it is generally better to leave the bark on. The bark protects from the elements and helps to prevent cracking and splitting. Additionally, the bark can provide insulation, which can help regulate the wood’s temperature and prevent moisture from evaporating too quickly.
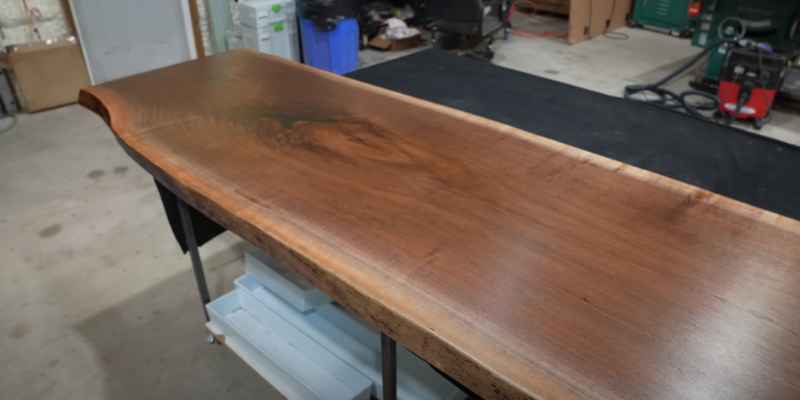
How to Finish Live Edge Wood With Bark
If you want to add a rustic touch to your home décor, look no further than live edge wood with bark! This type of wood is perfect for creating unique pieces that stand out.
Here’s how you can finish live edge wood with bark:
1. Start by sanding the piece of wood to smooth out any rough edges. You’ll want to use fine-grit sandpaper for this step.
2. Once the piece is sanded, apply a sealer to help protect it from moisture and dirt.
You can find sealers made explicitly for live edge wood at most hardware stores.
3. Once the sealer is dry, apply a coat of polyurethane or lacquer to give the piece a glossy finish. Again, you can find products made explicitly for live edge wood at most hardware stores.
4. Allow the polyurethane or lacquer to dry completely before displaying your finished piece!
How to Remove Bark from Wood
Removing bark from wood can be tricky, but it can be done relatively quickly with the right tools and patience. Here are the steps you’ll need to take:
1. Begin by using a sharp knife to score the bark around the woodMake your cuts deep enough to cut into the wood beneath the bark.
2. Next, use a chisel or similar tool to pry the bark away from the wood. Start at one of your scored lines and work around until all the bark has been removed.
3. If any stubborn pieces remain, you can use a wire brush or sandpaper to remove them.
4. Once all of the bark has been removed, you’ll likely see some dark discoloration where it was attached to the wood. This can be removed by sanding down the area until it’s flush with the rest of the wood surface.
How to Preserve Tree Branches With Bark for Decoration
Fall is the perfect time to hike and collect beautiful tree branches with bark to decorate your home.
Here are some tips on how to preserve your branches so they will last for months:
1. Start by cutting the branches into about 2-3 feet long pieces.
2. Next, soak the branches in a bucket of water overnight. This will help them stay hydrated and prevent them from drying out too quickly.
3. After soaking, remove the branches from the water and allow them to drain completely.
4. Once dry, coat the branches with a layer of clear polyurethane or mod podge. This will seal in moisture and help prevent cracking or peeling of the bark.
5. Allow the coating to dry before displaying your beautiful preserved branches!
Drying Wood With Bark on
Drying wood with the bark on is a process that has been used for centuries. The bark helps to protect the wood from drying too quickly and provides insulation. Many woodworkers still use this method today, as it results in a more stable and durable product.
There are a few things to keep in mind when drying wood with the bark on:
1. The thickness of the bark will determine how long it takes for the wood to dry. Thicker bark will take longer to dry, while thinner bark can dry relatively quickly.
2. It is essential to monitor the moisture content of the wood while it dries, as too much moisture can cause the wood to warp or crack.
How to Flatten Tree Bark
If you’re looking to add some dimension to your tree bark, flattening it is a great way to do so!
Here’s how:
1. Start by finding a large enough branch to work with.
Cut it off at the base, and then use a saw or knife to remove any smaller branches.
2. Next, use a hammer or other blunt object to flatten the giant branch. Start from the middle and work your way outwards.
3. Once you’ve achieved the desired flattening level, use a drill or screwdriver to make two holes near the branch’s top. These will secure the bark once it’s attached to the tree.
4. Finally, apply some strong adhesive (we recommend epoxy) to the back of the flattened bark and press it firmly against the tree trunk.
Allow it to dry completely before moving on!
How to Finish Tree Bark
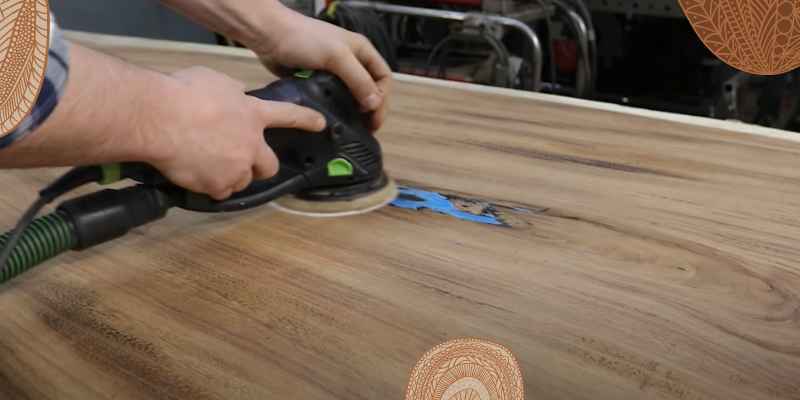
When it comes to finishing tree bark, a few different methods can be used. One popular way is using a router with a round-over bit. This will create a smooth, finished edge on the bark.
Another option is to use a power sander with grit sandpaper. This will remove any roughness and leave behind a smooth surface. Whichever method you choose, make sure to go slowly and carefully to avoid damaging the bark.
Conclusion
Assuming you would like a summary of the blog post titled “How to Finish Wood With Bark,”: The author begins by discussing the benefits of using bark as a finish for wood. The bark is a natural material that is easy to apply and provides a unique, rustic look.
The author then outlines the steps necessary for finishing wood with bark. First, the wood must be sanded smooth. Next, the bark is applied to the surface using either adhesive or nails.
Finally, a clear sealer is applied to protect the finish.