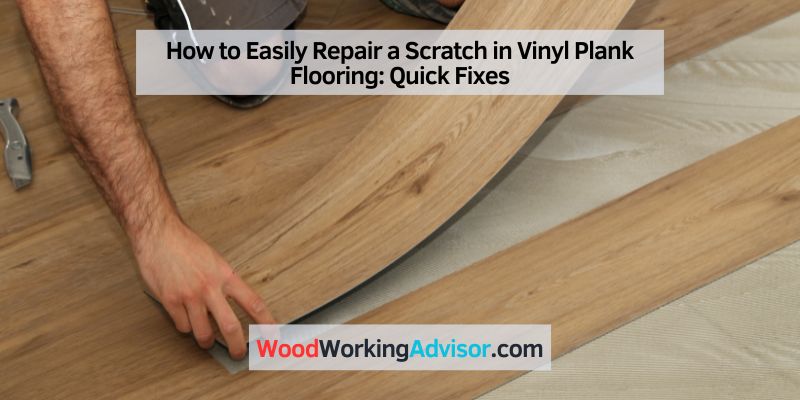
How to Easily Repair a Scratch in Vinyl Plank Flooring: Quick Fixes
To fix a scratch in vinyl plank flooring, you can use a vinyl floor repair kit specifically designed for this purpose. These kits usually contain a filler compound and a putty knife.
Knowledge Vinyl Plank Flooring
Vinyl plank flooring is a popular and versatile option for homeowners looking to enhance the aesthetic appeal of their spaces. With its durability, cost-effectiveness, and easy installation, vinyl plank flooring has become a top choice for many households. Whether you’re a DIY enthusiast or a seasoned homeowner, having a basic understanding of vinyl plank flooring can help you make informed decisions when it comes to repairing and maintaining it.
What Is Vinyl Plank Flooring?
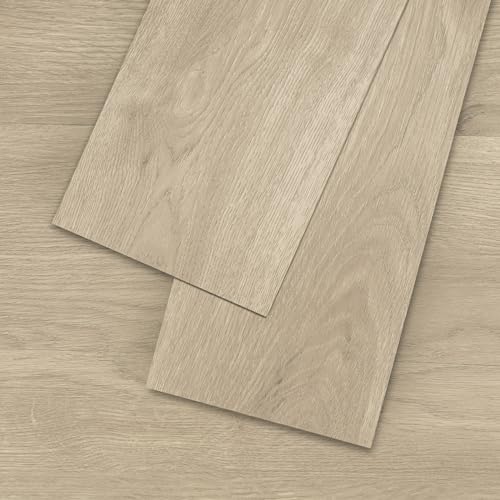
Vinyl plank flooring is a synthetic flooring material that mimics the look of real wood. It is composed of several layers, including a vinyl backing, a core layer, a design layer with a wood-like pattern, and a protective wear layer on top. The combination of these layers gives vinyl plank flooring its strength, flexibility, and resistance to moisture. Vinyl plank flooring is available in a variety of colors, styles, and textures, allowing you to select the perfect design option for your home.
Benefits Of Vinyl Plank Flooring
Vinyl plank flooring offers numerous advantages that make it a popular choice among homeowners. Here are a few key benefits:
- Easy Maintenance: Vinyl plank flooring is relatively low-maintenance, requiring simple regular cleaning to keep it looking its best.
- Durability: Thanks to its resilient nature, vinyl plank flooring is highly durable and can withstand heavy foot traffic, making it ideal for high-traffic areas such as living rooms and hallways.
- Water Resistance: Unlike natural wood flooring, vinyl plank flooring is waterproof, making it suitable for areas prone to moisture, such as kitchens and bathrooms.
- Cost-Effectiveness: Vinyl plank flooring is generally more affordable than hardwood flooring, offering a budget-friendly option without compromising on style and durability.
- Easy Installation: With its click-and-lock or peel-and-stick installation systems, vinyl plank flooring can be easily installed without the need for professional assistance.
Common Issues With Vinyl Plank Flooring
As with any flooring material, vinyl plank flooring is not without its potential issues. Here are some common problems you may encounter:
| Issue | Possible Cause |
|---|---|
| Scratches | Heavy furniture, pet claws, or abrasive cleaning tools |
| Dents | High-impact objects or dropping heavy items |
| Peeling or Curling | Poor installation, improper adhesive, or moisture damage |
| Discoloration | Exposure to direct sunlight or chemical spills |
| Buckling | Prolonged moisture exposure or improper installation |
Understanding these common issues will help you take proactive measures to prevent or address them in a timely manner. In the next sections, we will explore effective solutions for fixing scratches in vinyl plank flooring, which is one of the most frequent issues that homeowners encounter.
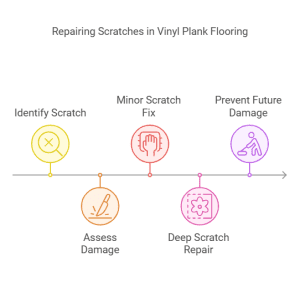
Identifying And Assessing Scratch Damage
As a proud owner of vinyl plank flooring, it is inevitable that your beautiful floors may encounter scratches over time. However, fret not! Repairing scratch damage is easier than you think. Before diving into the solution, let’s first understand how to identify and assess the various types of scratches distinguishing them from one another. This knowledge will allow you to evaluate the extent of the damage accurately.
Recognizing Different Types Of Scratches
Scratches on vinyl plank flooring can vary in their severity and appearance. By recognizing the different types of scratches, you can determine the appropriate method for repair. Here are some common types of scratches you may encounter:
| Scratch Type | Description |
|---|---|
| Surface Scratches | These scratches are light and only affect the topmost layer of the flooring. They are usually shallow and do not penetrate deeply into the plank. |
| Deep Scratches | Unlike surface scratches, deep scratches are more noticeable and extend beyond the topmost layer. They are more substantial and may require additional attention to repair. |
| Indented Scratches | Indented scratches are characterized by grooves or depressions on the surface of the vinyl plank. These scratches often occur when a sharp object, like a knife or heavy furniture, is dragged across the floor. |
Evaluating The Extent Of The Damage
After identifying the type of scratch, it’s essential to evaluate the extent of the damage before proceeding with any repairs. This evaluation will help determine whether the scratch can be easily fixed with a DIY solution or if it requires professional intervention. Here are some factors to consider when evaluating the extent of the damage:
- Depth: Assess how deep the scratch goes by carefully observing the affected area. If the scratch is shallow and only affects the surface layer, it can typically be remedied easily. For deeper scratches, you may need to employ more advanced repair techniques.
- Length and Width: Measure the length and width of the scratch and compare it to the manufacturer’s guidelines. Generally, if the scratch exceeds a certain length or width, it may be recommended to replace the entire plank instead of attempting a fix.
- Location: Consider the location of the scratch on your vinyl plank. If it is in a high-traffic area or a spot that’s easily noticeable, you may want to prioritize its repair to maintain the aesthetic appeal of your floor.
By recognizing the different types of scratches and evaluating the extent of the damage, you will be well-equipped to address the issue effectively. In the following sections, we will explore various methods to fix these scratches, offering you simple yet effective solutions.
Quick Fixes For Minor Scratches
Easily repair minor scratches in vinyl plank flooring with these quick and effective solutions. Restore the look of your floor without hassle using simple DIY techniques.
Using Baking Soda And Water
If you notice a minor scratch on your vinyl plank flooring, don’t panic! There are simple and effective ways to fix it. One of the easiest solutions is to use a combination of baking soda and water. This natural remedy works wonders in removing small scratches and imperfections from your vinyl flooring. Here’s how you can do it:
- Mix two tablespoons of baking soda with a few drops of water to create a thick paste.
- Apply the paste onto the scratched area, making sure to cover it completely.
- Gently rub the paste into the scratch using a soft cloth or sponge. Apply slight pressure in a circular motion to work the paste into the scratch.
- Leave the paste on the scratch for about 10-15 minutes to allow it to work its magic.
- Dampen a clean cloth with warm water and use it to wipe away the baking soda paste.
- Inspect the scratch to see if it has improved. If necessary, you can repeat the process to achieve better results.
Using baking soda and water is a quick and inexpensive method to fix minor scratches on your vinyl plank flooring. It’s important to note that this solution is most effective for light scratches and surface-level imperfections. For deeper scratches or more severe damage, you may need to explore other repair options.
Applying A Vinyl Floor Repair Kit
If the scratch on your vinyl plank flooring is a little more stubborn, using a vinyl floor repair kit can be a great option. These kits contain all the necessary tools and materials to fix minor to moderate scratches, ensuring a seamless repair. Here’s how you can effectively use a vinyl floor repair kit:
- Start by thoroughly cleaning the scratched area with a mild detergent and warm water. This helps remove any dirt or debris that may interfere with the repair process.
- Follow the instructions provided with the repair kit to prepare the necessary materials, such as the filler compound and color-matching solution.
- Apply the filler compound to the scratch, using a putty knife or a similar tool. Spread it evenly and make sure to fill the scratch completely.
- Allow the filler compound to dry according to the kit’s instructions. This typically takes a few hours.
- Once the filler compound is dry, use fine-grit sandpaper to gently smooth out the repaired area, making it blend seamlessly with the surrounding vinyl flooring.
- Clean the area once again to remove any dust or residue from the sanding process.
- Apply the color-matching solution provided in the repair kit to the repaired area, following the instructions carefully. This helps blend the repaired spot with the rest of the flooring.
- Allow the color-matching solution to dry completely before walking on the repaired area.
An advantage of using a vinyl floor repair kit is that it provides a long-lasting solution for minor to moderate scratches. However, it is important to choose a repair kit that matches the color and texture of your vinyl plank flooring for the best results.
Repairing Deep Scratches And Gouges
Repairing deep scratches and gouges in vinyl plank flooring is an essential skill to have if you want to maintain the beauty and longevity of your floors. While vinyl plank flooring is durable, accidents can happen, and scratches and gouges can occur over time due to heavy furniture, pet claws, or sharp objects being dropped. In this section, we will discuss two effective techniques to fix these deep scratches and gouges. By following these methods, you can restore your vinyl plank flooring to its original flawless state.
Using A Melting Knife Technique
If you have a deep scratch or gouge in your vinyl plank flooring, the melting knife technique can be a quick and effective way to repair it. Here’s how you can do it:
- Start by cleaning the area around the scratch or gouge using a mild detergent and warm water. Ensure that the area is completely dry before proceeding.
- Heat a putty knife or a regular butter knife by holding it over an open flame. Be cautious and avoid direct contact with the flame to prevent injuries or damage to the knife.
- Gently press the heated knife onto the scratch or gouge, allowing the vinyl to melt and fill in the damaged area. Use small circular motions to smoothen the melted vinyl and blend it with the surrounding flooring.
- Let the melted vinyl cool and solidify. Once it is hardened, use a soft cloth to remove any excess vinyl and clean the area again with a mild detergent and warm water.
This simple technique using a melting knife can help you effectively repair deep scratches and gouges in your vinyl plank flooring. However, if the scratch or gouge is too large or the damage is extensive, you may need to consider an alternative method.
Filling Deep Scratches With Epoxy Putty
If the scratch or gouge in your vinyl plank flooring is too deep to be fixed with a melting knife technique, filling it with epoxy putty can be an excellent solution. Here’s how you can use epoxy putty to repair deep scratches:
- Clean the damaged area thoroughly using a mild detergent and warm water. Ensure that the area is completely dry before proceeding.
- Prepare the epoxy putty according to the manufacturer’s instructions. Typically, this involves mixing two components of the putty until they form a uniform color.
- Apply a small amount of the mixed epoxy putty into the deep scratch or gouge, filling it evenly and ensuring that it is slightly higher than the surrounding flooring.
- Allow the epoxy putty to dry and harden as per the manufacturer’s instructions.
- Gently sand the repaired area using fine-grit sandpaper to level it with the surrounding flooring. Be careful not to apply too much pressure, as it may damage the vinyl surface.
- Clean the area again with a mild detergent and warm water to remove any dust or debris. Use a soft cloth to dry the floor.
By using epoxy putty to fill deep scratches and gouges, you can ensure a seamless repair that will make your vinyl plank flooring look as good as new.
Preventing Future Scratch Damage
Once you have successfully fixed a scratch in your vinyl plank flooring, it’s essential to take preventative measures to avoid future damage. By following these simple steps, you can keep your flooring looking pristine for years to come.
Using Floor Protectors
One of the most effective ways to prevent scratches on your vinyl plank flooring is by using floor protectors. These small, inexpensive pieces can be easily attached to the legs of your furniture, preventing them from scraping or scratching the surface of your floors. Here are a few options to consider:
| Option | Description |
|---|---|
| Felt Pads | They provide a soft cushion between the furniture legs and the floor, minimizing the risk of scratches. |
| Rubber Caps | These caps are ideal for heavy furniture as they offer more robust protection against scratches and dents. |
| Caster Cups | Designed for furniture with wheels, caster cups distribute the weight evenly and prevent rolling, reducing the chance of scratches. |
By incorporating these floor protectors into your furniture setup, you can significantly reduce the risk of scratches on your vinyl plank flooring.
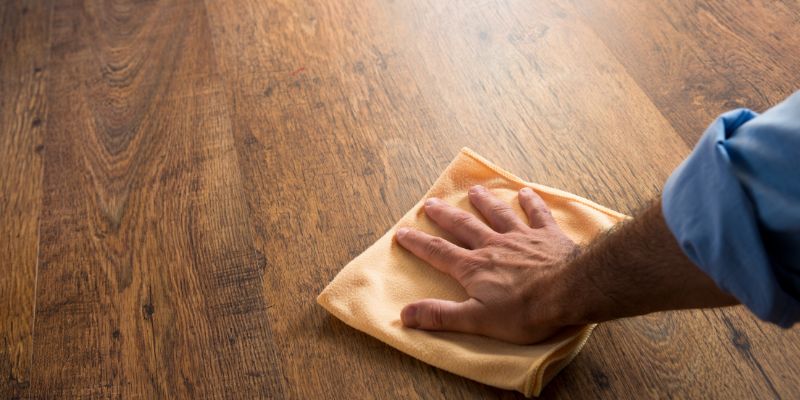
Regular Cleaning And Maintenance
Regular cleaning and maintenance are crucial in preventing scratches on your vinyl plank flooring. Here are a few tips to keep in mind:
- Use a soft-bristle broom or vacuum with a brush attachment to remove dirt, dust, and debris that can lead to scratches.
- Wipe up spills immediately using a damp cloth to prevent any liquid from seeping into the seams and causing damage.
- Avoid using harsh chemicals or abrasive cleaners that can scratch the surface of your floors.
- Place doormats at all entry points to trap dirt and grit that can be tracked onto your floors.
- Avoid dragging heavy objects across the floor by using sliders or lifting them instead.
By following these cleaning and maintenance practices, you can keep your vinyl plank flooring in top condition and minimize the risk of scratches.
Proper Handling And Care
Proper handling and care of your vinyl plank flooring can go a long way in preventing scratches. Here are some essential guidelines:
- Avoid wearing shoes with sharp heels or spikes on your vinyl plank flooring, as they can cause significant scratches or gouges.
- When moving furniture or heavy objects, use furniture sliders or pads to prevent direct contact with the floor’s surface.
- Place protective mats or rugs in high-traffic areas to reduce wear and tear on your flooring.
- Trim your pet’s nails regularly to minimize the risk of scratches on your vinyl plank floors.
- Place coasters or mats underneath furniture that may have metal or sharp edges.
By following these guidelines and being mindful of how you handle and care for your vinyl plank flooring, you can maintain its beauty and integrity for years to come.
Conclusion
Fixing a scratch in vinyl plank flooring can be a simple and cost-effective task with the right techniques and tools. By following the steps outlined in this blog post, you can effectively restore the appearance of your flooring and prolong its lifespan.
Remember to use the appropriate repair method for the type and severity of the scratch, ensuring a seamless and successful result. Keep your flooring looking pristine and enjoy its durability for years to come!