How to Fix Cedar Shingles: A Step-by-Step Guide
Fixing cedar shingles might seem daunting, but it’s manageable. This guide will simplify the process for you.
Cedar shingles offer a charming look and durability to your home. Over time, weather and wear can cause damage. It’s crucial to address these issues quickly to prevent further damage. By learning how to fix cedar shingles, you can save on repair costs and maintain your home’s appearance.
This guide will walk you through the steps to repair cedar shingles effectively. Whether you have a few damaged shingles or need to replace several, you’ll find the information helpful. Let’s get started on restoring your cedar shingles to their former glory.
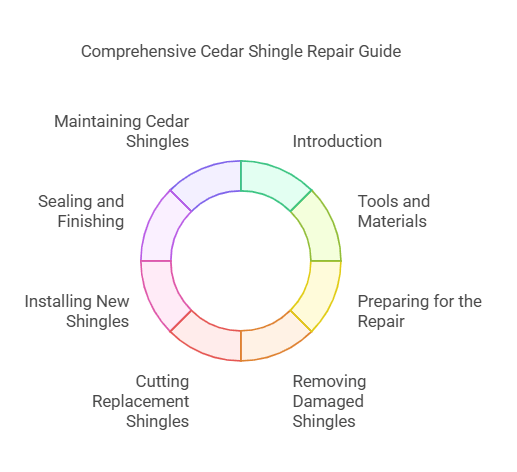
Introduction To Cedar Shingles
Cedar shingles are a popular choice for homes. They offer a natural look and are durable. Many people love their warm color and texture. Cedar shingles can last a long time with proper care. They also offer good insulation and can help keep your home warm.
Cedar shingles have many benefits. They are resistant to insects and rot. This means they can last a long time. They also have a natural beauty that many people love. Cedar shingles can also help keep your home cool in summer and warm in winter. They are an eco-friendly option as they come from a renewable resource.
There can be some issues with cedar shingles. Moisture can cause them to warp or crack. Sun exposure can make them fade over time. Insects can also be a problem if not treated. Mold and mildew can grow if they stay wet. Regular maintenance can help prevent these problems.

Credit: www.youtube.com
Tools And Materials Needed
You need a hammer, nails, and a utility knife. A pry bar helps remove old shingles. Use a measuring tape for accuracy. A nail puller is useful too. Safety glasses protect your eyes. A ladder gives you access to the roof.
Buy replacement cedar shingles. Use roofing nails to secure them. Roofing felt is necessary for the underlayer. Have wood sealant ready. Ensure you have wood preservative. Caulk can fill small gaps. Paint or stain may be needed for a final touch.
Preparing For The Repair
Wear protective gloves and safety goggles. Secure your ladder before climbing. Check the weather forecast. Avoid repairs on windy or rainy days. Always have a buddy to assist. Use nonslip shoes for better grip. Inspect your tools for safety. Keep your workspace clean. Avoid distractions while working. Be cautious of your surroundings.
Look closely at each shingle. Check for cracks and splits. Notice any missing pieces. Observe for mold or rot. Use a flashlight if needed. Mark damaged areas with chalk. Estimate the size of the damage. Determine if you need new shingles. Identify the cause of damage. Plan your repair steps carefully.
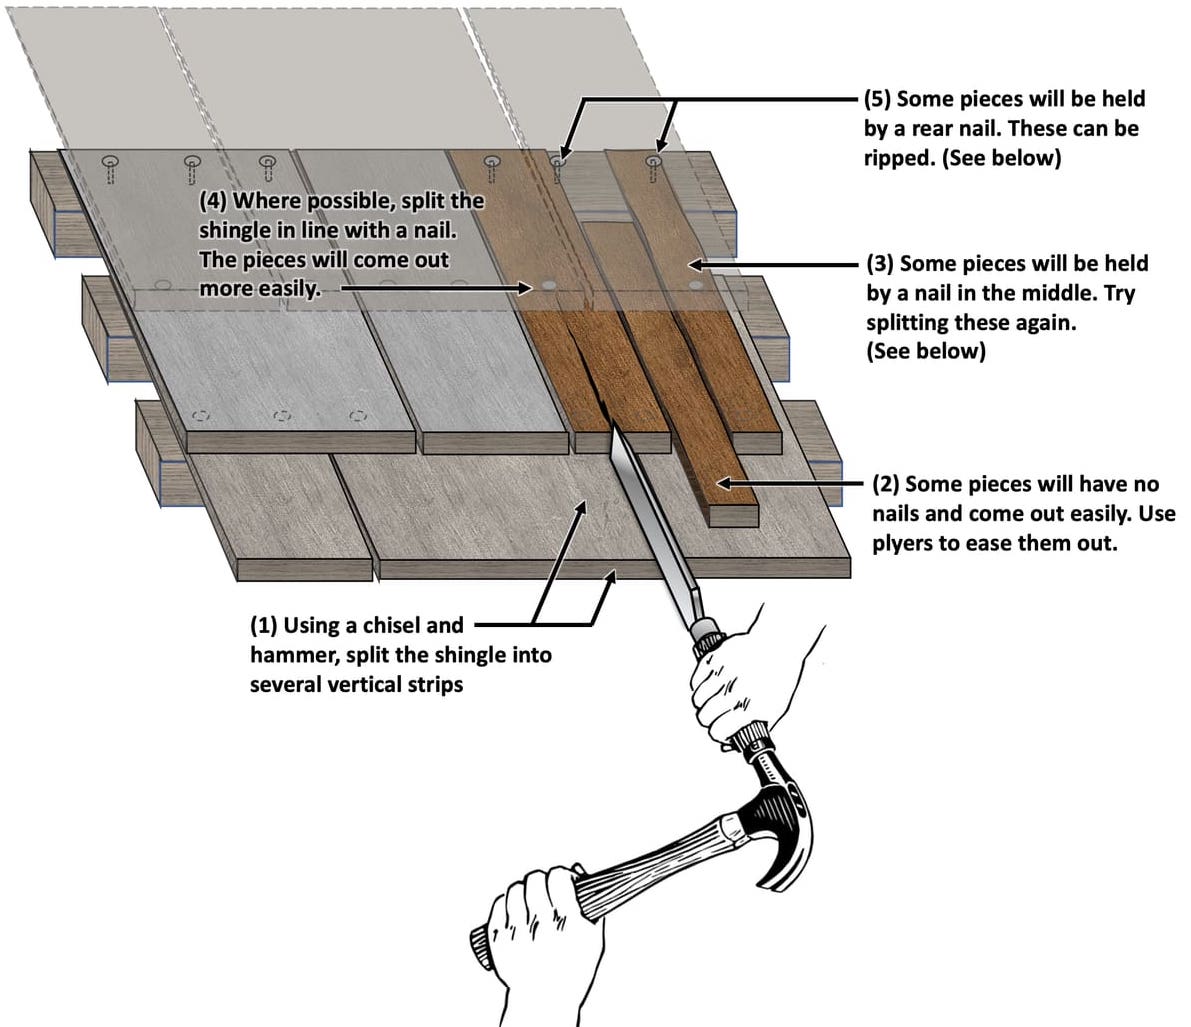
Removing Damaged Shingles
To fix cedar shingles, first remove damaged ones carefully. Pry up the shingle with a flat bar and pull out nails. Replace with a new shingle, ensuring it fits snugly.
Loosening The Shingles
Use a pry bar to gently lift the damaged shingle. Be careful not to break it further. Slide the pry bar under the shingle to loosen it. Work from the bottom edge. Move slowly and carefully to avoid splintering the wood.
Extracting The Nails
Once the shingle is loose, find the nails holding it. Use a hammer to gently tap the pry bar under the nails. Lift them out one by one. Keep your hands safe from sharp edges. After removing the nails, pull the shingle out completely. Now, you are ready to replace it.
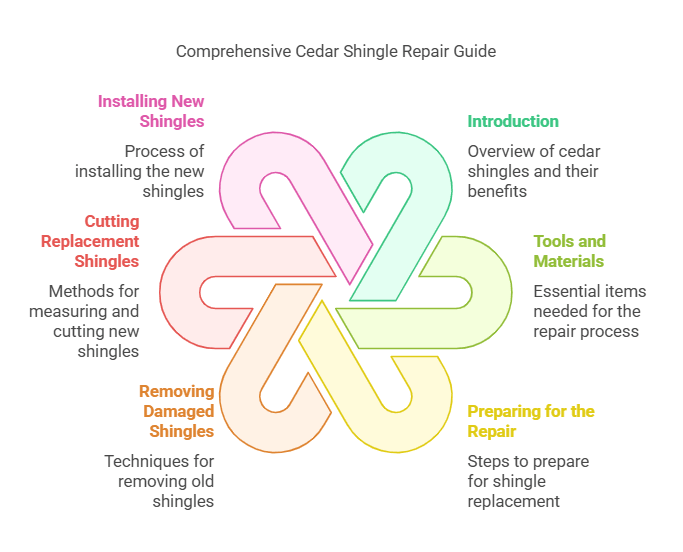
Cutting Replacement Shingles
Fixing cedar shingles involves cutting replacement shingles to match the damaged ones. Accurate cuts ensure a seamless fit, restoring the roof’s integrity and appearance. Proper tools and careful measurements are essential.
Measuring The New Shingles
First, remove the damaged shingle. Measure the open space. Use a tape measure for accuracy. Write down the length and width. Make sure to get the exact size. This will ensure a perfect fit. Cedar shingles need precise measurements.
Cutting Techniques
Use a sharp utility knife. Cut along the grain. This helps prevent splintering. Always cut on a stable surface. Place the shingle on a workbench. Hold it firmly with one hand. Cut slowly and carefully. Safety is key. Wear protective gloves and goggles. Make clean, straight cuts. Double-check the size before installing.
Installing New Shingles
First, remove old shingles. Clean the area well. Next, align the new shingle. It should overlap the one below it. Make sure it is straight. Use a level if needed. Keep the edges aligned. This will help in water drainage. Proper positioning is crucial for durability. Ensure shingles are evenly spaced. This helps in appearance and function.
Use galvanized nails. They resist rust. Start nailing from the bottom edge. Place nails about 1 inch from the edge. Use two nails per shingle. Make sure nails are not too tight. This allows the shingle to expand and contract. Over-tightening can cause damage. Ensure nails are flush with the shingle. This prevents water from seeping in.
Sealing And Finishing
Sealing and finishing cedar shingles ensures durability and longevity. Apply a quality sealant to protect against moisture and UV damage.
Applying Sealant
Clean the shingles before applying sealant. This ensures good adhesion. Use a brush to remove dirt and debris. Allow the shingles to dry completely. Choose a high-quality sealant for cedar wood. Apply the sealant with a brush or sprayer. Cover all surfaces evenly. Make sure to reach the edges and corners. Let the sealant dry as per the instructions. Apply a second coat if needed. This gives extra protection.
Finishing Touches
After the sealant dries, inspect the shingles. Look for any missed spots. Touch up those areas with more sealant. Check for any splinters or rough edges. Sand them down gently. Ensure the shingles look smooth. Finally, clean up any excess sealant. Use a damp cloth to wipe it off. Your cedar shingles should now be well-protected and look great.
Credit: www.youtube.com
Maintaining Cedar Shingles
Check your cedar shingles at least twice a year. Look for cracks, splits, and missing shingles. Early detection helps prevent big problems. Use a ladder safely to inspect the roof. Replace any damaged shingles quickly. Simple maintenance can save you money. Always check after heavy storms or strong winds.
Keep trees and branches away from the roof. Trim them regularly. This prevents damage from falling branches. Clean gutters to avoid water build-up. Water can rot the wood. Apply a wood preservative every few years. This will help protect against insects and decay. Proper ventilation is also important. It keeps the roof dry and extends shingle life.
Frequently Asked Questions
How Do You Repair Cedar Shingles?
To repair cedar shingles, remove damaged shingles carefully. Replace with new ones. Secure them using galvanized nails. Ensure the new shingles match the existing ones.
What Tools Are Needed For Fixing Cedar Shingles?
You’ll need a hammer, galvanized nails, pry bar, replacement shingles, and a utility knife. These tools help in removing and installing shingles efficiently.
How To Identify Damaged Cedar Shingles?
Damaged cedar shingles may show cracks, curling, or missing pieces. Inspect regularly for any signs of wear or damage. Early detection helps in timely repair.
Can You Replace Individual Cedar Shingles?
Yes, you can replace individual cedar shingles. Carefully remove the damaged shingle and install a new one. Ensure it matches the existing shingles.
Conclusion
Fixing cedar shingles can seem challenging, but it’s manageable with patience. Follow these simple steps to ensure lasting results. Remember to check for damaged shingles regularly. Prompt repairs help maintain your home’s beauty and integrity. Gather the right tools and materials before starting.
Safety should always be your top priority. With practice, fixing cedar shingles becomes easier. Trust in your ability to handle this task. Your home will thank you for the care and attention.