How to Remove Nails from Wood: Quick & Easy Tips
To remove nails from wood, use a claw hammer to pry them out gently. Position the hammer under the nail head and apply pressure to pull it out without damaging the wood.
Removing nails from wood is a common task when renovating or repurposing wood materials. Whether you are salvaging lumber from an old structure or disassembling a piece of furniture, knowing how to remove nails properly is essential. By using the right tools and techniques, you can extract nails without causing unnecessary damage to the wood.
In this blog post, we will explore various methods for removing nails from wood, including using a claw hammer, pry bar, or nail puller. We will also discuss safety precautions and tips to make the process easier and more efficient.
The Right Tools For The Job
When it comes to removing nails from wood, having the right tools for the job is crucial for a successful and efficient process. Whether you’re a seasoned DIY enthusiast or a novice woodworker, using the appropriate tools can make the task much easier and help prevent damage to the wood surface.
Essential Nail Removal Tools
Essential nail removal tools are the basic items needed to effectively and safely extract nails from wood. These tools include:
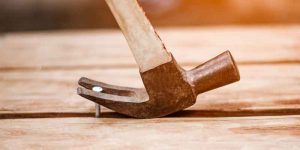
- Claw Hammer: A claw hammer is a versatile tool with a flat striking surface on one side and a V-shaped claw on the other, designed specifically for pulling out nails.
- Pry Bar: Also known as a crowbar, this tool is effective for removing stubborn and deeply embedded nails. Its leverage and sturdy construction make it ideal for heavy-duty nail extraction.
- Nail Puller: A specialized tool designed specifically for extracting nails, featuring a V-shaped head to grip the nail securely for removal.
- End-Cutting Pliers: These pliers are useful for pulling out nails with minimal damage to the wood surface, thanks to their ability to grip the nail close to the wood.
Optional Tools For Special Cases
In certain scenarios, you may encounter challenging nail removal situations that require specialized tools. Optional nail removal tools for special cases may include:
- Locking Pliers: Also known as vise grips, these provide a strong grip on the nail and are particularly useful for extracting nails with damaged or stripped heads.
- Nail Punch: Used to drive the nail below the wood surface, a nail punch can be handy when you need to preserve the wood’s appearance or avoid damage to surrounding areas.
- Air-Powered Nail Puller: Ideal for large-scale nail removal projects, this powered tool uses compressed air to effortlessly extract nails with minimal effort.
Preparation Steps
Before removing nails from wood, it’s crucial to follow the necessary preparation steps to ensure a safe and effective process.
Safety First: Protective Gear
- Wear safety goggles to protect your eyes.
- Put on heavy-duty gloves to shield your hands.
- Use ear protection if working with power tools.
Preparing The Wood Surface
- Inspect the wood for any obstacles or obstructions.
- Clear the area to create a safe working space.
- Secure the wood to prevent movement during nail removal.
Basic Nail Removal Techniques
Learn the essential techniques for safely removing nails from wood. With these step-by-step instructions, you can easily take out nails without damaging the wood surface.
Nails are commonly used in woodworking projects to hold two pieces of wood together. However, when it comes time to disassemble those pieces, removing the nails can be a difficult task. Fortunately, there are several basic nail removal techniques that can be used to make the process easier.
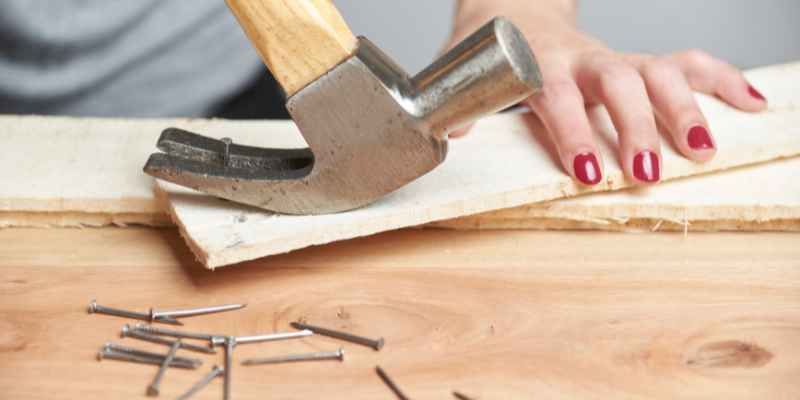
Using A Claw Hammer
One of the simplest ways to remove nails from wood is by using a claw hammer. To do this, place the claw of the hammer underneath the nail head and gently pry it up. Once the nail head is raised, use the hammer to pull the nail out of the wood.
Leveraging A Pry Bar
Another effective method for removing nails from wood is by leveraging a pry bar. To use this technique, place the flat end of the pry bar under the nail head and gently pry it up. Once the nail head is raised, use the pry bar to pull the nail out of the wood.
The Nail Puller Approach
For those who frequently work with wood, a nail puller may be a worthwhile investment. This tool is specifically designed to remove nails from wood and can make the process much easier. To use a nail puller, place the jaws of the tool around the nail head and gently pull the nail out of the wood.
In conclusion, removing nails from wood can be a difficult task, but with these basic nail removal techniques, it can be much easier. Whether you choose to use a claw hammer, pry bar, or nail puller, taking the time to remove nails properly can help ensure that your woodworking projects are successful.
Advanced Techniques For Stubborn Nails
When dealing with stubborn nails in wood, sometimes simple techniques may not suffice. In such cases, employing advanced methods can make the nail removal process more manageable.
Heat Techniques
- Use a heat gun to apply heat to the nail area.
- Wait for the wood to expand due to heat, loosening the grip of the nail.
- Grab the nail with pliers and gently pull it out.
Cutting Out Nails
- Utilize a reciprocating saw or a hacksaw to cut the nail close to the wood surface.
- After cutting, pry the remaining nail piece out with a pry bar or pliers.
Chemical Assistance
- Apply a rust penetrant to the stubborn nail.
- Allow the penetrant to work its way into the wood for easier nail removal.
- Use a nail puller or claw hammer to extract the loosened nail.
Handling Delicate Wood
Removing nails from wood can be a tricky task, especially when it comes to delicate or fragile surfaces. Whether you’re dealing with antique furniture, thin veneers, or other types of delicate wood, the last thing you want to do is cause damage in the process of removing nails. Fortunately, there are several techniques you can use to minimize damage and ensure a successful removal.
Minimizing Damage
Before you start removing nails from delicate wood, it’s important to take steps to minimize the risk of damage. Here are a few tips:
- Inspect the wood carefully before you begin to identify any weak spots or areas that might be more prone to damage.
- Use a small, lightweight hammer to tap the nail out gently, rather than applying a lot of force all at once.
- Work slowly and carefully to avoid splitting the wood or causing any other type of damage.
- Consider using a nail puller or other specialized tool designed specifically for delicate wood.
Techniques For Fragile Surfaces
When it comes to delicate wood surfaces, there are several techniques you can use to remove nails safely and effectively:
| Technique | Description |
|---|---|
| Use a flathead screwdriver | Insert the screwdriver between the nail and the wood, then gently pry the nail out. |
| Use a pair of pliers | Grip the nail firmly with the pliers and twist it gently back and forth until it comes out. |
| Use a nail puller | Insert the nail puller around the nail head, then gently pry the nail out. |
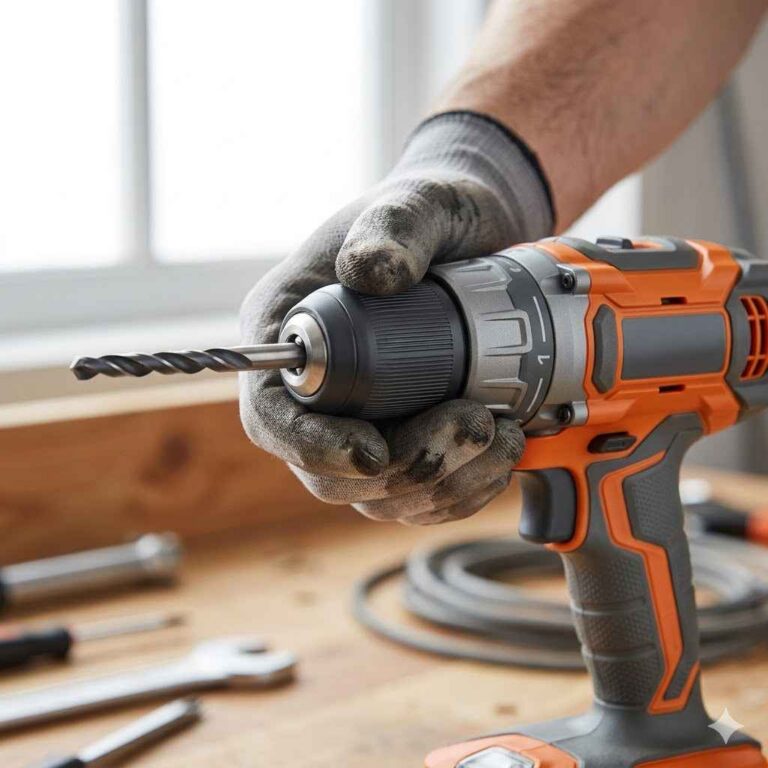
| Use a drill | Drill a small pilot hole next to the nail, then use pliers or a nail puller to remove the nail. |
Finishing Touches After Nail Removal
Once you have successfully removed the nails from the wood, there are a few important finishing touches to consider. These steps will ensure that your wood surface looks smooth and flawless, and any minor damage or imperfections are repaired. Additionally, you may want to touch up the stain and finish to restore the wood’s original beauty. In this section, we will guide you through the following steps: Smoothing the Surface, Repairing Minor Damage, and Stain and Finish Touch-ups.
Smoothing The Surface
After removing the nails, it’s common to find small holes or rough spots on the wood surface. To achieve a smooth finish, follow these steps:
- Start by sanding the entire wood surface using a fine-grit sandpaper. This will help to remove any remaining nail residue and smooth out any rough areas.
- Ensure that you sand in the direction of the wood grain to avoid creating any scratches or marks.
- Once the surface is smooth, wipe away any dust or debris with a clean cloth.
Repairing Minor Damage
In some cases, the nail removal process may cause minor damage to the wood. To repair these imperfections, follow these simple steps:
- If you notice any small cracks or chips, fill them with a wood filler or putty that matches the color of the wood.
- Apply the filler or putty using a putty knife, ensuring that it fills the damaged area completely.
- Allow the filler to dry according to the manufacturer’s instructions, and then sand it down until it is flush with the surrounding wood surface.
Stain And Finish Touch-ups
If the nail removal process has caused any damage to the stain or finish on the wood, you can easily touch it up to restore its original appearance:
- Start by cleaning the wood surface with a mild detergent and water solution to remove any dirt or grime.
- If necessary, lightly sand the damaged area to create a smooth surface for the stain or finish.
- Apply a small amount of matching stain or finish to the damaged area using a brush or cloth.
- Allow the stain or finish to dry completely before assessing if additional touch-ups are needed.
By following these finishing touches after nail removal, you can ensure that your wood surface looks pristine and well-maintained. Remember to take your time and pay attention to detail to achieve the best results.
Preventing Future Issues
Choosing The Right Nails
When choosing nails for wood projects, opt for rust-resistant nails to prevent future corrosion. Select nails with the appropriate length and gauge for the specific wood type and project to ensure a secure and durable hold.
Proper Wood Handling
Handle the wood with care to prevent splintering and damage. Use protective gloves and eye gear when handling wood to avoid injury. Additionally, store wood in a dry and well-ventilated area to prevent moisture-related issues that could affect the integrity of the nails.
Creative Reuse Of Old Nails
The creative reuse of old nails offers a sustainable and eco-friendly way to repurpose these seemingly insignificant items into something new and beautiful. Instead of discarding old nails, consider exploring craft projects, recycling, and upcycling to give them a new lease of life. This not only helps reduce waste but also allows you to unleash your creativity in innovative ways.
Craft Projects
Old nails can be incorporated into various craft projects to add a unique and rustic touch. Whether it’s creating decorative wall art, making jewelry, or constructing small sculptures, the possibilities are endless. By using old nails in craft projects, you can infuse character and history into your creations, making them truly one-of-a-kind.
Recycling And Upcycling
When it comes to recycling and upcycling old nails, there are numerous possibilities. You can melt down old nails to create new metal objects or repurpose them as functional elements in DIY furniture projects. By giving old nails a second life, you contribute to the preservation of resources and minimize the environmental impact of manufacturing new materials.
Frequently Asked Questions
How Can I Safely Remove Nails From Wood?
To safely remove nails from wood, use a claw hammer or pry bar to gently pull them out. Position the tool close to the wood surface and apply gradual pressure to avoid damaging the wood.
What Are The Best Tools For Nail Removal?
The best tools for nail removal include a claw hammer, pry bar, nail puller, and end nipper pliers. These tools provide leverage and precision to remove nails efficiently without damaging the wood surface.
Are There Any Tips To Prevent Wood Damage During Nail Removal?
To prevent wood damage during nail removal, use a scrap wood piece as a buffer between the tool and the wood surface. Apply steady pressure while pulling out the nail to minimize the risk of splintering or denting the wood.
Can I Reuse The Nails After Removal?
It is not recommended to reuse nails after removal as they may be damaged or weakened during the extraction process. Using new nails ensures the structural integrity and stability of the wood project you are working on.
Conclusion
Removing nails from wood can be a simple task if you follow the right steps. By using the right tools, such as a hammer, pry bar, or nail puller, and employing the right techniques, like leveraging and twisting, you can successfully remove nails without causing damage to the wood.
Remember to prioritize safety, wear protective gear, and take your time to ensure a successful nail removal process. With practice and patience, you’ll become a pro at removing nails from wood surfaces.