How to Flatten a Wood Slab: 4 Methods for Live-Edge Slabs
To flatten a wood slab, use a router sled for anything wider than your planer, a planer sled for slabs up to about 12 to 13 inches wide, and a hand plane for the final skim. Whichever method you pick, take the cut in shallow passes, and only after the slab has dried to a stable moisture content.
Flattening is the step that decides whether a live-edge tabletop sits dead flat or rocks on the bench. A freshly milled or badly dried slab is rarely flat: it cups, bows and twists, and the wider it is, the more it does all three. This guide walks through the four realistic ways to fix that at home (router sled, planer sled, hand planes and a CNC), with the limits of each, plus what to do before you flatten so the slab does not move again afterwards. If your slab is still wet, start with how to dry wood slabs without cracking. For ordinary boards rather than slabs, see flattening wood without a planer.
Short Answer: Which Method Should You Use?
Best Slab Flattening Bit Pick
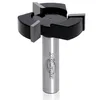 |
BINSTAK 2″ Slab Flattening Router Bit, 1/2″ Shank The cutter that does the actual work in a router sled: a wide, flat-bottomed bit that shaves a slab level in shallow passes.
|
Match the method to the width of the slab, not to the tool you already own. A benchtop planer cannot swallow a 24-inch slab, and hand-planing a 3-inch-thick, 40-inch-wide slab from scratch is a multi-hour job. This comparison uses rules of thumb rather than lab numbers, so treat the figures as starting points.
| Method | Slab width it handles | Typical cut per pass | Best when |
|---|---|---|---|
| Router sled | Limited only by how long you build the rails, so wide slabs are fine | About 1/16 to 1/8 inch | Wide, cupped or twisted slabs and no big planer |
| Planer with a sled | About 12 to 13 inches, the width limit of most benchtop planers | About 1/32 to 1/16 inch on wide hardwood | Narrow slabs and you already own a planer |
| Hand planes | Any width | Thin shavings, heavier with a scrub plane | Final skim, small slabs, no dust collector |
| CNC machine | Limited by the bed size | Programmed depth per pass | Repeat work or very precise thickness |
Before You Flatten: Moisture, Cup and Twist
The most common reason a flattened slab goes out of true again is that it was not dry enough. Wood moves as it loses moisture, and flattening a wet slab only exposes fresh, wetter wood that keeps shrinking. For indoor furniture, aim for roughly 6 to 8 percent moisture content, and check it with a pin or pinless moisture meter rather than guessing from how long the slab has been stacked. A common rule of thumb for air drying is about a year per inch of thickness, so a 3-inch slab can need several years unless it was kiln dried.
Read the Slab First
Lay a straightedge across the width and along the length, and slide a feeler (a coin or a scrap of veneer) under it to measure the gap. Flat-sawn slabs tend to cup toward the bark side, so the concave face is usually the one facing the bark. Twist shows up when the slab rocks on a flat bench across opposite corners. Knowing how much cup you have tells you the minimum you must remove: to flatten a face you have to cut down to the lowest point of the dish, so a 1/2-inch cup costs you at least 1/2 inch of thickness before the face is clean.
Start Thick Enough
That lost thickness is the reason to begin with a slab that is fatter than your finished size. A slab you want to finish at about 1-1/2 to 2 inches usually starts around 2 to 3 inches. If you plan a dining top, check how thick a dining table top should be before you commit to how much you can afford to remove.
A Myth Worth Correcting: Flatten One Face and You Are Done
A slab flattened only on one side is flat only until it moves. Wood exchanges moisture through both faces, and if you take a lot off one side and leave the other rough and unfinished, the two faces can dry at different rates and the slab can cup again. The safer routine is to flatten one face, let the slab rest for a few days, then flip it and flatten the second face, and finish both sides (even the underside) with the same coating so they gain and lose moisture at the same pace.
Method 1: Router Sled (Best for Wide Slabs)
A router sled is a carriage that lets a router travel across the slab on two straight rails, so the bit cuts in a single flat plane no matter how twisted the slab is underneath. It is the standard answer for slabs too wide for a planer, and it needs only a router, a surfacing bit and a set of rails. If you are choosing the router itself, compact router vs full-size router explains the difference, and a full-size router with a 1/2-inch collet is the better fit for a 2-inch bit.
What You Need
- Two straight rails at least as long as the slab plus the sled travel. Aluminum tube or straight, stiff hardwood both work, but check them with a straightedge, because a sagging rail cuts a shallow dish instead of a flat face.
- A sled with a window for the router, wide enough that the bit never touches the sled itself.
- A surfacing bit with a 1/2-inch shank. The stiffer shank deflects less than a 1/4-inch shank when it is swinging a 2-inch cutter.
- Shims and hot glue or clamps to hold the slab so it cannot rock or flex while you cut.
Step by Step
- Set the slab on the supports and shim it until it does not rock. Do not clamp a cupped slab flat, because it will spring back when the clamping pressure is released and the result will not be flat.
- Set the rails level and parallel to each other, and check them across their full length with a straightedge and a level.
- Lower the bit only until it just skims the highest point, then lock the depth. Never plunge deep in the first pass.
- Cut in overlapping passes, moving the router steadily and overlapping each pass by roughly a third to a half of the bit diameter so no ridges are left.
- Take each further pass no deeper than about 1/16 to 1/8 inch, and keep going until the whole face is one continuous cut with no untouched patches.
- Sand off the faint ridges with a random orbital or belt sander. To decide which sander suits your slab, see drum sander vs random orbital sander.
Method 2: Planer With a Sled
If the slab fits your planer, a planer sled is quick. The sled is a flat, stiff board (melamine or MDF works) that carries the slab through the planer. You shim and hot-glue the slab so it cannot rock, and the planer first shaves the high spots off the top face. Once that face is flat, you flip the slab, take it off the sled and plane the second face directly against the bed.
- Most benchtop planers top out around 12 to 13 inches of width, so this suits narrow slabs, split slabs and thick boards but not tabletops in one piece.
- Take light passes, roughly 1/32 to 1/16 inch on wide hardwood, and lower the cutterhead in small steps.
- Support long slabs on outfeed and infeed stands, and read how to prevent snipe on a planer to protect the ends.
- Not sure which planer to use? Handheld planer vs benchtop planer covers the trade-offs.
Method 3: Hand Planes for the Final Skim
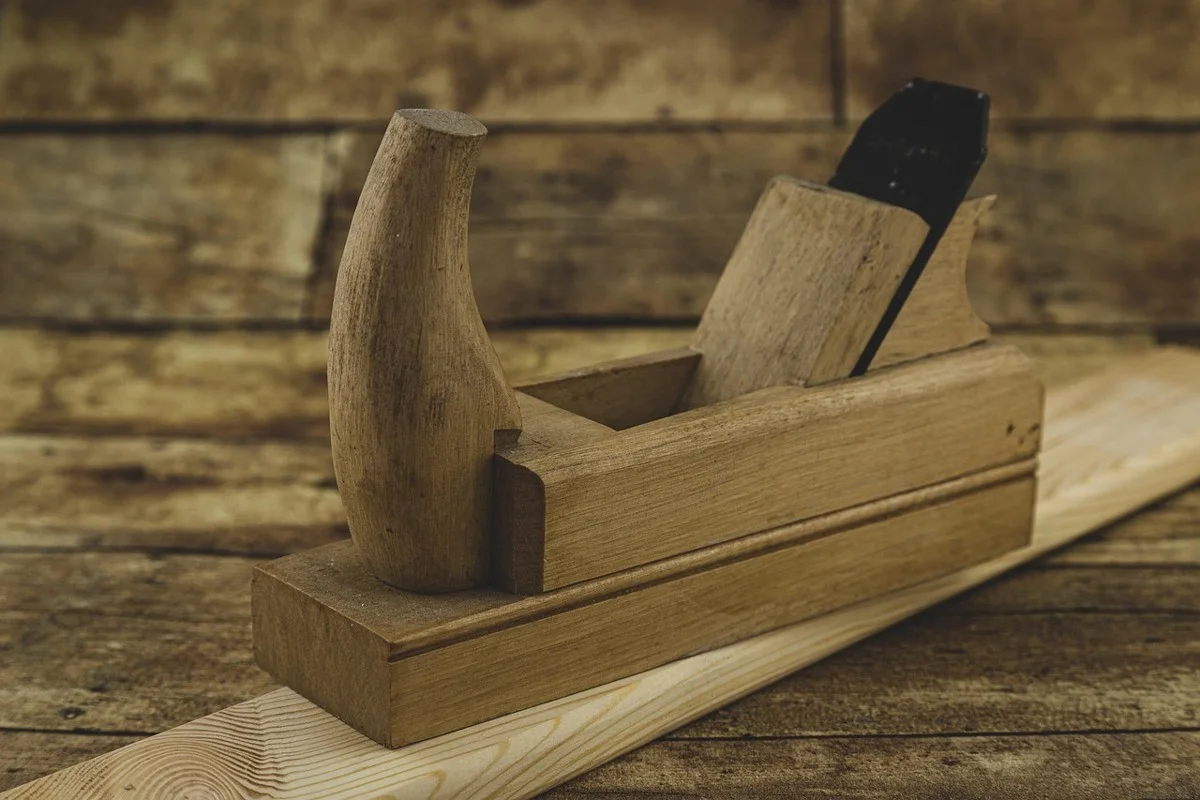
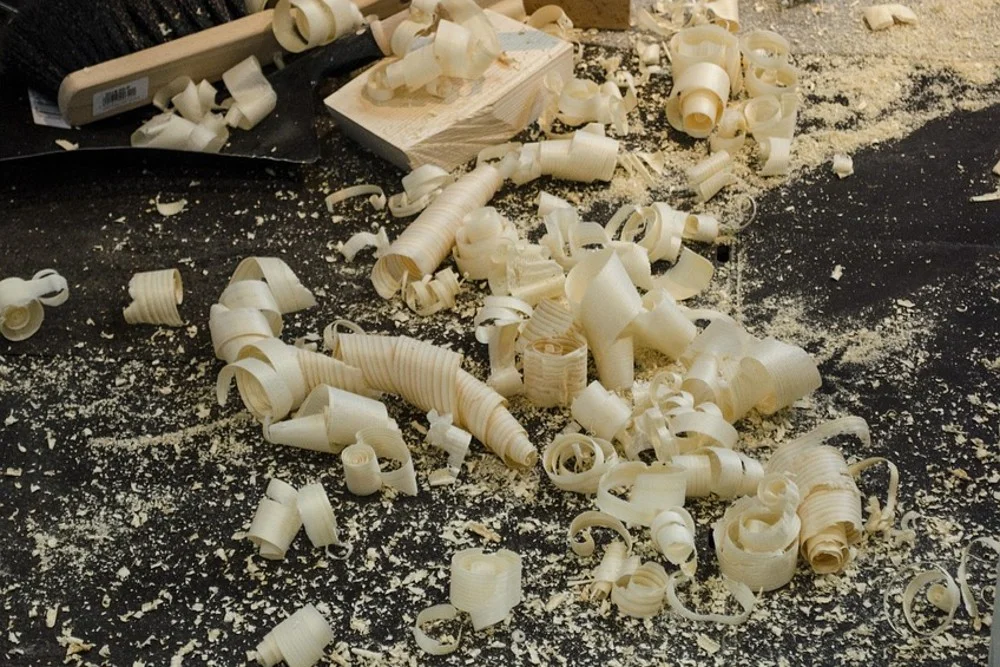
Hand planes are slow for hogging off material, but they are quiet, dust-light and give you a surface a sander cannot copy. A scrub plane, whose iron has a strongly curved edge, removes stock fast across the grain. A jack plane then takes the high spots down, and a smoothing plane finishes the surface.
- Mark the high spots with pencil scribbles and plane until the pencil disappears.
- Use winding sticks (two straight sticks laid across each end) to spot twist by eye.
- Plane diagonally across the grain first, then along the grain with light cuts to avoid tearout.
Method 4: CNC Machine
A CNC router is the most repeatable option: you load a surfacing program, set the depth per pass and the machine cuts the whole face level. The catch is bed size, since the slab must fit on the machine. The same wide surfacing bit used for spoilboards is the tool for this job, and it also works in a hand-held or table-mounted router.
Finishing After You Flatten
Start sanding at 80 grit to remove tool marks, then step through 120 and 180 (and 220 if you plan a film finish). A slab this large is a big surface, so choose a finish that suits the wood and the use: an oil or hardwax oil for a natural look, or a film finish such as polyurethane where the top will see water and heat. Coat the underside with the same finish as the top, which keeps moisture exchange even and helps prevent cupping later. If you are building a live-edge table, how to make a live-edge table with bark covers the edge treatment, and live edge wood slabs at Home Depot helps if you are still sourcing slabs.
Troubleshooting Common Problems
Ridges Between Router Passes
Ridges mean the passes did not overlap enough or the rails sagged. Overlap more, reduce the depth per pass and re-check the rails with a straightedge. A final pass at very light depth followed by sanding usually clears them.
Tearout on Figured or Knotty Grain
Tearout is worst where the grain swirls around a knot or a burl. Take a lighter final cut, keep the bit sharp and change the direction of the pass. Around a defect, a sharp hand plane often cleans up what a router leaves rough.
Slab Moves After Flattening
If the slab cups again after you flatten it, it was still losing or gaining moisture. Check moisture content, let the slab rest a few more days, then re-flatten lightly and seal both faces evenly.
Safety Precautions
A router sled puts a spinning cutter under an open window, so the safety rules matter more here than on a table router.
- Unplug the router before you change the bit, adjust the depth or clear chips. Never reach under the sled while the router is running.
- Wear eye protection, hearing protection and a fitted respirator. Routers are loud, and hardwood dust is classified as a human carcinogen, so a dust mask is not optional when you are removing this much material.
- Control the dust. Slab flattening produces a large volume of chips and fine dust, so use a dust shroud and a vacuum or dust collector where you can, and keep the shop ventilated.
- Keep the bit inside the sled window and start each pass with the bit clear of the wood, letting the router reach full speed before it touches the slab.
- Do not run a big-diameter bit at full speed. Follow the bit maker’s rated speed, and use the lower end of your router’s speed range for larger cutters.
- Lock the slab down so it cannot shift, and keep your hands clear of the bit path.
Frequently Asked Questions
How do I flatten a wood slab without a planer?
Use a router sled. A router rides on two straight rails above the slab and a wide surfacing bit shaves the face flat in shallow passes. Hand planes, starting with a scrub plane, also work but take more time.
What is the best way to flatten a large live-edge slab?
A router sled is usually the best choice because it has no width limit beyond the length of your rails. Shim the slab so it cannot rock, take passes of about 1/16 to 1/8 inch, and sand off the faint ridges afterwards.
How thick should a slab be before flattening?
Start with a slab a bit thicker than your finished size. A slab you want to finish at 1-1/2 to 2 inches usually starts at 2 to 3 inches, because flattening a cupped face removes at least as much wood as the depth of the cup.
Why does my slab cup again after flattening?
Usually because it was not dry enough, or because you flattened only one face and left the other side unsealed. Check moisture content with a meter, flatten both faces, and apply the same finish to the top and underside.
Conclusion
Flattening a slab is mostly about choosing the right method for its width and making sure the wood is dry before you start. A router sled handles wide slabs, a planer sled suits narrow ones, and hand planes give the best final surface. Take shallow passes, flatten both faces and finish them evenly, and the slab will stay flat. If you are working with a cedar slab, see cedar slab project ideas for how soft wood changes the approach.
Sponsored / affiliate links. As an Amazon Associate I earn from qualifying purchases. I may earn additional commission from eligible campaigns.