How to Install Laminate Flooring: Quick & Easy Guide
To install laminate flooring, first, dry-fit the planks to plan the layout. Next, lay the underlayment if needed, and start with the first row, ensuring the tongue side faces the wall.
Installing laminate flooring is a straightforward DIY project that many homeowners can tackle. This flooring option offers a stylish, durable solution for various spaces, making it increasingly popular. With a simple click-lock mechanism, laminate planks fit together without adhesives, facilitating a hassle-free installation process.
Proper preparation is key to ensuring a smooth fit and long-lasting results. Begin by measuring your space and selecting the right underlayment, which can enhance comfort and sound insulation. By following a step-by-step approach, you can transform your living space efficiently and enjoy the benefits of a fresh, new floor.
Introduction To Laminate Flooring
Laminate flooring offers many benefits that make it an excellent choice for homes. It is durable, affordable, and easy to maintain. This type of flooring can mimic the appearance of wood or stone, giving you a stylish look without the high cost. Installation is simple, requiring no glue or nails. Many homeowners enjoy the DIY aspect, making it a fun project.
Before starting, gather the right tools and materials. Essential items include a tape measure, circular saw, level, and laminate flooring planks. A spacer will help with expansion gaps. Use a safety mask and goggles for protection. Having the correct tools ensures a smooth installation process.

Preparing The Subfloor
Start by cleaning the surface of the subfloor. Remove all dust, dirt, and debris. A clean surface ensures proper installation of laminate flooring.
Next, check for any uneven areas. Use a leveling compound to fill in dips or low spots. This helps prevent issues later on.
For the best results, consider using a leveling tool. This will help you identify areas that need adjustment. Ensuring the subfloor is level is crucial for a smooth finish.
Underlayment: Is It Necessary?
Underlayment is important for laminate flooring. It provides a cushioned layer between the flooring and the subfloor. This helps with sound absorption and moisture resistance. Choosing the right underlayment can enhance the comfort and durability of your floor.
There are several types of underlayment available:
| Type | Features |
|---|---|
| Foam Underlayment | Lightweight, easy to install, good for sound reduction. |
| Rubber Underlayment | Excellent for moisture control and sound dampening. |
| Felt Underlayment | Great for insulation, suitable for uneven subfloors. |
Installing underlayment is straightforward. Start by cleaning the subfloor. Roll out the underlayment, ensuring it lies flat. Overlap seams slightly for better coverage. Finally, trim any excess material. Proper installation helps achieve a smooth and stable laminate floor.
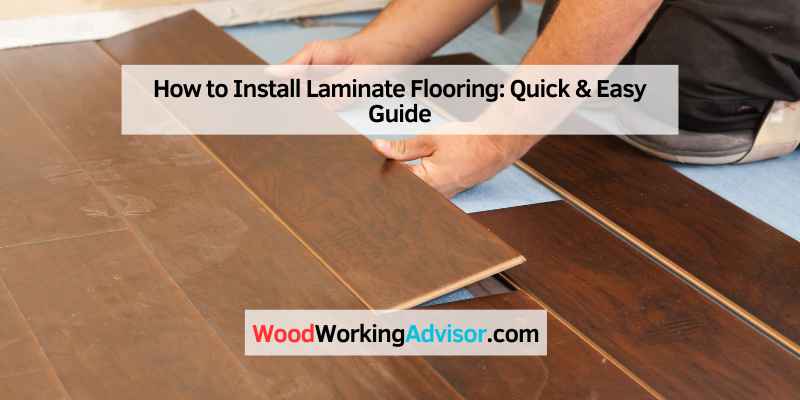
Starting With The First Row
Start the first row of laminate flooring by placing the planks with the tongue side facing the wall. Align the second plank next to the first. Make sure to insert the tongue into the groove and press down to snap it in place. This ensures a strong connection between planks.
For the last piece of the row, cut the plank to fit perfectly. Use a saw for accuracy. Measure the space carefully before cutting. This step is crucial for a neat appearance.
Check the alignment of the planks as you proceed. Adjust if necessary to maintain straight lines. A well-aligned first row sets the foundation for the rest of the installation.
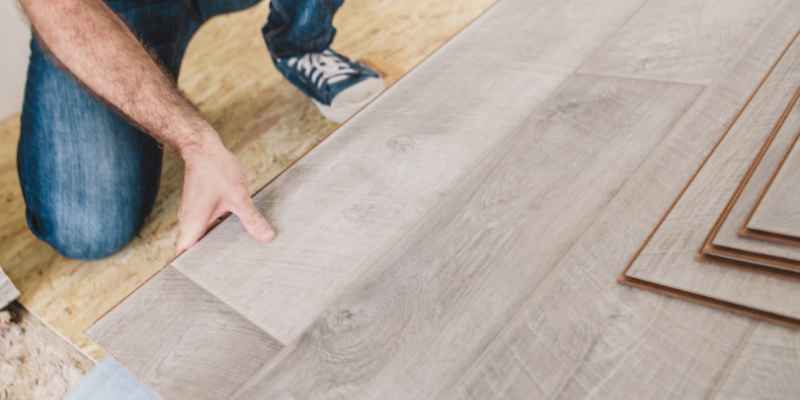
Laying The Flooring
To start laying the flooring, clicking planks together is key. Begin by placing the first plank with the tongue side against the wall. Align the next plank by inserting its tongue into the groove of the first. Press down to snap it in place. Continue this process until the row is complete.
Next, focus on staggering the rows. This means each row should start with a different length plank. A staggered layout not only looks better but also adds strength. For best results, aim for a stagger of at least 6 to 12 inches between seams. This helps prevent any weak spots in the floor.
Keep laying more rows, always ensuring they click together firmly. Remember to check for any gaps, as these can affect the overall finish.
Cutting And Fitting Around Obstacles
Cutting laminate around door frames and fixtures can be tricky. Use a jigsaw or a miter saw for precise cuts. Always measure the space before cutting. Leave a small gap for expansion near the frames.
For irregular shapes, tracing the outline on the plank helps. Cut carefully along the traced line. A template made from cardboard can assist in achieving the right shape. Test fit the plank before securing it in place.
| Obstacle | Cutting Method |
|---|---|
| Door Frames | Use jigsaw for curves |
| Fixtures | Miter saw for straight cuts |
| Irregular Shapes | Trace and cut carefully |
Finishing Touches
To achieve a polished look after laying your laminate floor, installing baseboards is essential. Baseboards cover the gap between the floor and the wall. Start by measuring the walls and cutting the baseboards to size. Use a miter saw for precise angles at corners. Secure the baseboards with finishing nails. This gives a clean finish and protects the edges of your flooring.
Transition strips are also important. They bridge the gap between different flooring types or rooms. Measure the area where the transition strip will go. Cut the strip to fit and secure it using adhesive or nails. This helps avoid tripping hazards and enhances the overall appearance of your flooring.
Maintenance And Care
Daily cleaning is crucial for maintaining your laminate floor. Start by sweeping or vacuuming regularly to remove dirt and dust. Use a soft-bristle broom or a vacuum without a beater bar. Mopping should be done with a damp mop and a mild cleaner. Avoid using excessive water, as it can cause damage.
To prevent scratches, place felt pads under furniture legs. Avoid dragging heavy items across the floor. Use area rugs in high-traffic spots to protect the laminate. Spills should be cleaned immediately with a soft cloth to prevent stains.
Following these tips ensures your laminate flooring stays beautiful and lasts longer.
Frequently Asked Questions
How Should Laminate Flooring Be Installed For Beginners?
To install laminate flooring as a beginner, follow these steps:
1. Dry-fit planks to plan the layout.
2. Optional: Install underlayment for added cushioning.
3. Start with the first row, tongue side facing the wall.
4. Stagger the rows for stability.
5. Complete with the last row, cutting planks as needed.
Can I Install Laminate Flooring Myself?
Yes, you can install laminate flooring yourself. It’s designed for easy DIY installation. The planks click together without adhesive. Basic tools and patience are all you need. Familiarize yourself with the specific flooring system before starting for best results. Enjoy your new floor!
Do You Need Underlayment For Laminate Flooring?
Yes, underlayment is recommended for laminate flooring. It provides cushioning, reduces noise, and helps with moisture control. Using underlayment enhances the overall performance and longevity of your laminate floor. Always check manufacturer guidelines to ensure compatibility.
How To Start The First Row Of Laminate Flooring?
To start the first row of laminate flooring, lay the planks with the tongue side facing the wall. Align the second plank’s tongue into the groove of the first and press down to secure. Cut the last plank to fit if necessary.
Ensure a tight fit for a seamless look.
Conclusion
Installing laminate flooring can transform your space with minimal effort. By following the right steps, you’ll achieve a beautiful, durable floor. Remember to prepare your area and take your time during installation. With patience and attention to detail, your new laminate floor will be a stunning addition to your home.
Enjoy your new look!