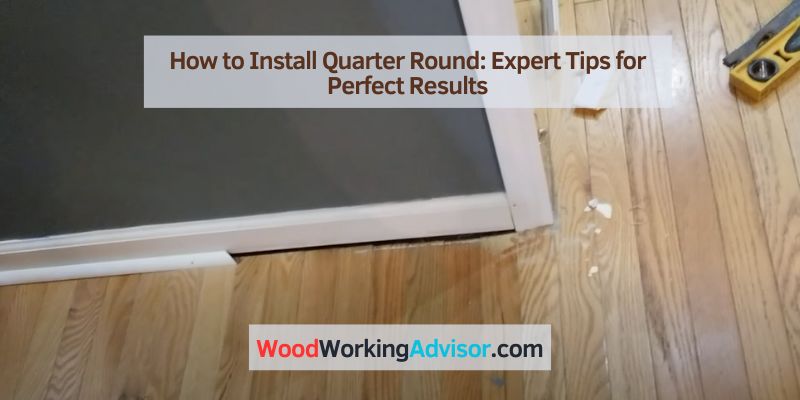
How to Install Quarter Round: Nails or Adhesive Guide
Quarter round installs by nailing it to the baseboard with 18-gauge brad nails every 16 to 20 inches, or by gluing it down with construction adhesive instead of nails. Nailing into the floor instead of the baseboard can crack tile or vinyl plank flooring, and skipping caulk leaves visible gaps at uneven walls. This guide covers cutting quarter round to fit, choosing nails vs. adhesive, and finishing with caulk for a gap-free look. For more flooring trim guides, see our full collection.
Quick Answer
Install quarter round with the flat 90-degree side against the wall and floor, and the curved side facing the room. Nail it into the baseboard (never the floor) with 18-gauge brad nails every 16-20 inches, or use construction adhesive for a nail-free finish. Caulk the top seam for a gap-free look.
What You Need Before You Start
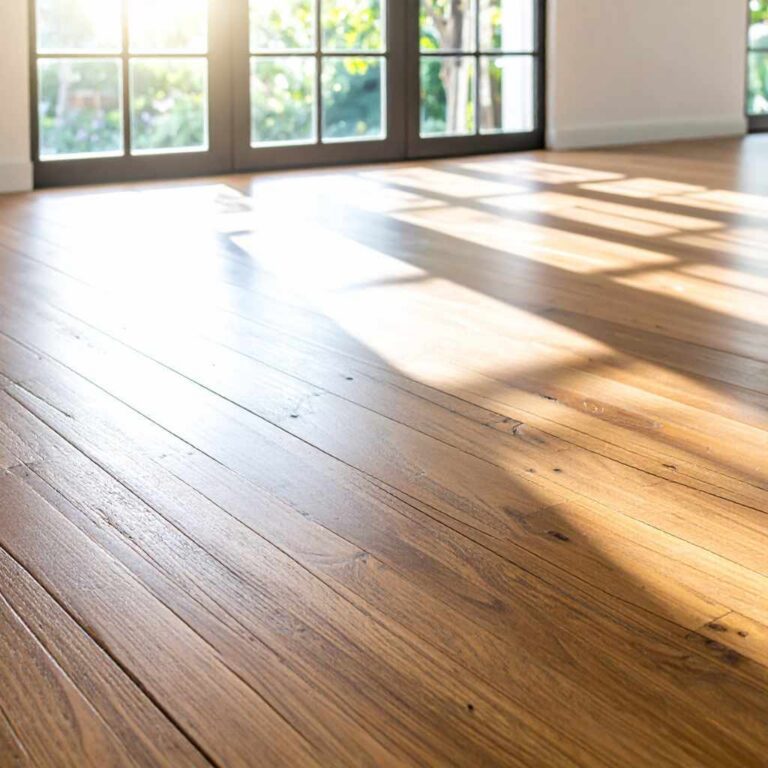
Quarter round finishes a floor installation by covering the expansion gap between the flooring and the baseboard. Knowing the materials, tools, and sizing options below makes the rest of the install faster and prevents buying the wrong trim.

Understanding Quarter Round Molding
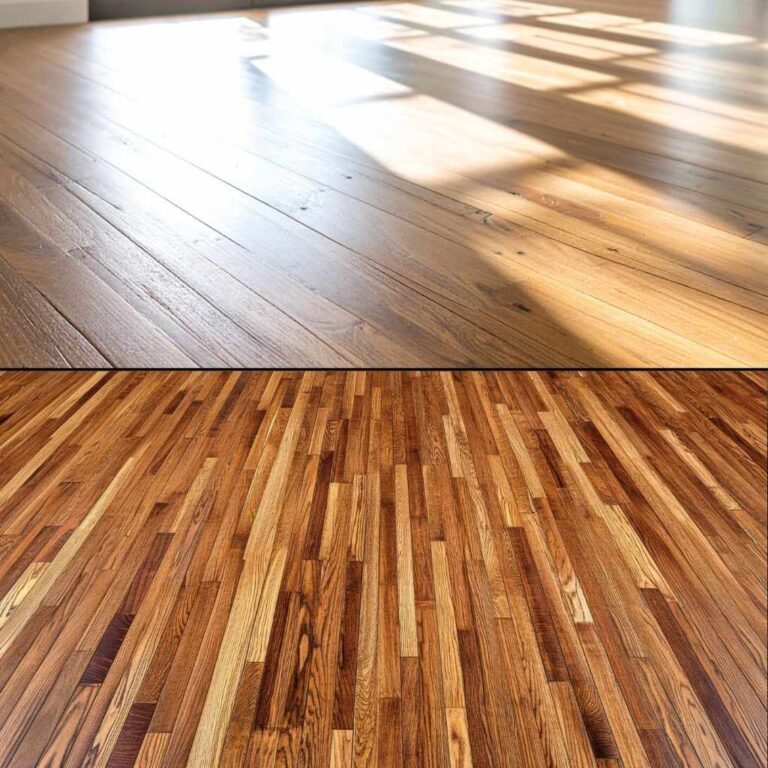
Quarter round molding is a small, concave-shaped molding piece used in carpentry and woodworking. It is typically applied at the bottom of baseboards, where the walls meet the floor, covering any gaps and providing a finished look. The molding is often utilized to cover the expansion gap left between the flooring and the walls.
Importance In Home Finishing
The quarter round molding is crucial in providing a polished appearance to your flooring and baseboards. It not only conceals the irregularities and gaps but also serves a functional purpose by preventing debris or dust from collecting in the crevices, thereby maintaining a tidy and organized living environment.
Materials And Tools Required
Prior to initiating the quarter round installation, it is essential to gather the necessary materials and tools. These include the quarter round molding itself, a measuring tape, miter saw, a nail gun or hammer, nails, wood putty, sandpaper, and a paint brush for finishing touches. Ensuring that these supplies are readily available streamlines the installation process and helps achieve professional outcomes.
Quarter Round Molding Sizes and Materials
Quarter round molding is a trim profile shaped like a quarter of a circle that covers the expansion gap between flooring and baseboard. Sizes range from 1/4″ x 1/4″ up to 15/16″ x 15/16″, but 3/4″ x 3/4″ is the most common size sold at home centers and fits standard baseboard height in most homes.
| Material | Common Sizes | Best For |
|---|---|---|
| Solid wood (oak, pine, poplar) | 3/4″ x 3/4″, up to 16 ft lengths | Hardwood floors, stained trim |
| MDF / finger-joint pine | 3/4″ x 3/4″, primed white | Painted trim on a budget |
| PVC / polyurethane / flexible resin | 3/4″ x 3/4″, flexible lengths | Bathrooms, curved walls, vinyl or laminate flooring |
Which Side of Quarter Round Faces the Wall?
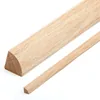
Quarter round has a flat 90-degree angle on the back and a rounded quarter-circle profile on the front. The flat side always faces the wall and floor, while the curved side faces out into the room. Installing it backwards leaves a visible gap and an unnatural profile, so double-check orientation before the first nail goes in.
Best Quarter Round Install Kit Pick
DoubleFill Red Oak Quarter Round Molding, 3/4″ x 3/4″
Unfinished solid oak quarter round in the standard 3/4″ x 3/4″ profile used in this guide.
- Best for: Stained hardwood floor trim
- Why we picked it: Matches the standard 3/4″ size covered in this article and takes stain evenly
- Main drawback: Unfinished — needs sanding and stain/poly before or after install
Compare more quarter round install tools
 Option 1 DEWALT 18GA Pneumatic Brad Nailer Kit
|
 Option 2 meite 18GA Brad Nails, 1-1/2″
|
 Option 3 DAP Alex Flex Molding & Trim Sealant
|
As an Amazon Associate we earn from qualifying purchases.
Preparing For Installation
Before diving into the installation process of quarter round molding, it’s crucial to adequately prepare for the task at hand. From taking accurate room and material measurements to ensuring the purchase of quality quarter round, this phase significantly impacts the success of the installation. Additionally, allocating time and space for the work plays a pivotal role in achieving a seamless and professional finish. Let’s delve into the essential steps to adequately prepare for the installation of quarter round molding.
Room And Material Measurements
Prior to purchasing quarter round molding, it’s imperative to take precise measurements of the rooms where the installation will occur. This includes measuring the length of each wall to determine the quantity of quarter round needed. Pay close attention to corners and nooks, as angles and irregularities may impact the required amount. By accurately measuring the room dimensions, you can avoid shortages or excesses in material, ensuring a smooth installation process.
Purchasing Quality Quarter Round
Investing in quality quarter round molding is a fundamental step in the installation process. When purchasing quarter round, ensure that the material is durable, straight, and free of defects. Typically crafted from wood or composite materials, the chosen quarter round should complement the existing baseboards and flooring, enhancing the overall aesthetic appeal of the room. Selecting high-quality quarter round not only ensures a flawless finish but also contributes to the longevity and durability of the molding.
Allocating Time And Space For Work
Set aside dedicated time and space for the installation of quarter round molding. Clear the room of obstructions and create a well-lit, organized workspace to facilitate the installation process. Allocating adequate time allows for careful attention to detail and reduces the likelihood of rushed, imperfect results. By securing a conducive environment for the installation, you can streamline the process and achieve professional, visually pleasing outcomes.
Cutting Quarter Round to Fit
When it comes to installing quarter round, expert tips on cutting are essential for achieving a professional finish. From measuring and marking precisely to selecting the right saw for cutting and mitering corners for a seamless fit, these tips will help you achieve a clean and precise installation.
Measuring And Marking Precisely
Before cutting quarter round, it’s crucial to measure and mark the length accurately to ensure a seamless fit. Use a tape measure to determine the exact length needed, then mark the measurement on the quarter round using a pencil.
Selecting The Right Saw For Cutting
Choosing the right saw is crucial for a clean and precise cut. A miter saw, also known as a chop saw, is ideal for cutting quarter round at a perfect 45-degree angle. This ensures clean, precise cuts for a professional finish.
Mitering Corners For A Seamless Fit
When it comes to corners, mitering is key to achieving a seamless fit. Use a miter saw to create precise 45-degree angles on each end of the quarter round for a seamless corner joint. Ensure that the angles are cut in the opposite direction to create a tight, gap-free fit when joining the pieces together.
Nailing Quarter Round the Right Way
📊 Nail spacing: drive 1-1/2″, 18-gauge brad nails every 16 to 20 inches along the baseboard. — Source: Family Handyman trim installation guide
“Use 1-1/2-in., 18-gauge brad nails to secure the quarter-round snugly to the baseboard molding every 16 to 20 inches. Always nail baseboards into the wall — never the floor.”
When it comes to installing quarter round, mastering the art of nailing is essential for a professional and secure finish. Proper nailing not only ensures the quarter round is securely affixed, but it also contributes to a seamless and polished appearance. In this guide, we will delve into the finer points of nailing quarter round, from choosing the proper nails to secret techniques for secure nailing.
Choosing The Proper Nails
When it comes to selecting nails for installing quarter round, it’s crucial to choose the right type and size. Finishing nails are commonly used for this purpose due to their small heads, which can be easily concealed with putty or wood filler. Opt for 16-gauge finishing nails for hardwood or laminate quarter round, and 18-gauge finishing nails for softer wood types. See our full nail size guide for 3/4″ quarter round for the exact length by material.
Aligning Quarter Round Correctly
- Before nailing the quarter round, ensure that it is aligned correctly with the baseboard and floor.
- Use a coping saw or miter saw to cut the ends of the quarter round at precise angles for a snug fit at the corners.
- Employ a brad nailer or hammer and nail set to fix the quarter round in place, driving nails into the baseboard rather than the floor to prevent damage.
- Regularly check the alignment as you proceed to maintain a consistent and professional appearance.
Secret Techniques For Secure Nailing
- Pre-drilling small pilot holes in the quarter round and baseboard can prevent splitting and ensure precise nail placement.
- Utilize a nail set to recess the nail heads slightly below the surface for a seamless finish.
- Apply a wood filler that matches the color of the quarter round over the nail holes for a seamless and professional look.

Quarter Round Trim: Nails or Adhesive?
Most installers nail quarter round in place, but construction adhesive works when you can’t or don’t want to put nail holes in the trim — for example, on stained hardwood where filled nail holes would be visible, or on a rental where you want a removable-ish install.
| Method | Pros | Best For |
|---|---|---|
| 18-gauge brad nails | Fast, holds instantly, easy to remove/replace | Wood baseboards, painted or stained trim |
| Construction adhesive | No visible nail holes, works on tile/masonry baseboards | Stained hardwood, tile, no compressor on hand |
To glue quarter round instead of nailing: scuff the back of the molding and the baseboard with sandpaper so the glue has something to grip, apply a thin bead of construction adhesive, press the molding into place for at least a minute, wipe off excess with a damp sponge, then let it cure 12 to 24 hours before painting or heavy contact.
Caulking and Finishing Quarter Round
When it comes to installing quarter round, achieving a clean and professional finish is essential. The perfect caulking and finishing touches can make all the difference in enhancing the overall appearance of the molding. Proper caulking not only hides any gaps but also ensures a seamless transition between the quarter round and the baseboards or flooring. Paying attention to the finer details during the installation process will result in a polished and refined look. In this section, we will delve into the importance of matching caulk with the molding, the application process for a clean look, and strategies for drying and touch-up to achieve a flawless finish.
Matching Caulk With Molding
One of the crucial aspects of achieving perfect caulking and finishing touches is to ensure that the caulk used matches the color of the quarter round molding. This helps in seamlessly blending any visible gaps or joints. By selecting a caulk shade that closely resembles the molding, the finished look will appear cohesive and professional.
Application Process For Clean Look
When applying caulk, the goal is to create a smooth and clean finish that seamlessly integrates with the molding. To achieve this, start by cutting a small opening in the caulk tube and ensuring the application tip is at the appropriate angle. Apply a consistent and even bead of caulk along the joints and edges using a steady hand to maintain uniformity. This meticulous approach will result in a clean and professional look once the caulk is smoothed and dried.
Drying And Touch-up Strategies
After applying the caulking, allow sufficient time for drying as per the manufacturer’s recommendations. Once dried, carefully inspect the surface for any imperfections or areas that require touch-ups. Use a fine-grit sandpaper to smooth out any rough patches, ensuring a seamless and polished finish. Additionally, use a damp cloth to remove any excess caulk residue, leaving behind a flawless appearance.
How To Install Quarter Round For Perfect Results
When it comes to achieving a professional-looking finish for your flooring project, installing quarter round molding is a crucial step. To ensure a seamless and flawless execution, it’s essential to follow a meticulous process. In this guide, we will walk you through the steps for How to Install Quarter Round for Perfect Results, handling complex corners and ends, and conducting a final inspection to guarantee impeccable outcomes.
Step-by-step Installation Guide
Before starting the installation process, ensure that you have all the necessary materials at hand. Here’s a straightforward, step-by-step guide for installing quarter round molding:
- Measure and cut the quarter round to fit the length of each wall.
- Begin by applying a thin bead of construction adhesive to the back of the molding.
- Press the quarter round into place, ensuring it sits flush against the flooring and the baseboard.
- Secure the molding in place using finishing nails to prevent any movement.
- Repeat the process for each wall, ensuring consistent measurements and a uniform appearance.
Handling Complex Corners And Ends
When dealing with complex corners and ends, it’s important to approach them with precision and care. Here are some tips for navigating these challenging areas:
- Utilize a miter saw to achieve clean and accurate angled cuts for corner installations.
- For inside corners, ensure the two pieces of quarter round are cut at complementary angles to create a seamless joint.
- When approaching the ends of walls, use a coping saw to carefully trim the molding to meet an adjoining piece.
Final Inspection For Flawless Execution
Conducting a thorough final inspection is essential to guarantee a flawless outcome. Here are the key areas to focus on during the inspection process:
- Check for any gaps or unevenness in the quarter round molding.
- Examine the corners and ends to ensure precise cuts and a snug fit.
- Verify that the molding is securely attached to the baseboard and flooring.
How Big of a Gap Can Quarter Round Cover?
Quarter round comfortably covers the standard 1/2″ to 3/4″ expansion gap left between flooring and baseboard on most hardwood, laminate, and vinyl plank installations. For gaps wider than the molding’s flat side, use a larger profile or add a filler strip behind it rather than forcing an undersized piece to bridge the gap.
Do You Nail Quarter Round Into the Floor or the Wall?
Nail quarter round into the baseboard or wall — never into the floor. Nailing into the floor pins the flooring in place and blocks the expansion and contraction it needs with temperature and humidity changes, which can cause buckling or cracking over time.
Can You Install Quarter Round Without Nails?
Yes. Construction adhesive can replace nails entirely — scuff the contact surfaces, apply a thin bead, press the molding in place for about a minute, and let it cure 12 to 24 hours before painting. This avoids nail holes but takes longer to reach full grip than nailing.
Frequently Asked Questions On How To Install Quarter Round
How Can I Measure And Cut Quarter Round Molding?
To measure and cut quarter round molding, use a measuring tape to measure the length needed, then use a miter saw to make precise cuts. Ensure the angles are correct for the corners and make small adjustments as needed for a perfect fit.
What Tools Are Needed To Install Quarter Round Molding?
The tools needed to install quarter round molding include a miter saw for accurate cuts, a measuring tape for precise measurements, a hammer and finishing nails to secure the molding in place, and a caulk gun for sealing any gaps.
What Is The Best Way To Attach Quarter Round Molding?
The best way to attach quarter round molding is to use finishing nails and a hammer. Start by positioning the molding in place, then gently hammer finishing nails into the molding at intervals along its length to secure it to the baseboard and floor.
Do I Need Quarter Round for Vinyl or Laminate Flooring?
In most cases, yes — quarter round covers the expansion gap that vinyl and laminate flooring need around the perimeter. See our guide on whether you need quarter round for vinyl flooring for the situations where it can be skipped.
What Size Nails Does Quarter Round Need?
Most 3/4″ quarter round takes 1 to 1-1/2 inch, 18-gauge brad or finishing nails. Thicker or hardwood quarter round may need 16-gauge nails instead. See our nail size guide for 3/4″ quarter round for exact sizing by material.
Can You Install Quarter Round Without Nails?
Yes. Construction adhesive can fully replace nails — scuff the contact surfaces, apply a thin bead of adhesive, press the molding in place for about a minute, and let it cure 12 to 24 hours before painting or heavy contact.
Conclusion
Quarter round finishes the transition between your flooring and baseboard cleanly once you nail or glue it into place with the right fasteners and caulk the top seam. For the specific cutting and nailing techniques in more depth, see our dedicated guides on cutting quarter round and nailing it in place.