How To Kill Termites In Wood: Proven Essential Fixes
To kill termites in wood, you need prompt action using a multi-step approach: physical removal if possible, direct treatment with liquid or foam insecticides applied via injection, and prevention through moisture control and protective barriers. Always prioritize safety and check local regulations before treating major infestations.
Finding unwelcome visitors munching on your wooden structures can be frustrating and worrying. Termites love wood, and they work silently, causing damage that might surprise you later. But don’t panic! You have the power to stop them. As your woodworking mentor, I promise that tackling termites doesn’t require a contractor right away. We can learn proven, safe ways to deal with small to moderate infestations directly in the wood itself.
This guide will show you the essential fixes, step-by-step, so you can reclaim your wood and your peace of mind.
How To Kill Termites In Wood
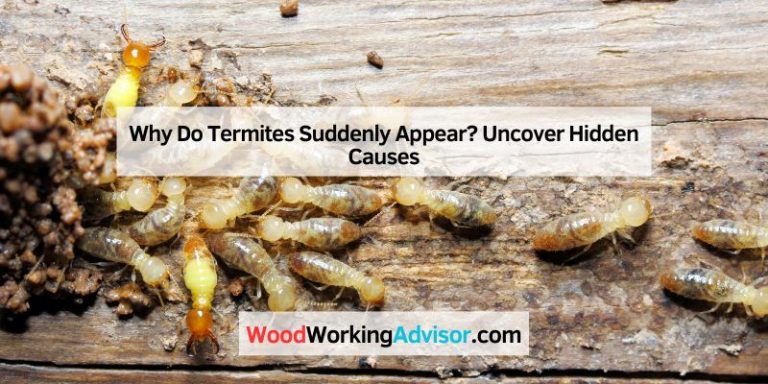
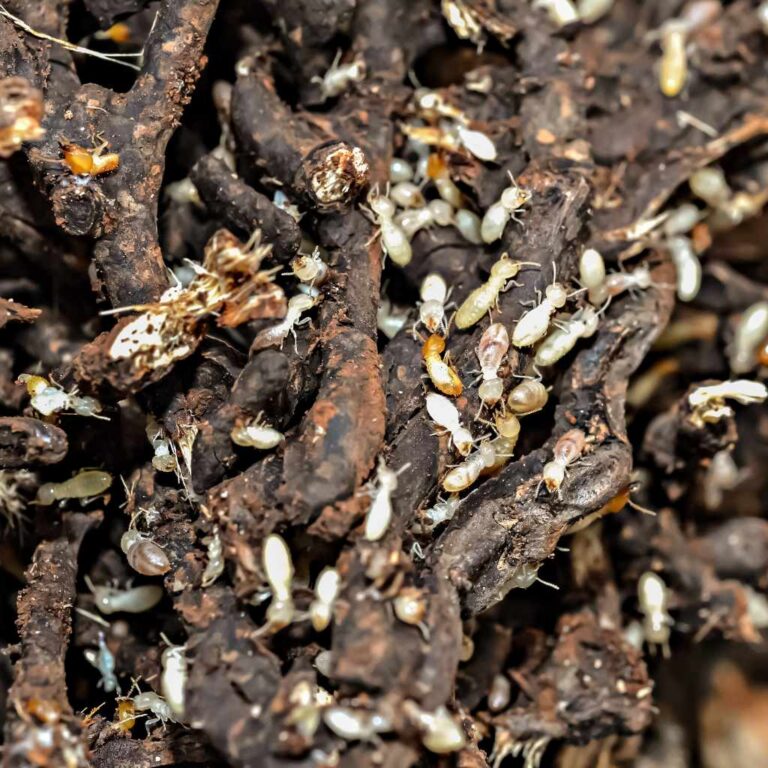
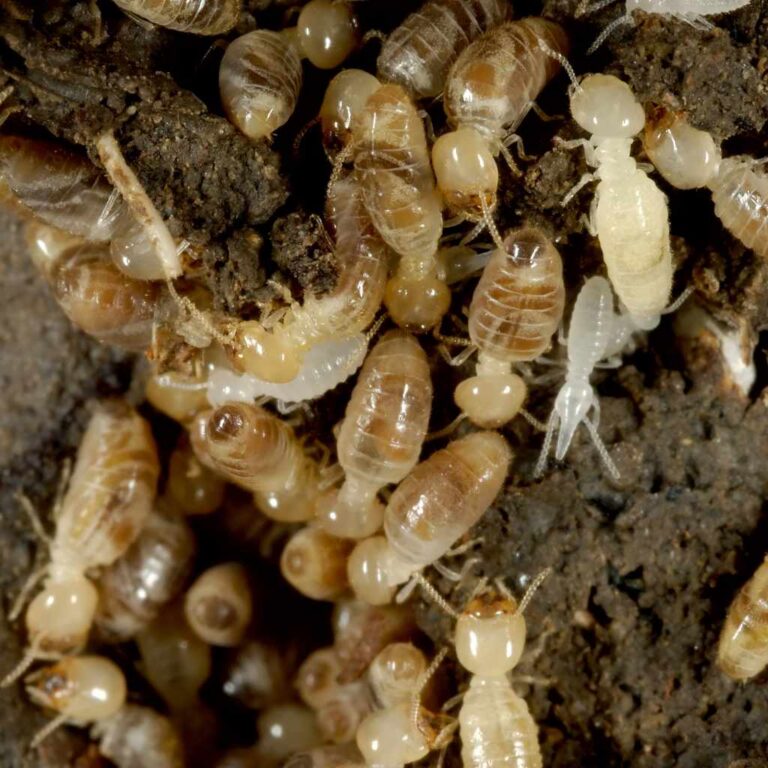
Termites are the hidden enemies of lumber. They feed on cellulose, which is the main building block of wood. When you see mud tubes or signs of sawdust (frass), it means they are active inside your wood framing, furniture, or decking. While massive infestations usually need professional help, many smaller, localized problems in accessible wood can be handled by a confident DIYer. The key is knowing exactly where they are and what treatment works best for that situation.
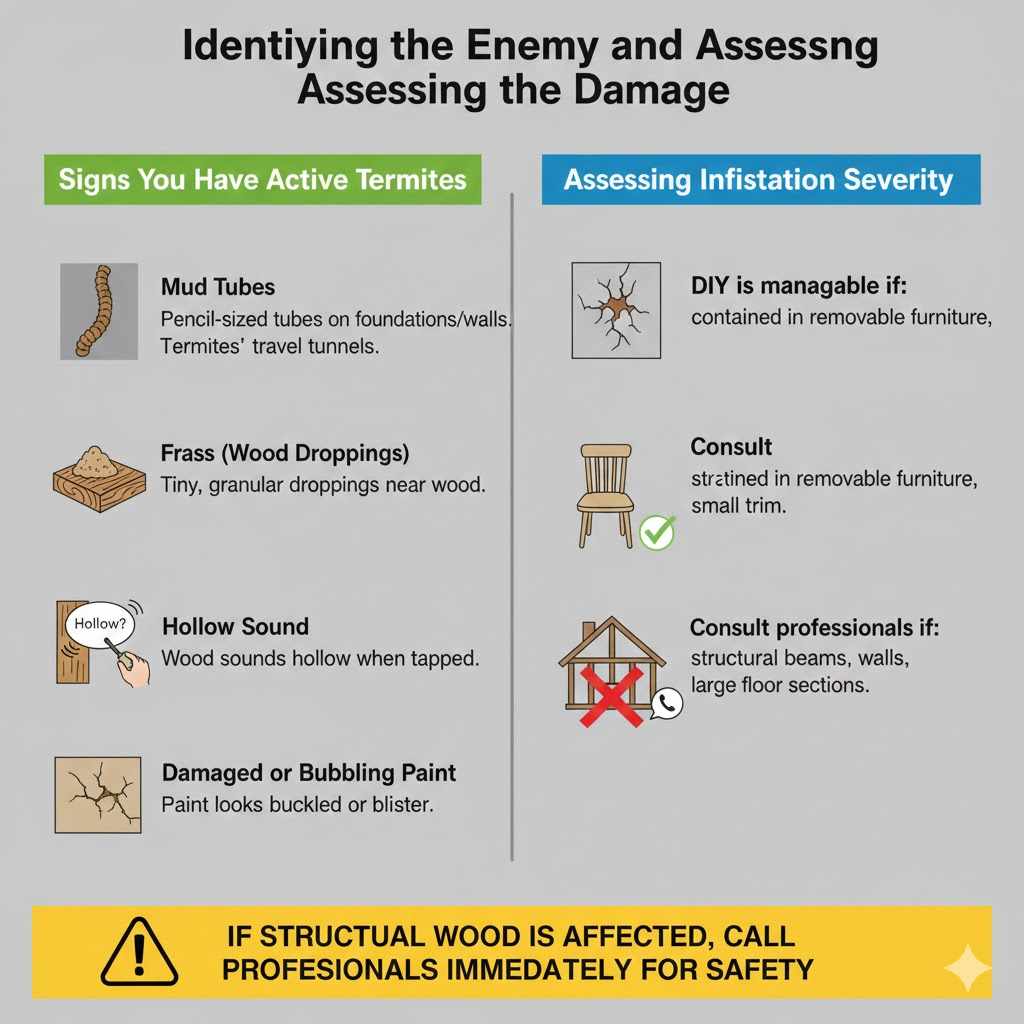
Step 1: Identifying the Enemy and Assessing the Damage
Before you grab any spray, we must confirm you actually have termites, not just ants. Getting this step right saves time and money. Always approach pest control methodically—it’s part of good craftsmanship!
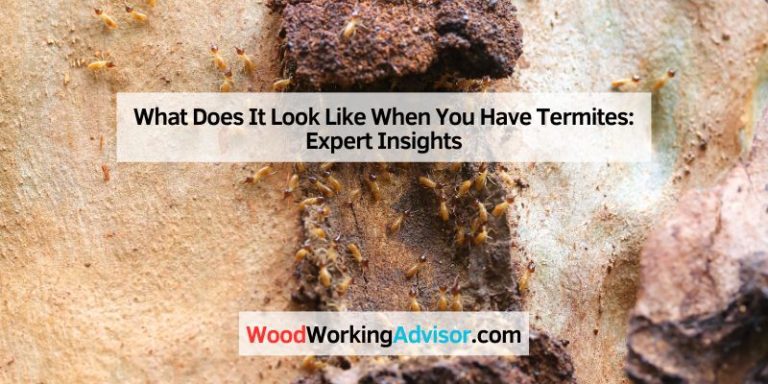
Signs You Have Active Termites
Termites leave distinct clues. Look closely at the wood surfaces and surrounding areas.
- Mud Tubes: Subterranean termites create pencil-sized tubes made of soil and wood debris along foundations or walls to travel from the ground to their food source.
- Frass (Wood Droppings): Drywood termites push out tiny, granular pellets that look like fine sawdust or pepper. If you see these near wooden objects, dig gently.
- Hollow Sound: Gently tap the wood with a screwdriver handle. If it sounds hollow or drum-like, it suggests the interior wood structure has been eaten away.
- Damaged or Bubbling Paint: In drywood infestations, the wood surface might appear slightly buckled or paint may look blistered because the termites are tunneling just beneath the surface.
Assessing Infestation Severity
This helps determine if you can handle it yourself or if you need to call in licensed help. Generally, if the infestation is contained within a single piece of removable furniture or a small section of trim, DIY is manageable. If structural beams, walls, or large sections of flooring are affected, please consult professionals immediately for structural integrity reasons. You can find guidance on when to escalate the issue on resources like the EPA’s Integrated Pest Management (IPM) principles.
Step 2: Physical Removal and Isolation Techniques
If you find termites in wood that is outside the structure—like a rotting stump near the house, old firewood, or a detached shed component—removal is the simplest fix. This cuts off their food source entirely.
Removing Infested Wood
- Isolate: If the wood is movable (e.g., a floor joist you can replace, decking boards, or old lumber), remove it carefully to avoid spreading termites to cleaner areas.
- Dispose Safely: Do not simply toss infested wood near your home or compost pile. Seal it securely in heavy-duty plastic bags.
- Destroy or Incinerate: The best way to ensure they are dead is by exposing the wood to extreme heat (like a controlled burn, where permitted by local law) or ensuring the wood is buried deeply or taken to a proper disposal site far from your property.
Step 3: Essential Tools and Materials for Direct Treatment
When the wood cannot be removed (like baseboards or door frames), we need direct chemical intervention. Safety first! Always wear appropriate Personal Protective Equipment (PPE) when handling pesticides.
Safety Gear Checklist
- Safety Goggles or Glasses
- Nitrile or Chemical-Resistant Gloves
- Long-sleeved Shirt and Pants
- Respirator or Vapor Mask (especially when spraying aerosols indoors)
Treatment Tools Needed
| Tool | Purpose |
|---|---|
| Power Drill (Cordless or Corded) | Creating small access holes into the wood galleries. |
| Small Drill Bit Set (1/8” or 5/32”) | Drilling precise holes near visible damage. |
| Pesticide Injector (Pump or Battery Powered) | For precisely applying liquid treatments deep into the wood channels. |
| Termiticide Foam or Liquid Concentrate | The active agent that kills termites on contact or transfer. |
| Wood Filler or Caulk | Sealing injection sites after treatment to prevent re-entry. |
Step 4: Choosing the Right Treatment Method
For wood-destroying insects like drywood termites, direct contact treatments work best because they are feeding deep inside the wood galleries. We focus on liquid barriers and contact killers.
Method A: Direct Liquid or Foam Injection (Best for Localized Pockets)
This is the most effective way to kill termites living entirely within the wood structure (drywood termites). You are directly injecting the killing agent into their hiding spots.
Drill and Inject Process:
- Locate Galleries: Look for areas that sound hollow or have small, visible kick-out holes (where drywood termites expel frass). Drill directly into these areas or evenly spaced along the infested wood, about 8 to 12 inches apart.
- Drill Depth: Drill holes angled slightly downward, penetrating as deep as possible into the gallery system—ideally 1 to 1.5 inches deep. The hole diameter should match your injector tip size.
- Apply Treatment: Fill your pressurized sprayer or foam canister with the approved termiticide (often products containing fipronil or chlorfenapyr, applied according to label instructions). Slowly inject the liquid or foam into each hole. You will know you have treated deeply enough if you see liquid start to ooze slightly from neighboring holes, meaning you’ve connected the channels.
- Foam vs. Liquid: Foam is excellent because it expands, filling voids and making prolonged contact with termites. Liquid will penetrate cracks and capillaries more easily but requires precise application.
- Seal Up: Once treated, plug the drilled holes with wood putty or caulk. This prevents re-infestation through that specific access point and keeps moisture out.
Method B: Borate-Based Wood Treatments (The Long-Term Protector)
Borate salts, commonly sold as solutions or powders mixed with water, are fantastic for DIY application because they are low in toxicity to mammals but deadly to wood-destroying insects and fungi. Borates don’t kill instantly; they act as a stomach poison when the termites ingest treated wood fiber. They also provide a preventative barrier.
Applying Borate Solution:
- Preparation: If you are using a powdered borate concentrate, mix it exactly according to the manufacturer’s instructions with water in a clean sprayer. For raw wood (like new framing or subflooring), this is a protective coat. For existing infestations, you might apply it after drilling and liquid injection to act as a residue treatment.
- Thorough Coverage: Apply the borate solution liberally to all accessible wood surfaces. Ensure the product soaks into end grains, cracks, and joints, as these are vulnerable entry points.
- Allow to Dry: Borates need time to diffuse deep into the wood fibers to become effective. This can take several days, depending on humidity. Do not paint or seal the wood until the borate treatment is completely dry and dry to the touch.
Pro Tip: Borate treatments are only effective if they remain dry. They can leach out if the wood is constantly exposed to rain or standing water. Therefore, this method works best on wood protected from the elements, such as wall studs, attic framing, or non-exterior furniture.
Step 5: Leveraging Non-Chemical Fixes (Heat and Cold)
Sometimes, the simplest fixes don’t involve chemistry at all. If you are dealing with termite-infested furniture, artwork, or wood items that are easy to move, extreme temperature changes are incredibly effective and leave zero chemical residue.
Heat Treatment
Termites die when exposed to high heat for sustained periods. For items that can be moved:
- Solar Heat Chamber: Place the infested wood item in an enclosed area (like a black tarp enclosure or a small shed) during the hottest part of the summer day. The internal temperature must reach at least 140°F (60°C) and remain there for several hours (ideally 4 to 5 hours straight) to kill all life stages.
- Kiln/Oven: Small, easily manageable items can sometimes be baked in a low-temperature oven or specialized kiln. Check the wood item’s limitations first; excessive heat can warp finishes or glue joints.
Freezing Treatment
Cold can also be effective, though it requires a longer duration than heat treatment.
- Bag It: Place the infested wood into a heavy plastic bag, sealing it as tightly as possible to keep moisture out and maintain a stable temperature.
- Freeze: Place the bagged item in a deep freezer where the temperature holds at 0°F (-18°C) or below.
- Duration: The item must remain frozen for at least 72 hours continuously to ensure larvae and adults are killed. Allow it to thaw slowly at room temperature afterward.
Step 6: Sealing Entry Points and Moisture Control (Prevention is Craftsmanship)
Killing the termites you find is only half the battle. A true DIY warrior prevents the next generation from moving in. Termites, especially subterranean types, need moisture and access to wood.
Eliminate Moisture Sources
Moisture is the beacon for subterranean termites. Fixing leaky plumbing or grading issues around your home is essential for long-term wood health.
- Inspect Gutters: Ensure downspouts carry water well away from the foundation.
- Check Grading: The soil around your home should slope away from the foundation, never toward it.
- Fix Leaks: Repair any plumbing leaks under sinks, behind walls, or in crawlspaces immediately.
- Ventilation: Ensure crawlspaces or basements have adequate airflow to prevent dampness buildup.
Physical Barriers and Wood Sealing
If you are working with wood outside (deck supports, fences), you must create a physical or chemical defense.
- Apply Pressure-Treated Lumber: For any wood that contacts the soil or is exposed to significant moisture, use wood rated for ground contact (often recognizable by its greenish tint).
- Seal Surfaces: After successfully treating interior wood (Step 4), apply a good quality primer and paint or exterior sealant/stain. This seals the wood, preventing easy entry and blocking access to surface moisture.
- Non-Wood Barriers: In areas where you suspect subterranean termites might tunnel (like around a porch pillar base), consider installing a chemical soil barrier treatment performed by a professional or placing physical barriers like stainless steel mesh sheeting designed to stop them, according to guidance from construction safety standards.
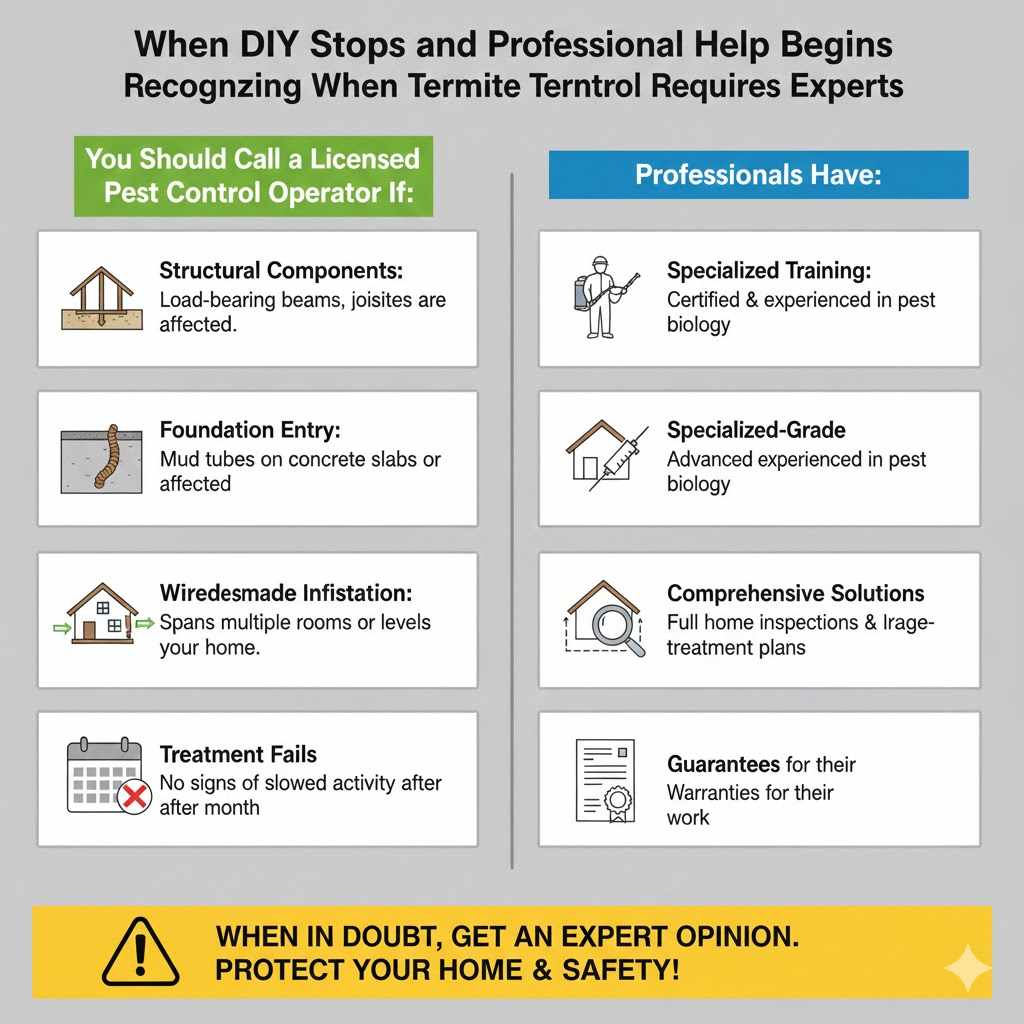
When DIY Stops and Professional Help Begins
I always encourage DIY solutions, but some jobs are too big for a weekend project. Recognizing when the job requires professional expertise ensures safety and effectiveness. You should call a licensed pest control operator if:
- The infestation appears to involve structural components (load-bearing beams, joists).
- You see mud tubes entering through concrete slabs or foundation walls (a classic subterranean sign).
- The infestation spans multiple rooms or levels of your home.
- Your initial localized treatments show no sign of slowing the activity within a month.
Professionals often use highly effective, long-lasting barrier treatments injected deep into the soil surrounding the foundation, which is usually beyond the scope of standard homeowner tools.
FAQ: Termite Treatment for Beginners
Q1: How long does it take for direct injection treatments to kill termites?
A1: It varies by product. Contact insecticides applied via injection (like pyrethroids) can kill visible termites within hours or days. Borate treatments, which require the termite to ingest the treated wood fiber, can take several weeks to show complete results.
Q2: Is treating termites with insecticide dangerous to pets or people indoors?
A2: Most termiticides available for DIY injection (when used correctly on structural wood) have low immediate toxicity risk to humans and pets once the product has dried or cured inside the wood. Always read the product label. For foam treatments indoors, ventilate the area well, and keep people and pets out until surfaces are dry.
Q3: Can I use essential oils like cedar oil to kill termites in wood?
A3: Cedar oil and certain other essential oils (like orange oil, d-limonene) can kill termites upon direct contact, making them good options for treating small, highly accessible galleries. However, they do not provide a long-term residual effect, meaning they won’t stop new termites from entering later, unlike synthetic pesticides or borates.
Q4: What is the difference between subterranean and drywood termite treatments?
A4: Subterranean termites come from the soil, so treatments focus on creating a barrier in the soil around the structure. Drywood termites live entirely within the wood, so the best DIY fix is direct drilling and injection into the damaged wood galleries, as shown in Step 4, Method A.
Q5: I found mud tubes near my house. Should I smash them immediately?
A5: No, do not smash them immediately! If you smash an active mud tube, the subterranean termites simply retreat and rebuild a new tube elsewhere. Wait until you have applied a residual treatment (like liquid insecticide poured into the base of the tube) before disturbing the colony. For DIY, it’s often easier to skip soil work and focus on liquid treatment of the structure itself, leaving deep soil work to pros.
Q6: How can I prevent future termite damage to my woodworking projects?
A6: Use pressure-treated lumber for anything near the ground. Apply borate wood preservative (Step 4, Method B) to all structural framing wood that is not painted or exposed to rain. Always seal exterior wood finishes properly and ensure excellent drainage around your home’s foundation.
Conclusion: Maintaining Your Wood’s Integrity
Taking on a termite issue in your wood might seem daunting at first, but by approaching it systematically, you’ve built a strong defense. Remember, treating termites effectively is a blend of immediate elimination and long-term prevention. Whether you opted for the direct chemical punch of injection or the preventative shield of borates, you have actively protected your investment.
Keep moisture levels low, inspect your woodwork periodically, and don’t hesitate to use those drilled-and-sealed holes as proof of a job well done. With these proven fixes, you can restore your confidence and ensure the wood you cherish stays solid for years to come.