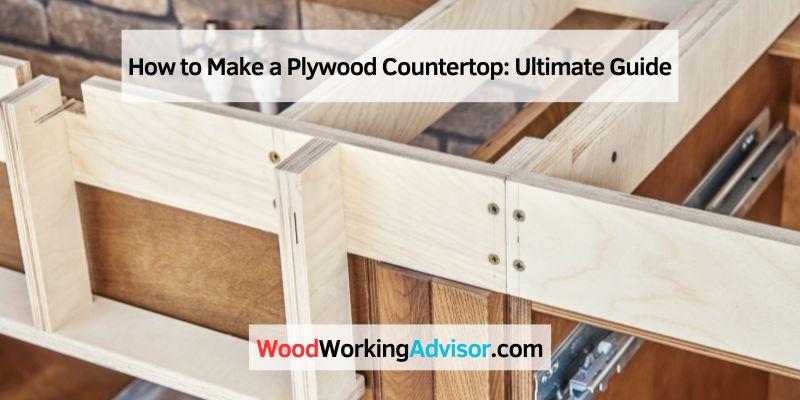
How to Make a Plywood Countertop That Actually Holds Up
To make a plywood countertop, measure and cut the plywood to fit the desired dimensions, then sand the edges and surface, and finally, seal and finish the plywood with a food-safe sealant. Plywood countertops are a cost-effective and customizable option for adding a unique touch to your kitchen or workspace.
By following these simple steps, you can create a durable and functional surface that is both practical and aesthetically pleasing. Whether you are a seasoned DIY enthusiast or a beginner, making a plywood countertop is a straightforward project that allows you to personalize your space without breaking the bank.
So, if you’re looking for an affordable and versatile countertop solution, read on to learn how to make a plywood countertop.
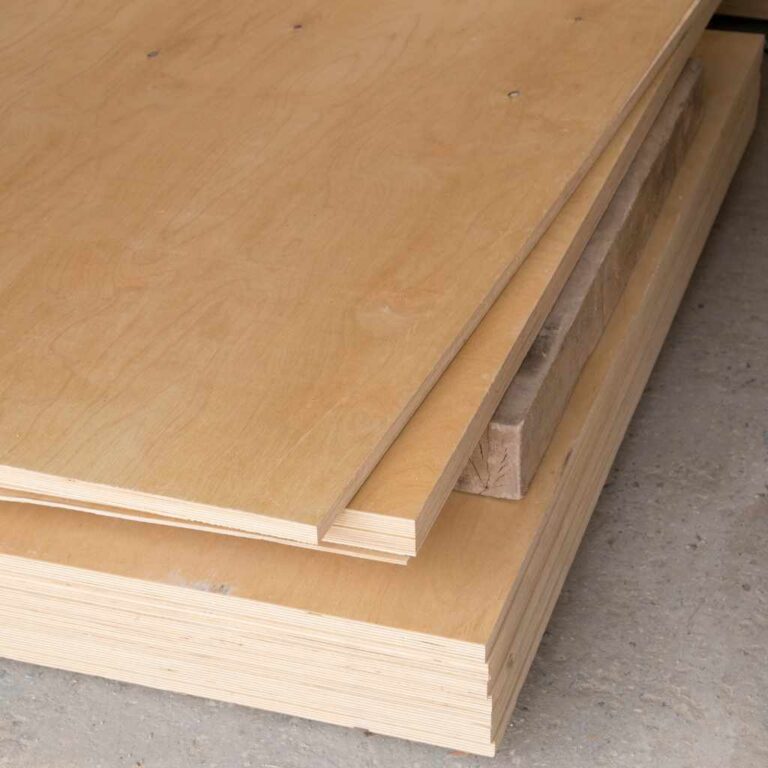
Selecting The Plywood
Making a plywood countertop is an affordable and versatile option that can add a unique touch to your kitchen or bathroom. However, selecting the right plywood is essential to ensure the durability and longevity of your countertop.
Plywood Grade
The grade of plywood refers to the quality and appearance of the wood veneers used in its construction. Different grades are suitable for different purposes, so choosing the right grade is crucial for your countertop project.
| Grade | Description |
|---|---|
| AA | High-quality face and back veneers with minimal defects, suitable for countertops that require a smooth and flawless finish. |
| A | Good-quality face and back veneers with slight imperfections, suitable for countertops where a few small flaws are acceptable. |
| AB | Mixed-grade plywood with a combination of high-quality and good-quality veneers, suitable for countertops that require a balance between appearance and cost. |
| B | Low-quality face veneer with higher-grade back veneer, suitable for countertops that will be covered or painted. |
Plywood Thickness
The thickness of the plywood you choose will depend on the strength and stability required for your countertop. Thicker plywood is generally more durable, but it may also add extra weight to your countertop.
- 1/2 inch (12.7mm) plywood: Suitable for countertops with additional support, such as a solid wood frame or strong brackets.
- 3/4 inch (19.05mm) plywood: The most common thickness for plywood countertops, providing a good balance of strength and weight.
- 1-inch (25.4mm) plywood: Ideal for countertops that require extra strength and support, especially for heavy-duty use.
When selecting the plywood thickness, take into consideration the span of the countertop, the weight it needs to support, and any additional reinforcements you plan to add.
Measuring And Cutting
If you’re considering a DIY plywood countertop for your kitchen or workspace, one of the most important steps is measuring and cutting the plywood. This ensures that the countertop fits perfectly and is the right size for your needs. In this section, we will go over the process of measuring the countertop area and cutting the plywood, step by step.
Measuring The Countertop Area
Before you start cutting the plywood, it’s crucial to measure the countertop area accurately. This will help you determine the size of the plywood sheet you need to purchase. Here’s a simple guide on how to measure the countertop area:
- Clear off your existing countertop, removing any appliances or items that might obstruct your measurements.
- Using a measuring tape, measure the length of your countertop from one end to the other. Make sure to measure along the back edge of the countertop.
- Next, measure the width of the countertop from the front edge to the back edge. Measure at several points along the width, as some countertops might not be perfectly straight.
- Once you have the length and width measurements, multiply them together to get the total square footage of your countertop area. This will help you determine the size of the plywood sheet you need to purchase.
Cutting The Plywood
Cutting the plywood is the next crucial step in making your DIY plywood countertop. Here’s a step-by-step guide on how to cut the plywood:
- Start by marking the measurements you obtained on the plywood sheet. Use a pencil and a straightedge to create straight and accurate lines.
- Ensure your plywood is securely clamped to a stable work surface to prevent it from moving while you cut.
- Using a circular saw or a jigsaw, carefully cut along the marked lines. Take your time and follow the lines as accurately as possible.
- Once you’ve cut the plywood to the desired size, double-check the measurements to ensure everything is accurate.
That’s it! You’ve successfully measured and cut the plywood for your DIY plywood countertop. The next step is to prepare the plywood for installation, which we will cover in the next section.
Preparing The Plywood
To ensure a successful plywood countertop, proper preparation of the plywood is crucial. The following steps will guide you through the process of preparing the plywood for your countertop project.
Sanding And Smoothing
Sanding the plywood is the initial step in preparing it for use as a countertop. Begin by using a coarse grit sandpaper to smooth any rough surfaces and eliminate imperfections.
Follow this with a finer grit sandpaper to achieve a smooth finish. Ensure that the entire surface is thoroughly and uniformly sanded to avoid any unevenness on the countertop.
Adding Edge Banding
Edge banding is essential for enhancing the appearance and durability of the plywood countertop. Apply a thin strip of edge banding to the exposed edges of the plywood to protect it from moisture and create a professional-looking finish.
Use an iron to attach the edge banding, ensuring it is firmly adhered to the edges of the plywood. Trim any excess banding to achieve a neat and seamless appearance.
Credit: homespecialize.com
Finishing And Sealing
To create a plywood countertop, start by sanding the surface and edges, then apply a suitable finishing and sealant to protect it from moisture, stains, and scratches. This will provide a durable and attractive surface for your kitchen or work area.
Selecting The Finish
When it comes to selecting the finish for your plywood countertop, there are a few important factors to consider. First and foremost, you’ll want to choose a finish that is durable and resistant to moisture and heat. This will ensure that your countertop stands up to the daily wear and tear of a busy kitchen.
Additionally, you’ll want to consider the look you’re going for. There are a variety of finishes available, from natural oils that enhance the natural beauty of the plywood, to glossy polyurethane finishes that provide a more modern and sleek appearance. Take some time to think about the overall aesthetic you want to achieve and choose a finish that aligns with your vision.
Sealing The Plywood
Sealing the plywood is a crucial step in the process of making a plywood countertop. It helps to protect the wood from moisture, stains, and other forms of damage. There are several options available when it comes to sealing plywood, including varnish, lacquer, and epoxy.
One popular choice for sealing plywood countertops is a water-based polyurethane varnish. It provides a durable and protective coating that is resistant to water and heat. Before applying the varnish, make sure the plywood is clean and free of any dust or debris. Apply the varnish evenly to the surface using a brush or roller, following the manufacturer’s instructions for drying time and additional coats if necessary.
Another option for sealing plywood countertops is using epoxy. Epoxy creates a thick, glossy, and extremely durable finish that is resistant to stains and scratches. It’s important to note that working with epoxy can be a bit more complex and time-consuming. It requires careful mixing and application to avoid air bubbles and achieve a smooth and even finish. However, the end result can be truly stunning.
No matter which sealing option you choose, it’s important to follow the manufacturer’s instructions carefully. Allow the finish to fully cure before using the countertop to ensure optimal protection and longevity.
In conclusion, selecting the right finish and properly sealing your plywood countertop is essential for both functionality and aesthetics. Choose a finish that suits your style and consider the durability and resistance to moisture and heat. Sealing the plywood using a water-based polyurethane varnish or epoxy will ensure that your countertop remains in great condition for years to come.
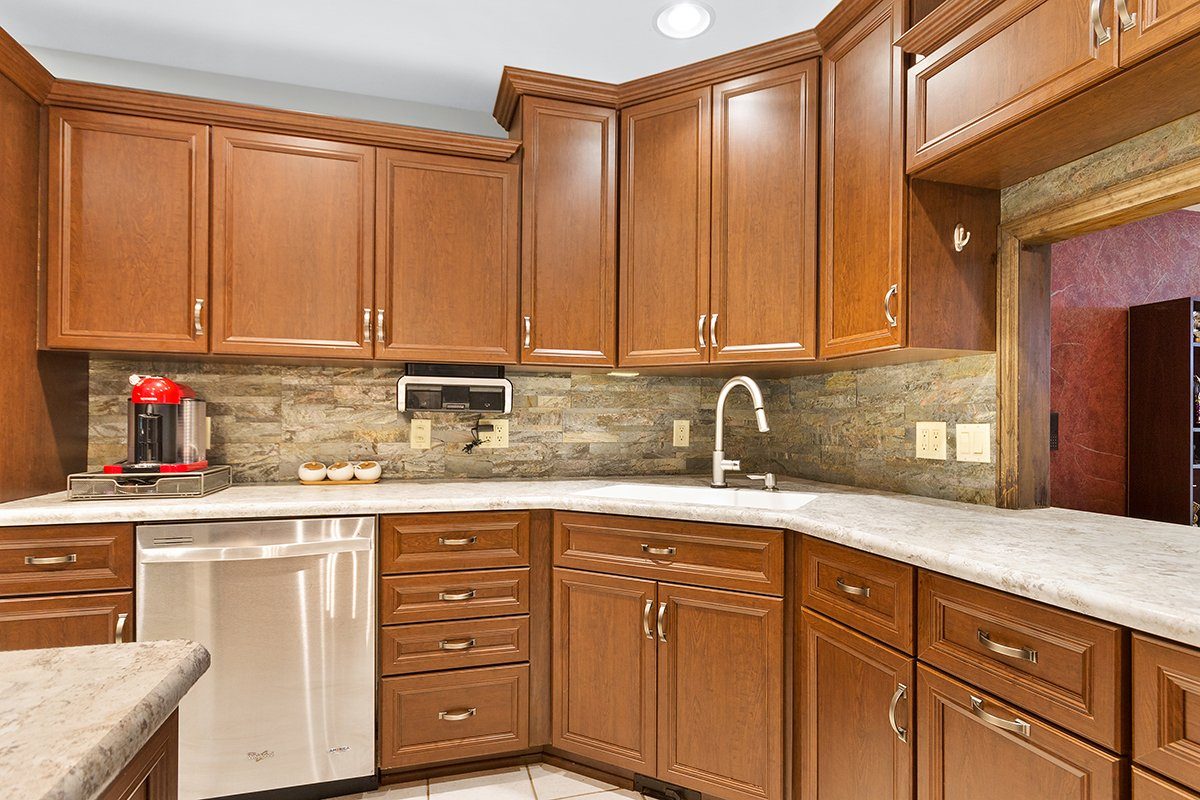
Installing The Countertop
Learn how to install a plywood countertop with this easy step-by-step guide. Create a durable and budget-friendly surface for your kitchen using plywood, and enjoy a custom look without breaking the bank.
Attaching The Countertop
To begin the installation process, carefully position the plywood countertop onto the base cabinets, ensuring it aligns perfectly. Use a level to ensure a flat and even surface. It is essential to securely attach the countertop to prevent any movement or instability.
To attach the plywood countertop, follow these simple steps:
- Start by applying construction adhesive along the top edges of the base cabinets. This will help create a strong bond between the plywood and the cabinets.
- Next, carefully place the plywood countertop onto the base cabinets, ensuring it is aligned correctly.
- Secure the countertop by driving wood screws through the plywood and into the top edges of the base cabinets. Place the screws every 6-8 inches to ensure stability.
- For added support, you can also install angle brackets on the underside of the countertop. These brackets will help distribute the weight and prevent the countertop from sagging over time.
Applying Sealant
Once the plywood countertop is securely attached to the base cabinets, it’s important to apply a sealant to protect it from moisture, stains, and everyday wear and tear. Follow these steps to apply the sealant:
- Clean the surface of the countertop thoroughly to remove any dirt, dust, or debris.
- Apply a coat of primer to the entire surface of the plywood countertop. This will help the sealant adhere better and provide a smooth finish.
- After the primer has dried, apply a thin and even layer of sealant using a paintbrush or roller. Make sure to cover the entire surface, including the edges.
- Allow the sealant to dry completely according to the manufacturer’s instructions.
- Once dry, lightly sand the surface of the countertop to remove any rough spots or imperfections.
- Apply a second coat of sealant for added protection and durability.
By following these simple steps, you can successfully install and seal a plywood countertop, adding both functionality and aesthetic appeal to your space.

Credit: www.charlestoncrafted.com
Credit: cabinetdoorsnmore.com
Frequently Asked Questions For How To Make A Plywood Countertop
Can Plywood Be Used As A Countertop?
Yes, plywood can be used as a countertop. It is a cost-effective option with a smooth surface that can be customized to fit different styles. However, it is important to seal and protect the plywood to prevent water damage and maintain its durability.
How Thick Should Plywood Be Under Countertop?
Plywood under a countertop should be at least 3/4 inch thick to provide strong support. Thinner plywood may not be able to withstand the weight and stress of a countertop. Thicker plywood, such as 1 inch, can offer even more stability for heavy countertops.
How Do You Cut Plywood For Countertops?
To cut plywood for countertops, first measure and mark the desired dimensions on the plywood. Then, use a circular saw or jigsaw fitted with a fine-toothed blade to carefully cut along the marked lines. Additionally, ensure the plywood is securely supported during the cutting process to prevent splintering and ensure accuracy.
What Finish For Plywood Countertop?
For a plywood countertop, opt for a durable and water-resistant finish. Consider using a polyurethane or epoxy coating to protect the wood and enhance its longevity.
Conclusion
To sum up, making a plywood countertop is a cost-effective and versatile option for any DIY enthusiast. Its durability, easy customization, and rustic charm make it a popular choice for kitchen and bathroom renovations. With the right tools and techniques, you can create a functional and stylish surface that perfectly fits your needs.
Experiment with different finishes and sealants to achieve the desired look that complements your home décor. Embrace the beauty of plywood and create a unique countertop that reflects your personal style and craftsmanship.