How to Make Matte Paint Glossy: Only 1 Method Really Works
A clear gloss topcoat is the only reliable way to make matte paint glossy — buffing or polishing the dried paint itself does not raise its sheen the way it can on lacquer or auto clear coat. Skip the topcoat and the surface stays flat no matter how long you rub it. This guide covers surface prep, applying a clear polyurethane or gloss spray topcoat, and how gloss percentage actually works.
[Insert your Affiliate Disclosure reusable block here]
Quick Answer
Apply a clear gloss polyurethane or gloss spray topcoat over fully cured matte paint — clean, lightly sand with 320-400 grit, then brush or spray on 2-3 thin coats. There is no additive or buffing trick that turns dried flat paint glossy on its own; the shine comes entirely from the clear coat on top.
Tools and Materials You Will Need
Best Gloss Clear Coat Pick
Rust-Oleum Painter’s Touch 2X Gloss Clear Spray
A gloss spray topcoat you can put over most cured paint types for a fast, even shine without a sprayer.
- Best for: quick furniture and trim projects, any-angle spray tip
- Why we picked it: dries to touch in about 20 minutes so recoats go fast
- Main drawback: aerosol coats are thin — needs 2-3 passes for full gloss
Compare more gloss topcoat options
 Option 1 Minwax Fast-Drying Polyurethane Spray, Clear Gloss
|
 Option 2 Varathane Triple Thick Polyurethane Gloss Wood Finish Spray
|
 Option 3 Rust-Oleum Universal All Surface Clear Topcoat Spray, High Gloss
|
As an Amazon Associate we earn from qualifying purchases.
- Clear gloss polyurethane or gloss clear spray (oil-based lasts longer outdoors; water-based dries faster and stays clearer over white paint)
- 320-400 grit sandpaper and a sanding block
- Mild detergent, warm water, sponge, and a lint-free cloth
- Tack cloth to lift sanding dust before the topcoat goes on
- Foam brush or fine-bristle brush (or a spray gun/rattle can for spray topcoats)
- Painter’s tape and drop cloth
Why Buffing Alone Will Not Make Paint Glossy
Dried paint is a flat film of pigment and binder — there is no wax or resin layer sitting on top of it to buff up, the way there is on a car’s lacquer clear coat or a waxed floor. Rubbing compound and polishing pads work on those surfaces because they are leveling and burnishing a soft, glossy resin layer that is already there. Matte and flat paint have no such layer, so buffing just moves dust around a rough film — it does not change the paint’s reflectivity.
The only way to add real shine is to put an actual glossy layer on top: a clear gloss polyurethane, clear acrylic spray, or clear lacquer. That new layer is what reflects light, not the matte paint underneath it.
Prepping the Surface
A glossy topcoat shows every flaw underneath it, so surface prep matters more here than for a flat repaint. Prepping means cleaning, sanding, and priming in that order.
Cleaning the Paint Surface
Wash the painted surface with a mild detergent and warm water before you sand anything. Dust, grease, and grime under a new topcoat cause fisheyes and poor adhesion. Rinse and let the surface dry fully — sanding a damp surface just loads up the paper.
Sanding the Surface
Lightly scuff-sand the cured paint with 320-400 grit sandpaper, working with the grain if the paint is over wood. You are not trying to remove the paint, just knock down the sheen and give the topcoat something to grip — a light haze across the surface is enough. Clear all sanding dust with a tack cloth before moving on; dust trapped under a gloss coat shows up as bumps once it dries.
Priming the Surface
A primer coat is only needed if the existing paint is chalky, peeling, or a very different type from your topcoat (for example, applying an oil-based gloss over old latex). If the paint is sound and clean, most clear polyurethane and clear spray topcoats bond directly with no primer step. When in doubt, use a bonding wood primer first — it costs one extra coat but removes the risk of peeling.
Applying the Glossy Topcoat
Choosing the Right Topcoat
Pick a clear gloss polyurethane for wood furniture and trim — oil-based versions cure harder and hold up better to handling, while water-based versions dry faster and stay clearer over white or pastel paint. A clear gloss spray works well for smaller pieces or hard-to-brush shapes. See our full Danish oil vs. polyurethane comparison if you are deciding between an oil finish and a film-building topcoat.
Applying the First Coat
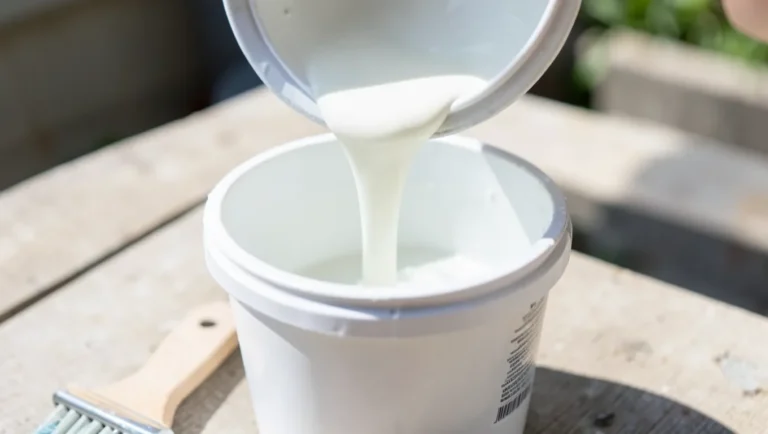
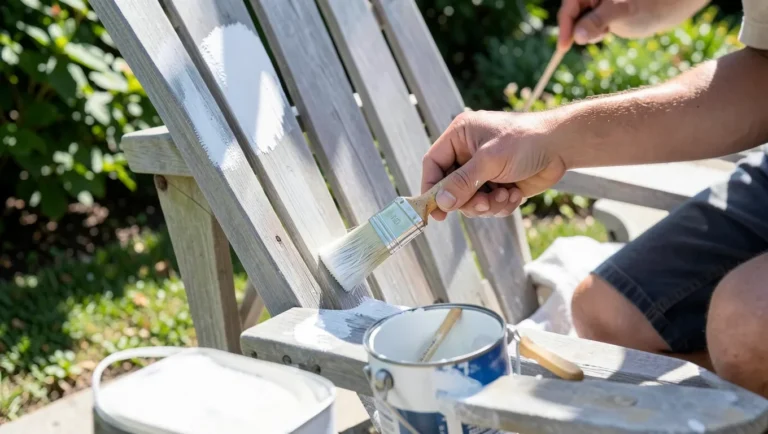
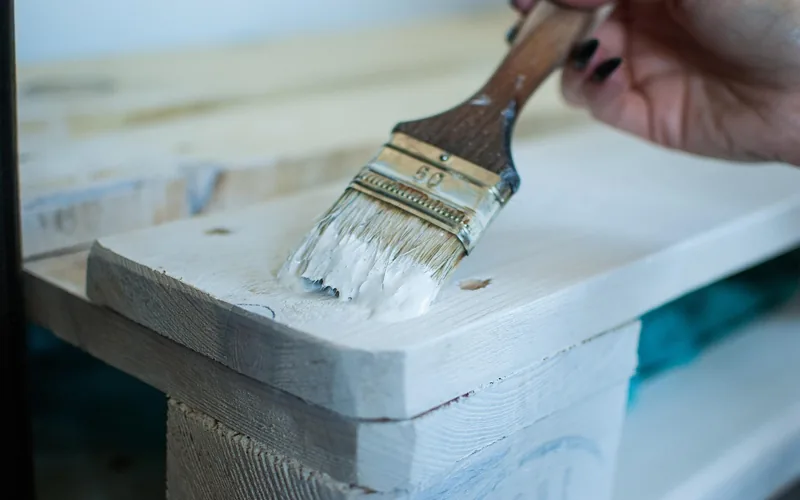
Apply a thin, even first coat — brushed on with the grain or sprayed in light, overlapping passes. A thick first coat is the top cause of drips and an uneven, cloudy gloss. Let it flash off for the time listed on the can before touching it.
Applying Additional Coats
Lightly sand with 400-grit between coats once each layer is dry to the touch, then wipe away the dust. Two to three thin coats give a deeper, more even gloss than one heavy coat, and each pass fills in any texture left by sanding the coat before it.
Drying and Cure Time
📊 Dry-to-touch time for a gloss aerosol clear coat is around 20 minutes, and one 12 oz can covers roughly 12 sq. ft. — Source: Rust-Oleum Painter’s Touch 2X Gloss Clear Spray product specifications
That “dry to touch” number is not the same as fully cured. Recoat once the previous layer is dry to a light touch (usually within an hour for sprays, longer for brushed oil-based polyurethane), but wait at least 24-48 hours before placing anything heavy on the surface — the film is still hardening underneath even after it looks and feels dry.
Finishing Touches
Polishing the Glossy Surface
Once the final coat has fully cured (check the can for the cure time, not just the recoat time), a light pass with a soft microfiber cloth removes any dust nibs and brings up the shine. Skip abrasive polish or rubbing compound here — on a thin clear coat it can burn through and dull the finish instead of improving it.
Protecting the Glossy Finish
Keep the surface out of direct sun and away from moisture for the first week while the film fully hardens. Use coasters and felt pads under anything placed on a freshly glossed tabletop — a fully cured gloss finish resists scuffs well, but a still-curing one marks easily.
Maintaining the Glossy Look
Dust with a soft, dry cloth and clean spills with a damp cloth and mild soap only — ammonia-based cleaners can dull a polyurethane or acrylic gloss over time. A worn gloss finish can usually be revived with a light scuff-sand and a fresh coat rather than stripping the whole piece.
Paint Sheen Levels by Gloss Percentage
Sheen is measured with a gloss meter at a 60° angle and expressed as the percentage of light the surface reflects. Knowing where your current paint and your topcoat fall on this scale explains why a clear gloss coat, not a satin or eggshell one, is what you want for a true glossy result:
| Sheen Level | Light Reflected | Typical Use |
|---|---|---|
| Flat / Matte | Under 10% | Ceilings, low-traffic walls, hiding surface flaws |
| Eggshell | 10-25% | Living rooms, bedrooms — slight sheen, easy touch-ups |
| Satin | 25-40% | Trim, doors, furniture — some durability and shine |
| Semi-Gloss | 40-70% | Cabinets, kitchens, bathrooms — washable and shiny |
| High-Gloss | 70%+ | Furniture accents, trim, glass-like showpiece finishes |
A true glossy look needs a topcoat rated in the High-Gloss range above 70% reflectance. See our full wood finish texture guide for how sheen and surface feel relate on wood specifically. (Source: paint sheen classifications)
Common Mistakes That Ruin a Glossy Finish
- Skipping the scuff-sand step — gloss topcoat over an unsanded, slick painted surface peels within weeks.
- Applying one thick coat instead of two to three thin ones — causes drips, cloudiness, and uneven sheen.
- Recoating too soon — trapping solvent under a skinned-over layer causes wrinkling.
- Using an incompatible topcoat — oil-based gloss over unprimed fresh latex can lift the paint underneath.
- Handling or placing objects on the surface before the full cure time, not just the recoat time, has passed.
Frequently Asked Questions
How Do You Make Matte Paint Shiny?
Apply a clear gloss polyurethane or clear gloss spray over the fully cured matte paint. Clean and lightly sand the surface first so the topcoat adheres, then apply 2-3 thin coats — the shine comes from the clear layer, not from anything done to the matte paint itself.
How Do You Make Flat Paint Glossy?
The process is the same as any matte-to-glossy conversion: clean, scuff-sand with 320-400 grit, then brush or spray on a clear gloss topcoat in thin coats. There is no paint additive that reliably turns cured flat paint glossy without a topcoat.
Can You Change a Matte Finish to Gloss?
Yes, but only by adding a clear gloss layer on top — you cannot change the sheen of the paint that is already dried and on the surface. A gloss topcoat (polyurethane, acrylic, or lacquer depending on the surface) is what creates the new sheen.
Can You Put Gloss Over Matte Paint?
Yes. Most clear gloss polyurethanes and gloss sprays bond fine over cured, clean, lightly sanded matte paint. Test a small hidden area first if you are mixing brands or paint types, since some oil-based topcoats can react with certain fresh latex paints.
Does Sanding Alone Make Paint Glossy?
No. Sanding only smooths and dulls the existing surface so a topcoat adheres better — it does not add any shine on its own. The gloss always comes from the clear coat applied after sanding, not from the sanding step itself.
How Long Does a Gloss Clear Coat Take to Fully Cure?
Most gloss sprays and water-based polyurethanes are dry to the touch within 20-60 minutes and safe to recoat within a few hours, but full cure — when the surface can handle regular use — typically takes 24-48 hours for sprays and up to a week for oil-based polyurethane.
Conclusion
Matte paint only turns glossy when you add a clear gloss topcoat on top of it — no amount of buffing, polishing, or additive mixed into the old paint will do that on its own. Clean and scuff-sand the surface, choose a clear gloss polyurethane or spray suited to the material, and build the shine in two to three thin coats rather than one heavy one. Give the final coat its full cure time before you put the piece back into use.
Sponsored / affiliate links. As an Amazon Associate I earn from qualifying purchases. I may earn additional commission from eligible campaigns.