How to Make Plywood Floors Look Nice
Sanding and refinishing is what actually changes a plywood floor’s look – stain and a protective topcoat if you want the grain to show, or primer and floor paint if you’d rather cover it entirely. Either path starts the same way: repair any damage, sand the surface smooth, and clean it thoroughly before anything else touches the floor.
Plywood floors are a genuinely practical, budget-friendly choice, and the reason they often look unfinished isn’t the material – it’s usually a missed prep step. Here’s the process in order, plus what actually determines whether the finish holds up.
Preparing the Plywood Floor
Best Topcoat For Stained Or Painted Plywood Floors
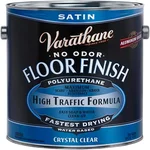 |
Varathane Diamond Water-Based Floor Finish, Satin – $77.99/gal This is the step this guide keeps coming back to – a floor-rated topcoat over stain or paint, formulated for foot traffic instead of furniture.
|
Repairing Any Damage
Inspect the floor for cracks, holes, and loose boards before doing anything else – sanding or finishing over damage just locks it in. Fill cracks and holes with a wood putty or filler close to the plywood’s color, apply it with a putty knife, and smooth it level with the surrounding surface. Secure any loose boards with screws, countersinking them below the surface so they don’t create a tripping hazard or catch the sander.
Sanding the Surface
Start with a coarse grit (60-80) to knock down rough patches and unevenness, sanding with the grain in long, even passes. Follow with a medium grit (100-120) and finish with a fine grit (150-180) for a smooth base that takes stain or paint evenly – skipping straight to fine grit leaves the coarser scratches from milling still visible underneath. Vacuum thoroughly between grits; leftover dust gets pressed into the next pass and shows up as fine scratches in the final finish. Let the floor dry completely if you used a damp cloth for the final cleanup.
Cleaning and Prepping
Sweep or vacuum to remove loose debris, then go over the floor with a mild cleaning solution and warm water on a mop or sponge, wrung out well rather than soaking. Rinse with clean water to remove soap residue, then dry thoroughly with a towel – leftover moisture at this stage is what causes stain to blotch or plywood veneer to lift at the seams later.
Staining or Painting the Plywood
Which one you pick depends on whether you want the plywood’s grain visible or fully covered – both hold up fine on a floor as long as the topcoat step isn’t skipped.
Staining the Plywood
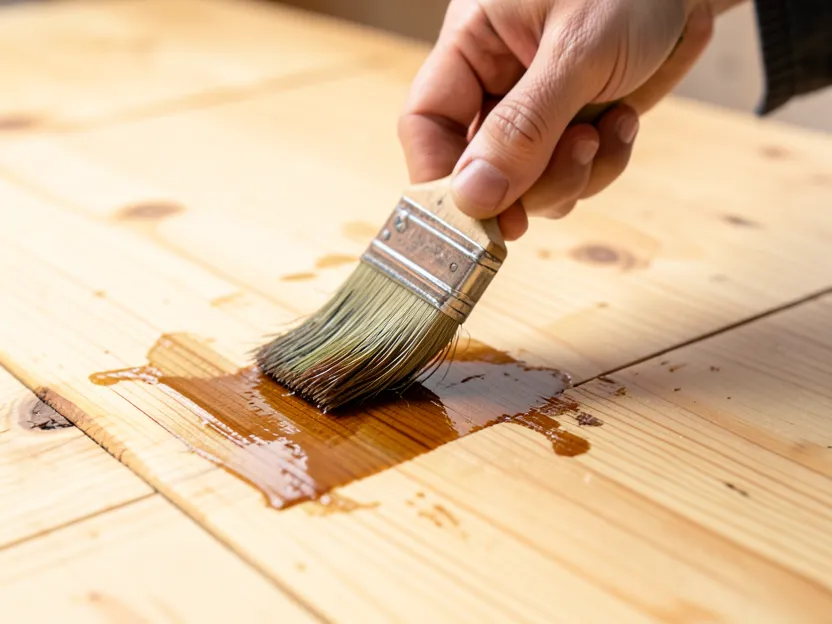
Staining keeps the plywood’s grain pattern visible while adding color. After sanding and cleaning:
- Apply the stain with a brush, roller, or cloth, following the manufacturer’s instructions for open time.
- Let the stain penetrate for the recommended time, then wipe off the excess with a clean cloth – leaving excess stain sitting on the surface is what causes a sticky or uneven finish.
- Once dry, apply a protective finish like polyurethane to seal and protect the floor. Plan on at least two coats; floors take far more foot traffic than furniture and a single coat wears through fast.
Painting the Plywood
Painting covers the plywood entirely and opens up any color, which is useful if the plywood grade shows visible voids or patchwork veneer that staining would only highlight.
- Sand and clean the surface the same way as for staining.
- Apply a primer made for floors to create a base the paint will actually bond to – a wall primer doesn’t have the adhesion or flexibility a floor needs.
- Apply floor-rated paint evenly with a brush or roller, and let each coat dry fully before adding the next.
- Once the final coat is dry, apply a clear topcoat made for floors to protect the paint from scuffing and wear.
Decorative Techniques
If you want more than a solid stain or paint color, a few techniques work specifically well on a plywood floor:
- Stenciling: painted patterns or a faux-tile design over a base coat, sealed with the same topcoat as the rest of the floor.
- Wood-tone borders: staining a border strip a contrasting shade before sealing, similar to a rug outline built into the floor itself.
- Whitewashing: a diluted white or gray stain wiped back quickly leaves the grain visible under a lightened finish, a common look on plywood specifically because its face veneer often has strong grain contrast.
Any of these still need the same sealing step as a plain stain or paint job – decorative work with no topcoat wears off first, right where you spent the most effort.
Protecting and Maintaining the Floor
The finish is what actually protects plywood floors long-term, but a few habits make it last:
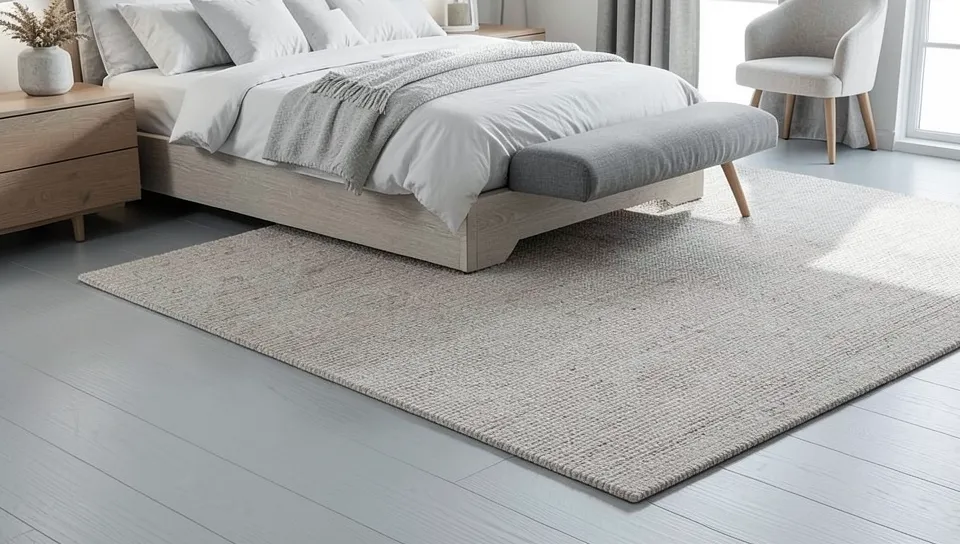
- Rugs and mats in high-traffic areas – entryways, in front of sinks, anywhere foot traffic concentrates – take the wear that would otherwise go straight into the finish. Rotate and clean them periodically so trapped grit doesn’t grind against the floor from underneath.
- Sweep or vacuum regularly. Loose grit is what actually scratches a finished floor; the finish itself resists normal foot traffic fine.
- Wipe spills immediately with a damp cloth rather than letting them sit, and avoid harsh chemicals or soaking the floor when cleaning – both can dull or lift the topcoat over time.
- Recoat before the finish actually wears through, not after. Once bare wood is exposed in a traffic pattern, you’re refinishing that section, not just recoating it.
Conclusion
A plywood floor looks nice for the same reason any wood floor does: real prep (repair, sand, clean) before any finish goes down, and a topcoat that actually gets maintained afterward. Stain if you want the grain to show, paint if you’d rather cover it, and either way plan on two coats of a floor-rated topcoat – that’s the step that determines whether the floor still looks good in a year, not which color you picked.
Sponsored / affiliate links. As an Amazon Associate I earn from qualifying purchases. I may earn additional commission from eligible campaigns.