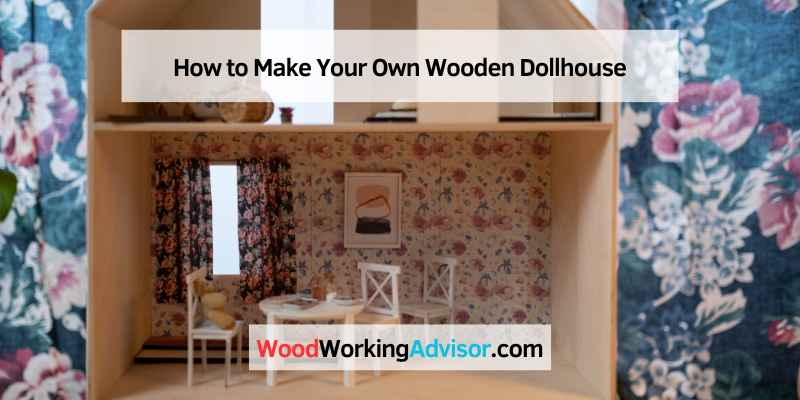
How to Make Your Own Wooden Dollhouse
Making your wooden Dollhouse is a fun and rewarding project you can do with the whole family. It’s also a great way to save money, as buying a pre-made dollhouse can be expensive. Here are some tips on how to make your wooden Dollhouse:
1. Choose the right wood. You’ll want to use sturdy wood that is smooth and splinter-free, such as pine or poplar. Avoid using plywood, as it tends to be weak and flimsy.
2. Cut the pieces for the walls, floors, and roof according to your chosen design’s dimensions. If you’re not confident in your ability to do this, there are plenty of online tutorials, or ask someone at your local hardware store for help.
3. Assemble the walls, floors, and roof using carpentry skills or strong adhesive glue designed for woodworking projects.
Be sure to sand down any rough edges before proceeding to the next step.
- Start by measuring and cutting your wood to the desired dollhouse dimensions.
- If you want a more precise finish, use a miter saw for cleaner cuts
- Next, assemble the frame of your Dollhouse using wood glue and nails or screws
- Make sure everything is square and level before moving on
- Now it’s time to add the walls and roof
- Cut your plywood or MDF to size and attach it with construction adhesive or brad nails.
- Again, make sure everything is level and squared up before proceeding
- It’s now time to finish off your Dollhouse by adding any trim details, paint, wallpaper, etc
How to Build a Victorian Dollhouse from Scratch
When it comes to dollhouses, there are few styles as iconic and classic as the Victorian era. These homes were known for their ornate designs, detailed interiors, and exquisite facades. While many people may think that building a Victorian dollhouse from scratch is impossible, it is achievable with some time, patience, and the right materials.
To start, you will need to gather all of the necessary supplies. This includes wood boards, trim pieces, wallpaper, flooring material, furniture kits, etc. Once you have everything on hand, you can begin working on the basic frame of your house.
Cut out each piece of wood according to the desired dimensions and then assemble them using screws or nails. Once the frame is complete, it’s time to start working on the exterior details.
How to Build a Dollhouse for Barbie from Scratch
Building a dollhouse for Barbie from scratch can be a fun and rewarding project. Here are some tips on how to get started:
1.Decide on the size and style of your Dollhouse. Do you want it to be tall and narrow or short and wide? How many floors do you want it to have? What kind of roof do you want?
There are many possibilities, so take some time to plan your design before getting started.
2. Gather your materials. You’ll need some wood for the house‘s frame and plywood or Masonite for the walls and ceiling.
If you’re planning on adding electrical lights or wiring, you’ll need additional supplies for that as well.
3. Cut out your pieces according to your chosen design. Be sure to use a sharp blade and take care not to make any mistakes – this is important if everything is going to fit together correctly later on!
4. Assemble the frame of your house first, using wood glue and nails or screws (depending on what’s easiest for you). Then add the walls and ceiling, using glue, nails, or screws to hold everything in place.
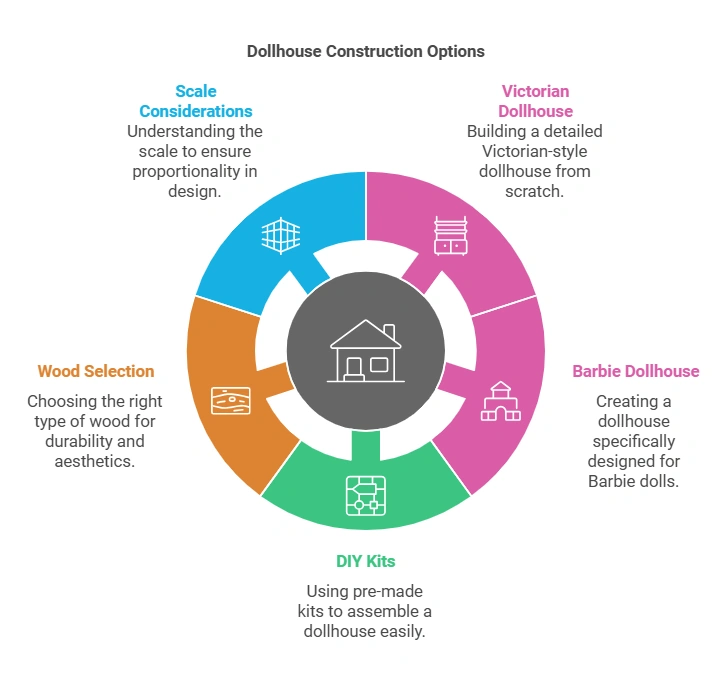
DIY Dollhouse Kit
Dollhouses have been around for centuries, and they’re a classic toy that continues to be popular among children of all ages. If you’re looking for a unique gift for a child or want to create a fun project for yourself, consider making a DIY dollhouse kit. With a little time and effort, you can create a beautiful, one-of-a-kind dollhouse that will provide hours of enjoyment.
When choosing a dollhouse kit, there are several things to remember. First, decide what size Dollhouse you want to make. There are kits available in different sizes, so it’s important to choose one that will fit your available space.
Second, think about the style of the Dollhouse you want to create. Do you want a traditional house with multiple rooms or something more creative like a treehouse or castle? Once you’ve decided on the size and style of your Dollhouse, it’s time to start shopping for kits!
There are many different places where you can find dollhouse kits. One option is your local craft store – many carry basic kits that can be easily assembled into various houses. Another great option is online – numerous websites sell Dollhouse kits (and other miniature items).
When ordering online, read reviews before making your purchase – this will help ensure that you get quality materials and instructions. Once you’ve chosen your kit and gathered all the necessary supplies, it’s time to start building! The process may seem daunting at first, but with patience and careful planning, it’ll be easy to assemble your own DIY Dollhouse.
DIY Wooden Dollhouse Kit
Are you looking for a fun weekend project? Check out this DIY wooden dollhouse kit! This kit includes everything you need to build your Dollhouse, including detailed instructions.
You’ll have so much fun putting it together, and when you’re done, you’ll have a beautiful new piece of furniture for your home.
How to Make Doll House Step by Step
Dollhouses are classic toys that have been around for centuries. They provide hours of fun and imagination for children of all ages. Making your Dollhouse can be a rewarding experience for you and your child.
Here is a step-by-step guide to help you get started:
1) Choose the right Dollhouse: Dollhouses come in all shapes and sizes.
You will want to choose one that is appropriate for your child’s age and the space you have available.
2) Gather materials: Basic tools and supplies, including wood, paint, glue, etc.
A trip to your local hardware store should do the trick.
3) Cut out the pieces: Using a saw, cut out all the pieces you will need to assemble your Dollhouse according to your chosen plans or design.
4) Assemble the house: This is usually the most fun part! Follow the instructions (or use your creativity) to put everything together.
5) Paint and decorate: Once everything is assembled, it’s time to add some color and personality with paint and decorations. Let your child’s imagination run wild!
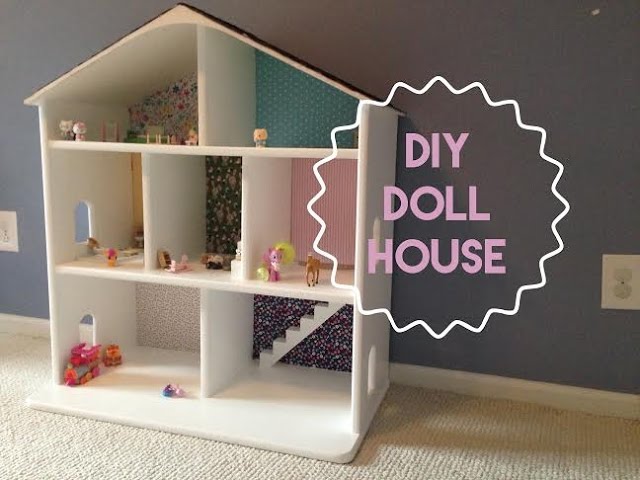
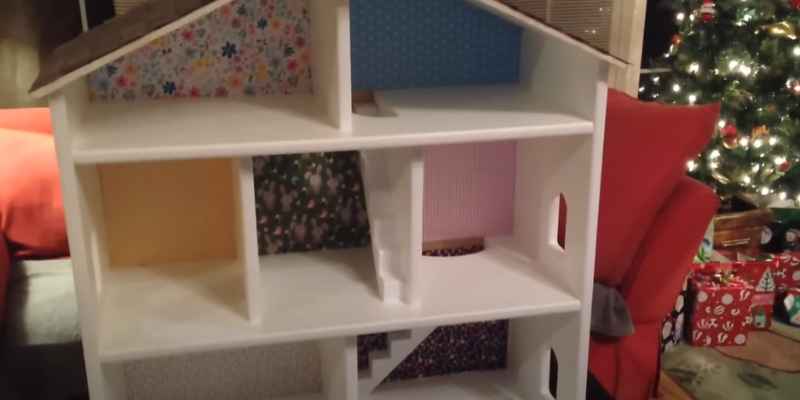
Credit: www.youtube.com
What Kind of Wood Should I Use to Make a Dollhouse?
There are many factors to consider when choosing wood for a dollhouse, including the type of wood, the size and scale, and the intended use. Some woods are better suited for certain types of dollhouses than others. Here is a guide to help you choose the best wood for your dollhouse project.
The most important factor to consider when choosing wood for a dollhouse is the scale of the project. Dollhouses come in various sizes, from small tabletop models to large floor models. The type of wood you select should be appropriate for the size of the Dollhouse.
For example, balsa wood is a lightweight material often used in small tabletop dollhouses, while plywood or MDF (medium-density fiberboard) may be better suited for larger projects. Another factor to consider is the intended use of the Dollhouse. If you plan on displaying your Dollhouse prominently in your home, you may want to select a more durable hardwood such as maple or oak.
However, if children mostly play with dolls, softer woods such as pine may be a better choice as they are less likely to break or splinter. Finally, consider any special features or details you want to add to your Dollhouse before selecting your wood. For example, if you want detailed trim work or molding around doors and windows, harder woods such as oak or cherry would be a good choice as they can be easily shaped with hand tools.
Softer woods, such as pine, may also work well for this purpose but might require more sanding and prep work before painting or staining.
What Do I Need to Build a Dollhouse?
You will need tools, supplies, and patience to build a dollhouse!
Here is a list of what you will need to get started:
-Tape measure
-Plywood or MDF boards -Wooden craft sticks
-Glue gun and glue sticks
-Exacto knife or box cutter
-Ruler or a straight edge -Pencil
-Sandpaper
-Paint or stain (optional) The first step is to decide on your dollhouse size.
Will it be a 1:12 scale or 1:24? Once you have decided on the scale, use a tape measure to determine how big your house should be. Next, gather all of your materials.
You will need plywood or MDF boards for the walls and roof, wooden craft sticks for the framing, an Exacto knife or box cutter for cutting the pieces, sandpaper for smoothing edges, and paint or stain (optional). If you use plywood, ensure smooth sheets without any knots, as these can be difficult to work with. To cut the pieces for your dollhouse walls, start by marking out where each cut should be made with a pencil and ruler.
It is important to make precise cuts so that everything fits together correctly later. Once your pieces are cut out, use sandpaper to smooth any rough edges. Depending on the type of wood you are using, you may also want to paint or stain your pieces before assembly. Now it’s time to put everything together! Start by gluing one side wall piece to one end wall piece using a glue gun.
Make sure the corners are lined up perfectly before applying pressure to adhere the two pieces together firmly. Repeat this process for the other side and end walls until all four walls are complete. Then, glue two opposing walls together at their seams using woodcraft sticks as support beams between each wall panel every few inches. Leave about an inch from the top of each wall unglued so you can insert the ceiling panels later.
Finish assembling all four walls, then set them aside to dry overnight before moving on to the next step. The roof is added last, but it’s not the least! Begin by measuring and cutting out ceiling panels for each roofing section – front gable roofs will require two panels, while hipped roofs will require four smaller ones. Glue these panels along the top edges of each wall, ensuring that they fit snugly against one another at their seams, then set them aside again to dry completely overnight.
In order once more, add support beams across each seam joint, then apply generous amounts of glue along both sides of each beam before nailing them into place with small finishing nails. Allow everything plenty of time to dry thoroughly before adding shingles, trim, doors, windows, furniture, etc. And there you have it – your very own custom dollhouse!
Are Most Dollhouses 1/12 Scale?
Yes, most dollhouses are 1/12 scale. This means that for every foot (12 inches) of actual space, the Dollhouse is represented by one inch. So, a standard 8-foot ceiling in a room would be represented by an 8-inch ceiling in the Dollhouse.
Some dollhouses are made in other scales, such as 1/16 or 1/24, but 1/12 is the most common.
What is the Normal Scale for a Doll House?
When looking at dollhouses, it is important to remember that there is no one “normal” scale for these structures. Generally, the most popular scales for dollhouses are 1:12, 1:16, and 1:24. However, other scales, such as 1:48 and 1:100, are also used depending on the specific dolls or purposes involved.
The main factor determining the appropriate scale for a doll house is the size of the dolls that will be using it. For example, if the dolls are small enough to fit inside a matchbox, then a smaller scale, such as 1:48, would be more appropriate. On the other hand, if the dolls are life-sized or close to life-sized, then a larger scale, such as 1:12, would be more suitable.
Another consideration when choosing a scale for a doll house is what sorts of furniture and accessories will be used with it. If tiny furniture and accessories are used, a smaller scale, such as 1:48, would likely be best.
However, if larger pieces are needed, then a bigger scale, like 1:12, would probably work better.
Ultimately, there is no “normal” or “correct” scale for dollhouses in general – it depends on the specific situation and what works best for the dolls and accessories involved.
Conclusion
Making your wooden Dollhouse is a great way to save money and get your child a unique, one-of-a-kind toy. You’ll need some basic woodworking skills and tools, but the project is relatively simple and can be completed in a weekend. Start by cutting all of the pieces for the Dollhouse out of plywood or MDF.
You can find templates for the walls, floors, and roofs online or in many woodworking books. Once the pieces are cut out, sand them smooth and assemble the house using glue and nails or screws. If you want to paint or finish the Dollhouse in any way, do that before you add any furniture or accessories.
Once the house is finished, let your child have fun furnishing it however they like. They can use miniature furniture, toys, or even paper cutouts to decorate their new home.