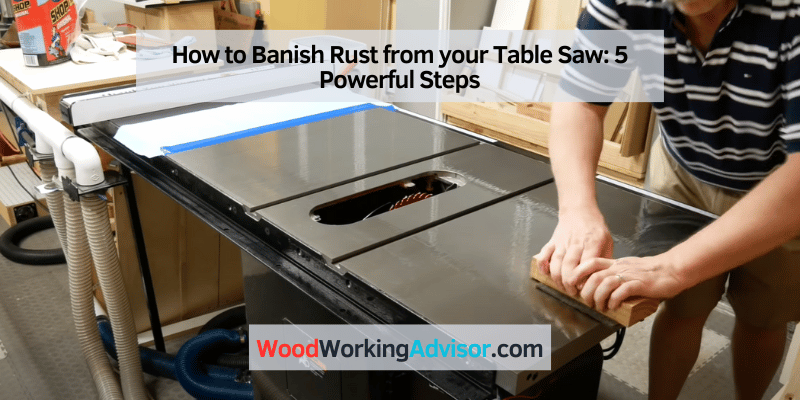
How to Banish Rust from your Table Saw: 5 Powerful Steps
To remove rust from a table saw, use a wire brush and a rust remover solution. There are several effective rust remover solutions available in the market that can easily eliminate rust from the surface of the table saw.
Understanding The Dangers Of Rust On A Table Saw
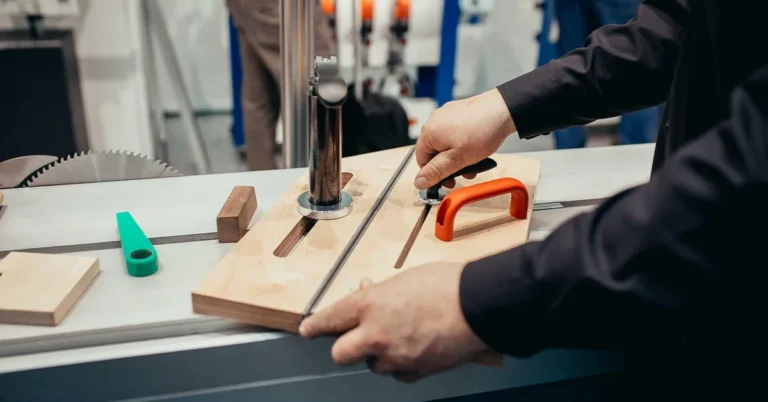
A table saw is a crucial tool for any woodworking enthusiast or professional. It allows for precise and efficient cutting, saving both time and effort. However, one common issue that can plague table saws is the presence of rust. Rust not only affects the appearance of your table saw but can also have significant detrimental effects on its performance and longevity.
The Harmful Effects Of Rust On A Table Saw
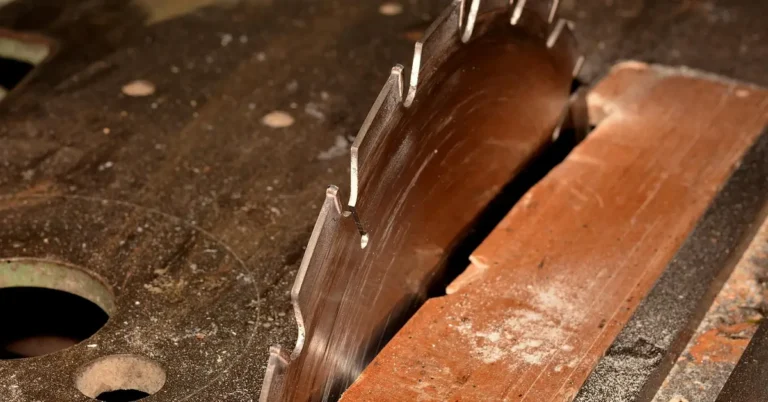
Rust is more than just a cosmetic concern; it can impact the functionality and lifespan of your table saw. Some of the harmful effects of rust include:
- Reduced cutting accuracy: Rust can create uneven surfaces on the saw’s table or blade, leading to inaccurate cuts. This can be a frustrating and time-consuming problem.
- Inefficient operation: Rust can cause the moving parts of the saw, such as the blade elevation mechanism or the fence adjustment, to become stiff, making it harder to operate the saw smoothly.
- Increased wear and tear: When metal surfaces are rusted, friction increases, causing excessive wear and tear on the parts. This can decrease the lifespan of the table saw and potentially lead to more significant repairs or replacements down the line.
- Risk of injury: Rough and jagged surfaces caused by rust can increase the risk of accidents while handling the table saw. It’s crucial to maintain a safe working environment by keeping the saw free from rust.
Importance Of Regular Maintenance To Prevent Rust
Prevention is always better than cure when it comes to rust on a table saw. Regular maintenance plays a vital role in preventing rust and ensuring the smooth operation of your table saw. By following a few simple steps as part of your regular maintenance routine, you can significantly reduce the risk of rust:
- Keep your table saw clean and dry:
- Wipe down the surfaces with a clean, dry cloth after each use to remove any moisture or sawdust that can contribute to rust formation.
- Store your table saw in a dry and well-ventilated area to minimize exposure to moisture.
- Apply a protective coating:
- Use a rust inhibitor or protective spray to create a barrier against moisture and prevent rust formation.
- Ensure you follow the manufacturer’s instructions when applying any protective coating to avoid any potential damage to the saw.
- Inspect and replace worn parts:
- Regularly inspect your table saw for any signs of rust or wear on the moving parts.
- If you notice any rusty or damaged parts, promptly replace them to prevent further damage to the saw and ensure optimal performance.
Why It Is Crucial To Take Action And Banish Rust
Addressing rust on your table saw should be a priority to maintain its functionality and extend its lifespan. By taking immediate action to banish rust, you can:
- Maximize cutting precision: Removing rust from the surface and blade of your table saw ensures a smooth and level cutting surface, resulting in more accurate cuts.
- Restore efficient operation: Eliminating rust from the moving parts of the table saw restores their smooth functionality, allowing for easier adjustments and operation.
- Prolong the lifespan of your saw: Regular and timely rust removal prevents excessive wear and tear, reducing the risk of more significant damage and prolonging the overall lifespan of your table saw.
- Maintain a safe working environment: By eliminating rust, you minimize the risk of accidents caused by rough surfaces, ensuring a safe and secure woodworking experience.
Now that you understand the dangers of rust on a table saw and the importance of regular maintenance, it’s time to take action and protect your investment. By implementing a proper maintenance routine and promptly addressing any rust issues, you can keep your table saw in prime condition for years to come.
Step 1: Cleaning The Surface Of The Table Saw
Before you can effectively remove rust from your table saw, it’s essential to start with a clean surface. This ensures that any rust removal solution can penetrate the affected areas and do its job effectively. Follow these steps to clean the surface of your table saw:
Removing Dust And Debris From The Surface
The first step in cleaning your table saw is to remove any dust and debris that may have accumulated on the surface. This can be done using a soft brush or a vacuum cleaner. Make sure to get into all the nooks and crannies, including the miter gauge slots and the area around the blade. Removing dust and debris not only improves the effectiveness of the rust removal process but also prevents any potential damage to the saw’s components.
Using A Non-abrasive Cleaner To Eliminate Dirt And Grime
Once the dust and debris are removed, the next step is to eliminate any dirt and grime that may be present on the surface of the table saw. To do this, use a non-abrasive cleaner that is suitable for the material of your table saw. Apply the cleaner onto a soft cloth and gently rub the entire surface of the saw, paying extra attention to areas that appear dirty or stained. This will help remove any stubborn dirt and prepare the surface for the rust removal process.
Applying A Rust Remover Solution To Treat Affected Areas
After the surface is clean and free from dust, debris, and dirt, you can now apply a rust remover solution to treat the affected areas. There are various rust remover solutions available in the market, so choose the one that is appropriate for the type of rust on your table saw. Follow the instructions provided by the manufacturer to apply the solution effectively. Ensure that you cover all the areas with rust, and allow the solution to sit for the recommended amount of time for optimal results. This will help break down the rust and make it easier to remove in the next step.
| Summary: |
|---|
|
Step 2: Dealing With Existing Rust
In the previous step, we discussed how to prepare your table saw for rust removal. Now, it’s time to address the existing rust on your table saw. Rust not only affects the appearance of your saw but can also impact its performance. Thus, it’s crucial to deal with the rust effectively. In this step, we will guide you on assessing the severity of the rust damage, using appropriate tools to scrape off surface rust, and applying a rust converter solution to halt the progression of rust.
Assessing The Severity Of The Rust Damage
Before you start removing the rust, it’s important to assess the extent of the damage. This will help you determine the appropriate method and tools required for the job. Inspect your table saw thoroughly for any signs of deep corrosion, pitting, or flaking. If the rust damage is severe, it may require more intensive treatment or professional assistance. On the other hand, if the rust is mostly superficial, you can proceed with the following steps to remove it.
Using Appropriate Tools To Scrape Off Surface Rust
To remove surface rust from your table saw, you’ll need some specific tools. Here is a list of items you should gather:
| Tools |
|---|
| Wire brush or wire wheel attachment |
| Sandpaper (medium to fine grit) |
| Vinegar or rust remover solution |
| Protective gloves |
Begin by using a wire brush or wire wheel attachment to scrub away loose flakes of rust from the surface. This will help prepare the area for further treatment. Next, use sandpaper with a medium to fine grit to gently sand the rusted surface. Be sure to maintain an even pressure to avoid damaging the table saw. You can also dampen the sandpaper with vinegar or a rust remover solution to enhance the effectiveness.
Applying A Rust Converter Solution To Halt The Progression Of Rust
After you have successfully removed the surface rust, it’s time to prevent further oxidation by applying a rust converter solution. Rust converters work by chemically converting rust into a stable compound that prevents it from spreading. Here’s how to apply a rust converter solution:
- Ensure the table saw surface is clean and dry.
- Put on protective gloves to avoid contact with the rust converter solution.
- Using a brush or sponge, apply the rust converter solution evenly over the rusted areas.
- Allow the solution to dry according to the manufacturer’s instructions.
- Once dry, inspect the surface for any remaining rust. If needed, repeat the application.
By following these steps, you’ll be able to remove existing rust from your table saw and prevent it from spreading. Remember to assess the severity of the rust damage, use appropriate tools for scraping off surface rust, and apply a rust converter solution for effective rust control.
Now that you have successfully dealt with the existing rust, it’s time to move on to the final step in restoring the shine to your table saw. In the next section, we will guide you on how to protect your table saw from future rusting.
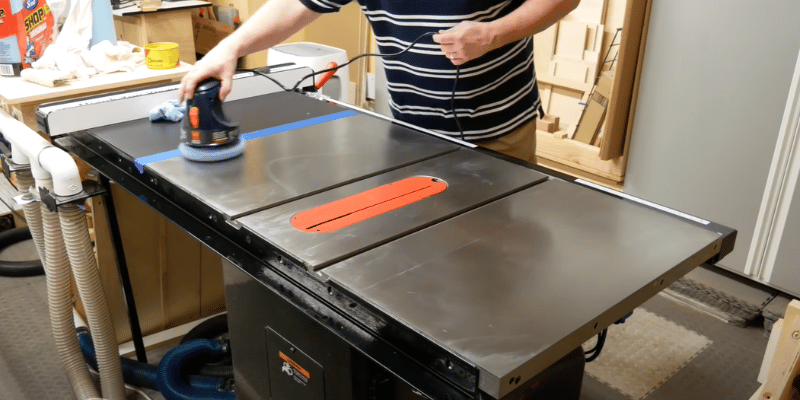
Step 3: Applying Protective Coating
After cleaning off the rust from your table saw and ensuring it is completely dry, it’s time to apply a protective coating. This final step is crucial to prevent future rust formation and ensure the longevity of your table saw. In this section, we’ll discuss how to choose the right type of protective coating, clean the surface properly, and provide step-by-step instructions for applying the coating.
Choosing The Right Type Of Protective Coating For Your Table Saw
When it comes to protecting your table saw from rust, choosing the right type of protective coating is essential. There are several options available in the market, but the two most commonly recommended coatings are:
| Coating Type | Benefits |
|---|---|
| Rust-preventive spray | This type of coating creates a thin film that acts as a barrier against moisture, preventing rust formation. It is easy to apply and provides effective protection. |
| Clear polyurethane finish | This coating adds an extra layer of protection to your table saw surface. It is more durable than a rust-preventive spray and offers resistance against scratches and wear. |
When choosing the right coating for your table saw, consider the level of protection needed, the environment in which your table saw operates, and your personal preferences.
Cleaning The Surface Thoroughly Before Applying The Coating
Prior to applying the protective coating, it is crucial to clean the surface of your table saw thoroughly. Use a clean cloth or sponge to remove any residual rust, dust, or debris. Ensure that the surface is completely dry before proceeding with the application.
Step-by-step Instructions On How To Apply The Protective Coating
- Start by shaking the rust-preventive spray can or stirring the clear polyurethane finish to ensure the product is mixed properly.
- Hold the can or use a brush to apply an even coat of the protective coating onto the surface of your table saw.
- Make sure to cover all exposed areas, including corners and edges.
- Allow the coating to dry as per the manufacturer’s instructions, which typically ranges from a few hours to overnight.
- If necessary, repeat the application for an additional layer of protection.
- Once the protective coating is completely dry, your table saw is now ready to use and provides the necessary protection against rust.
By following these step-by-step instructions, you can ensure that your table saw remains rust-free and in optimum condition, allowing you to achieve precise and smooth cuts for years to come.
Step 4: Regular Maintenance To Prevent Future Rust
Regular maintenance is essential to prevent future rust on your table saw. By following these steps, you can keep your table saw in good condition and avoid the hassle of removing rust in the future.
Regular maintenance is key to keeping your table saw in optimal condition and preventing future rust. By incorporating a few simple practices into your routine, you can ensure that your table saw stays clean, dry, and rust-free for years to come. In this section, we will explore the importance of regular cleaning and maintenance, provide tips on how to keep your table saw clean and dry, and discuss the application of a protective coating to maintain rust-free surfaces.
Importance Of Regular Cleaning And Maintenance Routine
Maintaining a regular cleaning and maintenance routine for your table saw is crucial for its longevity and performance. Not only does regular cleaning remove dust, debris, and contaminants that can contribute to rust, but it also allows you to inspect and identify any potential issues before they escalate. Regular maintenance will save you time and money in the long run by preventing more significant problems from arising.
To establish a regular cleaning routine, consider the following tips:
- Always wear protective gloves and safety goggles before cleaning your table saw.
- Disconnect the table saw from the power source to avoid any accidents.
- Remove any excess sawdust and debris from the table and its components carefully.
- Use a soft brush or vacuum with a brush attachment to clean hard-to-reach areas.
- Wipe down all surfaces, including the blade, with a lint-free cloth dampened with a mild cleaning solution.
- Inspect the components for any signs of damage and repair or replace as necessary.
Tips For Keeping The Table Saw Clean And Dry
Keeping your table saw clean and dry is vital to prevent rust formation. Here are some tips to help you maintain a clean and dry environment:
- Avoid placing your table saw in areas with high humidity or moisture levels.
- When not in use, cover the table saw with a breathable waterproof cover to protect it from environmental elements.
- Keep the area around the table saw clean and free from sawdust and debris.
- Consider using a dust collection system or vacuum to minimize airborne particles.
- Avoid exposing the table saw to extreme temperatures by storing it in a climate-controlled area.
Applying A Protective Coating Periodically To Maintain Rust-free Surfaces
In addition to regular cleaning and maintenance, applying a protective coating to your table saw periodically further enhances its resistance to rust. By creating a barrier between the metal surfaces and moisture, a protective coating helps to prevent rust formation.
To apply a protective coating, follow these steps:
- Clean the table saw thoroughly to remove any dust or debris.
- Apply a rust inhibitor or a thin layer of a suitable protective coating to all exposed metal surfaces.
- Allow the protective coating to dry completely according to the manufacturer’s instructions.
- Inspect the table saw for any missed spots or areas that require additional coating.
- Reapply the protective coating as necessary, following the manufacturer’s recommended maintenance schedule.
By implementing these regular cleaning and maintenance practices, you can minimize the risk of rust and keep your table saw in top working condition. Don’t underestimate the power of routine care – it is these small steps that will help you enjoy your table saw for years to come.
Step 5: Additional Tips And Tricks
Now that you have successfully removed rust from your table saw, it’s time to explore some additional tips and tricks to ensure that your beloved tool remains rust-free for longer periods. In this section, we will discuss proper storage techniques, using rust inhibitors or moisture absorbers in the workshop, and troubleshooting common rust issues on a table saw.
Proper Storage Techniques To Minimize Rust Risk
Properly storing your table saw is crucial in minimizing the risk of rust formation. Follow these tips to keep your tool protected:
- Always clean and dry your table saw before storing it.
- Apply a thin layer of oil or a coat of wax on all exposed metal surfaces. This helps create a barrier against moisture and prevents rust formation.
- Store your table saw in a dry and well-ventilated area, away from direct sunlight and extreme temperature changes.
- Avoid storing your table saw directly on the floor, especially if it’s prone to dampness. Use a raised surface or a pallet to keep it elevated.
Using Rust Inhibitors Or Moisture Absorbers In The Workshop
Preventing rust in the first place is always better than dealing with its removal. Consider implementing the following practices to keep your table saw rust-free:
- Use rust inhibitors on your table saw. These can be in the form of sprays or coatings that create a protective layer on the metal surfaces, preventing rust formation.
- Place moisture absorbers, such as silica gel packs or desiccant bags, in your workshop. These absorb excess moisture and help maintain a dry environment, reducing the chances of rust.
- Regularly inspect and clean your workshop to ensure there are no water leaks or sources of excess moisture that could promote rust formation.
Troubleshooting Common Rust Issues On A Table Saw
Even with proper maintenance, rust can occasionally make its way onto your table saw. Here are some common rust issues and how to troubleshoot them:
| Rust Issue | Troubleshooting |
|---|---|
| Rusty blade | Remove the blade and clean it with a rust remover or a mixture of vinegar and baking soda. Dry the blade thoroughly before reinstalling it. |
| Rusted table surface | Use a rust remover or fine-grit sandpaper to remove the rust from the table surface. Apply a metal polish or wax to protect the surface from future rusting. |
| Rusty miter gauge | Remove the miter gauge and clean it with a rust remover. Apply a light lubricant to ensure smooth movement. |
By following these additional tips and tricks, along with the previous steps, you can effectively remove rust from your table saw and prevent its recurrence. Remember that regular maintenance and proactive measures are key to keeping your table saw in optimal condition for years to come.
Conclusion
To sum it up, removing rust from a table saw is a crucial part of its maintenance to ensure smooth and efficient performance. By following the step-by-step guide mentioned above, you can effectively get rid of rust and restore your table saw to its optimal condition.
Regular cleaning and preventive measures will also help in preventing rust formation in the future. So, take care of your table saw, and enjoy its longevity and accuracy in your woodworking projects.