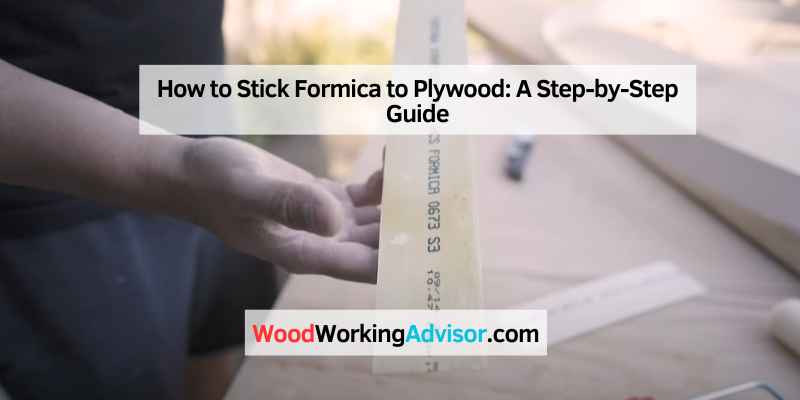
How to Stick Formica to Plywood: A Step-by-Step Guide
To stick Formica to plywood, apply contact cement to both surfaces, let dry, then carefully align and press together. Formica is a durable laminate material commonly used for countertops and furniture.
When properly applied to plywood, it creates a smooth and attractive surface that is easy to clean and maintain. Whether you are renovating your kitchen or crafting custom furniture, knowing how to properly adhere Formica to plywood is essential for a professional and long-lasting finish.
By following the correct steps and using the right materials, you can achieve a strong bond between the Formica and plywood, ensuring your project’s success.
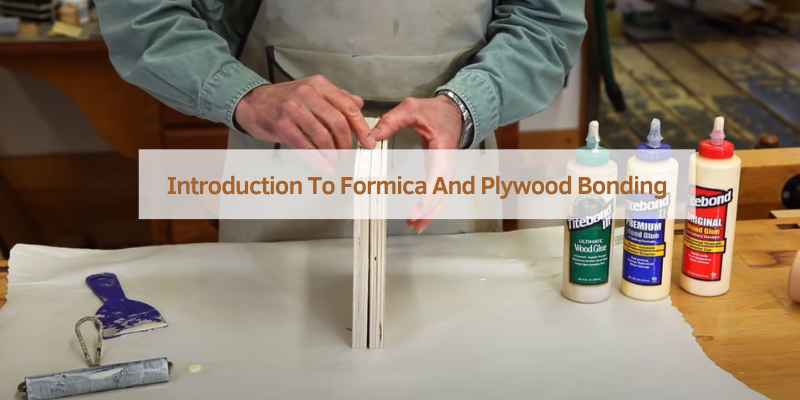
Introduction To Formica And Plywood Bonding
To bond Formica to plywood effectively, start by cleaning and roughening the plywood surface. Apply contact cement evenly to both surfaces before carefully aligning and pressing them together. Use a roller to ensure a strong and durable bond between the Formica and plywood.
The Appeal Of Formica As A Surface Material
Formica is a versatile and durable laminate material that is widely used for its aesthetic appeal and practicality. With a smooth and non-porous surface, Formica is resistant to stains, scratches, and heat, making it an ideal choice for various applications, including kitchen countertops, cabinets, and furniture. Available in a wide range of colors, patterns, and finishes, Formica offers ample design flexibility and can replicate the look of natural materials such as wood, stone, and metal.
Benefits Of Plywood As A Substrate
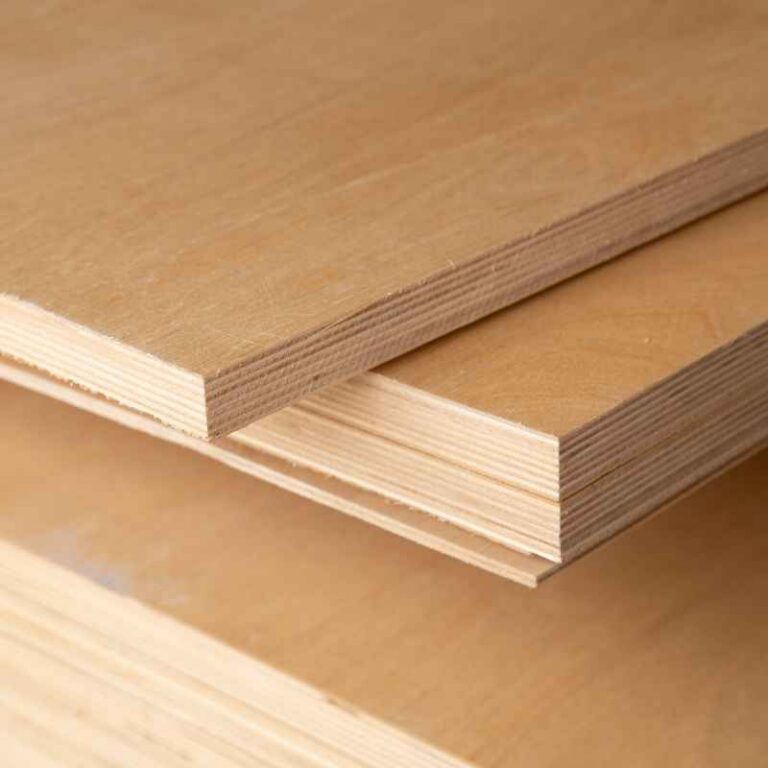
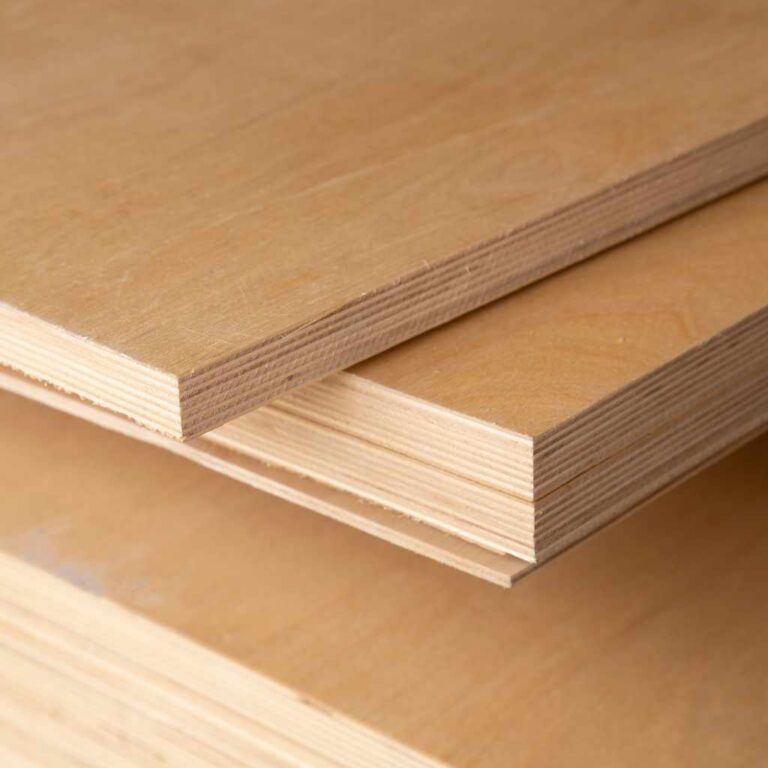
Plywood serves as an excellent substrate for bonding with Formica due to its structural stability, strength, and cost-effectiveness. Composed of multiple layers of wood veneer glued together with adjacent layers having their grain direction perpendicular to each other, plywood exhibits high dimensional stability and resistance to warping or twisting. It provides a solid base for Formica installation and is widely favored in construction and furniture making for its versatility and durability.
Essential Tools And Materials
When it comes to sticking Formica to plywood, having the right tools and materials is essential for a successful and long-lasting bond. Gathering the right supplies and ensuring you have the necessary safety equipment are crucial steps in the process.
Gathering The Right Supplies
Before you begin the process of adhering Formica to plywood, it’s important to gather all the necessary supplies. Here’s a list of essential tools and materials you’ll need:
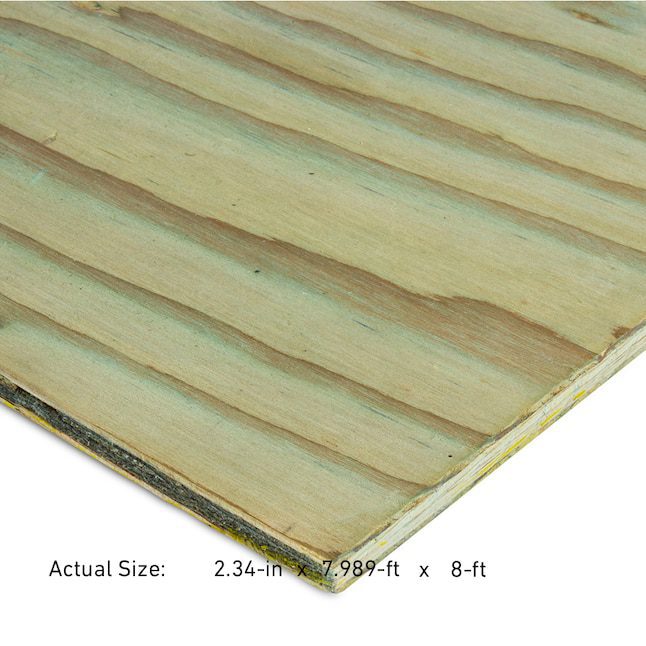
- Plywood sheet
- Formica laminate sheet
- Contact cement adhesive
- Roller or brush for applying adhesive
- Trim router
- Router bit
- File or sandpaper
- Clean, dry cloth
- Measuring tape
- Utility knife
Safety Equipment For The Task
Working with adhesives and power tools requires the use of appropriate safety equipment to protect yourself during the process. Here are the safety items you should have on hand:
- Safety goggles
- Respirator or mask
- Gloves
Preparing The Plywood Surface
To successfully stick Formica to plywood, it is important to properly prepare the plywood surface. Start by sanding the surface to create a rough texture, then clean it with a damp cloth to remove any dust or debris. Apply a primer to the surface and allow it to dry completely before applying the Formica.
Cleaning Techniques
To ensure proper adhesion of Formica to plywood, the surface must be free from dirt, dust, and debris. Start by wiping the surface with a clean cloth or rag to remove any loose debris. Then, use a mild detergent solution and a soft-bristled brush to scrub the surface gently. Rinse the surface with clean water and let it dry completely before proceeding to the next step.
Sanding Techniques
Sanding the plywood surface is essential to remove any imperfections and create a smooth surface for the Formica to adhere to. Start by using a coarse-grit sandpaper to remove any rough spots or bumps. Then, use a fine-grit sandpaper to create a smoother finish. Be sure to sand in the direction of the wood grain to avoid creating scratches or marks on the surface.
Ensuring A Flat And Smooth Base
Before applying the Formica, it’s important to ensure that the plywood surface is flat and smooth. Use a straightedge or level to check for any high or low spots on the surface. If there are any high spots, sand them down until the surface is level. If there are any low spots, fill them in with wood filler and let it dry completely before sanding the surface again.
By following these cleaning, sanding, and leveling techniques, you can prepare the plywood surface for proper adhesion of Formica. A flat and smooth base will ensure that the Formica adheres evenly and creates a durable and long-lasting surface.
Cutting Formica To Size
To stick Formica to plywood, start by cutting the Formica to size using a sharp utility knife or a router with a carbide-tipped bit. Then, apply contact cement to both the Formica and the plywood, allowing it to dry before carefully aligning and pressing the Formica onto the plywood surface.
Measuring For Precision
Before cutting Formica to size, measure the plywood surface accurately.
Tools For Cutting Laminate Sheets
Use a circular saw with a fine-toothed blade for precise cuts.
Applying Adhesive
To stick Formica to plywood, start by applying adhesive to the back of the Formica and the surface of the plywood. Use a roller to spread the adhesive evenly, then carefully press the Formica onto the plywood, ensuring a strong bond.
Choosing The Right Glue
Select a high-quality contact cement glue.
Techniques For Even Spread
Apply glue to both surfaces for strong adhesion.
Attaching Formica To Plywood
To stick Formica to plywood, start by cleaning and sanding the plywood surface. Apply contact cement to both the plywood and the Formica, then carefully align and press the two together. Use a roller to ensure a strong bond, and trim any excess Formica for a smooth finish.
Attaching Formica to plywood is a relatively easy process that requires the right tools, materials, and techniques. Formica is a durable and versatile material that is commonly used in countertops, cabinets, and furniture. Plywood, on the other hand, is a cost-effective and lightweight material that is commonly used as a base material for Formica. In this blog post, we will discuss the steps involved in attaching Formica to plywood, with a focus on alignment and placement and applying pressure for adhesion.
Alignment And Placement
Before attaching Formica to plywood, it is important to ensure that the plywood is clean and free of any debris or dust. Once the plywood is clean, place the Formica sheet on top of the plywood, ensuring that it is aligned properly. Use a marker or a pencil to mark the edges of the Formica sheet on the plywood. This will help you to ensure that the Formica sheet is placed in the correct position when you are ready to attach it to the plywood.
Applying Pressure For Adhesion
Once you have aligned the Formica sheet properly, it is time to apply pressure for adhesion. Apply a thin layer of contact adhesive to both the plywood and the Formica sheet, using a paint roller or a brush. Be sure to apply the adhesive evenly and avoid any lumps or bumps. Allow the adhesive to dry for the recommended time, as specified by the manufacturer’s instructions.
Once the adhesive is dry, carefully place the Formica sheet on top of the plywood, aligning it with the marks you made earlier. Use a J-roller or a laminate roller to apply pressure to the Formica sheet, starting from the center and working your way outwards. Apply firm pressure to ensure that the Formica sheet adheres properly to the plywood.
In conclusion, attaching Formica to plywood is a simple process that requires careful attention to alignment and placement, as well as the proper application of pressure for adhesion. By following the steps outlined in this blog post, you can ensure that your Formica sheet is attached securely and looks great for years to come.
Trimming And Finishing Edges
When it comes to sticking Formica to plywood, achieving smooth and polished edges is crucial for a professional finish. Trimming and finishing the edges properly not only enhances the aesthetics but also ensures the durability of the Formica. In this section, we will discuss the essential tools you’ll need for trimming excess Formica and the techniques to achieve smooth edges.
Tools For Trimming Excess
Before you begin trimming the excess Formica, gather the necessary tools to ensure a precise and clean cut. These tools include:
- Utility knife with a sharp blade
- Router with a flush-trim bit
- File or sandpaper
Having these tools ready will make the trimming process much easier and efficient.
Achieving Smooth Edges
To achieve smooth edges on your Formica, follow these steps:
- Step 1: Measure and mark the areas where excess Formica needs to be trimmed.
- Step 2: Using a utility knife, carefully score along the marked lines.
- Step 3: Once scored, use a router with a flush-trim bit to remove the excess Formica. Move the router in a smooth and controlled manner, following the contour of the plywood.
- Step 4: After trimming, use a file or sandpaper to smooth out any rough edges or imperfections.
- Step 5: Clean the trimmed edges thoroughly to remove any dust or debris.
By following these steps and using the appropriate tools, you can achieve clean and smooth edges on your Formica. Remember to take your time and work carefully to ensure a professional-looking finish.
Curing And Care
Properly curing and caring for your Formica laminate on plywood is essential for ensuring its longevity and maintaining its pristine appearance. By following these guidelines, you can enjoy a beautiful and durable surface for years to come.
Time Required For Curing
Formica laminate typically requires a curing time of at least 24 to 48 hours after installation. During this period, it is important to avoid placing any heavy objects or applying excessive pressure on the surface. This allows the adhesive to fully bond with the plywood, ensuring a strong and secure attachment.
Tips For Long-term Maintenance
Proper maintenance is key to preserving the beauty and functionality of your Formica laminate on plywood. Here are some helpful tips to ensure long-term durability:
- Regular Cleaning: Clean the surface regularly with a mild soap or detergent and warm water. Avoid using abrasive cleaners or scrub brushes that can damage the laminate.
- Preventive Measures: Use coasters or placemats under hot dishes, and always use cutting boards to protect the surface from scratches.
- Avoid Moisture: Wipe up spills promptly to prevent moisture from seeping into the laminate and causing damage. Avoid exposing the surface to excessive moisture or prolonged contact with water.
- Avoid Harsh Chemicals: Avoid using harsh chemicals, such as bleach or strong solvents, as they can cause discoloration or damage to the laminate. Stick to mild cleaning solutions.
- Protect from Heat: Place trivets or hot pads under hot pots and pans to prevent heat damage to the laminate surface.
- Regular Inspections: Periodically inspect the edges and seams of the laminate to ensure they are properly sealed. If any damage or lifting is detected, promptly repair or replace the affected area.
By following these maintenance tips, you can keep your Formica laminate on plywood looking its best and extend its lifespan. Remember, proper care and regular maintenance are essential for preserving the beauty and functionality of your laminate surface.
Common Mistakes To Avoid
Formica is a popular and durable material that many people use to cover plywood. However, there are some common mistakes that people make when attempting to stick Formica to plywood. In this section, we will discuss these mistakes and how to avoid them.
Adhesive Errors
One of the most common mistakes that people make when sticking Formica to plywood is using the wrong adhesive. Not all adhesives are suitable for Formica, and using the wrong one can lead to the Formica not sticking properly.
To avoid adhesive errors, make sure you use an adhesive that is specifically designed for Formica. Some popular options include contact cement, PVA glue, and two-part epoxy.
Avoiding Air Bubbles And Misalignment
Another mistake that people make when sticking Formica to plywood is not properly aligning the Formica or getting air bubbles trapped underneath.
To avoid misalignment, make sure you measure and cut the Formica to the correct size before attempting to stick it to the plywood. You can use a straight edge and a utility knife to ensure a clean and accurate cut.
To avoid air bubbles, start by applying the adhesive to the plywood in a thin, even layer. Then, carefully lay the Formica on top of the plywood, making sure to smooth out any air bubbles as you go. You can use a roller or a credit card to help push out any air bubbles that may appear.
By avoiding these common mistakes, you can ensure that your Formica sticks to your plywood properly and looks great for years to come.
Creative Uses For Formica-plywood Combinations
Home Diy Projects
Formica and plywood are versatile materials that can be creatively combined for various home DIY projects:
- Create stylish and durable countertops
- Design custom cabinets and shelves
- Make unique furniture pieces
Professional Applications
Professionals also utilize the Formica-plywood combination in the following ways:
- Constructing sturdy workbenches
- Developing functional office desks
- Building long-lasting retail displays

Frequently Asked Questions
How Can I Prepare The Plywood For Formica Installation?
To prepare the plywood for Formica installation, start by cleaning the surface thoroughly and sanding it to create a rough texture. Apply a coat of primer to improve adhesion, and ensure the surface is completely dry before proceeding with the Formica installation.
What Type Of Adhesive Should I Use For Formica On Plywood?
It is recommended to use a solvent-based contact cement adhesive for Formica on plywood. Apply the adhesive to both the plywood and the back of the Formica, following the manufacturer’s instructions for proper application and drying times.
Can Formica Be Trimmed After It’s Been Applied To Plywood?
Yes, Formica can be trimmed after it’s been applied to plywood. Use a router with a flush-trim bit to carefully trim the edges, ensuring a clean and precise finish. It’s important to take proper safety precautions and practice using the router on scrap material before working on the actual project.
How Do I Maintain Formica On Plywood For Long-lasting Results?
To maintain Formica on plywood, regularly clean the surface with a mild household cleaner and a soft cloth. Avoid using abrasive cleaners or scouring pads, as they can damage the finish. Additionally, be mindful of placing hot items directly on the Formica surface to prevent any heat-related damage.
Conclusion
To conclude, adhering Formica to plywood is a simple process that can be accomplished with the right tools and techniques. By following the steps outlined in this blog post, you can ensure a strong and durable bond between the two materials.
Whether you’re looking to update your kitchen countertops or add a decorative touch to your furniture, this method will help you achieve professional-looking results. Remember to prepare the surface properly, apply the adhesive evenly, and use pressure to secure the Formica in place.
With these tips in mind, you can confidently tackle your next DIY project with ease. Happy crafting!