How to Trim Faux Wood Blinds Narrower (The Right Way)
Trimming faux wood blinds narrower means removing slats from one end, then cutting the headrail and bottom rail to match – you don’t just saw straight through an assembled blind. Skipping the slat-removal step is the mistake that ruins most first attempts: the ladder cords and lift cords have to be dealt with before the rails get shortened, not after.
Why You Can’t Just Cut Straight Through
Best Saw for Trimming Blinds
 |
Stanley 20-807 10″ Mini-Hack Utility Saw – $10.35 Compact enough for a single headrail or bottom-rail cut without dragging out a full-size hacksaw.
|
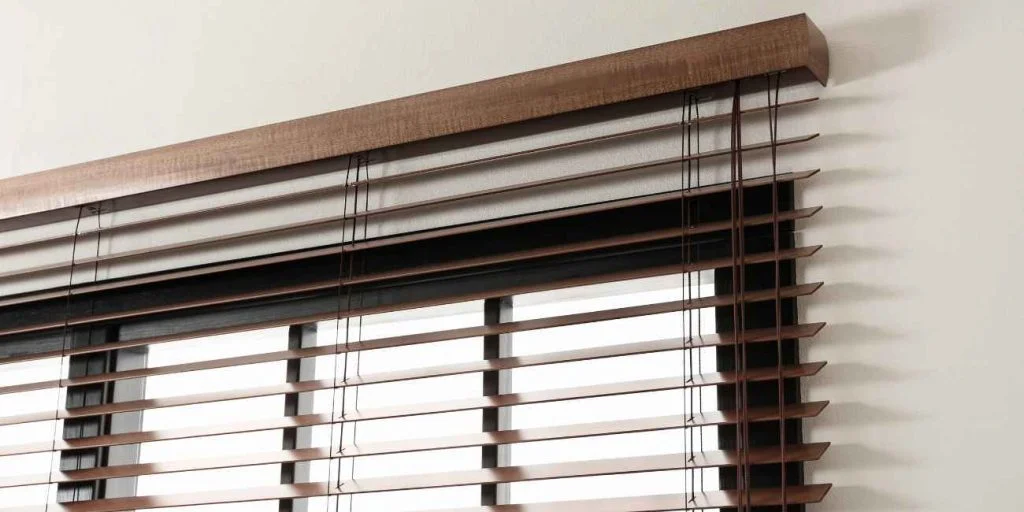
A faux wood blind isn’t a solid unit – it’s a headrail housing the tilt mechanism, a bottom rail, and a stack of slats connected by ladder cords (the ladder-shaped support strings, one per side) and lift cords (the strings that run through holes in every slat and pull the whole stack up). Sawing straight through all of it at once cuts through cords you need intact and leaves you with no way to re-secure the slats you kept. The correct order is: remove the excess slats first, then trim the now-empty ends of the headrail and bottom rail to the new width.
Step 1: Remove the Excess Slats
Take the blind down and lay it on a flat surface. Locate the ladder cords on the end you’re shortening and, using scissors, cut them about two rungs below the last slat you’re keeping – this gives you enough slack to tie off later without unraveling the ladder further up. Slide the slats you’re removing off the lift cords. Don’t cut the lift cords themselves; they get reused and retied once the bottom rail is in its new position.
Step 2: Cut the Headrail from the Correct End
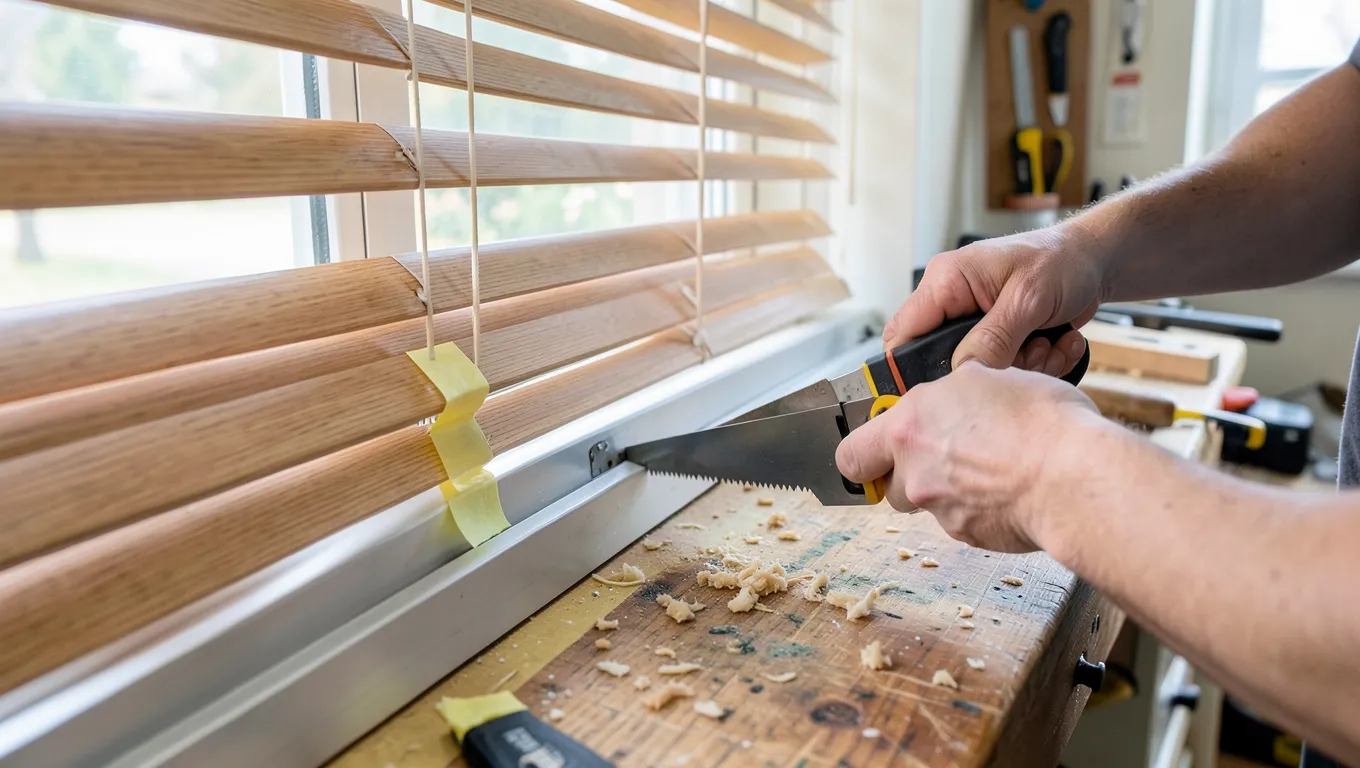
Mark your new width on the headrail with painter’s tape on both sides of the cut line – it gives the saw blade a visual guide and helps prevent the aluminum from denting or splintering the plastic housing as you cut. Cut from the end opposite the tilt mechanism and cord lock. Those components live at one specific end of the headrail, and cutting from the other side means you never have to touch or realign them. A hacksaw with a fine-tooth blade (24-32 TPI) handles the aluminum headrail cleanly; a miter saw with a fine-tooth blade works too if you have one, but a hacksaw is perfectly adequate for a single cut.
Step 3: Cut the Bottom Rail to Match
Use the same width measurement and the same tape-and-mark method on the bottom rail. Faux wood bottom rails are typically a hollow composite or aluminum-core piece, so a hacksaw or fine-tooth saw works the same way it did on the headrail. Once both rails are cut to length, sand or file the cut edges lightly to remove any burrs or sharp spots before reassembly.
Step 4: Reassemble and Re-Tie
Feed the lift cords through the bottom rail’s cord lock holes in their original pattern and tie them off with a secure knot, trimming any excess cord. Reattach the ladder cord ends you cut in Step 1 to the shortened bottom rail, typically by tying or clipping them into the rail’s built-in ladder anchor slots. Snap the end caps back onto both the headrail and bottom rail at the newly cut end – most faux wood blinds use press-fit caps that don’t require any adhesive.
Test Before You Rehang
Before putting the blind back on its brackets, raise and lower it fully and run the tilt wand through its full range a few times. Check that all slats sit level and that the lift cords pull evenly without one side lagging behind the other – an uneven pull usually means a cord got caught or tied at a slightly different length than its neighbors during reassembly, and it’s much easier to fix on the workbench than after the blind is remounted.
If You Don’t Have a Saw
A sharp utility knife or heavy-duty scissors can score and snap thinner faux wood slats and rails in a pinch, though the cut edge won’t be as clean as a saw cut and works best on rails you plan to cap anyway. A rotary tool with a cutting wheel is another workable substitute for the headrail and bottom rail specifically. Whatever tool you use, mark the line carefully first – a crooked cut on the headrail is much harder to disguise than a crooked cut on a slat. If you’d rather build your own wood blind from scratch instead of resizing a factory faux-wood one, see our guide on how to make wood blinds, which covers milling and finishing real wood slats on purchased headrail hardware.
Frequently Asked Questions
How do you cut faux wood blinds that are too wide?
Remove the excess slats from one end by cutting the ladder cords a couple rungs below the last slat you’re keeping, then cut the headrail (from the end opposite the tilt mechanism) and bottom rail to the new width with a fine-tooth hacksaw. Retie the lift and ladder cords and reattach the end caps.
Which end of the headrail do you cut?
Always saw from the end without the tilt mechanism and cord lock. Those parts are fixed at one specific end of the headrail, so trimming from the opposite side means you never have to remove or realign them.
Can faux wood blinds be trimmed without a saw?
Yes, in a pinch. A sharp utility knife or heavy-duty scissors can score and snap thinner faux wood rails, and a rotary tool with a cutting wheel works on both the headrail and bottom rail, though a hacksaw gives the cleanest edge.
Do I need to buy end caps after trimming?
Usually not – the original end caps from the trimmed-off end typically press-fit right back onto the newly shortened rail. Only buy replacements if the original caps were damaged during cutting.
Bottom Line
Trimming faux wood blinds narrower is a straightforward job once you treat it as slat removal plus a rail cut, not one continuous saw pass through the whole assembly. Cut the headrail from the end away from the tilt mechanism, retie the cords carefully, and test the blind’s full range of motion before it goes back on the window.
Sponsored / affiliate links. As an Amazon Associate I earn from qualifying purchases. I may earn additional commission from eligible campaigns.