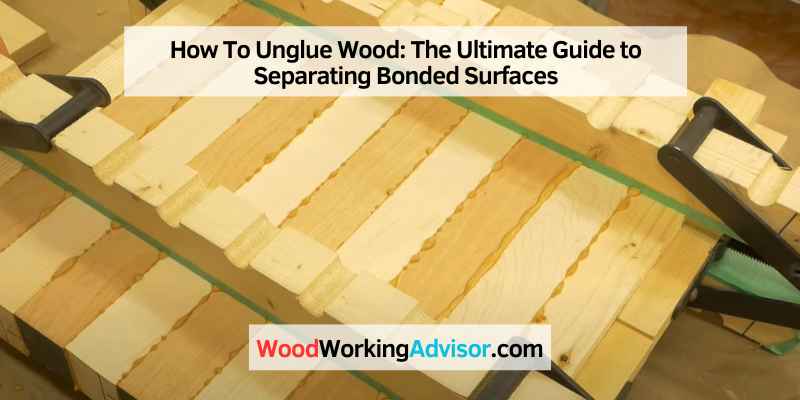
How To Unglue Wood: 5 Methods That Actually Work (2026)
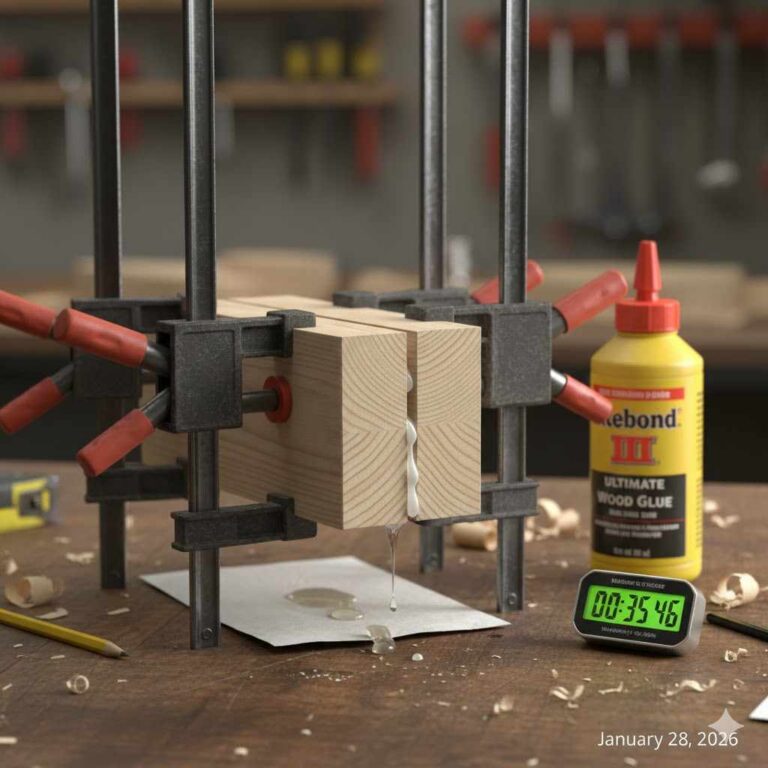
To unglue wood, apply heat at 140–150°F with a heat gun or iron to soften the adhesive, then slide a putty knife into the joint and gently lever the pieces apart. For PVA-based glues (Titebond, Elmer’s), white vinegar also works — soak a cloth and hold it against the joint for 5–10 minutes. For polyurethane glue, epoxy, or super glue, acetone is the most effective solvent, but always test on a hidden area first since acetone can damage lacquer and varnish finishes.
| Glue Type | Best Method | Time |
|---|---|---|
| PVA / Wood glue (Titebond, Elmer’s) | Heat + white vinegar | 5–15 min |
| Polyurethane glue (Gorilla Glue) | Acetone or heat | 10–20 min |
| Super glue (cyanoacrylate) | Acetone (nail polish remover) | 5–10 min |
| Epoxy | Heat (300°F+) or acetone | 20–30 min |
Understanding Wood Glue
What Is Wood Glue?
Wood glue is an adhesive specifically formulated to bond wood fibers together. The most common type is PVA (polyvinyl acetate) glue — sold as Titebond, Elmer’s Carpenter’s Glue, and similar brands. PVA glues are water-based, dry clear, and create bonds that are often stronger than the surrounding wood. Other types include polyurethane glue (Gorilla Glue), which foams and expands as it cures, super glue (cyanoacrylate), and two-part epoxy. Each type requires a different removal approach. Knowing what wood glue doesn’t stick to can also help you choose a release strategy.
How Does Wood Glue Bond Surfaces?
PVA wood glue works by penetrating the open wood fibers and forming a mechanical bond as the water evaporates. The dried polymer creates a rigid bridge between the two surfaces. Polyurethane glues cure through a chemical reaction with moisture in the wood — the foam expansion helps fill gaps. Epoxy creates a chemical bond through a two-part reaction that becomes extremely hard after curing. Super glue bonds through an ionic reaction with surface moisture. The bond strength and the method needed to break it depend on which of these mechanisms created the joint.
Common Techniques For Ungluing Wood
Here is a comparison of the most effective methods for ungluing wood, matched to glue type and situation:
| Method | Works Best On | Tools Needed | Risk to Wood |
|---|---|---|---|
| Heat (heat gun/iron) | PVA, polyurethane, some epoxy | Heat gun or clothes iron + damp cloth | Low (if controlled) |
| White vinegar | PVA / water-based glues | Cloth, vinegar | Very low |
| Acetone | Super glue, epoxy, polyurethane | Acetone, cloth, gloves | Medium (damages finishes) |
| Chisel + putty knife | All types (after softening) | Chisel, mallet, putty knife | Medium (risk of splitting) |
| Steam/moisture soak | PVA glues on unfinished wood | Wet cloth or steam iron | Low |
Applying Heat And Moisture
Heat is the most universally effective method for ungluing wood, particularly for PVA and polyurethane glues. Use a heat gun set to 140–150°F or a clothes iron on medium heat placed on a damp cloth over the glue joint. The heat and moisture combination softens the adhesive without scorching the wood. Hold the heat source over the joint for 30–60 seconds, then immediately test the bond by sliding a putty knife into the seam. If the glue hasn’t softened enough, apply heat for another 30 seconds and try again. Epoxy requires significantly higher temperatures — around 300°F — and a heat gun is more suitable than an iron for this.
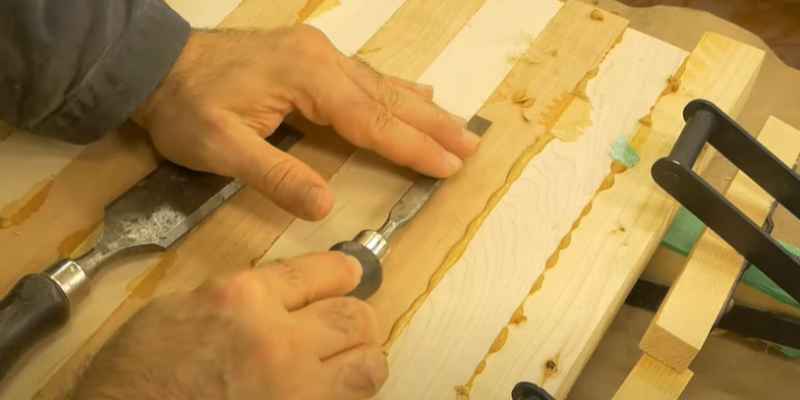
Using A Chisel Or Putty Knife
After softening the adhesive with heat, vinegar, or a solvent, a chisel or putty knife is used to mechanically separate the joint. Slide the blade into the glue line at a shallow angle — never perpendicular to the wood grain, which can cause splitting. Apply steady, controlled pressure rather than sharp blows. For furniture joints, insert the chisel blade at the corner of the joint where stress is lowest. Work your way along the glue line gradually, alternating sides if possible to distribute the stress evenly across the bond.
Using A Mallet And Wooden Block
For rigid furniture joints — chair legs, mortise-and-tenon connections, or dowel joints — use a mallet and a wooden block to knock the pieces apart after softening. Place the wooden block against the joint to distribute the impact force and avoid denting the wood surface. Strike the block with the mallet in the direction of separation. If the joint doesn’t move after 3–4 firm strikes, apply more heat or solvent and wait before trying again. Forcing a joint that hasn’t been adequately softened risks splitting the wood along the grain — patience is essential.
Using Solvents Or Chemicals
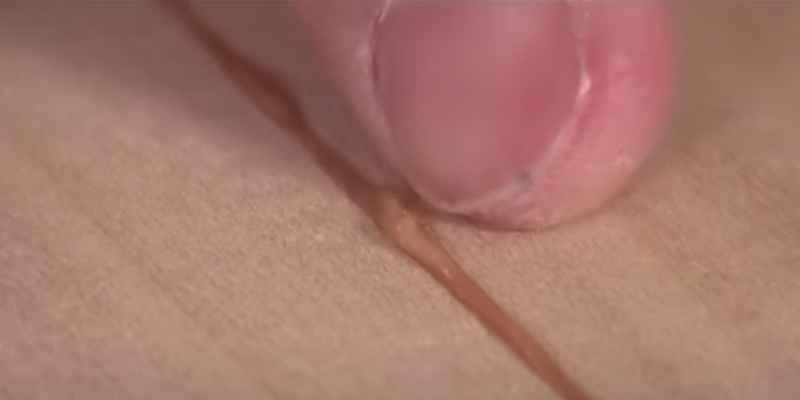
Chemical solvents target specific glue types. White vinegar (acetic acid) softens water-based PVA glues — soak a cloth and hold it against the joint for 5–15 minutes. Acetone dissolves cyanoacrylate (super glue) and weakens polyurethane and epoxy. Apply with a cloth, allow 5–10 minutes to penetrate, then test the bond. Always test acetone on a hidden area first — it will strip lacquer, varnish, and many paint finishes. Denatured alcohol is a gentler alternative for super glue that carries less risk to finishes. Work in a well-ventilated area with gloves when using any chemical solvent. Wood glue bonding to plastic surfaces requires a different solvent approach.
Safety Precautions
Protective Gear
Always wear nitrile gloves when working with chemical solvents like acetone or denatured alcohol — both absorb through skin and cause dryness and irritation with repeated exposure. Safety glasses protect against splinters and solvent splashes when using a chisel or mallet. When using a heat gun, wear heat-resistant gloves and keep the gun moving — holding it in one spot too long can scorch the wood or crack a finish surface. Keep a damp cloth nearby when using heat to cool the surface quickly if needed.
Proper Ventilation
Acetone and denatured alcohol are highly flammable solvents. Work outdoors or in a well-ventilated workshop away from open flames, pilot lights, or sparks. Do not use these solvents near a heat gun simultaneously — the combination of solvent fumes and heat is a fire risk. White vinegar is safe indoors but has a strong odor — open a window and use a fan if working in a confined space. When using a heat gun on finished wood, be aware that burning varnish or lacquer releases harmful fumes — ventilation is essential in all cases.
Step-by-step Guide To Ungluing Wood
Assessing The Bonded Surfaces
Before choosing a method, identify the glue type and the age of the bond. Fresh PVA glue (dried within the past few days) responds well to warm water or vinegar alone. Old, fully cured PVA bonds require heat. Polyurethane glue (Gorilla Glue) is identifiable by its tan, foamy residue along the joint — use acetone or heat at 150°F+. Super glue bonds are invisible but feel rigidly fused — acetone is the primary solution. Epoxy bonds are extremely hard and may require heat above 250°F with extended application. Also assess the wood species: softwoods (pine, cedar) split more easily under chisel pressure than hardwoods (oak, maple).
Preparation
Clear the workspace and protect any surfaces you don’t want exposed to heat or solvents. If the piece has a finished surface, test your chosen solvent on a hidden area first — acetone in particular will strip lacquer and varnish on contact. Gather all tools before starting: heat gun or iron, putty knife, chisel, mallet, wooden block, cloths, and your chosen solvent. For pieces with multiple glue joints, plan your separation sequence — work from the weakest or most accessible joint first, as releasing one joint reduces stress on adjacent joints.
Applying Heat And Moisture
Set the heat gun to 140–150°F or the iron to medium heat. For the iron method, place a damp cloth over the joint — the steam this creates penetrates the glue line and softens the bond from inside. Hold heat over the joint for 30–60 seconds, then immediately test with the putty knife. Do not overheat — excessive heat can raise the wood grain, warp thin panels, or crack veneer. For PVA glue, 140–150°F is sufficient. For polyurethane, you may need 180–200°F. Move the heat source continuously rather than holding it in one spot.
Using A Chisel Or Putty Knife
Once the adhesive is softened, insert the chisel or putty knife at the corner of the joint at a shallow angle — 15–20° from the wood surface. Apply slow, steady lever pressure rather than sudden force. Work along the joint in small sections, advancing 1–2 inches at a time. If you encounter significant resistance, apply more heat to that section before continuing. Never twist the chisel perpendicular to the grain — this causes wood fiber failure and splits the piece. Use the widest putty knife blade that fits the joint for the most controlled separation.
Evaluating Progress And Repeating Steps If Necessary
After each pass with heat and the chisel, evaluate how much of the joint has separated. Old or epoxy-based bonds may require 3–4 treatment cycles before fully releasing. If the bond isn’t yielding to heat alone, switch to a chemical solvent appropriate for the glue type. For pieces where both heat and acetone are needed, apply the solvent first and allow it to penetrate for 10 minutes, then apply heat. Always reassess the wood surface after each cycle — if you see grain raising, checking, or surface discoloration, reduce heat intensity or switch methods.
Finalizing The Separation
Once the joint breaks free, use a card scraper or chisel to remove any glue residue from the wood surface while it’s still soft. Dried glue residue left on the surface will telegraph through stain and finish — it’s much easier to remove while soft than after it re-hardens. Clean both surfaces with a damp cloth (for PVA residue) or mineral spirits (for polyurethane or epoxy residue). Allow the wood to dry fully — at least 24 hours — before re-gluing or applying any finish. This ensures the wood fibers are stable and the new adhesive will bond properly.
Tips And Tricks
Choosing The Right Technique
Match the method to the glue: heat first for PVA and polyurethane, acetone for super glue and epoxy. When in doubt, start with the least aggressive method — white vinegar is the safest starting point for any unknown water-based glue. If the bond is old and brittle (antique furniture), mechanical separation with gentle chisel work may be sufficient without any chemicals or heat, since aged PVA glue becomes brittle and can often be cracked apart with light mallet taps. Save acetone as a last resort on finished pieces since it will require refinishing the affected area.
Working With Delicate Or Antique Wood
Antique furniture often uses hide glue — a natural animal-based adhesive that is intentionally reversible. Hide glue releases readily with warm water or steam, which is why antique furniture is often easier to unglue than modern pieces. Apply a warm, wet cloth to the joint for 10–15 minutes and the pieces will often come apart with gentle hand pressure. Never use acetone on antique wood — the finish is often shellac, which acetone dissolves instantly. Heat guns should be used on the lowest setting possible for antique pieces. When in doubt on a valuable piece, consult a furniture restorer before attempting any separation.
Cleaning And Restoring The Separated Surfaces
After separation, both surfaces need thorough cleaning before re-gluing or finishing. Remove all glue residue with a cabinet scraper or sharp chisel held nearly flat against the surface. For water-based glue residue, wipe with a damp cloth and allow to dry completely. For polyurethane or epoxy residue, use denatured alcohol or a dedicated adhesive remover. Sand the mating surfaces lightly with 120-grit sandpaper to re-open the wood fibers — this is essential for good adhesion if you plan to re-glue. Avoid over-sanding, which rounds the joint faces and creates gaps in the new glue line.
Frequently Asked Questions
How do you unglue wood without damaging it?
The safest method is heat plus moisture — use a clothes iron on medium heat with a damp cloth over the joint. This softens PVA and polyurethane glues without solvents that can damage finishes. Work slowly, applying heat for 30–60 seconds, then test with a putty knife. Avoid forcing the joint apart before the adhesive has softened — that’s when wood fibers tear rather than the glue line releasing. White vinegar is the next safest option for PVA glues, with no risk to the wood itself.
Does vinegar remove wood glue?
Yes — white vinegar (acetic acid) effectively softens PVA and water-based wood glues. Soak a cloth in undiluted white vinegar and hold it against the glue joint for 5–15 minutes. The acid softens the dried polymer enough to allow separation. Vinegar does NOT work on polyurethane glue, epoxy, or super glue — those require acetone or heat above 150°F. For finished surfaces, vinegar is safe on most oil-based and polyurethane finishes but can dull wax finishes with prolonged contact.
Can acetone unglue wood?
Acetone effectively dissolves super glue (cyanoacrylate) and weakens polyurethane and some epoxy adhesives. Apply with a cloth, allow 5–10 minutes to penetrate, then try separating the joint. The critical warning: acetone strips lacquer, varnish, and many paint finishes on contact. Always test on a hidden area before applying near a finished surface. Nail polish remover contains acetone and works in the same way — it’s a good option for small areas like glued trim or small furniture repairs.
How do you unglue wood furniture joints?
For furniture joints (chair rungs, table legs, cabinet doors), use heat plus a wooden block and mallet. Inject a small amount of white vinegar or warm water into the joint with a syringe or dropper, allow 10 minutes to penetrate, then apply heat and tap the joint apart using a mallet against a padded wooden block — never strike the furniture surface directly. If the joint is mortise-and-tenon, work from the side to avoid splitting the tenon. Old furniture using hide glue releases readily with steam — hold a damp hot cloth against the joint for 15 minutes.
How long does it take to unglue wood?
With heat: 5–15 minutes for PVA glue, 15–30 minutes for polyurethane, and potentially 30+ minutes for fully cured epoxy. Vinegar requires 5–15 minutes of contact. Acetone works fastest on super glue — often 5–10 minutes. Old, brittle PVA bonds in antique furniture may separate in minutes with just warm water. The oldest and most stubborn bonds (cured epoxy or aged polyurethane) may require 2–3 treatment cycles over 30–60 minutes. Factor in cleanup and surface restoration time when planning the job.
Conclusion
Ungluing wood successfully depends on identifying the glue type and matching the right method to it. Heat is the safest universal starting point — 140–150°F softens most wood glues without damaging the surrounding wood. White vinegar handles PVA glues safely for finished surfaces. Acetone is the go-to for super glue and polyurethane, but requires caution near finishes. Work slowly, apply heat or solvent in cycles, and use a putty knife at a shallow angle to separate the joint without splitting the wood. Once separated, clean the surfaces thoroughly before re-gluing or refinishing.