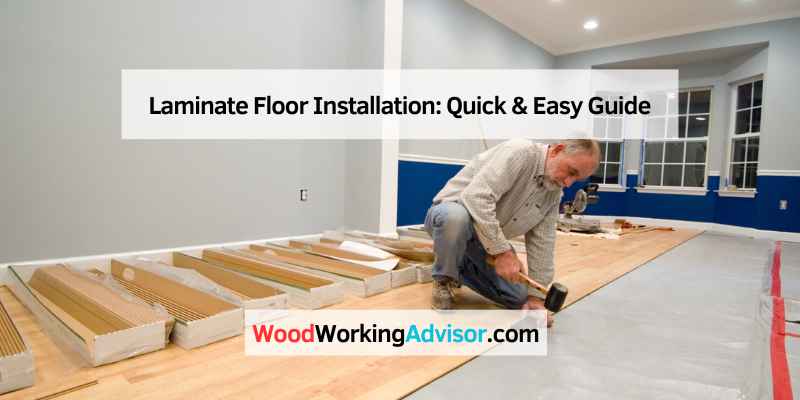
Laminate Floor Installation: Quick & Easy Guide
Laminate floor installation is a straightforward process that involves laying down interlocking planks. It requires minimal tools and can often be completed by DIY enthusiasts.
Installing laminate flooring can transform your space with minimal fuss and expense. This popular choice mimics the look of hardwood while offering durability and easy maintenance. The installation process is designed for efficiency, making it accessible for homeowners. With the right tools and preparation, you can achieve stunning results in just a weekend.
Understanding the steps involved will help you avoid common pitfalls and ensure a smooth installation. Whether you’re upgrading your living room or refreshing a hallway, knowing how to install laminate flooring will empower you to enhance your home’s aesthetic and value.
Introduction To Laminate Flooring
Laminate flooring is gaining popularity for many reasons. It offers a beautiful look that mimics wood or stone. Durability is another key benefit. This flooring can withstand scratches, dents, and stains.
Easy installation makes it a favorite among homeowners. It requires no glue or nails, making it a quick project. Maintenance is also simple; just sweep or mop to keep it clean.
| Type of Laminate Flooring | Description |
|---|---|
| High-Pressure Laminate | Strong and resistant to moisture, perfect for kitchens. |
| Direct-Pressure Laminate | Cost-effective and ideal for light traffic areas. |
| Water-Resistant Laminate | Great for areas prone to spills, like bathrooms. |
Preparing For Installation
Preparing for laminate floor installation requires specific tools and materials. Gather the following items:
- Laminate flooring planks
- Underlayment for moisture protection
- Measuring tape for accurate measurements
- Square for cutting straight lines
- Utility knife for trimming planks
- Pull bar for tightening seams
- Mallet to tap planks into place
- Level to ensure a flat surface
Accurate measurements of your space are important. Measure the length and width of the room. Multiply these numbers to find the total square footage. Always add an extra 10% for waste. This helps ensure you have enough flooring.
Choosing The Right Laminate
Choosing the right laminate involves several important factors. Color plays a big role in the overall look. Consider neutral tones for a classic feel. Bright colors can add a fun touch.
Texture is also essential. Smooth finishes give a sleek look. Textured surfaces can add depth and warmth. Think about how each texture feels underfoot.
Patterns come in various styles. Some laminates mimic wood grains beautifully. Others offer a modern tile appearance. Select a pattern that matches your home’s style.
Choosing wisely ensures satisfaction for years. Take your time to explore all options.
Subfloor Preparation
Start with cleaning the subfloor. Remove dirt, dust, and debris. A clean surface helps the laminate stick better. Use a vacuum or broom for this task.
Next, level the subfloor. Check for any bumps or dips. Use a level tool for accuracy. Fill in low spots with a suitable compound. Sand down any high areas for a smooth finish.
Install a moisture barrier to protect the laminate. This is crucial in areas with high humidity. Use a plastic sheet or special underlayment. Make sure it covers the entire floor area. Seal edges with tape to prevent moisture leaks.
Laminate Flooring Layout Planning
Choosing the starting point for laminate flooring is important. Begin in the most visible area of the room. This allows for a neat and appealing look.
Consider the direction of the planks. Lay them parallel to the longest wall. This creates a sense of space and flow.
Check for any obstructions. Move furniture and other items to ensure a clear work area. Measure the room carefully before starting.
Use a chalk line to mark your starting point. This helps to keep the installation straight. Always plan for expansion gaps near walls for the flooring to breathe.
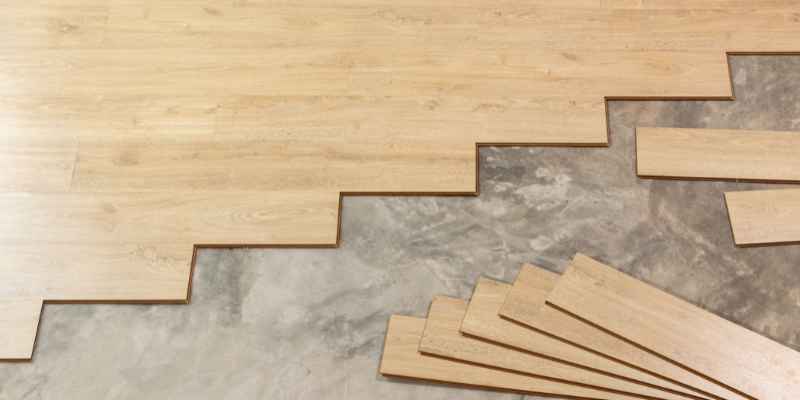
The Installation Process
Start by cutting the laminate planks to fit your room. Use a miter saw or a circular saw for clean cuts. Make sure to measure carefully. Each plank needs to be assembled in the right order.
Expansion gaps are crucial for laminate flooring. Leave a small space between the planks and walls. This allows the floor to expand and contract with temperature changes. Use spacers to maintain these gaps.
Edging is important for a polished look. Install baseboards or quarter-rounds around the perimeter. This will cover the gaps and protect the edges of the flooring. Proper edging adds to the overall aesthetic of the room.
Finishing Touches
Adding trim and molding enhances the look of your laminate floor. Use quarter-round or shoe molding to cover gaps. Choose styles that match your floor for a seamless finish.
Transition strips are essential for connecting different flooring types. They protect edges and prevent damage. Select strips that match your laminate for a uniform appearance.
Sealing edges helps prevent moisture damage. Use caulk or sealant where needed. This step adds an extra layer of protection and extends the life of your floor.
Maintenance And Care
To keep your laminate floors looking great, follow simple cleaning guidelines. Use a soft broom or a vacuum with a hard floor attachment. Avoid using a wet mop, as it can harm the surface.
For spot cleaning, use a damp cloth with a mild cleaner. Wipe up spills immediately to prevent stains. Never use harsh chemicals or abrasive tools, as they can scratch the floor.
Preventing damage is crucial. Place mats at entrances to catch dirt and debris. Use furniture pads under legs to prevent scratches. Avoid dragging heavy items across the floor.
If repairs are needed, replace damaged planks quickly. Follow manufacturer instructions for a seamless look. Regular care will extend your laminate floor’s life.
Troubleshooting Common Issues
Peaking, buckling, and gapping are common issues with laminate floors. Peaking happens when planks push against each other. This often occurs due to humidity or improper installation. Buckling is when the flooring lifts from the subfloor. This can happen if there is water damage or poor expansion gaps. Gapping is when spaces appear between the planks. Changes in temperature can cause this issue.
Scratches and stains can be frustrating. Use a soft cloth to clean stains. For scratches, laminate repair kits can help. Always test products in a small area first. Regular cleaning and maintenance prevent most issues.
Environmental Considerations
Laminate flooring is a popular choice for many homes. It offers a stylish look while being durable. The sustainability of laminate flooring is an important aspect. Many products are made from recycled materials. This helps reduce waste and conserve resources.
Recycling and disposal options for laminate flooring are available. Many local recycling centers accept old laminate. Some manufacturers also offer take-back programs. This allows homeowners to recycle their old flooring responsibly.
| Option | Description |
|---|---|
| Recycling Centers | Accepts old laminate for recycling. |
| Manufacturer Programs | Offers take-back options for old flooring. |
| Donation | Unused laminate can be donated to charities. |
Frequently Asked Questions
How Long Does Laminate Floor Installation Take?
Laminate floor installation typically takes one to three days, depending on the area size and the complexity of the project. Factors such as the condition of the subfloor and the installation method can influence the timeline. Proper preparation can also expedite the process for a smoother installation.
What Tools Are Needed For Laminate Flooring?
Essential tools for laminate flooring include a saw, measuring tape, and spacers. A rubber mallet and tapping block are useful for fitting planks together. Additionally, a level ensures the surface is even. Having these tools ready will facilitate a more efficient installation process.
Can I Install Laminate Flooring Myself?
Yes, many homeowners can install laminate flooring themselves. The process is straightforward and requires minimal tools. However, it’s essential to read the manufacturer’s instructions carefully. Adequate preparation and measuring will lead to a successful DIY installation. Consider watching tutorial videos for extra guidance.
Is Laminate Flooring Waterproof?
Laminate flooring is not fully waterproof but is water-resistant. It can withstand minor spills and moisture but should not be submerged in water. For areas prone to high moisture, consider using specific water-resistant laminate products. Always clean spills promptly to maintain the flooring’s integrity.
Conclusion
Installing laminate flooring can transform your space efficiently and affordably. With the right preparation and tools, the process becomes manageable. Remember to follow each step carefully for the best results. Enjoy your new floors, knowing you’ve made a smart choice for your home.
Happy flooring!