Glue-Down Vinyl Plank Flooring Problems: Causes and Real Fixes
Glue-down vinyl plank flooring fails most often from two causes: skipped subfloor moisture testing and inadequate adhesive coverage at the seams — not a bad batch of planks. Left unaddressed, trapped moisture can void the manufacturer’s warranty and trigger mold under the planks. This guide covers testing subfloor moisture before installation, fixing loose or lifted planks, and preventing the seam and edge problems glue-down vinyl flooring owners report most in humid basements.
Common Issues With Glue-Down Vinyl Plank Flooring
Best Glue-Down Vinyl Plank Adhesive Pick
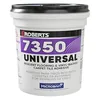
ROBERTS Universal Resilient Flooring Adhesive, 1 Gal. – $41.19
A full-spread adhesive formulated specifically for vinyl plank and resilient flooring — the low-quality or wrong-type adhesive covered in the Subpar Adhesion section above is the single biggest cause of loose seams.
- Best for: full-spread glue-down installs and re-gluing loose seams or edges
- Why we picked it: purpose-built for resilient/vinyl flooring rather than a general-purpose construction adhesive
- Main drawback: 1-gallon minimum is more than you need for a single spot repair — save the rest, sealed, for future touch-ups
As an Amazon Associate we earn from qualifying purchases.
The most common problems with glue-down vinyl plank flooring are subpar adhesion to the subfloor and moisture-related failures. Weak adhesion lets planks come loose, creating a noisy, unstable floor with uneven surfaces and visible gaps between seams. Excessive subfloor moisture weakens the adhesive further, causing planks to lift or buckle, and can promote mold and mildew growth underneath the flooring.
Both problems trace back to the installation process — proper subfloor prep, the right adhesive, and correct spread rate prevent nearly all of the issues covered below.
Subpar Adhesion
Subpar adhesion causes most of the loose-plank complaints with glue-down vinyl plank flooring installation. Two root causes explain nearly every case.
Improper Surface Preparation
Dust, debris, or an uneven subfloor keeps adhesive from bonding correctly, so the vinyl planks never fully grip. Sweep and vacuum thoroughly, then check the subfloor with a straightedge — gaps over 3/16 inch over a 10-foot span need a leveling compound before adhesive goes down.
Low-Quality or Wrong-Type Adhesive
A general-purpose construction adhesive or an undersized adhesive spread results in poor adhesion, causing the vinyl planks to come loose over time. Use an adhesive rated specifically for resilient/vinyl flooring and follow the trowel-notch size printed on the label — too little adhesive is the more common mistake than too much.
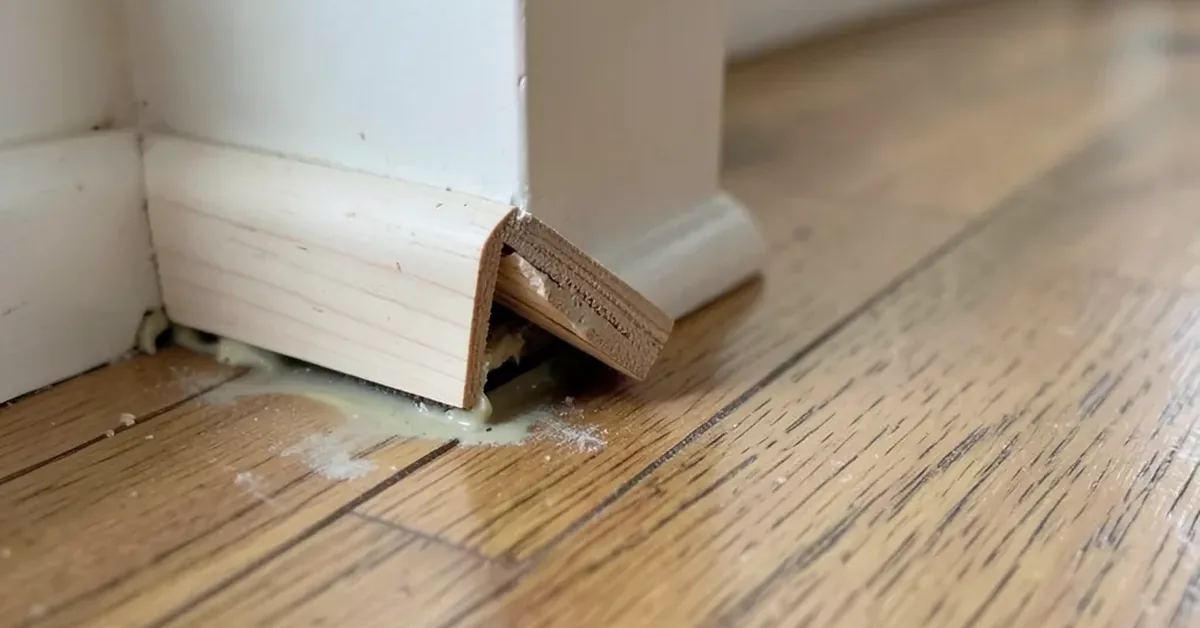
Why Did the Seam Come Loose Right After Installation?
Yes, a seam can separate within days of installation even before the baseboards go down. It usually means the adhesive didn’t get full coverage right at the plank edge, or the seam wasn’t rolled firmly enough before the adhesive skinned over. Lift the loose edge, scrape out the old adhesive, apply fresh adhesive to the exposed subfloor with a putty knife, and roll it firmly with a floor roller before the baseboards are installed — it’s far easier to fix now than after trim covers the edge.
Moisture-Related Problems
Humidity and subfloor moisture weaken the glue bond, causing planks to detach, buckle, or separate at the seams over time. Moisture testing before installation and stable indoor humidity afterward are what keep a glue-down floor flat for years.
Water Damage
When water penetrates the seams of glue-down vinyl plank flooring, it can lead to costly, extensive damage. The adhesive can trap moisture against the subfloor, promoting mold and mildew growth, and trapped water can cause planks to warp at the edges.
High Humidity Levels
Elevated ambient humidity causes the planks themselves to expand and contract, which can push seams apart or make edges buckle upward — a frequent root cause is skipping the manufacturer’s required expansion gap at the walls, since glue-down vinyl still needs one even though it’s adhered. See our guide on gap sizes when starting a glue-down LVP install for the correct clearance.
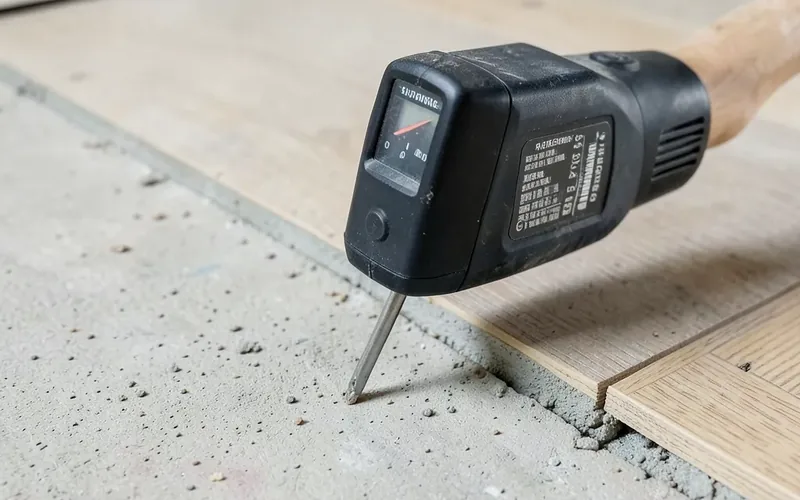
📊 ASTM F2170 is the industry-standard test for subfloor moisture before installing vinyl flooring — it uses in-situ probes drilled into the slab, left undisturbed for 72 hours, and most vinyl flooring manufacturers require the reading stay below roughly 75-80% relative humidity before installation. — Source: F2170.org, ASTM F2170 standard, 2026
Does Glue-Down LVP Have Problems in Humid Climates?
Yes, glue-down LVP is more failure-prone in consistently humid climates if the room isn’t climate-controlled. Swings in humidity make the planks expand and contract more than in a stable environment, which stresses seams and the expansion gap over time. Running a dehumidifier to keep indoor relative humidity in the 35-55% range significantly reduces seam and buckling problems.
Basement Glue-Down Vinyl: Concrete Crack and Moisture Issues
A crack in a basement concrete slab can let moisture vapor migrate up through the crack and weaken the adhesive right along that line, even if the rest of the slab tests dry. Fill and seal visible cracks with an epoxy crack filler before testing moisture or installing, and treat any basement slab as a higher moisture risk than an above-grade subfloor regardless of what a single-spot moisture test shows.
Fixing Issues With Glue-Down Vinyl Plank Flooring
Two problems account for most glue-down vinyl repairs: loose planks and moisture damage. Here’s how to fix each one.
Repairing Loose Planks
Address a loose plank as soon as you notice it — walking on a lifted edge widens the gap and can crack the plank.
- Identify the loose plank by gently pressing down on it. If it moves or creates a gap between the neighboring planks, it needs to be fixed.
- Apply a small amount of vinyl floor adhesive onto the exposed subfloor using a putty knife, ensuring the area is clean and free from any debris.
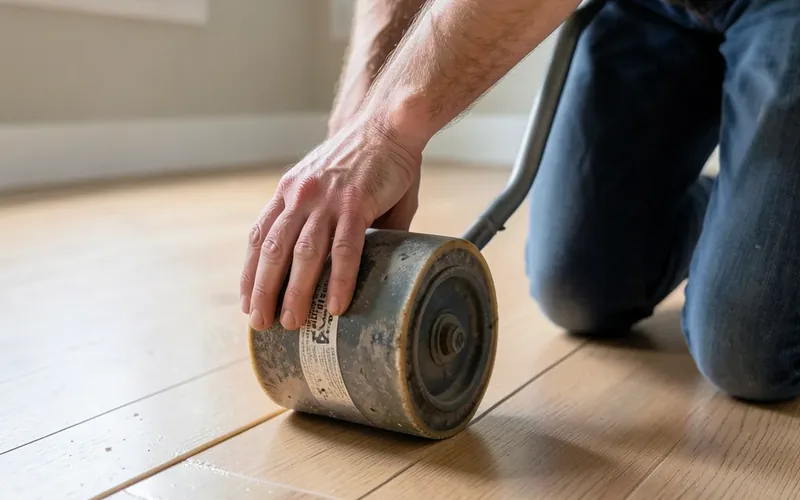
- Press the loose plank firmly into place, making sure it aligns correctly with the surrounding planks. Apply pressure using a floor roller or a heavy object to ensure proper adhesion.
- Allow the adhesive to dry completely before walking on the repaired plank, typically for around 24 hours.
“Excessive moisture in floor slabs after floor covering has been installed can cause floor covering system failures such as debonding, peaking and deterioration of finish flooring and coatings… manufacturers of such systems generally require moisture testing to be performed before installation on concrete.”
Addressing Moisture Problems
Moisture damage means more than a spot repair — the subfloor itself needs to be addressed before new vinyl goes back down.
- Identify the source of moisture, such as leaks or high humidity levels in your space. Fix any underlying issues before proceeding with the flooring repairs.
- Remove any damaged planks or affected areas of the vinyl flooring, ensuring you have a clean and dry subfloor to work with.
- Depending on the extent of the moisture damage, you may need to repair the subfloor as well. Ensure it is dry and in good condition before proceeding.
- Once the subfloor is ready, apply a moisture barrier, such as a waterproof underlayment, to protect your vinyl plank flooring from future moisture-related problems.
- Install new vinyl planks or patch up the damaged areas using adhesive suitable for moisture-prone environments.
- Allow the adhesive to cure according to the manufacturer’s instructions before resuming normal foot traffic.
Proper maintenance, regular inspections, and immediate repairs are what keep glue-down vinyl flooring looking good for years.
Preventive Measures
Proper subfloor preparation and the right adhesive prevent nearly every problem covered above — prevention is far cheaper than repair on a glue-down floor.
Proper Subfloor Preparation
- Ensure the subfloor is clean, dry, and free from debris or protrusions so the adhesive bonds securely.
- Repair cracks or uneven areas with a suitable filler and leveler to create a smooth surface for installation.
- Run an ASTM F2170 or calcium-chloride moisture test on the subfloor before installing — don’t skip this on concrete, especially in a basement.
- If the subfloor tests high for moisture, apply a moisture barrier or moisture-control system before installation rather than after problems appear.
Choosing the Right Adhesive
- Use an adhesive specifically designed for vinyl plank flooring — a general construction adhesive is not a substitute.
- Match the adhesive to the subfloor type; some formulas bond better to concrete than to plywood or vice versa.
- Follow the manufacturer’s trowel-notch and spread-rate recommendations exactly — too little adhesive causes loose planks, too much causes seepage and a messy installation.
- Allow the full cure time before subjecting the floor to heavy traffic or furniture placement.
Frequently Asked Questions For Problems With Glue-Down Vinyl Plank Flooring
Can I Install Glue-Down Vinyl Plank Flooring On Concrete?
Yes, you can install glue-down vinyl plank flooring on concrete. Make sure the concrete is clean, dry, and level, and run a moisture test (ASTM F2170 or calcium chloride) before installation. Use the correct adhesive and follow the manufacturer’s instructions for a successful installation.
What Are The Advantages Of Glue-Down Vinyl Plank Flooring?
Glue-down vinyl plank flooring is highly durable, water-resistant, and easy to clean. It provides a realistic wood or stone look without the high cost, and glue-down installation gives a more stable, secure surface than floating installations.
How Long Does Glue-Down Vinyl Plank Flooring Last?
With proper installation and maintenance, glue-down vinyl plank flooring can last 15-20 years or more. Lifespan varies with foot traffic, installation quality, and maintenance. Regular cleaning and avoiding harsh chemicals or excessive moisture help prolong the life of the flooring.
What Are The Potential Issues With Glue-Down Vinyl Plank Flooring?
Poor installation or the wrong adhesive can cause planks to loosen or curl over time, and excessive moisture or humidity can cause adhesive failure or mold and mildew growth. Proper installation, a moisture test before laying the floor, and regular maintenance minimize these issues.
Why Did A Seam Come Loose Right After Installation, Before The Baseboards Went Down?
This almost always means the adhesive didn’t get full coverage at the plank edge or the seam wasn’t rolled firmly before the glue skinned over. Lift the edge, scrape out the old adhesive, re-apply, and roll it firmly — it’s much easier to fix before the baseboards go back on.
Does Glue-Down LVP Have Problems In Humid Climates?
Yes, in a climate with large humidity swings and no climate control, glue-down LVP is more prone to seam and buckling problems, since the planks expand and contract more. Keeping indoor relative humidity in the 35-55% range meaningfully reduces the risk.
Conclusion
Glue-down vinyl plank flooring is durable and affordable, but nearly every problem it develops traces back to two things: subfloor moisture that was never tested and adhesive that wasn’t matched or applied correctly. Test the subfloor, use a resilient-flooring-specific adhesive at the right spread rate, and roll the seams firmly, and a glue-down vinyl floor will hold up for 15-20 years with no surprises.
Sponsored / affiliate links. As an Amazon Associate I earn from qualifying purchases. I may earn additional commission from eligible campaigns.