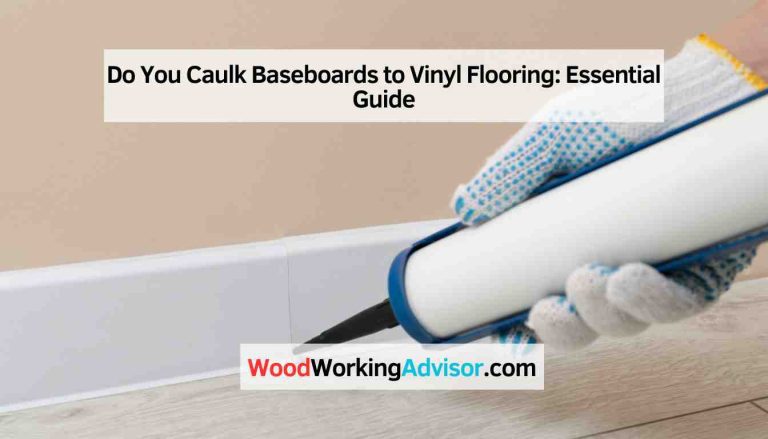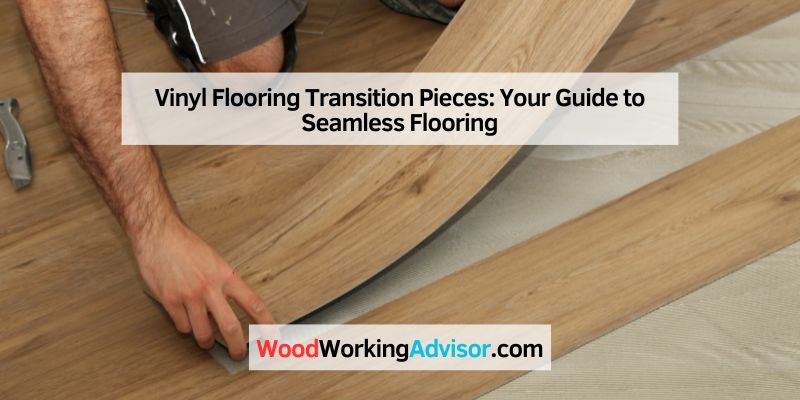
Vinyl Flooring Transition Pieces: Your Guide to Seamless Flooring
Hey there! If you’re diving into a flooring project, you’ve probably come across the term vinyl flooring transition pieces. I remember when I first tackled a home renovation—those little strips seemed like a small detail, but they turned out to be a game-changer for making my floors look polished and professional. Transition pieces are the unsung heroes of flooring, bridging gaps between different surfaces and adding both function and style. In this article, I’ll walk you through everything I’ve learned about vinyl flooring transition pieces, from what they are to how to choose and install them. Whether you’re a DIY newbie or a seasoned pro, I’ve got you covered with practical tips and insights to make your project shine.
Let’s get started with why these pieces matter so much.
What Are Vinyl Flooring Transition Pieces?
When I first started my flooring journey, I had no idea what transition pieces were. Picture this: you’ve got beautiful vinyl planks in your living room, but they meet a tiled kitchen floor. Without something to connect them, you’d have an awkward gap or uneven edge. That’s where vinyl flooring transition pieces come in. These are strips—usually made of vinyl, wood, or metal—that bridge the gap between two different types of flooring or different heights of the same flooring.
They do more than just cover gaps. They protect the edges of your floors from wear and tear, prevent tripping hazards, and give your space a clean, finished look. I’ve seen homes where missing or mismatched transitions made the whole room feel off, so trust me, these little pieces are a big deal.
Why Do You Need Transition Pieces for Vinyl Flooring?
I learned the hard way that skipping transition pieces can ruin a flooring project. Early on, I tried to “save time” by ignoring them, only to end up with chipped vinyl edges and a tripping hazard. Here’s why they’re essential:
- Protecting Edges: Vinyl flooring, especially floating vinyl planks, can have exposed edges that chip or peel over time. Transition pieces cover and protect these edges.
- Safety First: Uneven floors are a recipe for stubbed toes or worse. Transitions smooth out height differences, making your space safer.
- Aesthetic Appeal: A well-chosen transition piece blends your floors seamlessly, making your home look cohesive and polished.
- Expansion and Contraction: Vinyl expands and contracts with temperature changes. Transition pieces hide the expansion gaps needed to prevent buckling.
I once helped a friend install vinyl in her hallway, and we used a sleek T-molding to connect it to her bedroom carpet. It wasn’t just functional—it made the whole transition look intentional and stylish.
Types of Vinyl Flooring Transition Pieces
When I started shopping for transition pieces, I was overwhelmed by the options. Each type serves a specific purpose, so let’s break them down. I’ve put together a table to make it easier to understand:
| Type | Purpose | Best For |
|---|---|---|
| T-Molding | Connects two floors of similar height, creating a smooth, flush transition. | Vinyl to vinyl, vinyl to laminate, or vinyl to tile of the same height. |
| Reducer | Bridges a height difference between two floors, creating a gentle slope. | Vinyl to thicker tile, hardwood, or lower vinyl or concrete. |
| End Cap (Threshold) | Finishes the edge of a floor where it meets a vertical surface or stops. | Vinyl to carpet, sliding doors, fireplaces, or exterior doors. |
| Carpet Transition Strip | Secures carpet edges and transitions to a hard surface like vinyl. | Vinyl to carpet transitions, especially in doorways. |
| Stair Nosing | Covers the edge of stairs for safety and a polished look. | Vinyl flooring on stairs or steps to a sunken room. |
| 4-in-1 Transition Strip | A versatile strip that can be used as T-molding, reducer, end cap, or stair nosing. | Multiple transition needs in one project, especially for vinyl plank floors. |
T-Molding
T-molding is my go-to for rooms with floors at the same height. It’s shaped like a “T,” with the top sitting flush across both surfaces and the stem fitting into a gap below. I used T-molding in my dining room to connect vinyl planks to laminate in the kitchen. It was a breeze to install and looked seamless.
Reducer
Reducers are lifesavers when your vinyl floor meets a thicker surface, like tile or hardwood. They create a gentle slope to prevent tripping. I once installed a reducer in a friend’s home where vinyl met ceramic tile—it was a game-changer for safety and style.
End Cap (Threshold)
End caps are perfect for finishing edges where vinyl stops, like at a sliding door or fireplace. I used an end cap in my living room where vinyl met a brick hearth. It gave the floor a clean edge and protected it from scuffs.
Carpet Transition Strip
Transitioning from vinyl to carpet can be tricky, but carpet transition strips make it easy. These often use a metal track with sharp teeth to grip the carpet, then snap a vinyl strip on top. I helped a neighbor install one in her bedroom doorway, and it made the transition from vinyl to carpet look effortless.
Stair Nosing
Stair nosing is a must for vinyl on stairs. It covers the edge of each step, preventing slips and giving a polished look. I installed stair nosing in my basement, and it made the stairs feel safer and more professional.
4-in-1 Transition Strip
The 4-in-1 strip is like the Swiss Army knife of transitions. It can be adapted for multiple uses, which is great if you’re tackling a big project. I used one in a rental property to save time and money, and it worked perfectly for both T-molding and reducer needs.
Materials for Vinyl Flooring Transition Pieces
Transition pieces come in various materials, and choosing the right one depends on your style and durability needs. Here’s what I’ve found:
- Vinyl: Matches vinyl flooring perfectly. It’s affordable, durable, and comes in colors to blend with your floor. I love vinyl transitions for their seamless look.
- Wood: Great for a natural, warm aesthetic. You can stain or paint wood to match your flooring. I used oak transitions in my hallway for a classic vibe.
- Metal (Aluminum or Stainless Steel): Super durable and ideal for high-traffic areas. I installed aluminum transitions in a friend’s office, and they’ve held up beautifully.
- PVC: Lightweight and budget-friendly, but less durable. I’ve used PVC in low-traffic areas like a guest room with good results.
Each material has its pros and cons. Vinyl and wood blend well aesthetically, while metal is tougher but might stand out. I always consider foot traffic and the room’s vibe when choosing.
How to Choose the Right Transition Piece
Picking the right transition piece can feel daunting, but I’ve got a simple process that works. Here’s what I consider:
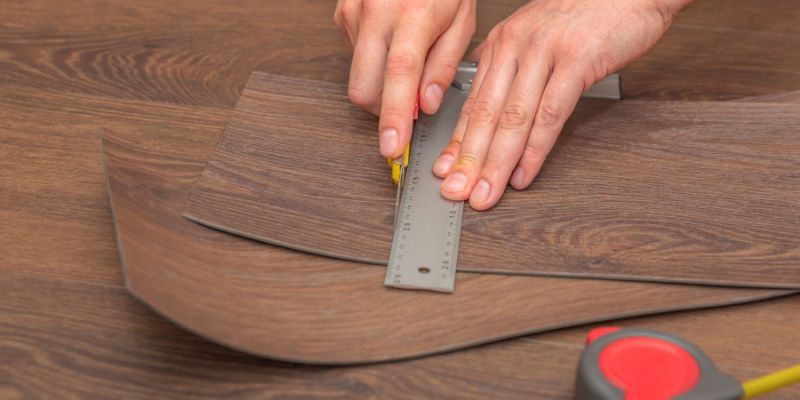
- Measure the Height Difference: Use a ruler to check the height gap between your floors. If it’s more than 1/4 inch, you’ll likely need a reducer. For same-height floors, T-molding is your friend.
- Match the Style: Choose a material and color that complements your vinyl flooring. I once mismatched a transition strip, and it stuck out like a sore thumb!
- Consider Traffic: High-traffic areas like hallways need durable materials like metal or thick vinyl. For a quiet bedroom, wood or PVC works fine.
- Check Compatibility: If you’re using floating vinyl planks, ensure the transition allows for expansion. I learned this after a buckling scare in my first project!
- Budget: Vinyl and PVC are cheaper, while wood and metal cost more. I always balance cost with durability for long-term value.
I once helped a friend pick a brushed nickel transition for her kitchen-to-living-room transition. It matched her modern decor and held up to her kids’ roughhousing.
Installation Tips for Vinyl Flooring Transition Pieces
Installing transition pieces isn’t as hard as it seems, but it takes patience. Here’s how I approach it:
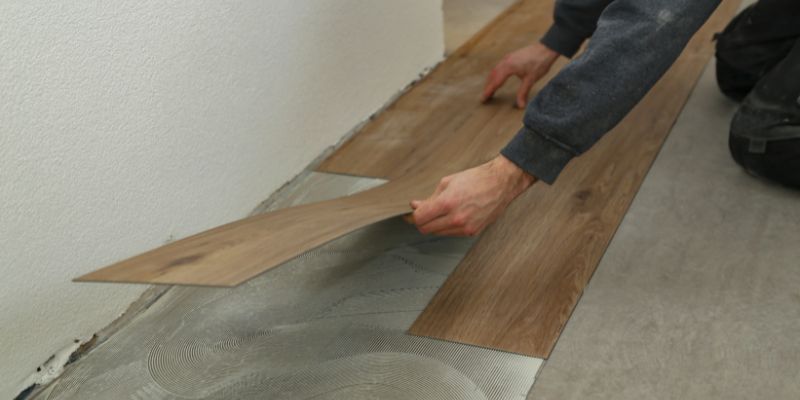
- Measure and Cut: Measure the gap where the transition will go. Cut the strip to size using a miter saw or utility knife. I always double-check measurements to avoid waste.
- Clean the Area: Clear debris from the gap. Dirt can mess up adhesion or fit. I use a vacuum and damp cloth for a spotless base.
- Install the Base Track: Many transitions, like T-molding or reducers, use a metal or plastic track. Secure it to the subfloor with screws or adhesive. I prefer screws for a firm hold.
- Snap or Glue the Strip: Snap the transition strip into the track or glue it down, depending on the type. I’ve found snapping is easier for beginners.
- Test the Fit: Walk over the strip to ensure it’s secure and doesn’t wobble. I once skipped this step and had to redo a loose strip!
Pro tip: If you’re transitioning to carpet, make sure the carpet is tucked tightly under the strip. I use a flathead screwdriver to push it in snugly.
Common Mistakes to Avoid
I’ve made my share of mistakes with transition pieces, so let me save you some headaches:
- Skipping the Expansion Gap: Vinyl needs room to expand. I once installed a strip too tightly, and the floor buckled. Leave a 1/8-inch gap on each side.
- Wrong Size Strip: Using a strip that’s too narrow or wide looks sloppy. I measure the gap width carefully to avoid this.
- Poor Adhesive Choice: Some adhesives don’t work with vinyl. Check the manufacturer’s recommendations. I learned this after a strip peeled up in a humid bathroom.
- Rushing the Job: Take your time with measurements and cuts. Rushing led me to waste two strips on my first project!
Where to Buy Vinyl Flooring Transition Pieces
You can find transition pieces at most home improvement stores. I’ve had great luck at Home Depot and Lowe’s—they have a wide selection of vinyl, wood, and metal strips. Online retailers like BuildDirect or FlooringInc are awesome for specialty options or bulk buys. If you’re matching a specific vinyl brand, check with the manufacturer. I once ordered a 4-in-1 strip directly from Mohawk to match my vinyl planks perfectly.
Prices vary—vinyl strips start at $10 for a 36-inch piece, while metal or wood can run $20–$50. I always compare prices online and in-store to get the best deal.
Maintaining Your Transition Pieces
Once your transition pieces are installed, they’re pretty low-maintenance. Here’s how I keep mine looking great:
- Clean Regularly: Sweep or vacuum to remove dirt. I use a damp cloth with mild soap for stubborn spots.
- Avoid Harsh Chemicals: Bleach or ammonia can damage vinyl or wood finishes. Stick to gentle cleaners.
- Check for Wear: High-traffic areas can wear down over time. I inspect my transitions yearly and replace any that look worn.
- Seal Wood Transitions: If you use wood, apply a sealant to protect against moisture. I learned this after a wood strip in my kitchen started warping.
Creative Ways to Use Transition Pieces
Transition pieces aren’t just functional—they can be a design statement. I’ve seen some cool ideas that inspired me:
- Accent Borders: Use a contrasting color strip to create a bold border between rooms. I tried a dark wood T-molding against light vinyl, and it added so much character.
- Curved Transitions: In open-concept spaces, curved transitions follow the flow of the room. I helped a friend install a curved metal strip in her living room, and it looked stunning.
- Mix Materials: Combine metal and vinyl for a modern-industrial look. I saw this in a trendy café and copied it for a client’s home office.
These touches can elevate your space from basic to breathtaking. Don’t be afraid to get creative!
Conclusion
Vinyl flooring transition pieces might seem like a small detail, but they’ve made a huge difference in every flooring project I’ve tackled. From protecting edges to adding that final polished touch, they’re essential for any home renovation. Whether you’re bridging vinyl to carpet, tile, or hardwood, there’s a transition piece that fits your needs and style. I’ve learned through trial and error that choosing the right type, material, and installation method can transform your space into something safe, durable, and beautiful.
Take your time to measure, pick a material that matches your vibe, and install with care. Trust me, the effort is worth it when you step back and see a seamless, professional finish. Got a flooring project coming up? Grab those transition pieces and make your floors shine. I’d love to hear about your projects—drop a comment on my blog and let me know how it goes!
FAQs
What’s the difference between T-molding and a reducer?
T-molding is used for floors of the same height, creating a flush connection. A reducer is for floors with a height difference, sloping gently to prevent tripping. I use T-molding for vinyl-to-vinyl transitions and reducers when vinyl meets thicker tile.
Can I install transition pieces myself?
Absolutely! With basic tools like a saw, screwdriver, and adhesive, it’s a manageable DIY project. I’ve installed dozens myself—just measure carefully and follow the instructions.
How do I match transition pieces to my vinyl flooring?
Check your flooring’s brand and color code, then look for matching strips from the same manufacturer. I also compare samples in-store to ensure the color and texture blend well.
Are metal transition pieces better than vinyl?
Metal is more durable for high-traffic areas, but vinyl blends better with vinyl flooring. I choose metal for hallways and vinyl for bedrooms, depending on the look and wear.
How long do transition pieces last?
With proper care, vinyl and metal transitions can last 10–20 years. Wood may need resealing but can last just as long. I check mine yearly for wear and tear.
Can I use transition pieces with floating vinyl floors?
Yes, but ensure there’s an expansion gap. I always leave 1/8 inch on each side to prevent buckling, especially with floating floors.