A Beginner’s Guide to Vinyl to Wood Floor Transitions
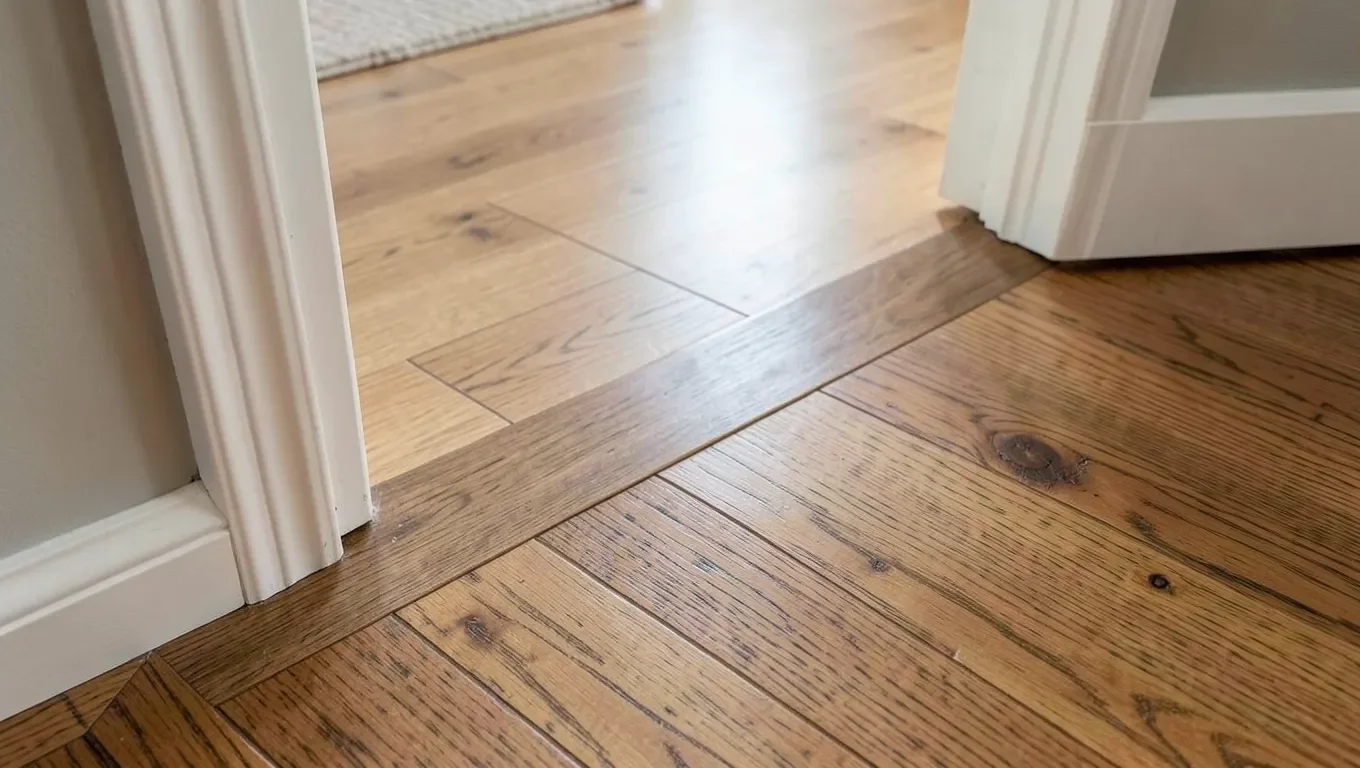
A vinyl-to-wood floor transition uses a molding strip to bridge the gap where the two materials meet, usually in a doorway. Which strip type you need comes down to one measurement: the height difference between the two floors. Same height needs a T-molding; different heights need a reducer.
Which Strip Type You Actually Need
Best Reducer For Vinyl-To-Wood Transitions
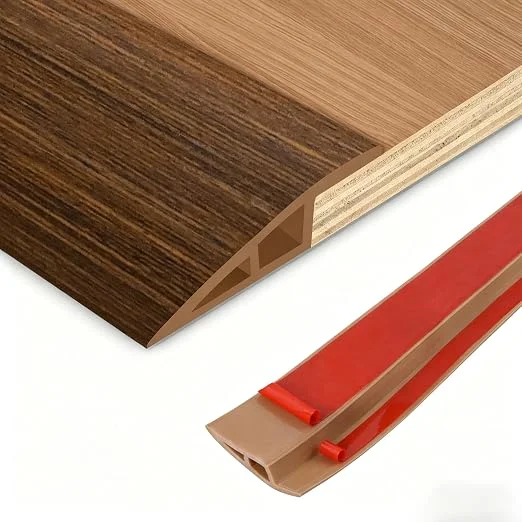 |
Self-Adhesive Wood-Grain Reducer Strip, 3.3ft – $15.99 Self-adhesive backing skips the glue-and-clamp process – press it down once the floors are prepped and clean.
|
| Strip Type | Use When | Material Options |
|---|---|---|
| T-molding | Both floors are the same height | Wood, vinyl, metal |
| Reducer | Floors are different heights (most vinyl-to-wood cases) | Wood, vinyl, aluminum |
| End molding | Finishing one floor’s edge against a step or different surface | Wood, metal |
| Carpet strip | One side is carpet instead of wood | Aluminum, vinyl |
Measure the height difference before buying – vinyl and wood floors are rarely exactly the same thickness once underlayment is factored in, which is why a reducer, not a T-molding, is the more common choice for this specific transition.
Tools And Materials Needed
- Measuring tape – for the gap length and, critically, the height difference between floors.
- Saw or utility knife – to cut the strip to length.
- Adhesive or screws (check the specific strip’s instructions – some are self-adhesive, others need separate glue or fasteners).
- Level – to confirm both floor sections are even before installing.
- Safety glasses and gloves.
Wood strips typically run $20-50 depending on length and species match; vinyl strips are cheaper ($10-25) but generally less durable and harder to match to a wood floor’s exact grain and color.
Installation Steps
- Measure the gap – length and height difference between the two floors.
- Choose the strip type based on that height measurement (see the table above).
- Cut the strip to length, marking with a pencil first for an accurate cut.
- Clean the gap thoroughly – dust and debris weaken adhesive bonds and are a common cause of strips coming loose later.
- Install the strip, following its specific instructions (adhesive, screws, or a snap-in track system).
- Test it – walk across it and check for any wobble or movement before considering the job done.
Common Mistakes
- Using a T-molding on floors with a real height difference – it won’t sit flush and will rock or gap over time. Measure first, don’t assume the floors match.
- Skipping surface prep – dust and debris in the gap is the most common reason adhesive-backed strips fail early.
- Cutting before double-checking measurements – a strip cut too short leaves a visible gap; too long won’t fit cleanly into the space.
Alternatives To A Transition Strip
- Custom-cut wood strip: more labor, but gives an exact match if you want the transition to blend rather than stand out visually.
- Seamless flooring: using one flooring type throughout eliminates the transition need entirely, but is a much larger and more expensive project.
- Small gap, no strip: viable only in very low-traffic areas with minimal height difference – otherwise a real trip and edge-wear risk.
Frequently Asked Questions
What Is A Vinyl To Wood Floor Transition Strip?
A molding strip that bridges the gap where vinyl and wood flooring meet, usually in a doorway. It’s typically wood, vinyl, or metal, chosen based on the height difference between the two floors.
Do I Need A Transition Strip Between Vinyl And Wood?
Almost always, yes – vinyl and wood floors are rarely exactly the same height once underlayment is factored in, and a strip prevents tripping while protecting both floor edges from wear.
Which Strip Type Should I Use For Vinyl To Wood?
A reducer is the most common choice, since it’s designed for floors of different heights – which vinyl-to-wood transitions usually are. Use a T-molding only if you’ve measured and confirmed the floors are genuinely the same height.
Can I Install A Transition Strip Myself?
Yes – it’s a straightforward DIY job with basic tools (saw, adhesive or screws, a level) that typically takes well under an hour. Clean the gap thoroughly first and follow the specific strip’s installation instructions.
Conclusion
The right vinyl-to-wood transition strip comes down to one measurement: the height difference between the two floors. Measure first, choose a reducer for anything other than exactly matched heights, prep the gap thoroughly before installing, and the job is a straightforward, inexpensive DIY task.
Sponsored / affiliate links. As an Amazon Associate I earn from qualifying purchases. I may earn additional commission from eligible campaigns.