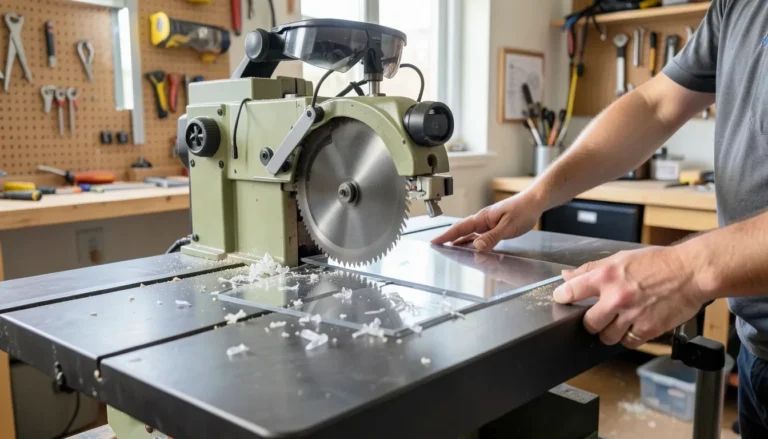
What Is a Splitter on a Table Saw? (OSHA 1910.213 Explained)
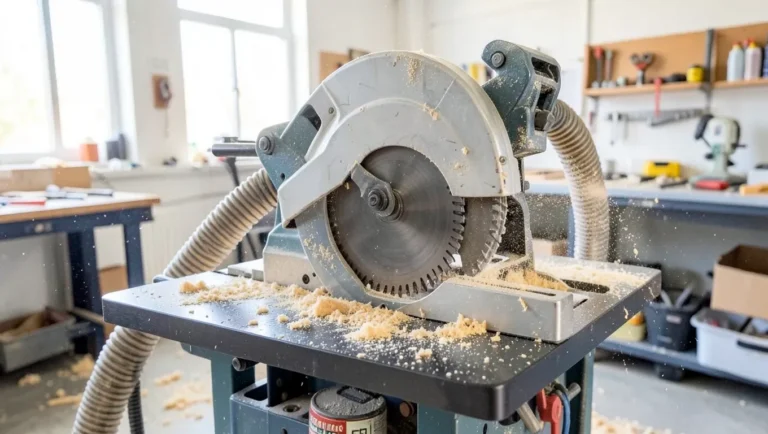
A table saw splitter is a thin metal fin bolted behind the blade that keeps the kerf from closing onto the teeth — the leading cause of kickback — except during dado cuts, when it must come off. OSHA requires a spreader or riving knife on every hand-fed ripsaw used on the job, under 29 CFR 1910.213(c)(2). This guide covers how a splitter works, how it differs from a riving knife, and what to do if your saw has neither.
Splitter vs. Riving Knife: What Is the Difference?
Best Aftermarket Splitter Pick
 |
MicroJig GRR-RIPPER MJ Splitter Steel Pro (Full Kerf) Clamps into a zero-clearance insert instead of the saw’s trunnions, so it retrofits almost any table saw that has no factory splitter or riving knife mount.
|
As an Amazon Associate we earn from qualifying purchases.
Both devices do the same job — keep the kerf from pinching the back of the blade — but they are not interchangeable. A splitter is a flat, fixed piece of metal mounted a fixed distance behind the blade; you have to reset its position every time you change the blade height or angle, and pull it off entirely for dado, rabbet, or groove cuts that do not go all the way through the stock. A riving knife is a curved plate bolted to the same arbor assembly as the blade, so it rises and falls with the blade automatically and stays close to it at every cutting depth — and because it sits low enough, most riving knives can stay mounted even for non-through cuts.
| Feature | Fixed Splitter | Riving Knife |
|---|---|---|
| Moves with blade height/angle | No — reset by hand | Yes — automatic |
| Stays on for dado/rabbet cuts | No, must be removed | Usually yes |
| Typical gap from blade | Wider, less consistent | Tight, consistent |
| Most common on | Older or budget saws | Saws built since ~2014 to UL 987 |
How a Splitter Prevents Kickback
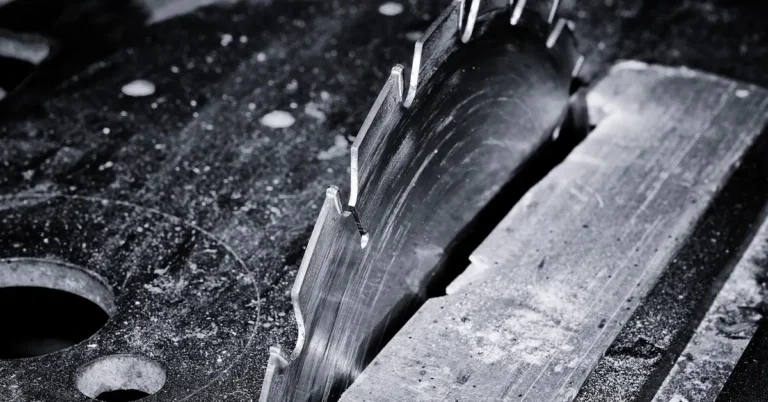
Kickback happens when the wood you are ripping closes back onto the spinning blade behind the cut, gets grabbed by the rising teeth, and is thrown back at the operator — this single mechanism is behind most serious table saw accidents, sometimes hard enough to leave a bruise, sometimes hard enough to send stock across the shop. Wood does this because it has internal stress: as the blade releases that stress mid-cut, the two halves can pinch back together instead of staying open.
A splitter sits directly in that gap. Positioned in line with the kerf, it physically wedges the two halves of the cut apart so they cannot pinch the blade, which stops kickback at the source rather than reacting to it. As a side benefit, keeping the kerf open also reduces the friction that causes burn marks and cuts down on tear-out, since the stock stops flexing against the spinning teeth mid-cut.
The Splitter’s Only Job: Kickback Prevention
Its only job is kickback prevention on rip cuts: it holds the two halves of the workpiece apart behind the blade so the wood cannot close in, bind against the spinning teeth, and get thrown back toward you. It does not guide the cut or improve accuracy directly — that is the fence’s job — but by stopping the stock from binding, it keeps the cut from wandering or burning.
Why Manufacturers Default to a Riving Knife
Manufacturers do not add a riving knife for looks — it is the design that UL 987 (the safety standard nearly every U.S. saw maker builds to) settled on because it stays close to the blade at every height and rarely needs to come off, unlike a fixed splitter. Removing it and never putting it back is one of the most common ways woodworkers end up cutting without any kickback protection at all.
What If Your Table Saw Has No Splitter or Riving Knife?
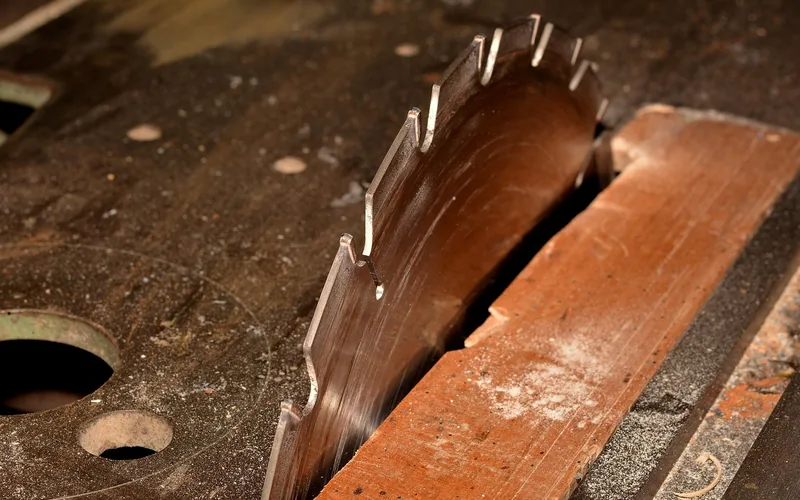
Most saws sold new today ship with a riving knife because it is what UL 987 calls for, but plenty of older contractor and jobsite saws — and some low-end benchtop models — were never built with one. Check the area directly behind the blade, under the throat plate: if there is no metal fin there and no mounting bracket for one, your saw is running without kickback protection right now, whether or not the blade guard is on.
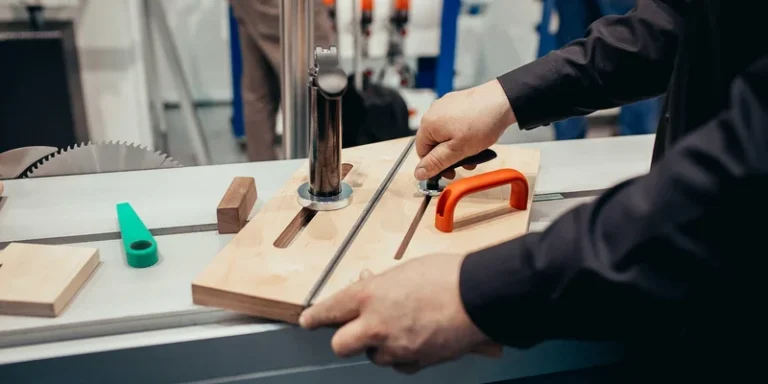
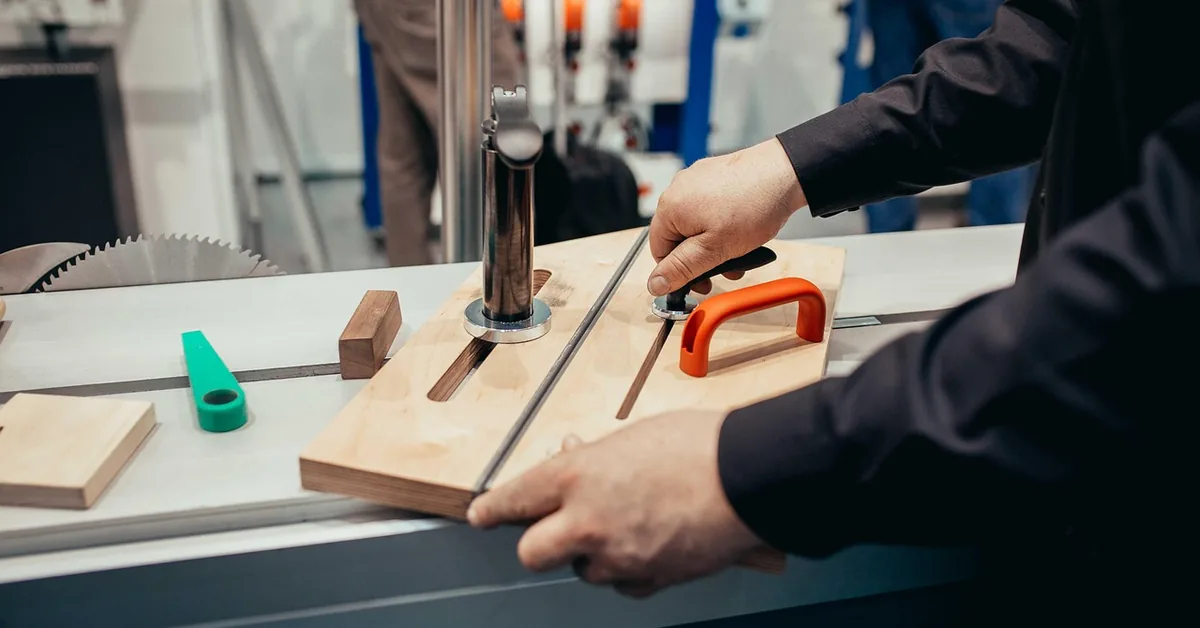
Two realistic fixes exist. First, check the manufacturer’s parts list for your exact model — some saws that shipped without a splitter still have an unused mounting slot for one, and an OEM part will bolt straight in. Second, if no OEM option exists, aftermarket splitter kits are built specifically for this: they clamp into a zero-clearance throat plate insert rather than the saw’s trunnions, so they work on almost any saw regardless of brand or age.
“I keep the stock splitter mounted in its own zero-clearance insert. Swapping it back in after a dado cut takes about a minute, so there’s never a good excuse to leave it off for the next rip.”
Types of Splitters Available for Table Saws
“Splitter” covers several different hardware designs, and knowing which one is on your saw — or which one you’re shopping for — matters when you’re troubleshooting kickback or ordering a replacement part.
| Type | Description |
| Standard Splitter | Fixed metal fin integrated into the blade guard assembly, aligned with the kerf. |
| Riving Knife | Curved plate mounted on the arbor that moves up and down with the blade. |
| Anti-Kickback Pawls | Spring-loaded, toothed fingers that dig into the workpiece if it starts moving backward — usually paired with a splitter, not a replacement for one. A dedicated table saw gripper works on the same principle from the front of the cut. |
| Aftermarket Splitter (e.g. MicroJig) | Clamps into a zero-clearance insert; used to retrofit saws with no factory splitter. |
| Shark Guard Splitter | Retrofit overarm guard and splitter combo built for specific saw models. |
Is a Splitter or Riving Knife Required by Law?
The answer depends on where the saw is used. In a workplace, yes: OSHA’s woodworking machinery standard, 29 CFR 1910.213(c)(2), requires every hand-fed circular ripsaw to have a spreader, and 1910.213(c)(3) separately requires anti-kickback fingers or dogs — the same rule that lets both come off temporarily for dado, rabbet, or groove cuts. In a home shop, there is no federal law forcing you to use one, but manufacturers stopped giving you much choice: UL 987, the voluntary safety standard nearly every U.S. table saw maker builds to, added a riving-knife design requirement in its 6th edition and manufacturers had it in common production by 2014.
📊 OSHA 1910.213(c)(2) and (c)(3) require a spreader and anti-kickback device on every hand-fed ripsaw used on the job; UL 987’s 6th edition (2005) added the riving-knife design that became standard industry practice by 2014. — Source: OSHA.gov, UL 987 (Underwriters Laboratories)

Installing and Adjusting a Splitter on a Table Saw
Installing or resetting a splitter is a five-minute job once you know the sequence. Turn the saw off and unplug it before doing any of this — you’ll have a hand near the blade.
- Power down and unplug: never adjust a splitter with the saw plugged in.
- Locate the mounting slot: find the bracket or attachment point directly behind the blade, usually under or beside the throat plate.
- Align with the kerf: insert the splitter so it sits in a straight line with the blade’s cut path, not offset to either side.
- Set the height: the splitter should sit slightly lower than the top of the blade’s teeth, never higher.
- Lock it down: tighten every fastener or locking lever the splitter uses.
- Check the gap by eye: the space between splitter and blade should look even from front to back before you plug the saw back in.
- Test with a scrap cut: run a scrap board through first to confirm the splitter isn’t dragging or binding.
Benefits of Using a Splitter
Beyond kickback prevention, a properly aligned splitter pays off in cut quality: it keeps the two halves of the workpiece from flexing back into the blade mid-cut, which is what causes burn marks, tear-out, and a wandering cut line. Woodworkers who skip it because it’s “in the way” are usually trading a few seconds of convenience for a much higher chance of a dangerous kickback and a rougher cut — it belongs on the same checklist as push sticks and the other items in our must-have table saw safety accessories list.
Frequently Asked Questions
Can You Install a Splitter on Any Table Saw?
Not with the factory bracket, but usually yes with an aftermarket kit. Most saws built since the mid-2010s already have a riving knife or splitter mount from the factory. Older saws without one often have no bracket at all, in which case an aftermarket splitter that clamps into a zero-clearance throat plate insert — instead of the saw’s trunnions — will fit almost any brand.
What Is the Difference Between a Splitter and a Riving Knife?
A splitter is fixed in place and has to be manually reset every time you change blade height or angle. A riving knife is attached to the same arbor as the blade, so it rises and falls automatically and stays a consistent distance from the teeth at every cutting depth.
Do You Really Need a Riving Knife?
Yes, if your saw has one, keep it on. It’s the design nearly every U.S. table saw manufacturer settled on for a reason: it prevents kickback at every blade height without you having to remember to reset it, which is exactly the step woodworkers skip with a fixed splitter.
Is a Table Saw Splitter Required by Law?
Only in a workplace setting. OSHA 29 CFR 1910.213(c)(2) requires a spreader on every hand-fed ripsaw used on the job. In a home shop there’s no federal law requiring one, but it’s still the single most effective way to stop kickback on a rip cut.
What Is a Splitter Used for on a Table Saw?
It keeps the kerf open behind the blade during a rip cut so the two halves of the workpiece can’t pinch the spinning teeth and get thrown back at the operator. That’s its entire job — kickback prevention, not cut accuracy.
Conclusion
A splitter or riving knife is the single most effective safety device on a table saw for the most common way people get hurt: kickback on a rip cut. If your saw has a riving knife, leave it on for every through cut. If it only has a fixed splitter, or none at all, reset or retrofit one before your next rip — it’s a five-minute job that OSHA requires for a reason, and a basic part of safe woodworking practice either way.
Sponsored / affiliate links. As an Amazon Associate I earn from qualifying purchases. I may earn additional commission from eligible campaigns.