Stressed vs. Unstressed Wood Joints: The 24-Hour Clamp Rule
A stressed wood joint carries dynamic loads — chair legs, table aprons, drawer runners — while an unstressed joint like a picture-frame miter only holds its own weight. Using a butt joint where a mortise and tenon belongs lets the connection rack loose within months. This guide covers real examples of each, the joinery methods that hold up under load, and why Titebond recommends 24-hour clamping for stressed joints but just 30 minutes for unstressed ones.
What Is a Stressed Wood Joint?
Best Glue & Clamp Pick for Stressed Joints
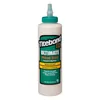
Titebond III Ultimate Wood Glue, 16 oz
Waterproof, food-safe PVA glue that meets ANSI Type I standards — the safest default for stressed joints that see moisture or heavy repeated load.
- Best for: chair, table, and outdoor-adjacent stressed joints
- Why we picked it: longest open time of the Titebond lineup, so you can fit and clamp a stressed joint before it grabs
- Main drawback: costs more per ounce than Titebond Original
Compare more glue & clamp options
 Option 1 Titebond Original Wood Glue, 8 oz
|
 Option 2 HORUSDY 12″ Bar Clamps (2-Pack)
|
 Option 3 Milescraft Self-Centering Dowel Jig
|
As an Amazon Associate we earn from qualifying purchases.
A stressed wood joint is a connection that carries a significant dynamic load — weight, racking, or repeated movement — and must stay tight under that load for years. Because the joint is actively working every time the piece is used, it needs mechanical interlock (not glue alone) and a full cure before it takes any weight.
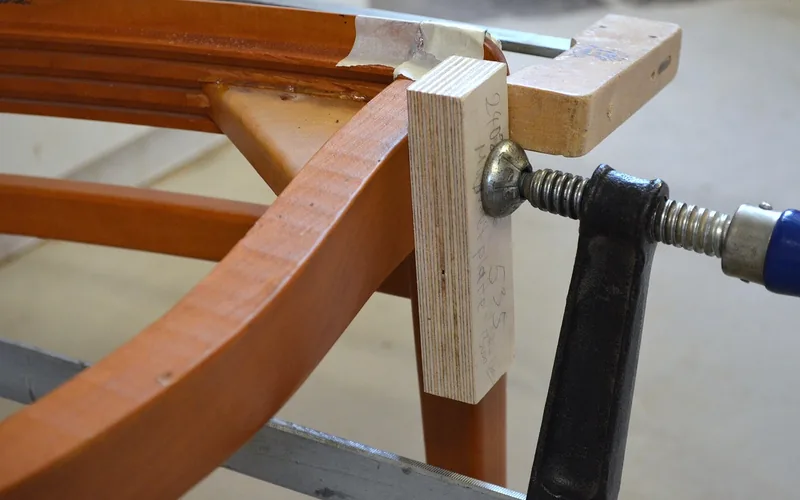
Common stressed-joint locations in furniture and shop projects:
- Chair leg-to-seat and leg-to-rail connections — carry body weight plus rocking motion
- Table aprons to legs — resist racking every time the table is bumped or leaned on
- Bed rails to corner posts — cycle load every time someone sits or turns over
- Drawer runners under load — repeated sliding plus the weight of drawer contents
- Workbench frames — resist racking from hand-tool and clamping forces
What Is an Unstressed Wood Joint?
An unstressed wood joint is a connection that carries little or no ongoing load — its job is to hold two pieces in position, not to resist repeated force. Because the joint isn’t working under load, it can be simpler, faster to build, and lighter-duty than a stressed joint doing the same visual job.
Common unstressed-joint locations:
- Face frames on cabinets — positioned, not load-bearing
- Edge trim on plywood panels — cosmetic, no structural role
- Picture-frame miters — hold glass and backing, not weight
- Decorative inlays and applied moldings — appearance only
- Window and light-box frames — static position, minimal force
Stressed vs. Unstressed Wood Joints at a Glance
| Joint Type | Typical Examples | Recommended Joinery | Clamp Time Before Load |
|---|---|---|---|
| Stressed | Chair legs, table aprons, drawer runners, workbench frames | Mortise & tenon, dowels, dovetails | 24 hours |
| Unstressed | Face frames, picture-frame miters, decorative trim, window frames | Glue only, brad nails, biscuits | 30–60 minutes |
How Long to Clamp a Stressed Wood Joint
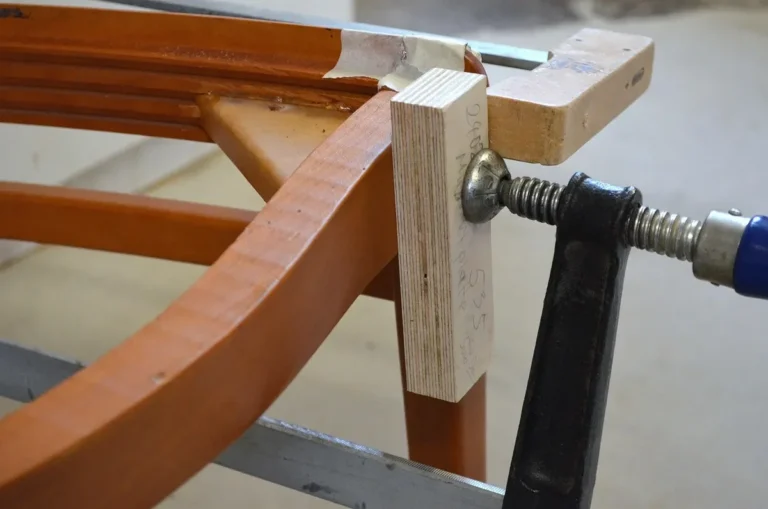
Titebond’s own glue guidance is where the stressed-vs-unstressed terminology comes from in the first place: the company recommends clamping an unstressed joint for 30 minutes to an hour, but a stressed joint needs to stay in clamps for 24 hours, with no load put on the joint until that full day has passed. All three Titebond formulas (Original, II, and III) reach full cure at the 24-hour mark — pulling clamps early doesn’t just risk a weaker bond, it risks a joint that looks fine on day one and fails under racking load a year later.
For product-specific clamp and full-cure times, see our Titebond III clamping guide — the 30-minute/24-hour split applies across the Titebond PVA lineup, but exact numbers shift slightly by formula and by how much load the joint will eventually carry.
Types of Stress a Wood Joint Experiences
A stressed joint doesn’t just carry weight in one direction — it absorbs four distinct kinds of force, and the joinery method you pick should resist whichever one dominates in that spot.
| Stress Type | What It Does to the Joint |
|---|---|
| Compression | Pieces are pressed together, squeezing the joint from both sides. |
| Tension | Forces pull the joint apart — an overloaded shelf pulling its dado joint loose is a common example. |
| Vertical shear | The two halves of the joint slide against each other, most common with butt joints. |
| Racking | Twisting, side-to-side force — generally the most destructive of the four, and the main reason chair and table joints eventually work loose. |
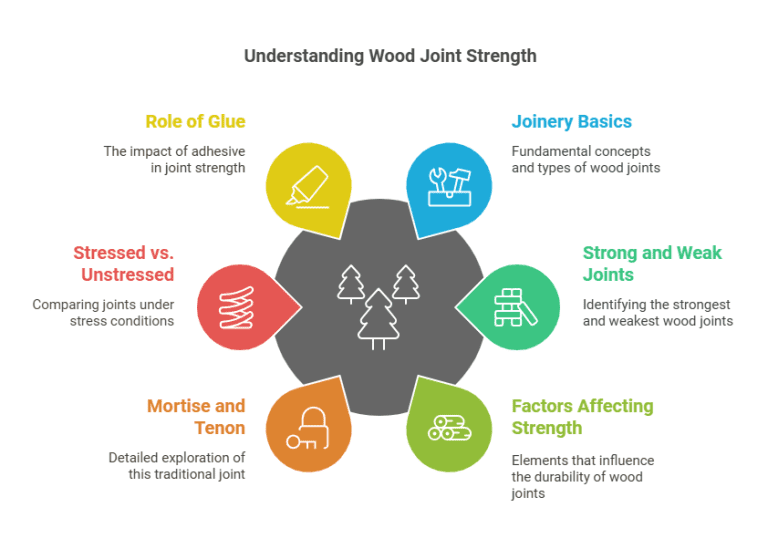
The Strongest and Weakest Wood Joints for Stressed Applications
The Strongest Wood Joint for a Stressed Application
The mortise and tenon joint is the standard answer for a stressed connection, and the numbers back it up: in a real racking-load test, a 3/8-inch tenon held 1,444 lbs before failure — 36% more than a 1/4-inch tenon of the same joint. See our full mortise and tenon joinery guide for tenon sizing, the five common variants, and how it compares to dowel and pocket-hole joints under load.
The Weakest Wood Joint for a Stressed Application
A plain butt joint is the weakest option for anything stressed — it’s just two square-cut ends glued together, with no mechanical interlock and almost no long-grain glue surface. It’s fine for unstressed trim, but on a chair rail or table apron it’s the first joint to fail under repeated racking. A mitered corner and a hand-cut dovetail sit at opposite ends of that same spectrum — one decorative, one built to carry real load.
Common Mistakes When Building Stressed Wood Joints
- Using a butt joint on a load-bearing connection — a chair rail or table apron needs mechanical interlock, not just glued end grain.
- Skipping mechanical reinforcement — glue alone isn’t enough on a stressed joint; add a dowel, tenon, or screw to handle racking.
- Pulling clamps before 24 hours — the joint can look set at one hour but hasn’t reached full cure strength yet.
- Gluing end grain to end grain — end grain soaks up glue like a straw instead of bonding to it; orient the joint for long-grain contact wherever the design allows.
- Over-building an unstressed joint — a picture-frame miter doesn’t need a mortise and tenon; matching joint to load keeps the build faster without weakening anything that matters.
Expert Tips for Stronger Wood Joints
- Use high-quality, dry wood: oak or maple gives a stressed joint more to grip than a soft, damp board.
- Cut for a snug, not forced, fit: a tenon that needs a mallet to seat has already compressed the wood fibers you’re relying on for strength.
- Match joinery to load: mortise and tenon, dowels, or dovetails for anything stressed; glue and biscuits are fine for unstressed trim.
- Reinforce mechanically where you can: a screw or dowel pin backing up glue adds real insurance on a joint that will see daily use.
“I had a chair rail let go about eighteen months after I built it, because I pulled the clamps at the one-hour mark instead of the full 24 — the glue looked set, but it hadn’t cured enough to handle daily racking. Every stressed joint I build now gets a full day in the clamps, no exceptions.”
Wood glue strength also depends on proper dry time. Insufficient clamp time weakens the bond regardless of how well the joint was cut — see the clamp-time guidance above before you unclamp anything load-bearing. For general adhesive cleanup once the joint is set, our guide to cleaning wood glue off clamps covers the fastest methods that won’t damage the clamp jaws.
Frequently Asked Questions
What is the difference between a stressed and unstressed wood joint?
A stressed joint carries a significant, repeated load — chair legs and table aprons are examples — and needs mechanical interlock plus a full 24-hour clamp cure. An unstressed joint, like a picture-frame miter, only holds position and can be glued or lightly fastened in 30 to 60 minutes.
How long should you clamp a stressed wood joint?
Clamp a stressed wood joint for 24 hours, per Titebond’s official glue guidance, and avoid putting any load on it until that full cure time has passed. Unstressed joints only need 30 to 60 minutes in clamps.
What is the strongest joint for a stressed wood application?
The mortise and tenon joint is the standard choice for stressed applications. In a real racking-load test, a 3/8-inch tenon held 1,444 lbs before failure, well ahead of dowel, biscuit, or pocket-hole alternatives under the same load.
What is racking stress in a wood joint?
Racking is a twisting, side-to-side force that works a joint loose over repeated use — it’s generally the most destructive of the four stress types a joint experiences (compression, tension, vertical shear, and racking), and it’s why chair and table joints eventually wobble.
Can a dowel joint handle a stressed application?
Yes, a properly sized dowel joint can handle a stressed application like a chair rail or table apron, though it has less long-grain glue surface than a mortise and tenon and generally tests weaker under heavy racking load.
Conclusion
A stressed wood joint carries real, repeated load — chairs, tables, drawers — and needs mechanical interlock plus the full 24-hour clamp cure to hold up. An unstressed joint only has to keep its position, so a simpler, faster joinery method is the right call there. Matching the joint to the load, not defaulting to one technique everywhere, is what keeps furniture tight for years instead of months.
For more foundational shop techniques and structured, step-by-step builds, see our Woodworking Projects & Tips guide.
Sponsored / affiliate links. As an Amazon Associate I earn from qualifying purchases. I may earn additional commission from eligible campaigns.