What to Apply After Staining Wood: Sealer, Filler & Topcoat
After staining wood, it is recommended to apply a clear protective finish to enhance its appearance and durability. This can be done by using a varnish, polyurethane, or lacquer.
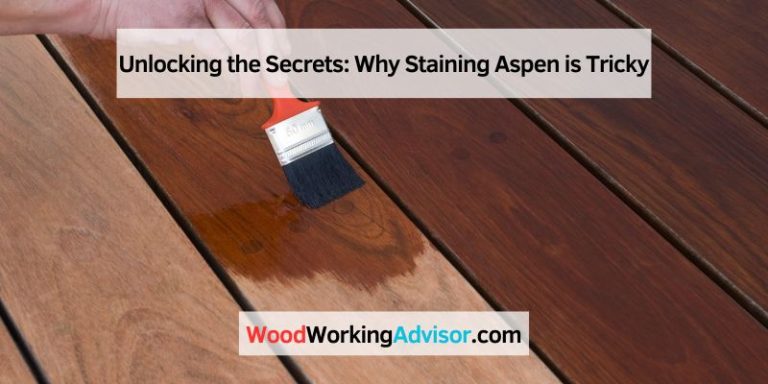
Choosing The Right Wood Stain
When it comes to staining wood, one of the most crucial decisions you need to make is choosing the right wood stain. The right stain can enhance the natural beauty of the wood and protect it from wear and tear, while the wrong stain can leave your wood looking blotchy or dull. In this section, we will explore two important factors to consider when selecting a wood stain: the wood type and the stain colors.
Consider The Wood Type
The first step in choosing the right wood stain is to consider the type of wood you are working with. Different types of wood have different characteristics, such as grain patterns and absorbency levels, which can affect how they react to stains. Some woods, like pine, oak, and cedar, are commonly used for furniture and woodworking projects, each with its own set of considerations.
For example, pine wood is relatively soft and has a more pronounced grain pattern. This means that it may require a different staining technique compared to hardwoods like oak or cherry. Additionally, different woods can absorb stains differently, with some woods being more prone to blotching or not accepting stains evenly. Understanding the characteristics of the wood you are working with will help you choose the right stain and application method.
Understanding Stain Colors
Once you have considered the wood type, the next step is to understand the different stain colors available. Wood stains come in a wide range of hues, from light to dark, allowing you to customize the look of your wood project to suit your personal style or the overall aesthetic of your space.
Lighter stain colors, such as golden oak or natural cedar, can bring out the natural warmth and grains of the wood, perfect for creating a rustic or traditional look. On the other hand, darker stain colors, like espresso or walnut, can add a touch of sophistication and elegance to your woodwork.
It’s important to note that stain colors can vary depending on the type of wood and how many coats of stain you apply. Always test the stain on a small section of the wood or an inconspicuous area to ensure that it achieves the desired color and look before applying it to the entire surface.
By considering the wood type and understanding the stain colors available, you can make an informed decision when choosing the right wood stain for your project. Remember to always follow the manufacturer’s instructions for application and drying times to achieve the best results. Whether you are refinishing an old piece of furniture or working on a new woodworking project, the right wood stain can elevate the overall appearance and protect your wood for years to come.
Applying A Wood Sealer
Once you have stained your wood and achieved the desired color, it’s important to apply a wood sealer to protect and enhance the finish. A wood sealer acts as a barrier between the wood and its environment, preventing damage from moisture, UV rays, and normal wear and tear.
Benefits Of Using A Wood Sealer
A wood sealer offers several benefits that make it an essential step in the wood-finishing process:
- Protection: A wood sealer creates a protective layer on the surface, safeguarding the wood from moisture, rot, and warping.
- Enhanced Durability: By sealing the wood, you can enhance its durability and extend its lifespan.
- Prevents Staining: A quality wood sealer forms a barrier, preventing spills and stains from penetrating the wood.
- UV Protection: Some wood sealers contain UV inhibitors that shield the wood from the harmful effects of the sun, preventing fading and discoloration.
- Enhances Natural Beauty: A sealer can enhance the natural beauty of the wood by highlighting the grain and providing a smooth, polished appearance.
- Easy Maintenance: Sealed wood is easier to clean and maintain, as it resists dirt, dust, and grime.
Steps To Apply A Wood Sealer
Applying a wood sealer is a relatively simple process that can be done with just a few steps:
- Clean the Wood: Before applying the sealer, ensure the wood is free from dust, dirt, and any previous finishes. Use a brush or vacuum to remove any debris.
- Sand the Surface: Lightly sand the wood surface to remove any rough spots or imperfections. This helps the sealer adhere better and provides a smooth finish.
- Apply Sealer: Using a brush or a foam applicator, apply an even coat of wood sealer, following the grain of the wood. Ensure complete coverage on all surfaces.
- Allow Drying: Let the sealer dry according to the manufacturer’s instructions. This typically takes a few hours, but it’s best to leave it overnight for optimal results.
- Inspect and Repeat: Once the first coat is dry, inspect the wood for any missed spots or areas that require additional coverage. Apply a second coat if necessary.
- Finish: Once the final coat is dry, you can apply a topcoat or finish, such as varnish or polyurethane, to further enhance the protection and appearance of the wood.
By following these steps, you can ensure that your wood is sealed properly, providing long-lasting protection and maintaining its beauty for years to come.
Best Topcoat After Staining
Minwax Wipe-On Polyurethane, Satin
A wipe-on formula goes on with a rag instead of a brush, so there are no brush marks to sand out between coats on your freshly stained project.
- Best for: A durable, low-effort topcoat over stained furniture and trim
- Why we picked it: Thin coats dry fast and build up without pooling or drips
- Main drawback: Needs more coats than brush-on poly for the same film thickness
Compare more finishing supplies
 Option 1 Minwax Pre-Stain Wood Conditioner
|
 Option 2 Minwax Stainable Wood Filler
|
As an Amazon Associate we earn from qualifying purchases.
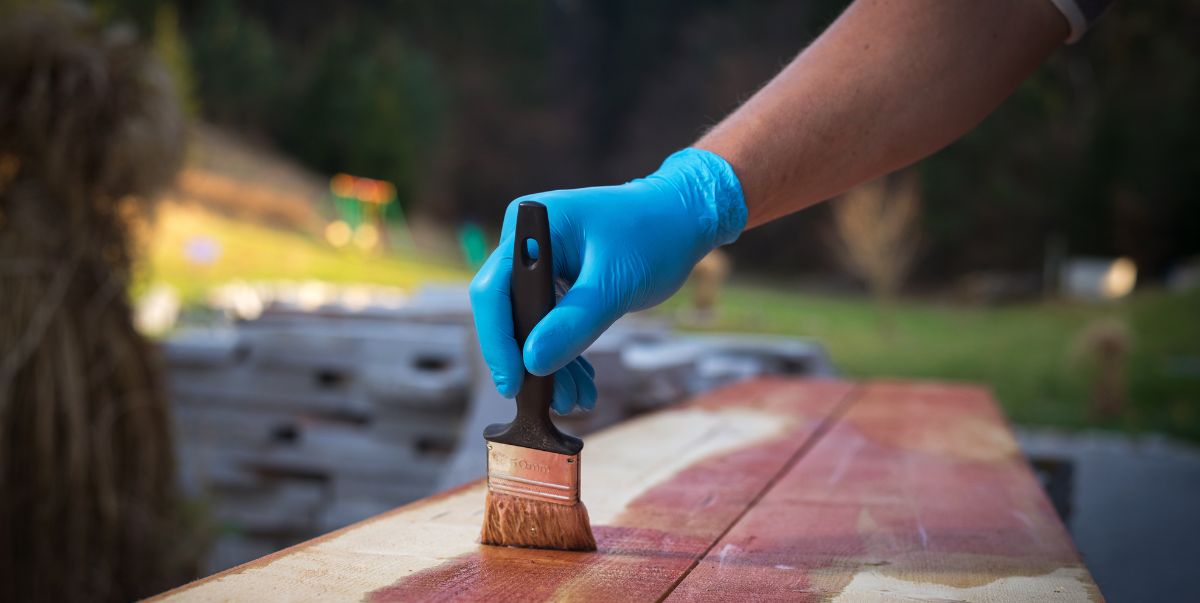
Applying Wood Conditioner
Wood conditioner is an essential step after staining wood, especially when working with soft or porous woods like pine, birch, or maple. It helps to ensure an even and smooth wood staining process by preventing blotching and uneven absorption of the stain.
When applying wood conditioner, it is crucial to prepare the wood surface first. This includes sanding the wood using fine-grit sandpaper to create a smooth and even surface.
After preparing the wood, use a brush or cloth to evenly apply the wood conditioner in the direction of the wood grain. Allow the conditioner to penetrate the wood for about 15 minutes.
- Use a clean cloth to wipe off any excess conditioner from the surface of the wood.
- Once the wood conditioner has dried, the wood is now ready for stain application.
Using Wood Filler
When it comes to staining wood, using wood filler is an essential step to achieve a smooth and flawless finish. Wood filler, also known as wood putty, is a versatile material that helps to fill in any gaps, cracks, or imperfections in the wood’s surface, ensuring a pristine and professional look.
When To Use Wood Filler
Wood filler can be used in various scenarios to enhance the appearance of stained wood. Here are a few instances when you should consider using wood filler:
- Repairing Damaged Surfaces: If your wood has scratches, dents, or holes, applying wood filler can help to restore its original smoothness and texture. By filling in these flaws, you achieve a more even staining job.
- Filling Grain Lines: Some types of wood, like oak or mahogany, have prominent grain lines that can disrupt the evenness of stain application. Applying wood filler before staining can help to reduce the appearance of these grain lines and achieve a more uniform look.
- Covering Nail Holes: When working with wooden furniture or structures, you may encounter nail holes that need to be hidden. Wood filler can easily fill these small holes, ensuring a seamless and polished surface.
Applying Wood Filler Correctly
To achieve the best results when using wood filler, it’s crucial to apply it correctly. Here’s a step-by-step guide to ensure successful application:
- Prepare the Surface: Start by cleaning the wood surface thoroughly, removing any dust, dirt, or old finishes. This step ensures proper adhesion of the wood filler and a smooth final result.
- Select and Mix the Filler: Choose a wood filler that matches the color of the stained wood. Mix the filler according to the manufacturer’s instructions until it reaches a smooth and workable consistency.
- Apply the Filler: Using a putty knife or a suitable tool, carefully fill in the gaps, cracks, or imperfections in the wood’s surface with the wood filler. Ensure the filler is applied evenly, and slightly overfilling to compensate for shrinkage during drying.
- Smooth and Level: After applying the filler, use the putty knife to level and smooth the filled areas, blending them seamlessly with the surrounding wood surface. Remove any excess filler to avoid any visible bumps or ridges after staining.
- Allow Drying and Sanding: Give the wood filler ample time to dry and cure according to the manufacturer’s instructions. Once dry, sand the filled areas gently to achieve a smooth and even surface, ready for staining.
By following these steps, you can ensure that your wood filler is applied correctly and that the final stained wood result is flawless and professional.
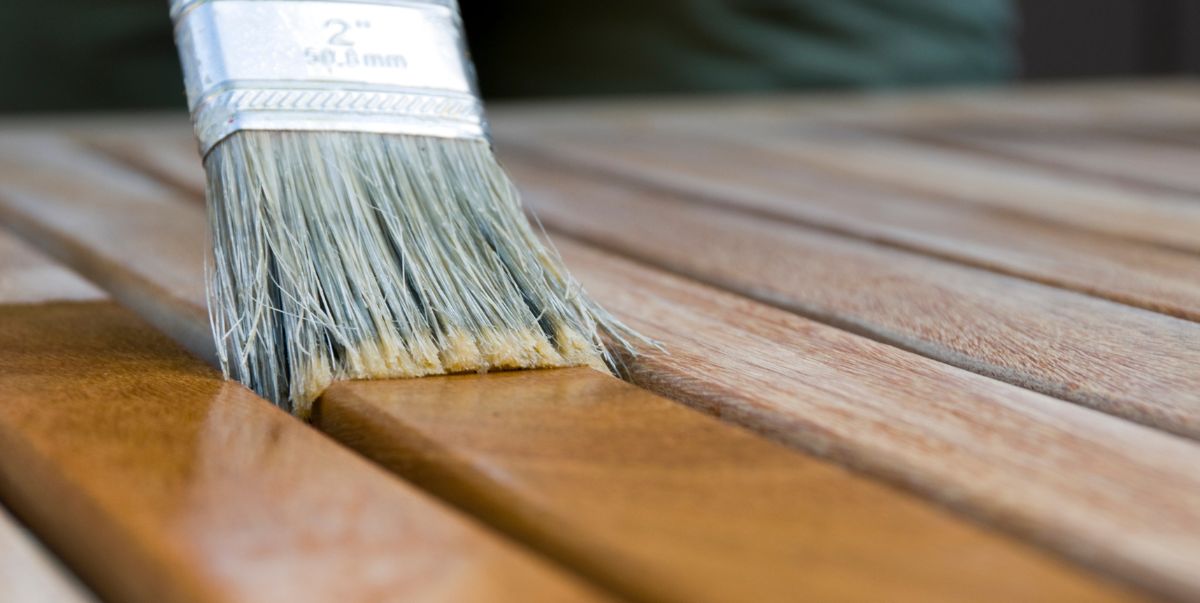
Topcoat Applications
After staining wood, applying a topcoat is essential to enhance its appearance and protect it from damage. A topcoat is a protective layer that not only adds durability but also provides a polished finish to the stained wood. Selecting and applying the right topcoat is crucial to achieve the desired results and ensure long-lasting beauty. This section will guide you through selecting the right topcoat and the proper techniques for applying and maintaining it.
Selecting The Right Topcoat
Choosing the correct topcoat for your stained wood is a critical step that requires careful consideration. Here are a few factors to keep in mind: For a full breakdown of every stain, oil, and sealer type, see our wood finishing guide.
- Type of Wood: Different types of wood may require different topcoats. For example, softwoods like pine may benefit from a penetrating oil-based topcoat, while hardwoods like oak may require a thicker, polyurethane-based topcoat for added protection.
Frequently Asked Questions For What To Apply After Staining Wood
Do You Need To Seal Wood After Staining?
Yes, it’s essential to seal wood after staining to protect it from moisture, wear, and tear. Sealing also enhances the color and durability of the wood, prolonging its lifespan. Use a compatible sealant recommended for the type of stain used for best results.
What Is The Best Finish For Stained Wood?
The best finish for stained wood is a clear polyurethane varnish. It provides a protective layer, enhances the wood’s natural beauty, and is durable.
Do You Need To Oil Wood After Staining?
After staining wood, it is generally recommended to apply an oil finish to enhance its durability and appearance. This helps protect the wood from moisture and wear. So yes, it is advisable to oil wood after staining for better long-term maintenance.
What Do You Do Right After Applying Wood Stain?
Wipe off the excess stain within 5 to 15 minutes of applying it — always wiping with the grain using a clean, lint-free rag, and switching to a fresh section of cloth as it loads up with stain. Never let stain dry on the surface before wiping; if it dries on top instead of soaking in, it leaves a sticky film that stops a topcoat from bonding properly. After wiping, let the stain dry fully before sealing: about 4 to 8 hours for oil-based stains, or 2 to 4 hours for water-based stains.
Conclusion
To sum up, knowing what to apply after staining wood is crucial for preserving and enhancing its appearance. Whether you choose polyurethane, varnish, or wax, the right finishing product can make a significant difference. By understanding the properties and uses of each option, you can ensure that your wooden surfaces remain protected and beautiful for years to come.