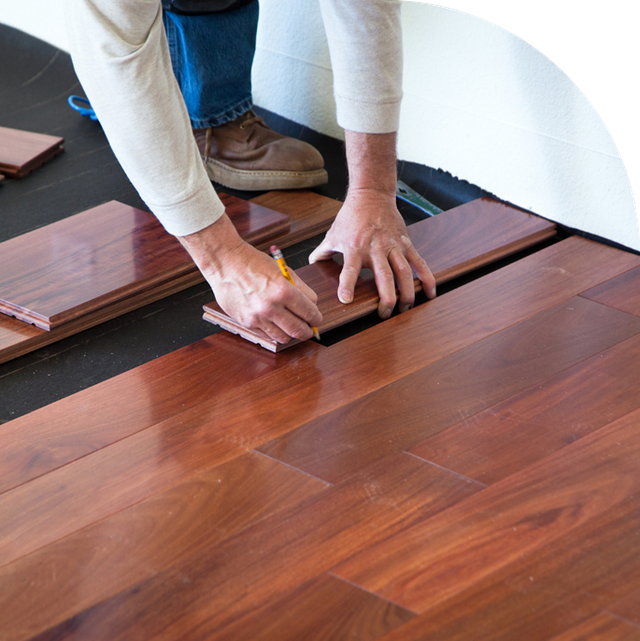
To start laying laminate flooring, begin in a corner of the room and work outward. Ensure the subfloor is clean and level before installation.
Laying laminate flooring can enhance the aesthetic appeal and functionality of a space while being a cost-effective and durable option. By following the proper installation technique, you can create a seamless and stylish finish that will last for years to come.
Whether you are a DIY enthusiast or a professional, understanding the right starting point is crucial in achieving a successful flooring project. In this guide, we will explore the essential steps and considerations for starting to lay laminate flooring in your home or business. Let’s dive into the key factors to consider before embarking on this exciting home improvement journey.

Credit: anyflip.com
Choosing The Right Space
Evaluate your space: Start by evaluating the area to be sure it’s suitable for laminate flooring.
Consideration For Traffic Flow
- Minimal disruption: Choose an area with minimal foot traffic for easier installation.
- Accessibility: Select a space that is easily accessible to avoid obstacles during the installation process.
Evaluation Of Subfloor
- Check stability: Ensure the subfloor is stable and free from any damage to provide a solid base.
- Moisture checks: Conduct moisture checks to prevent issues such as warping or mold growth.
Gathering The Tools And Materials
`Gathering the tools and materials is the first step in laying laminate flooring. Ensure you have all the necessary items before starting to make the installation process smoother.`
Essential Tools
During the installation of laminate flooring, having the right tools at hand is crucial. Here are the essential tools you will need:
-
- `Measuring tape
-
- `Underlayment
-
- `Saw (circular or miter)
-
- `Pull bar
-
- `Spacers
-
- `Rubber malle
Required Materials
`Apart from the tools, you will need specific materials to lay laminate flooring effectively. Make sure you have the following materials ready:``
-
- `Laminate flooring planks
-
- `Transition strips
-
- `Adhesive underlayment
-
- `Wood glue
-
- `Baseboards
Preparing The Subfloor
When laying laminate flooring, the first crucial step is preparing the subfloor. Proper preparation ensures a level, clean, and moisture-resistant foundation for the new flooring, which is essential for its longevity and durability.
Cleaning And Leveling
Before laying laminate flooring, it’s essential to thoroughly clean and level the subfloor. Any debris, dust, or uneven surfaces can cause bumps or gaps in the new flooring, so cleaning and leveling are crucial initial steps. Remove any debris, and use a leveling compound to ensure a smooth, even surface. This process will help to prevent any future issues with the laminate flooring.
Moisture Barrier Installation
Once the subfloor is clean and level, the next step is to install a moisture barrier. This barrier is crucial for protecting the laminate from moisture that may come up through the subfloor. Use a moisture barrier designed for laminate flooring and install it according to the manufacturer’s instructions. This step helps to ensure the longevity of the laminate flooring by preventing any potential damage from moisture.

Credit: www.scvfloorsmith.com
Starting The Installation
When it comes to installing laminate flooring, it’s crucial to start by laying the first row along the longest wall in the room. This will provide a sturdy base for the rest of the installation process. Additionally, ensure to leave a small gap between the flooring and the wall to accommodate for expansion.
Before you begin installing laminate flooring, there are a few important steps to consider. One of the first things you need to do is acclimate the flooring to ensure optimal results. Additionally, establishing the first rows properly is crucial for a successful installation. Let’s dive into these two essential aspects of starting the installation process.
Acclimating The Flooring
Acclimating the laminate flooring is an essential step to prevent any issues later on. Laminate flooring is made from wood materials and can be affected by changes in temperature and moisture. Allow the flooring to adjust to the environment where it will be installed for a minimum of 48 hours.
Here’s how you can acclimate the flooring properly:
- Ensure the room where you’ll be installing the laminate flooring is at the same temperature it will be maintained after installation.
- Remove the planks from their packaging and lay them flat in the room. Make sure you stack them loosely to allow for proper air circulation.
- Avoid placing the planks directly on concrete or any moist or damp surface.
- During the acclimation period, keep the room well-ventilated to allow for air circulation.
Be patient during the acclimation period and resist the temptation to rush the installation. This step is crucial to avoid any potential issues with the flooring in the future.
Establishing The First Rows
Once the laminate flooring is acclimated, it’s time to establish the first rows. This is where careful planning and precision come into play to ensure a seamless and professional-looking installation.
Here are the steps to follow when establishing the first rows:
- Start by determining the direction you want the flooring to run. Consider the natural light source and the overall layout of the room.
- Place spacers against the walls to provide the necessary expansion gap. This gap allows the laminate to expand and contract with temperature changes.
- Begin with a full plank for the first row, ensuring the side with the tongue is facing the wall. Use a tapping block and hammer to click the planks together firmly.
- Continue installing the first row, taking care to maintain the proper expansion gap and ensuring each plank is securely locked in place.
- For subsequent rows, start with the leftover piece from the previous row to avoid wastage.
- Use a 1/4-inch spacer between the edge of the plank and the wall to maintain the expansion gap consistently.
- Work your way row by row, double-checking for any gaps or misalignments along the way.
Remember to take your time during the installation process to achieve the best results. Careful planning and attention to detail will ensure a beautiful and long-lasting laminate flooring installation.
Finishing Touches
Discover the essential guide to beginning your laminate flooring project with a focus on adding the perfect finishes for a polished look. Dive into expert tips for a successful installation process and elevate your space with a professional touch.
Once the laminate flooring is installed, it’s time to add those final touches to ensure a polished and professional look. This includes the installation of trim and conducting final inspections. These last steps are crucial in completing the project and ensuring the flooring is secure and visually appealing. Read on to learn more about each step and how to execute them effectively.
Trim Installation
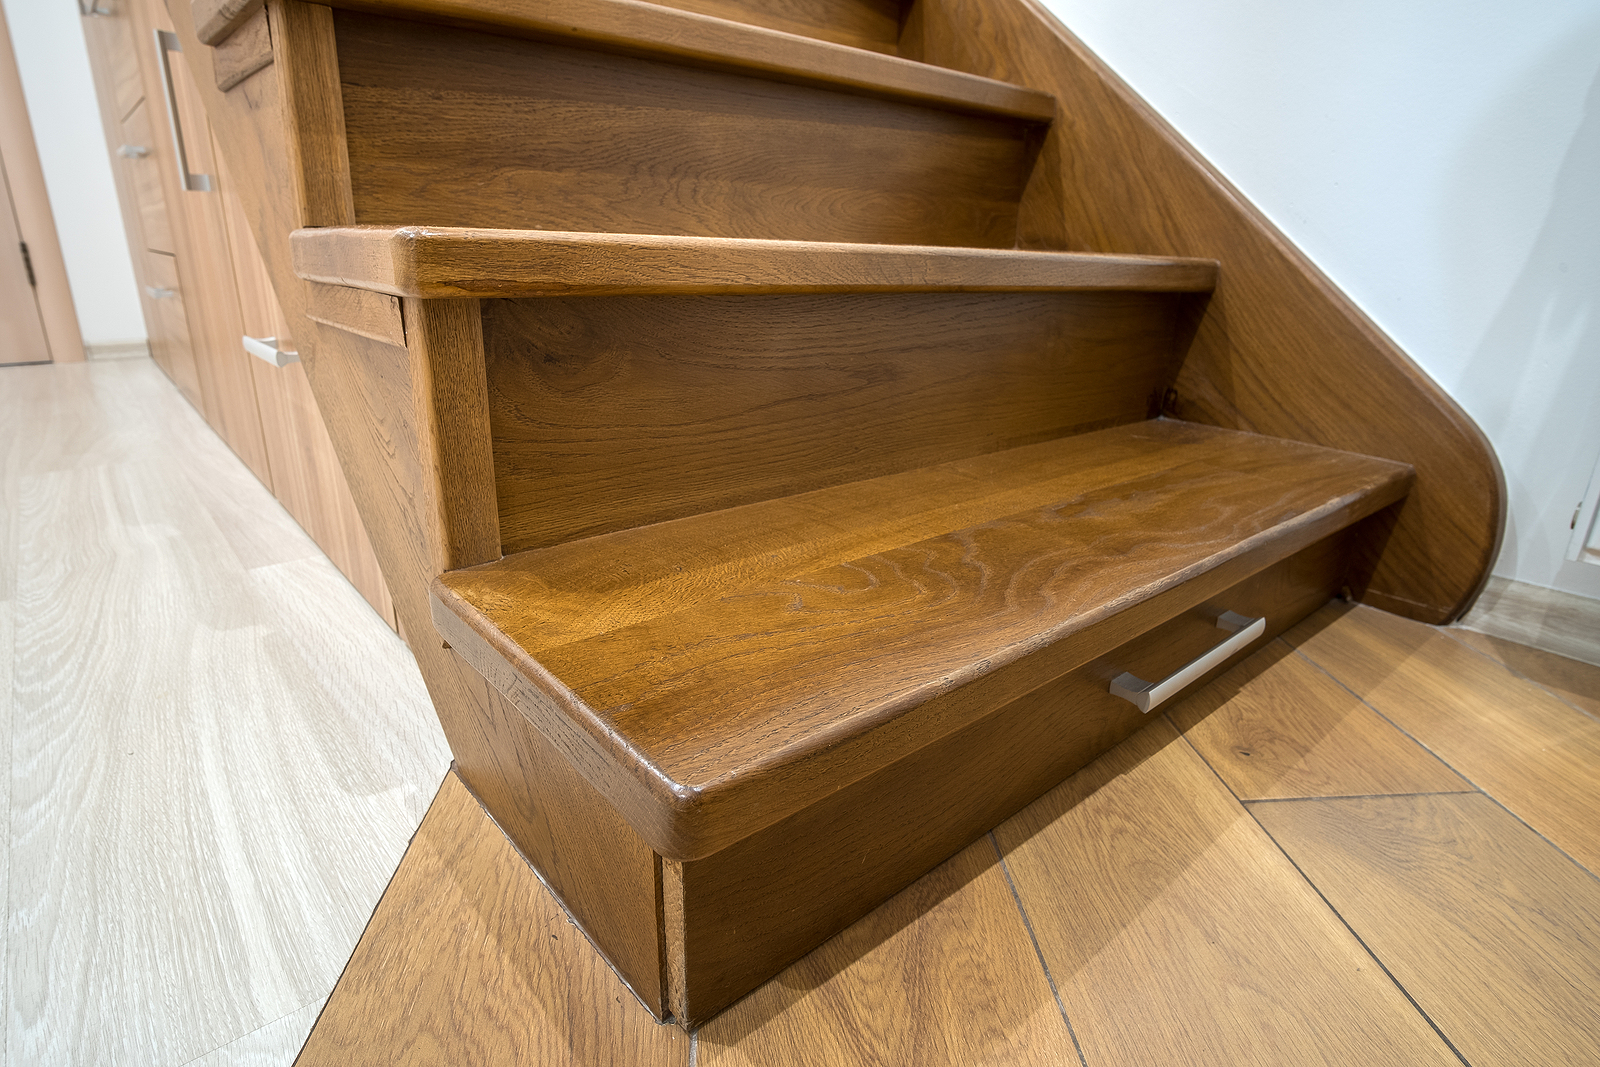
The trim installation is a crucial aspect of completing a laminate flooring project. It not only enhances the appearance but also serves to protect the edges of the flooring from damage. Trim comes in various styles and finishes, allowing you to select an option that matches your overall aesthetic. To install the trim, follow these steps:
- Measure the length of the wall where the trim will be installed.
- Cut the trim to the appropriate length using a miter saw or a handsaw equipped with a miter box.
- Apply construction adhesive to the back of the trim.
- Press the trim firmly against the wall, ensuring it is parallel to the floor.
- Secure the trim using finishing nails, being careful not to damage the laminate flooring.
- Fill any nail holes with wood filler or putty that matches the color of the trim.
- Allow the adhesive to dry completely before touching or walking on the trim.
Final Inspections
Final inspections are an essential step in the laminate flooring installation process. These inspections ensure that everything is in order and that the project meets your expectations. Before considering the project complete, perform the following checks:
- Inspect the flooring for any visible signs of damage or defects.
- Check the trim for secure attachment and a smooth, seamless appearance.
- Ensure all transitions between rooms or flooring types are smooth and level.
- Walk across the entire floor, paying attention to any areas that feel uneven or make noise.
- Examine the corners and edges for any gaps or imperfections.
- Verify that all baseboards and furniture are properly reinstalled and secure.
By taking the time to install trim and conduct thorough inspections, you can rest assured that your laminate flooring project is completed to the highest standards. These finishing touches not only enhance the overall look and durability of the flooring but also give your space a professional and polished finish.

Credit: www.stair-rodsdirect.co.uk
Frequently Asked Questions Of Where To Start Laying Laminate Flooring
Where Should I Start My First Row Of Laminate Flooring?
Start your first row of laminate flooring along the longest wall in the room for a visually appealing look.
Which End Of Room To Start Laminate Flooring?
Start laminate flooring from the longest unobstructed wall. Consider the visual impact and the direction of natural light when determining where to begin. Ensure that the boards run parallel to the longest wall for an optimal result.
How To Determine Where To Start Laying Vinyl Plank Flooring?
To determine where to start laying vinyl plank flooring, begin by measuring the width of the room and the width of the planks. Divide the width of the room by the width of the planks to determine the number of planks needed.
Start laying the planks from the longest straight wall in the room for a more visually appealing result.
Why Do You Start Flooring In The Middle?
Starting flooring in the middle helps with balance and symmetry. It ensures equal cuts on both sides and minimizes the chance of ending up with small, uneven pieces at the edges. By starting from the middle, you can also create a more seamless transition between different rooms or areas.
Conclusion
In choosing where to start laying laminate flooring, consider the layout and natural light of your space. To avoid visible seams and create a professional finish, plan the direction of the planks carefully. Additionally, take time to measure and cut the planks accurately for a seamless and durable installation.


