Wood Burning Stove Vent Through Wall: Safe Installation Tips
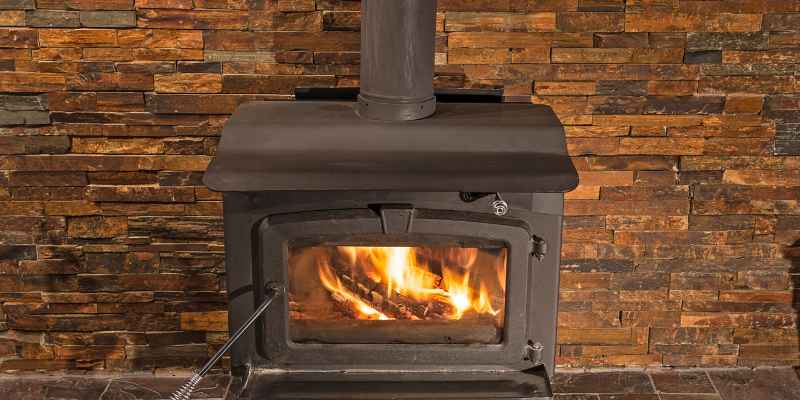
Wood burning stoves can vent through walls using a chimney pipe or a direct vent system. Proper installation ensures efficiency and safety.
Installing a wood burning stove often involves venting options that suit your home’s layout. Venting through the wall provides a space-saving solution and can enhance heating efficiency. Many homeowners prefer this method to avoid chimney height restrictions or aesthetic concerns.
Proper materials and installation techniques are crucial for optimal performance. Always consult local building codes and regulations before proceeding. Choosing the right venting system can improve air quality and reduce the risk of fire hazards. Ensuring a tight seal and appropriate clearance from combustibles protects your home and promotes safe operation. Explore your options to find the best fit for your heating needs.
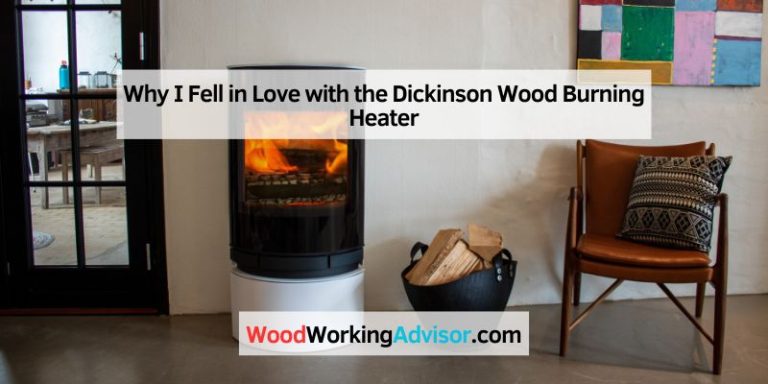
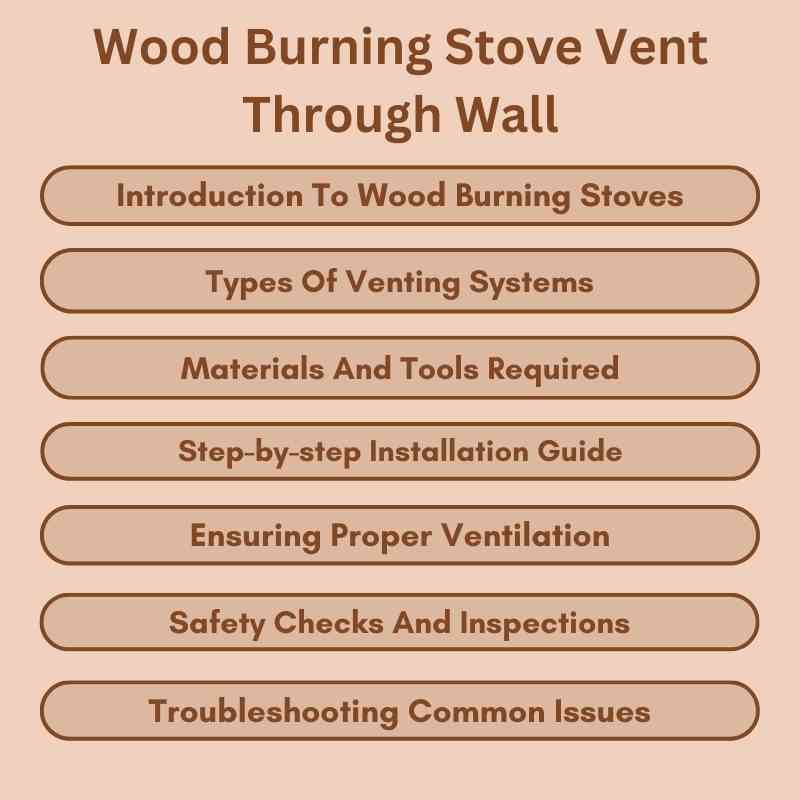
Introduction To Wood Burning Stoves
Wood burning stoves are popular heating options. They provide warmth and comfort. Many homeowners choose them for their efficiency and charm. These stoves create a cozy atmosphere while reducing energy costs. Understanding their benefits and venting needs is essential.
Popularity And Benefits
Wood burning stoves have gained popularity for several reasons:
- Cost-effective: Wood is often cheaper than gas or electric.
- Eco-friendly: They can use sustainable wood sources.
- Independence: Enjoy heating without relying on the grid.
- Ambiance: Creates a warm and inviting atmosphere.
Many people appreciate the traditional feel of a wood fire. It adds a unique touch to any home.
Venting Basics
Proper venting is crucial for wood burning stoves. It ensures safety and efficiency. Here are key points to consider:
| Venting Type | Description |
|---|---|
| Direct Vent | Expels exhaust through the wall. Draws air from outside. |
| Chimney Vent | Uses a vertical chimney. Relies on natural draft. |
| Flue Pipe | Connects stove to chimney. Must be properly insulated. |
Choose the right venting system for your stove. This ensures maximum performance and safety.
Always follow local building codes. Consult professionals for installation guidance.
Pre-installation Considerations
Installing a wood burning stove requires careful planning. Consider the local codes, regulations, and the best location.
Local Codes And Regulations
Before installation, check local building codes. Each area has specific rules for wood burning stoves. Compliance ensures safety and avoids fines.
- Contact local authorities for guidelines.
- Review fire safety regulations.
- Check for required permits.
Some areas may have restrictions on:
- Flue venting types.
- Stove models.
- Installation clearances.
Choosing The Right Location
Location affects performance and safety. Pick a spot that meets all requirements.
- Keep the stove away from flammable materials.
- Ensure proper clearance from walls.
- Choose a flat, stable surface.
Consider these factors:
| Factor | Importance |
|---|---|
| Access to fuel | Easy refueling |
| Ventilation | Efficient smoke dispersal |
| Heat distribution | Even heating throughout space |
Take your time. A well-planned location enhances the stove’s effectiveness.
Types Of Venting Systems
Choosing the right venting system is crucial for a wood burning stove. Different systems suit various setups and needs. Understanding these options helps ensure safety and efficiency.
Direct Ventilation
Direct venting uses a sealed pipe to vent exhaust gases. This system draws air from outside. Here are key features:
- Easy installation through walls.
- Reduces heat loss.
- Works well in tight spaces.
Direct vent systems require specific materials. Common materials include:
| Material | Use |
|---|---|
| Stainless Steel | Durable and corrosion-resistant. |
| Aluminum | Lightweight and cost-effective. |
Natural Draft Ventilation
Natural draft ventilation relies on the chimney’s height. This system uses warm air rising to create a draft. Here are its main benefits:
- Simple design with fewer parts.
- No mechanical assistance needed.
- Less expensive to install.
Natural draft systems require proper chimney height. A minimum height of 15 feet is recommended. Ensure no obstructions block the flue.
Materials And Tools Required
Installing a wood burning stove vent through a wall requires specific materials and tools. This ensures a safe and effective installation. Below are the essential components needed for this task.
Venting Kit Components
Your venting kit will include several key components. Each part plays a vital role in the system’s efficiency. Here’s a list of common venting kit components:
- Chimney Pipe: Connects the stove to the outside.
- Wall Thimble: Protects the wall from heat.
- Elbows: Allows for bends in the venting path.
- Cap: Covers the top of the chimney, keeping out debris.
- Insulation: Helps maintain temperature in the pipe.
Safety Gear And Equipment
Safety is crucial during installation. Proper gear protects you from hazards. Use the following safety equipment:
- Safety Glasses: Protect your eyes from debris.
- Gloves: Shield your hands from sharp edges.
- Dust Mask: Prevent inhalation of dust and fumes.
- Hard Hat: Protects your head from falling objects.
Gather the following tools for installation:
- Drill
- Screwdriver
- Measuring Tape
- Level
- Stud Finder
Having the right materials and tools makes installation smoother.
Step-by-step Installation Guide
Installing a wood burning stove vent through the wall is essential. It ensures safe and efficient operation. Follow this guide for a straightforward installation process.
Measuring And Cutting The Wall Opening
Start with precise measurements. This step is crucial for a proper fit.
- Gather required tools: a measuring tape, pencil, and saw.
- Measure the diameter of the vent pipe.
- Mark the location on the wall where the vent will go.
- Use the measuring tape to find the center.
- Draw a circle around the center point using the diameter.
- Double-check your measurements before cutting.
Cut the wall carefully following the marked circle. Use a saw suitable for the wall material.
Securing The Vent Pipe
After cutting the opening, it’s time to secure the vent pipe.
- Insert the vent pipe through the opening.
- Ensure it fits snugly and is level.
- Use screws or brackets to secure the pipe.
- Check for any gaps around the pipe.
- Seal gaps with high-temperature silicone or fire-resistant caulk.
Follow local codes for any additional requirements. A proper installation enhances safety and efficiency.
Ensuring Proper Ventilation
Proper ventilation is crucial for a wood-burning stove. It keeps the air flowing and prevents smoke buildup. Good ventilation enhances efficiency and safety. Follow these guidelines to ensure optimal airflow.
Air Intake Considerations
Air intake is essential for combustion. Without it, the stove cannot operate effectively. Here are key points to consider:
- Ensure a dedicated air supply for the stove.
- Check local codes for air intake requirements.
- Position the intake near the stove for better performance.
Choose an appropriate size for the air intake. A small intake can restrict airflow. A larger intake may lead to excessive drafts. Consider these factors:
| Intake Size | Effect |
|---|---|
| Too Small | Insufficient air, poor combustion |
| Too Large | Excessive drafts, energy loss |
| Just Right | Optimal airflow, efficient burning |
Maintaining Clearance
Clearance around the stove is vital for safety. It prevents fire hazards and allows for proper airflow. Follow these clearance guidelines:
- Keep at least 36 inches from combustible materials.
- Ensure proper distance from walls and furniture.
- Use non-combustible materials around the stove.
Regularly check for obstructions. Remove any items blocking airflow. Proper clearance enhances safety and efficiency.
Safety Checks And Inspections
Ensuring safety when using a wood burning stove is crucial. Regular checks and inspections help prevent accidents. Follow these guidelines to maintain a safe environment.
Leak Testing
Leak testing is essential for your wood burning stove. It helps identify any gas or air leaks. Follow these steps for effective leak testing:
- Turn off the stove and allow it to cool.
- Inspect all joints and connections.
- Use soapy water to check for bubbles.
- Apply the solution to suspected leak areas.
- Look for bubbles forming. This indicates a leak.
For safety, perform leak tests at least once a year. Consider hiring a professional for thorough inspections.
Carbon Monoxide Detectors
Carbon monoxide (CO) detectors are vital for safety. They alert you to dangerous gas levels. Follow these tips to ensure effectiveness:
- Install detectors near sleeping areas.
- Test detectors monthly to ensure they work.
- Replace batteries at least once a year.
- Replace the entire unit every 5-7 years.
Choose detectors certified by safety organizations. Place them away from vents and windows to avoid false alarms.
Stay safe by following these checks and inspections. Protect yourself and your home from potential hazards.
Maintenance And Upkeep
Proper maintenance ensures your wood burning stove functions efficiently. Regular upkeep enhances safety and prolongs the stove’s lifespan. Follow these guidelines for effective maintenance.
Regular Cleaning Schedule
Establish a cleaning schedule to keep your stove in top shape. Regular cleaning prevents buildup and improves performance. Here’s a simple cleaning routine:
- Clean the stove after every use.
- Empty the ash pan weekly.
- Deep clean the interior monthly.
- Inspect and clean the chimney twice a year.
Use the right tools for cleaning:
| Tool | Purpose |
|---|---|
| Stove Brush | Remove soot from stove surfaces |
| Vacuum | Clean up ash and debris |
| Chimney Sweep Brush | Clean chimney flue |
Inspecting For Wear And Damage
Regular inspections are vital for safety. Look for signs of wear and damage:
- Check door seals for gaps.
- Inspect the flue for cracks.
- Look for rust on metal parts.
- Examine the firebrick for deterioration.
Address any issues immediately. Replace worn parts to ensure safety. Regular inspections reduce fire hazards and maintain efficiency.
Troubleshooting Common Issues
Wood burning stoves are efficient heating sources. Yet, issues may arise. Here are solutions to common problems.
Dealing With Draft Problems
Draft issues can make your stove less effective. Follow these steps to fix them:
- Check the chimney height. It should be at least 15 feet.
- Inspect the flue for blockages. Remove any debris.
- Ensure the damper is fully open. This allows proper airflow.
- Consider adding a chimney cap. It prevents wind from causing drafts.
Use a draft gauge to measure airflow. Adjustments may be necessary for optimal performance.
Addressing Smoke Backdraft
Smoke backdraft can be dangerous. Here’s how to handle it:
- Check for air leaks around the stove.
- Ensure proper ventilation in the room.
- Verify that the flue is clean and open.
- Install a smoke detector for safety.
Consider these solutions:
| Solution | Description |
|---|---|
| Increase Ventilation | Add vents or windows for better airflow. |
| Use a Blower | A blower can help push smoke out. |
| Check the Fuel | Use dry wood for a cleaner burn. |
Regular maintenance can prevent backdraft issues. Clean your stove and chimney often.
Professional Help And Services
Installing a wood burning stove can be complex. Seeking professional help ensures safety and compliance. Experts have the right tools and knowledge. They handle installation correctly and efficiently.
When To Call A Professional
Consider calling a professional for these situations:
- You lack experience with installations.
- Your home has unique ventilation requirements.
- Local codes require professional installation.
- You need help with chimney design.
- Safety concerns arise during the process.
Certified Installer Benefits
Hiring a certified installer offers several advantages:
| Benefit | Description |
|---|---|
| Expertise | They understand local codes and safety standards. |
| Efficiency | They complete the job quickly and correctly. |
| Warranty Protection | Proper installation maintains your stove’s warranty. |
| Safety Assurance | Reduces risks of fire hazards and carbon monoxide leaks. |
Always choose certified professionals for peace of mind. Their experience protects your home and family.
Frequently Asked Questions
How To Vent A Wood Burning Stove Through A Wall?
Venting a wood burning stove through a wall requires specific materials. Use a proper chimney pipe and follow local building codes. Ensure the venting system is at a safe height and away from combustible materials. Proper installation is crucial for safety and efficiency.
What Materials Are Needed For Wall Venting?
You will need a chimney pipe, wall thimble, and firestop spacer. Use high-temperature silicone sealant to prevent leaks. Additionally, consider using insulation for added safety. Always check local regulations to ensure compliance with fire safety standards.
Is A Wall Venting System Efficient?
Yes, a wall venting system can be efficient. It allows for shorter exhaust runs, reducing heat loss. Properly installed, it ensures optimal performance of your stove. Efficiency also depends on the quality of the stove and the installation.
Can I Install It Myself?
While DIY installation is possible, it’s not always recommended. Proper installation requires knowledge of local codes and safety practices. Mistakes can lead to dangerous situations. Hiring a certified professional is often the best choice for safety and compliance.
Conclusion
Installing a wood burning stove vent through the wall offers efficiency and safety. Proper ventilation enhances performance and reduces risks. Always consult professionals for installation to ensure compliance with local codes. Enjoy the warmth and ambiance of your stove while maintaining a safe environment.
A well-vented stove enhances your home experience.