Best Way to Apply Fence Stain: Expert Tips for a Flawless Finish
Are you ready to give your fence a fresh, long-lasting look? Knowing the best way to apply fence stain can save you time, money, and frustration.
Whether your fence is new or needs a makeover, the right technique will protect the wood and enhance its natural beauty. You’ll discover simple steps and expert tips that make staining easy and effective. Keep reading to learn how you can transform your fence into a stunning feature of your yard with just a little effort.
Choosing The Right Fence Stain
Choosing the right fence stain is key to protect and beautify your fence. The right stain improves wood durability and enhances its natural look. Picking a stain involves understanding types, colors, and eco-friendly choices. This helps you make the best decision for your fence and environment.
Types Of Stains
There are three main types of fence stains: transparent, semi-transparent, and solid. Transparent stains show the wood grain clearly. Semi-transparent stains add color but keep some wood texture visible. Solid stains cover the wood completely, like paint. Each type offers different protection and appearance.
Color Selection Tips
Choose a color that matches your home and landscape. Light colors reflect sunlight and keep wood cooler. Dark colors hide dirt but absorb more heat. Test a small area first to see how the stain looks in daylight. Pick colors that blend well with nature for a natural look.
Eco-friendly Options
Eco-friendly stains use fewer chemicals and toxins. They protect the environment and keep your family safe. Look for water-based stains with low VOC (Volatile Organic Compounds). These stains dry faster and have less odor. Eco-friendly options still protect wood well and last long.
Preparing Your Fence
Preparing your fence is the first key step before applying any stain. A well-prepared surface ensures the stain sticks better and lasts longer. Taking time to ready the wood protects it from damage and makes your fence look great.
Cleaning And Washing
Start by removing dirt, dust, and mildew from the fence. Use a garden hose or pressure washer for a deep clean. A mix of water and mild detergent helps to lift tough grime. Let the fence dry completely before moving to the next step.
Repairing Damages
Check the fence for loose nails, broken boards, or cracks. Fix these issues by hammering nails back or replacing damaged wood. Small cracks may need wood filler to smooth the surface. This step keeps your fence strong and ready for staining.
Sanding For Smoothness
Sand rough spots and splinters with medium-grit sandpaper. Focus on areas where the stain will not absorb evenly. Sanding creates a smooth finish and helps the stain soak in better. After sanding, wipe the fence with a dry cloth to remove dust.

Tools For Staining
Choosing the right tools makes staining a fence easier and neater. Proper tools save time and give a smooth finish. Understanding the best options helps you decide what fits your project.
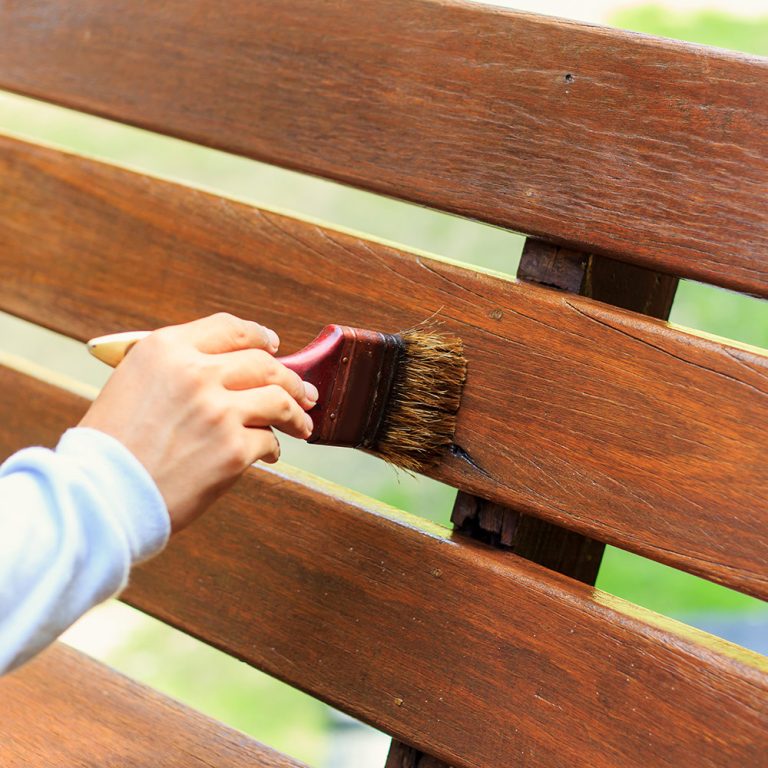
Brushes Vs. Sprayers
Brushes offer more control and reach tight spaces. They allow you to spread the stain evenly on wood grain. Sprayers cover large areas fast but may cause overspray. Sprayers need careful handling to avoid waste. Brushes suit small or detailed fences better. Sprayers work well for big, flat surfaces.
Protective Gear
Wear gloves to keep stain off your skin. Use safety glasses to protect your eyes from splashes. A mask prevents inhaling fumes during staining. Old clothes or a coverall protect your body. Good footwear keeps your feet safe from spills. Safety gear keeps the job clean and healthy.
Other Essential Supplies
Use drop cloths to protect the ground or nearby plants. Painter’s tape helps cover areas you don’t want stained. Sandpaper smooths rough spots before staining. Rags clean spills or wipe excess stain. Stir sticks mix stain well for even color. A ladder may be needed for tall fences.
Applying The Stain
Applying the stain to your fence is a key step that protects the wood and improves its look. A good application ensures the stain soaks in well and lasts longer. Careful attention during this step avoids uneven color and peeling.
Take your time and follow the right steps to get smooth, even results. Proper tools and techniques help you cover every part of the fence with the right amount of stain. Let’s explore the best conditions and methods for applying fence stain.
Best Weather Conditions
Choose a dry day with mild temperatures. The ideal temperature is between 50°F and 85°F. Avoid very hot or cold days, as they affect how the stain dries. Do not stain in direct sunlight; it can cause blotches and quick drying. Check the weather forecast to avoid rain for at least 24 hours after staining.
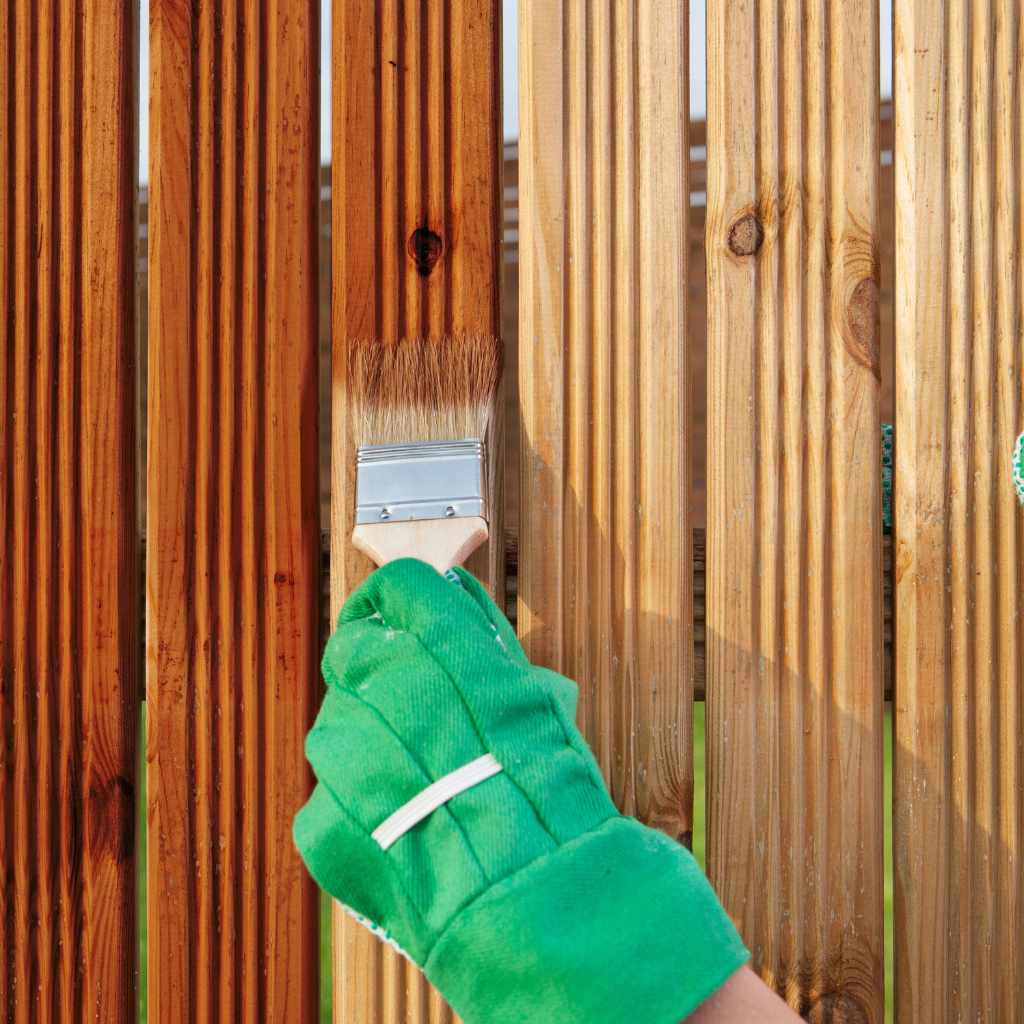
Techniques For Even Coverage
Use a brush or a sprayer designed for stains. Start at the top of the fence and work downwards. Apply the stain in long, smooth strokes along the wood grain. Avoid overloading the brush to prevent drips and puddles. Blend each section into the next to avoid lines. Wipe off excess stain with a clean cloth to prevent sticky spots.
Avoiding Common Mistakes
Do not stain over dirty or wet wood; it causes poor adhesion. Avoid rushing; uneven spots show quickly. Do not apply too thick a coat; it takes longer to dry and may peel. Always test the stain on a small area first. Keep tools clean and do not reuse dirty brushes. Protect nearby plants and surfaces from stain splashes.
Drying And Curing
Drying and curing are key steps after applying fence stain. They help the stain stick well and protect the wood. Proper drying and curing make your fence look better and last longer. It is important to know the right time and care needed for this process.
Recommended Drying Times
Most fence stains need at least 24 to 48 hours to dry. This time depends on weather and the type of stain used. Oil-based stains usually take longer than water-based stains. Avoid touching the fence during this period to prevent marks. Rain or high humidity can extend drying times. Check the stain instructions for exact drying times.
Protecting The Fence During Curing
The curing process can take several days to weeks. Keep the fence dry and away from heavy use. Avoid leaning objects against the fence. Do not wash the fence until the stain fully cures. Cover the fence during rain to protect the finish. Proper curing ensures deep stain penetration and long-lasting protection.
Maintenance Tips
Maintaining a stained fence keeps it looking fresh and protects the wood. Proper care extends the life of the stain and the fence itself. Follow simple steps to keep your fence in top shape.
When To Reapply
Check your fence every year for signs of wear. Look for fading, peeling, or water absorption. These signs mean the stain needs reapplying. Usually, fences need a new coat every 2 to 3 years. Harsh weather may require more frequent touch-ups.
Cleaning Stained Fences
Clean your fence before applying new stain. Use a soft brush and mild soap to remove dirt and mildew. Rinse with water and let the fence dry completely. Avoid pressure washing as it can damage the wood and old stain.
Preventing Damage
Trim plants and grass near the fence to prevent moisture buildup. Fix any loose boards or nails to avoid damage. Apply sealant on cut edges to protect from water. Regular inspection helps catch problems early and saves repair costs.

Frequently Asked Questions
What Is The Best Time To Apply Fence Stain?
The best time to apply fence stain is during dry weather. Avoid rainy or humid days for proper drying. Spring and early fall are ideal seasons for staining.
How Many Coats Of Fence Stain Should I Apply?
Typically, two coats of fence stain provide optimal protection. The first coat penetrates the wood, and the second enhances durability and color.
Should I Clean The Fence Before Staining?
Yes, clean your fence before staining to remove dirt, mildew, and old finish. This ensures better stain adhesion and a smooth finish.
Can I Apply Fence Stain Without Sanding?
Sanding is recommended but not always necessary. Light sanding removes rough spots and old stain, improving stain absorption and appearance.
Conclusion
Applying fence stain correctly protects wood and keeps it looking fresh. Clean the fence well and choose the right stain type. Use even strokes to avoid streaks or blotches. Let the stain dry fully before adding another coat. Regular maintenance helps your fence last longer.
A well-stained fence adds beauty and value to your home. Follow these simple steps for the best results every time. Easy, careful work makes your fence strong and attractive.