Does Maple Take Stain Well? Why It Blotches (and How to Fix It)
Yes, maple takes stain well, but its dense, tight grain absorbs pigment unevenly and blotches unless you prep it right. Skipping a pre-stain conditioner — or using the wrong stain type — is the #1 cause of streaky maple finishes. This guide covers why maple blotches, two expert-backed fixes (pre-stain conditioner vs. gel/water-based stain), and the exact steps for even color.
What Makes Maple Different From Other Woods?
Best Maple Pre-Stain Pick
Minwax Pre-Stain Wood Conditioner (Quart)
Penetrates maple’s grain in 15 minutes to even out absorption before an oil-based stain.
- Best for: maple going under an oil-based stain
- Why we picked it: Minwax specifically names maple as needing this step
- Main drawback: oil-based only — do not use before a water-based stain
Compare more maple stain-prep options
 Option 1 General Finishes Oil-Based Pre-Stain Conditioner
|
 Option 2 General Finishes Java Gel Stain
|
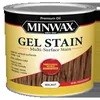 Option 3 Minwax Gel Stain
|
As an Amazon Associate we earn from qualifying purchases.
Maple is a dense, closed-grain hardwood that accepts stain but resists it more unevenly than open-grain woods like oak. It comes in two main types: hard maple (denser, more prone to blotching) and soft maple (more porous, stains more predictably). Both are prized for furniture, flooring, musical instruments, and cutting boards — but that same tight grain that makes maple durable is exactly what causes staining problems.
Why Does Maple Blotch When You Stain It?
Maple blotches because its grain structure is uneven in density, not because it “rejects” stain. Dense, tight-pored areas absorb very little pigment, while slightly more porous patches next to them soak up much more — so the same stain looks light in one spot and dark right beside it. This is a structural property of the wood, not a sign you did something wrong on your first pass.
📊 Minwax’s own technical guide singles out maple by name: “hard maple is an extremely dense, tight-pored wood that does not absorb much stain… the grain pattern of maple is uneven, causing it to absorb stains in varying degrees.” — Source: Minwax, Staining Interior Wood (2026)
Two Ways to Get Even Color on Maple
Finish manufacturers don’t fully agree on the fix — and knowing both approaches saves you from mixing bad advice. Minwax recommends conditioning the wood before staining; General Finishes recommends skipping the conditioner entirely and switching stain types instead. Both work, but they are not interchangeable.
| Method | How It Works | Best For |
|---|---|---|
| Pre-stain conditioner + oil stain (Minwax method) | Sand to 220-grit, apply pre-stain wood conditioner, then stain within 2 hours with a light-to-medium oil-based stain | Traditional warm tones; following one brand’s full system start to finish |
| Gel or water-based stain, no conditioner (General Finishes method) | Sand to 220-grit, skip the conditioner, apply gel or water-based stain directly — these sit more on the surface and carry more pigment | Darker, more even color; avoids conditioner “closing” the grain further |
“Maple is one of the most difficult woods to achieve a dark, uniform stain color on because it is a dense, closed grain wood and often absorbs stain very unevenly… We do not recommend pre-sealing Maple with a conditioner because it closes up the grain of the wood even more, further preventing color adherence.”
Step-by-Step: How to Stain Maple Without Blotching
- Sand the surface: sand with 120-grit, then 150- or 220-grit sandpaper, always in the direction of the grain, and remove all dust with a tack cloth.
- Test on scrap: test your chosen stain — and conditioner, if you’re using one — on an offcut or hidden edge of the same maple board, since color and blotching vary board to board.
- Pick your method: choose pre-stain conditioner + oil stain, or gel/water-based stain with no conditioner, and stick to one manufacturer’s instructions for both products.
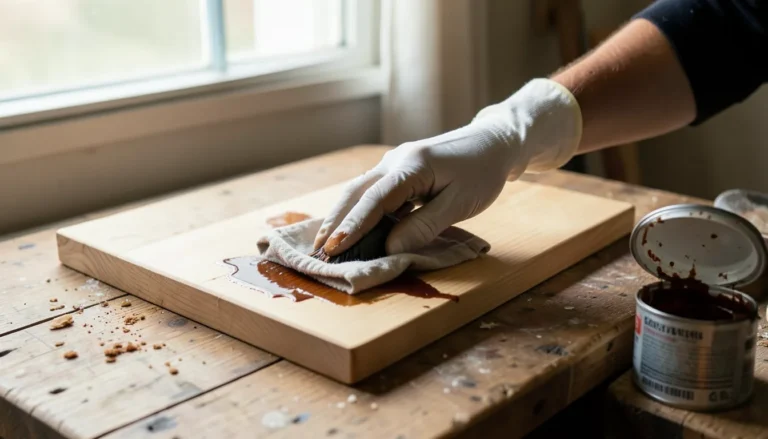
- Condition if using that method: brush on pre-stain wood conditioner, let it penetrate 5–15 minutes, wipe off the excess, then apply stain within 2 hours.
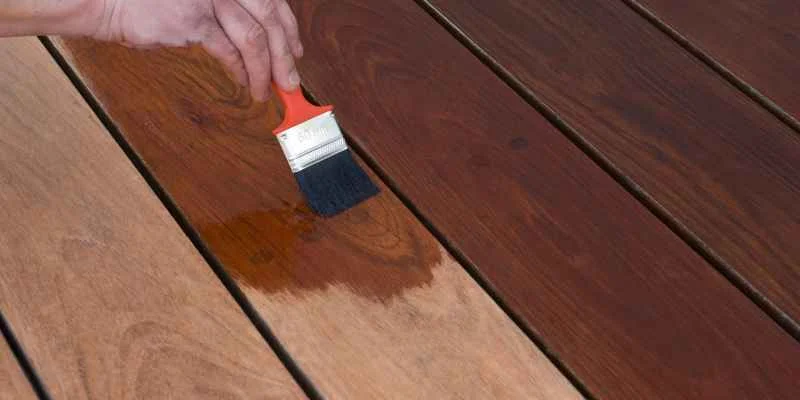
- Apply stain in thin coats: brush or wipe stain in the direction of the grain, then wipe off excess quickly with a clean cloth to stop it from pooling in low-density spots.
- Let it cure, then topcoat: allow the stain to dry fully per the can’s instructions, then seal with a clear topcoat to lock in color and protect the surface.
Choosing the Right Stain Color for Maple
Oil-based stains penetrate deeper and enhance maple’s natural grain, but need a pre-stain conditioner on maple to avoid blotching. Water-based stains dry faster and pair with General Finishes’ no-conditioner approach. In general, light to medium stain colors show maple’s grain better — darker colors make any blotching far more visible, since they rely on more pigment sitting unevenly on the surface.
If you want deep, dark color without hiding maple’s grain pattern, consider a wood dye instead of a pigment stain — dye molecules are smaller than stain pigments and penetrate tight-grained woods like maple more evenly, which is why dyes are a common professional workaround for hard-to-stain maple projects.
| Stain Type | Advantages | Disadvantages |
|---|---|---|
| Oil-Based | Deep penetration, rich color, needs conditioner on maple | Longer drying time, stronger odor |
| Water-Based | Quick drying, low odor, works with GF’s no-conditioner method | May raise the grain slightly |
| Gel Stain | Sits on the surface, most even color on maple | Longer cure time between coats |
Common Mistakes When Staining Maple
- Skipping the pre-stain step entirely and applying oil-based stain straight onto bare maple.
- Mixing brands — using one company’s conditioner with a different company’s stain without checking both labels.
- Choosing a dark stain for a first maple project, which magnifies any unevenness.
- Applying stain in one thick coat instead of thin, controlled coats wiped back quickly.
- Skipping the scrap test, so the first surprise shows up on the actual project.
Caring for Stained Maple
Once your stain is dry, seal it with a clear topcoat to protect the color and the wood underneath — see our full guide on how to finish maple for topcoat options and application order. Clean stained maple with a soft cloth and mild soap, avoid harsh chemicals, and plan to refresh the topcoat every few years on high-use surfaces like tables and floors.
Frequently Asked Questions
Does Maple Wood Absorb Stain Well?
Yes, maple wood absorbs stain, but its dense grain can lead to uneven results if it isn’t prepped correctly. Pre-staining with a wood conditioner (or switching to a gel/water-based stain) helps the color go on more evenly. Always test a small area first before committing to the whole project.
What Type Of Stain Is Best For Maple?
Gel stains and water-based stains generally give the most even results on maple because they sit more on the surface instead of penetrating unevenly. Oil-based stains give a richer, deeper color but require a pre-stain conditioner on maple to avoid blotching. Light to medium colors show maple’s grain best.
How To Prepare Maple For Staining?
Sand the maple surface with 120-grit, then 150- or 220-grit sandpaper in the direction of the grain, then remove all dust with a tack cloth. Depending on your chosen stain, apply a pre-stain wood conditioner and stain within 2 hours, or move straight to a gel/water-based stain. Proper prep is what prevents blotching.
Can I Stain Maple Without Sanding?
It’s possible to stain maple without sanding, but it’s not recommended. Sanding opens the grain evenly and removes mill glazing that blocks stain absorption. Skipping this step is one of the most common causes of blotchy maple finishes. Always sand and clean the surface first.
Should I Use A Pre-Stain Conditioner On Maple?
It depends on your stain. Minwax recommends applying pre-stain wood conditioner before an oil-based stain to reduce blotching on maple. General Finishes takes the opposite approach for its own products, warning that conditioner can close maple’s grain further and block color adherence — recommending gel or water-based stain applied directly instead. Follow the instructions for the specific stain brand you’re using, and test on scrap first.
Can You Put Gel Stain Over Pre-Stain Conditioner On Maple?
Yes, with Minwax products — Minwax recommends conditioning maple before applying its own Gel Stain, since gel stain still benefits from an evened-out surface. This pairing is brand-specific, though: General Finishes gel stains are formulated to go directly onto raw, unconditioned maple. Check your stain manufacturer’s own instructions rather than mixing brands’ recommendations.
Conclusion
Maple does take stain well, and blotching is preventable, not inevitable — it just needs the right prep for the stain you’re using. Pick one manufacturer’s system (conditioner + oil stain, or gel/water-based stain with no conditioner), test on scrap first, and follow our complete step-by-step staining guide for drying times and coat counts. For species comparison, maple’s grain behaves differently than ash or other hardwoods, so always test the specific board in front of you.
Sponsored / affiliate links. As an Amazon Associate I earn from qualifying purchases. I may earn additional commission from eligible campaigns.