Best Way to Clean Painted Wall: Effortless Shine
The best way to clean a painted wall is with a simple, gentle approach: a soft cloth, warm water, and a mild detergent. This method effectively removes most dirt and smudges without damaging the paint finish, leaving your walls looking fresh and bright. Always test in an inconspicuous area first, and avoid harsh chemicals or abrasive cleaners for an effortless shine.
Walls are the backdrop to our lives, and keeping them clean makes a huge difference in how our homes feel. But when smudges, marks, or general grime appear, figuring out how to tackle them without ruining the paint can feel a bit daunting. Will the cleaner strip the color? Will scrubbing leave marks? You’re not alone in wondering! The good news is that cleaning painted walls is simpler than you might think. With a few common household items and a straightforward process, you can restore that fresh, just-painted look. We’ll walk you through the easiest and most effective methods, so you can get a beautiful, effortless shine back on your walls without any stress. Let’s dive in!
What You’ll Need for Effortless Shine
Gathering the right supplies is the first step to making this job easy. You probably have most of these items already in your home. Having everything ready means you can get to cleaning without interruption.
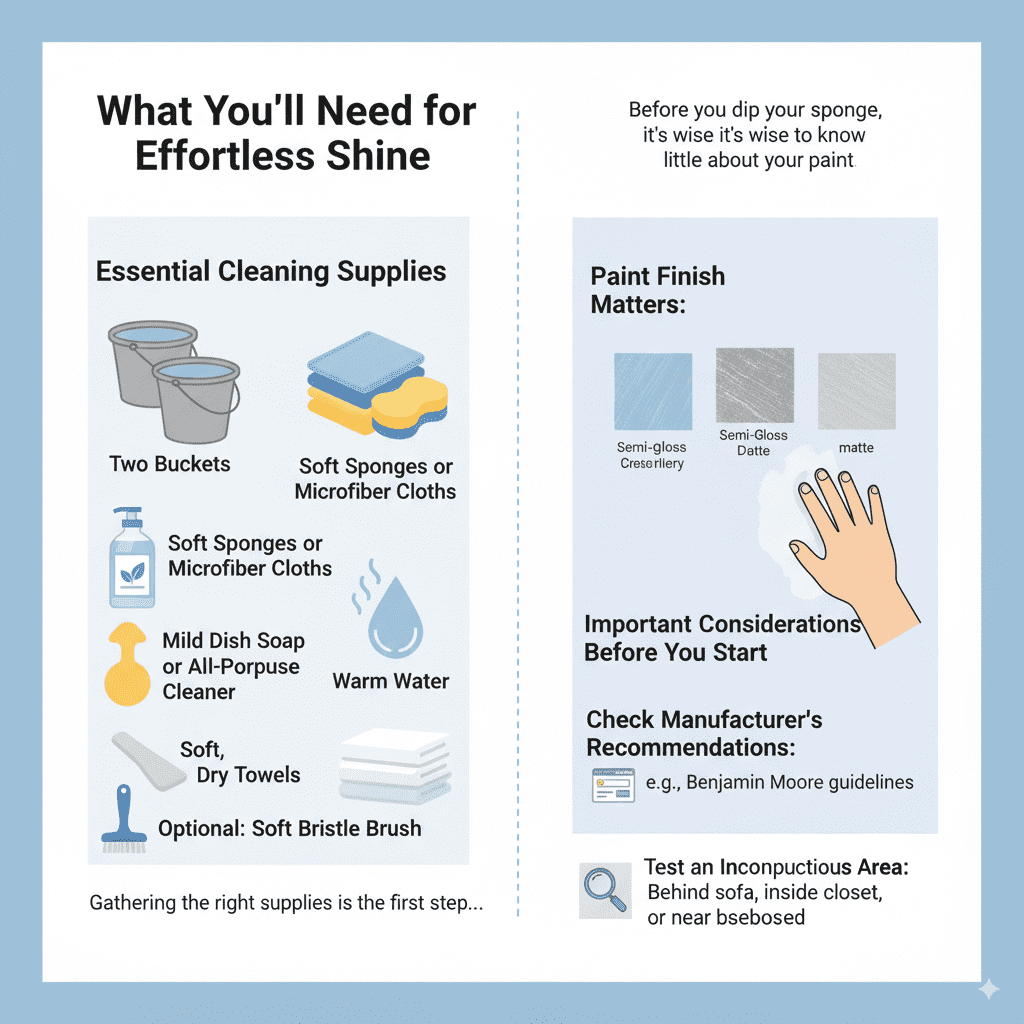
Essential Cleaning Supplies
- Two Buckets: One for your cleaning solution and one for clean rinse water. This prevents spreading dirt back onto the walls.
- Soft Sponges or Microfiber Cloths: Opt for non-abrasive materials. Microfiber is fantastic because it traps dirt effectively and is super gentle.
- Mild Dish Soap or All-Purpose Cleaner: Look for pH-neutral or gentle formulas. Avoid anything with harsh chemicals, bleach, or ammonia, as these can dull or damage paint.
- Warm Water: It helps to dissolve dirt and grime more effectively than cold water. ????
- Soft, Dry Towels: For gentle drying after cleaning.
- Optional: A soft bristle brush for stubborn spots (use very lightly!).
Important Considerations Before You Start
Before you dip your sponge, it’s wise to know a little about your paint. Different paint finishes react differently to cleaning.
- Paint Finish Matters:
- High-Gloss and Semi-Gloss Paints: These are the most durable and easiest to clean. They have a hard, shiny surface that repels stains well.
- Satin and Eggshell Paints: These have a slight sheen and are also quite washable. They strike a good balance between durability and a softer look.
- Matte and Flat Paints: These finishes are the most delicate. They are porous and can easily absorb stains or show wash marks if scrubbed too hard or with the wrong cleaner. Gentle touch is key!
- Check Manufacturer’s Recommendations: If you know the brand and type of paint used, a quick look at the manufacturer’s website might offer specific cleaning advice. For example, Benjamin Moore provides helpful guidelines on cleaning their paints. You can often find this information on their product pages or in their FAQ sections.
- Test an Inconspicuous Area: This is the most crucial step! Before tackling a large section of the wall, test your cleaning solution and method on a hidden spot – behind a sofa, inside a closet, or near the baseboard. Wait for it to dry completely and check for any signs of discoloration, dulling, or damage.
The Best Way to Clean Painted Walls: Step-by-Step
Ready to get those walls sparkling? This simple, effective method is designed for ease and to protect your paint.
Step 1: Prepare Your Cleaning Solution
Fill one bucket with warm water. Add a small amount of mild dish soap or your chosen gentle cleaner – just a tablespoon or two per gallon should be enough. You want a lightly sudsy solution, not a mountain of foam. Too much soap can leave behind a residue that attracts more dirt.
In the second bucket, fill it with clean, cool water. This is your rinsing bucket. Having two buckets is a pro tip that makes a big difference by keeping your washing water cleaner for longer.
Step 2: Gather and Test Your Tools
Grab your soft sponges or microfiber cloths. Give them a quick rinse, especially if they are new, to remove any manufacturing dust. As mentioned earlier, if you haven’t already, now is the time to test your cleaning solution on a hidden spot of the wall. This is your safety net!
Step 3: Gentle Washing
Dip your sponge or cloth into the soapy water and wring it out thoroughly. You want it damp, not dripping wet. Excess water can seep into the wall or cause streaks.
Start in an inconspicuous corner or at the top of the wall. Gently wipe the wall in smooth, overlapping strokes. Work in small sections at a time. Imagine you are washing a delicate surface – light pressure is all you need. For most grime, a gentle wipe is sufficient.
Dealing with Tougher Stains
If you encounter a stubborn mark (like crayon or scuff marks), don’t scrub aggressively! Instead:
- Re-wet the area with your soapy solution.
- Let it sit for a minute or two to help loosen the stain.
- If needed, use a very soft-bristled brush (like a soft toothbrush) or the corner of your sponge to gently work on the stain. Apply minimal pressure.
- For particularly tough spots on durable finishes (like gloss or semi-gloss), a paste of baking soda and water can sometimes work wonders. Apply the paste, let it sit briefly, then gently wipe away. Always test this first!
Step 4: Rinsing the Walls
This step is crucial to remove soap residue, which can dull your paint or attract dirt over time. Rinse your sponge or cloth frequently in the clean water bucket, wringing it out well each time. Then, go over the section you just washed with the damp-but-not-dripping clean cloth or sponge. This effectively lifts any remaining soap from the wall.
Work from top to bottom, just as you did when washing. This ensures that any drips from rinsing don’t create new water marks on already cleaned sections.
Step 5: Drying for a Spotless Finish
Immediately after rinsing a section, gently pat it dry with a clean, soft towel or microfiber cloth. Using a dabbing motion is better than rubbing, as it further prevents potential damage to the paint and helps avoid streaks.
Drying is especially important for matte or flat finishes, as leaving them wet for too long can sometimes cause the surface to look uneven once dry. Allow the walls to air dry completely. You can open windows or use a fan to speed up the process, but avoid using heat, which can also affect the finish.
Step 6: Maintain and Protect
Once your walls are clean and dry, take a moment to admire your work! To keep them looking good:
- Wipe up fresh spills or smudges immediately with a damp cloth.
- Consider using a magic eraser or melamine foam for small, stubborn scuffs on durable paints, but always use them gently and sparingly. They are abrasive.
- In high-traffic areas, consider a more durable paint finish for future repaints, like satin or semi-gloss.
Paint Types and Cleaning Compatibility
Understanding how different paint finishes hold up to cleaning can save you a lot of worry and effort. Here’s a quick guide to help you choose the right approach for your walls.
| Paint Finish | Durability & Washability | Best Cleaning Method | Potential Issues with Cleaning |
|---|---|---|---|
| Matte/Flat | Low durability, low washability. Porous surface. | Very gentle spot cleaning with a damp cloth and mild soap. Blot, don’t rub. Thoroughly dry. | Prone to water spots, streaks, and removal of color/sheen if scrubbed or washed too vigorously. |
| Eggshell/Satin | Medium durability, good washability. Slight sheen. | Can handle gentle washing and rinsing with mild soap and water. Blotting is still preferred. | May show subtle wash lines if not rinsed and dried properly. |
| Semi-Gloss | High durability, excellent washability. Noticeable sheen. | Can withstand more vigorous wiping and standard mild cleaning solutions. Rinse and dry well. | Less likely to have issues, but overly harsh scrubbing could still dull the sheen over time. |
| High-Gloss | Very high durability, superior washability. Very shiny surface. | Most forgiving. Can tolerate most gentle cleaning methods and mild solutions. | Least likely to be damaged, but very aggressive scrubbing could scratch the surface. |
A Note on Specialty Paints
Some walls might have special finishes like washable primers, stain-blocking paints, or even textured finishes. For these, it’s always best to consult the paint manufacturer’s guidelines if you’re unsure. They often have specific recommendations for cleaning and maintenance to ensure the longevity and appearance of their product.
Common Mistakes to Avoid When Cleaning Painted Walls
Even with the best intentions, a few missteps can turn a cleaning job into a repair job. Here are common pitfalls to steer clear of:
- Using the Wrong Cleaner: Harsh chemicals like bleach, ammonia, or abrasive cleaners can strip paint, fade colors, or leave permanent marks. Always opt for mild solutions.
- Excessive Scrubbing: Aggressive scrubbing is the quickest way to damage paint, especially matte and flat finishes. Gentle wiping and blotting are key.
- Soaking the Wall: Too much water can seep into the drywall, causing damage or peeling paint around the edges. Always use a damp, well-wrung-out cloth or sponge.
- Skipping the Rinse: Leaving soap residue behind will make your walls sticky and attract more dirt, leading to a dingier appearance over time.
- Using Abrasive Tools: Steel wool, rough sponges, or stiff brushes will scratch and scuff the paint surface. Stick to soft cloths and sponges.
- Not Testing First: This is the most important rule. Always test your cleaning solution and technique in an inconspicuous area before cleaning the entire wall.
- Using Dirty Water: If you’re not using a separate rinse bucket, you’re just spreading dirt around. Keep your cleaning water as clean as possible.
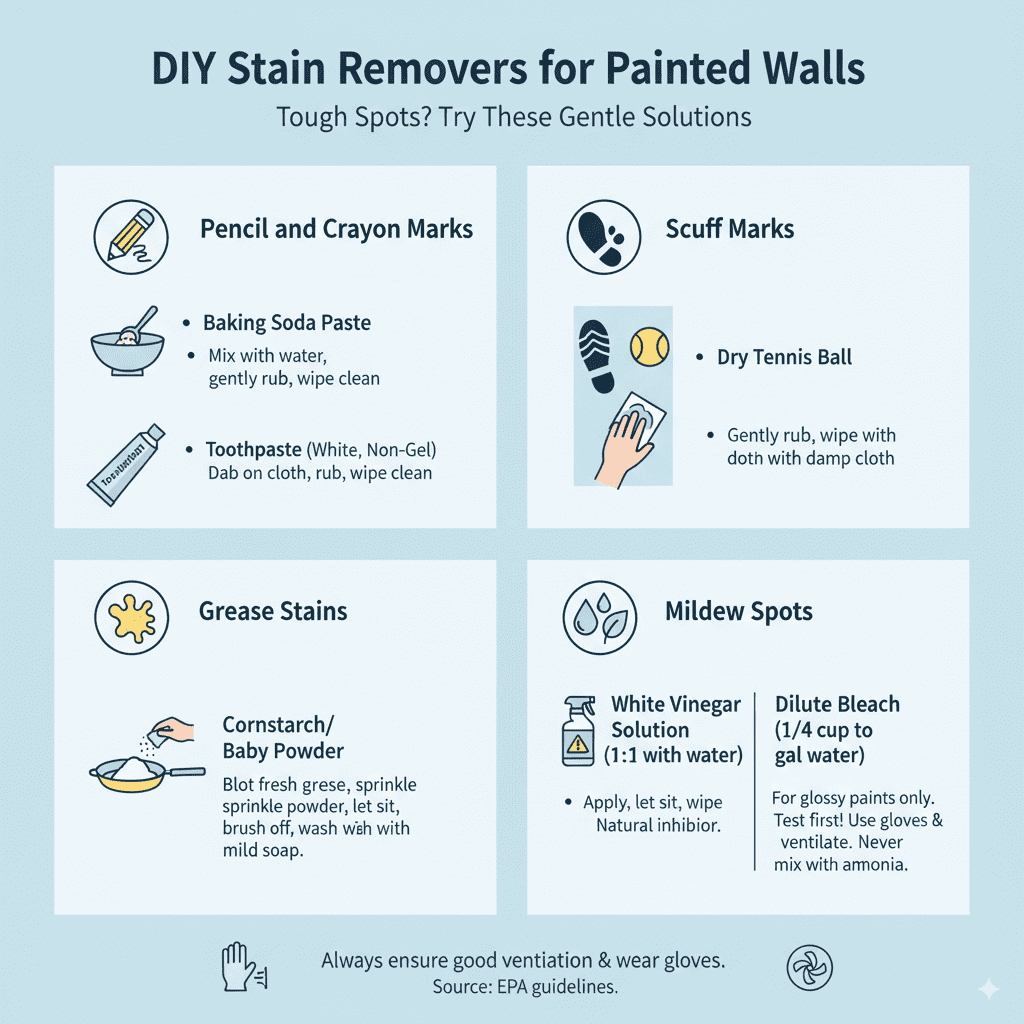
DIY Stain Removers for Painted Walls
Sometimes, a regular wash isn’t enough. For those tougher spots, a few DIY solutions can be effective when used gently and with caution. Remember to always test these methods in an inconspicuous spot first!
Pencil and Crayon Marks
- Baking Soda Paste: Mix a little baking soda with water to form a paste. Apply to the mark with a soft cloth and gently rub. Wipe clean with a damp cloth and dry.
- Toothpaste (White, Non-Gel): A dab of plain white toothpaste can act as a mild abrasive. Apply to a cloth, gently rub the mark, and then wipe clean.
Scuff Marks
A dry, clean tennis ball can sometimes work wonders on scuff marks. Gently rub the scuff with the tennis ball. For tougher scuffs, a very gentle rub with a whiteboard eraser or even a clean pencil eraser can be surprisingly effective on durable paint finishes only. Always follow up with a damp cloth wipe.
Grease Stains
For fresh grease stains on washable paints:
- Blot up as much excess grease as possible with a clean, dry cloth or paper towel.
- Sprinkle cornstarch or baby powder on the stain to absorb the grease. Let it sit for a few hours or overnight.
- Gently brush off the powder and then proceed with a gentle wash using your mild dish soap solution.
Mildew Spots
If you notice small mildew spots, especially in bathrooms:
- Mix one part white vinegar with one part water.
- Apply to the spot with a cloth, allow it to sit for about an hour, then gently wipe clean with a damp cloth and allow to dry thoroughly. Vinegar is a natural mildew inhibitor.
- For more persistent mildew, a very dilute bleach solution (1/4 cup bleach to 1 gallon of water) can be used on glossy or semi-gloss paints only. Never mix bleach with ammonia or other cleaners. Ensure good ventilation and wear gloves and eye protection. Test this method thoroughly first, as bleach can discolor paint.
Always ensure good ventilation and wear gloves when using any cleaning agents, even natural ones. The United States Environmental Protection Agency (EPA) offers guidance on safely cleaning your home, emphasizing ventilation and avoiding harmful chemical mixtures, which is always a good practice.
Frequently Asked Questions About Cleaning Painted Walls
Q1: Can I use a Magic Eraser on my painted walls?
A1: A Magic Eraser (melamine foam) can be effective for removing scuffs and stubborn marks, especially on semi-gloss or gloss paints. However, they are abrasive. Use them very gently and test in an inconspicuous area first, as they can sometimes dull or even remove the paint finish, particularly on matte or flat paints. Always use with minimal pressure.
Q2: How often should I clean my painted walls?
A2: Most painted walls don’t need deep cleaning often. Regular dusting with a dry microfiber cloth every few months is usually sufficient. Address spills, smudges, and marks as they happen with spot cleaning. A full wall wash might be needed annually or whenever the walls look noticeably dirty.
Q3: What is the safest way to clean matte or flat paint?
A3: Matte and flat paints are the most delicate. The safest method is very gentle spot cleaning with a slightly damp cloth and a tiny amount of mild soap, if necessary. Blot the stain rather than rubbing. It’s crucial to test any cleaning method first, as these finishes can easily show wash marks or have their sheen altered.
Q4: Can I use vinegar to clean painted walls?
A4: Yes, diluted white vinegar (1-part vinegar to 1-part water) can be used as a gentle cleaner, particularly for tackling mild grime or mildew. It’s often considered a good natural alternative to harsh chemicals. Always test it first, and rinse the area with plain water afterward to remove any vinegar scent or residue. Avoid using it on very delicate finishes without testing.
Q5: What if cleaning leaves a streak or discoloration?
A5: Streaks or discoloration usually happen when soap residue isn’t fully rinsed off or when the paint finish is sensitive. If you notice this, try rinsing the area again with a clean, damp cloth. For persistent issues on a washable paint finish, you might need to gently wash the entire wall from corner to corner to create a uniform finish. Unfortunately, if the paint has been damaged or discolored, touching up or repainting that section might be the only solution.