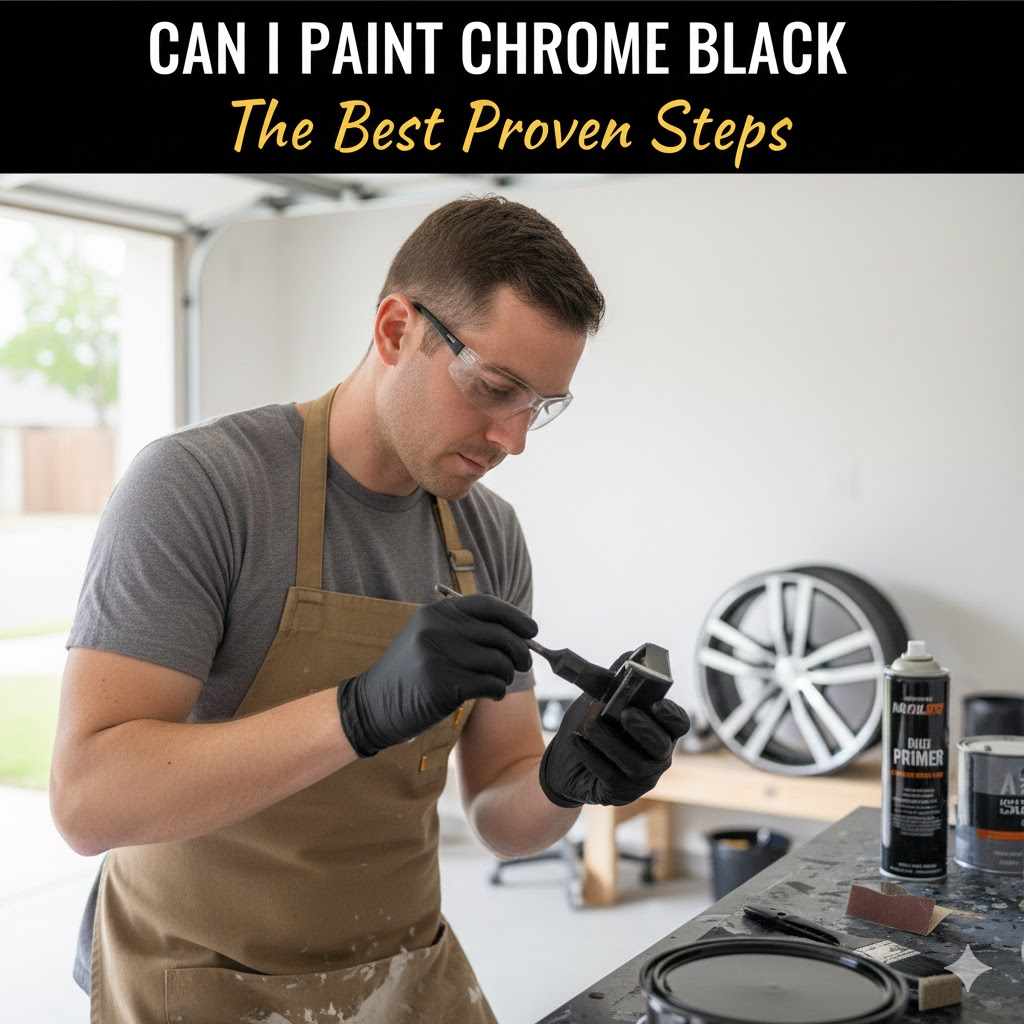
Can I Paint Chrome Black: The Best Proven Steps
Yes, you can absolutely paint chrome black! The key is proper preparation. You must scuff the shiny surface with sandpaper, clean it thoroughly, and use a self-etching primer designed for metal. This creates a strong bond for the black paint to stick to, giving you a durable, beautiful finish that lasts.
Have you ever looked at a shiny chrome fixture and wished it was a sleek, modern black? Maybe it’s the faucets in your bathroom, the handles on a dresser, or even the trim on a project piece. That bright chrome finish can feel a little dated. You might wonder if you’re stuck with it forever. I’m here to tell you that you’re not!
Painting chrome seems tricky, and it’s true that you can’t just spray paint over it and hope for the best. But with the right steps, anyone can do it. In this guide, I’ll walk you through everything you need to know. We’ll cover the simple but crucial prep work that makes all the difference. You’ll learn exactly how to get a beautiful, lasting black finish. Let’s get started!
Why Is Painting Chrome So Tricky?
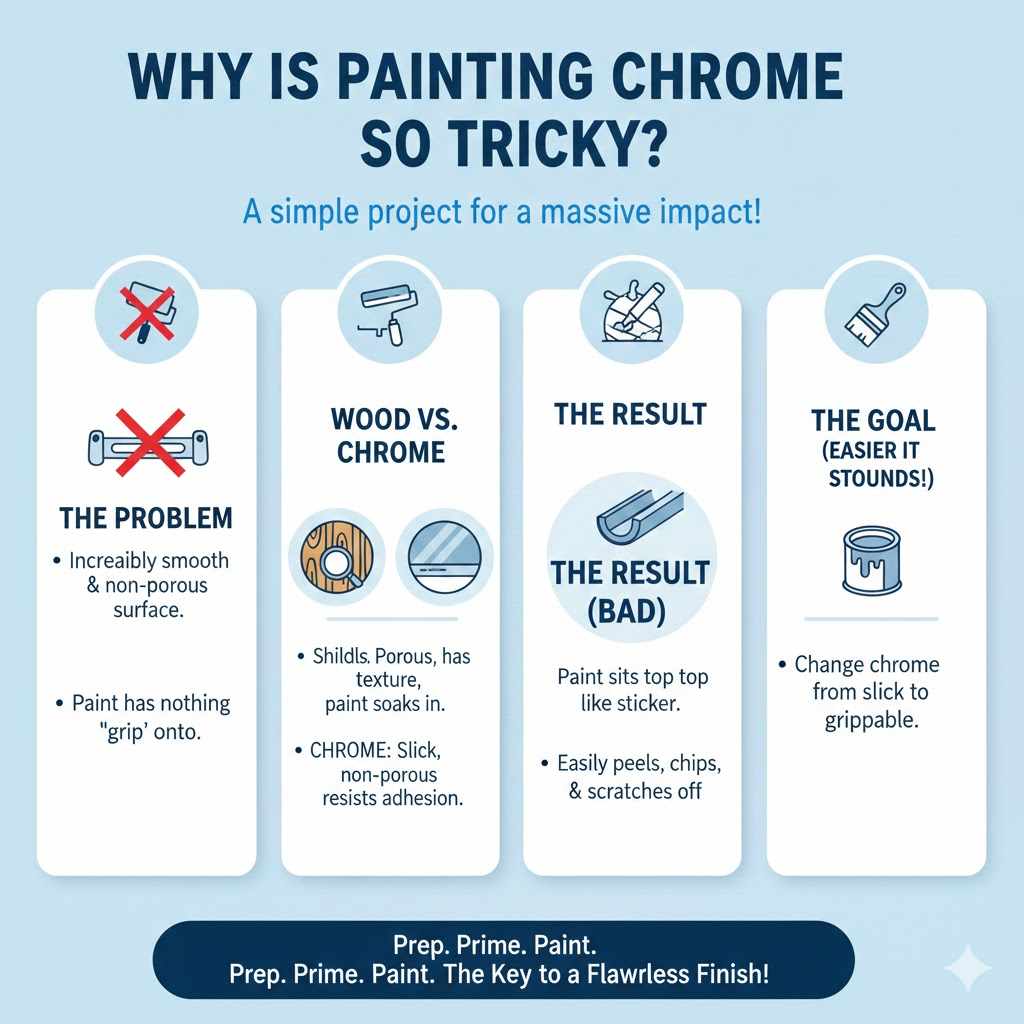
Before we grab our tools, it helps to understand why chrome is a special case. Think about painting a piece of wood. Wood is porous; it has tiny holes and a natural texture. When you apply paint, it soaks in a little and grabs onto that texture. This creates a strong bond.
Chrome is the complete opposite. It’s a type of metal plating that is incredibly smooth and non-porous. It’s designed to be slick and resist things sticking to it, which is great for preventing rust but not so great when we want paint to stick! If you were to spray paint directly onto a shiny chrome surface, the paint would have nothing to hold onto. It would sit on top like a loose sticker, ready to peel, chip, or scratch off with the slightest touch.
So, the challenge isn’t the painting itself—it’s preparing the surface. Our entire goal is to change the chrome from a slick, smooth surface into one that paint can grip tightly. And luckily, that’s easier than it sounds.
The Secret to Success: Preparation is Everything
In any painting project, whether it’s on wood, walls, or metal, I always say that the final result is 90% preparation and 10% painting. This is especially true for chrome. Rushing the prep work is the number one reason a painted chrome project fails. A few extra minutes spent here will save you hours of frustration later.
The entire process boils down to three essential stages:
- Cleaning: We need to remove every trace of oil, grease, and dirt. Any residue will prevent the primer and paint from sticking properly.
- Sanding: This is the most critical step. We will lightly sand, or “scuff,” the surface. This creates thousands of microscopic scratches for the primer to bite into. We aren’t trying to remove the chrome, just dull the shine.
- Priming: We’ll use a special type of primer called a self-etching primer. This product is designed for smooth metals. It chemically bonds with the surface, creating the perfect foundation for our black paint.
Master these three steps, and you’re guaranteed a beautiful, durable finish that looks professional.
Gather Your Tools and Materials
Let’s get all our supplies together before we start. Having everything ready makes the project go smoothly. You can find most of these items at your local hardware or auto parts store.
Safety First!
- Safety Goggles: Always protect your eyes from dust and paint spray.
- Respirator Mask: A good mask is essential when sanding and spray painting to avoid inhaling dust and fumes. Look for one rated for paint vapors.
- Gloves: Nitrile gloves will protect your hands from chemicals and keep skin oils off the chrome surface.
For Preparation
- Degreasing Cleaner: A simple kitchen degreaser, denatured alcohol, or even warm, soapy water will work.
- Lint-Free Cloths: Microfiber cloths are perfect for cleaning and wiping away dust.
- Sandpaper: You’ll want two different grits. A medium grit (like 120-grit) to start and a fine grit (like 220-grit) to finish.
- Sanding Block or Pad: This helps you sand evenly, but you can also just use your hand.
- Painter’s Tape: To mask off any areas you don’t want to be painted.
- Drop Cloths or Plastic Sheeting: To protect your workspace from overspray.
For Painting
- Self-Etching Primer (Spray Can): This is non-negotiable! Make sure the label says “self-etching” or is specifically for bare metal and slick surfaces.
- Black Spray Paint (Spray Can): An automotive enamel or a paint labeled “for metal” will give you the most durable finish. A satin or matte black often looks best and hides imperfections well.
- Clear Coat/Sealer (Spray Can): This is optional but highly recommended for high-touch items like door handles or faucets. It adds an extra layer of protection against scratches and chips.
Choosing the Right Paint for Chrome
Walking down the paint aisle can be overwhelming. Not all spray paints are created equal, especially when it comes to a tough surface like chrome. Using the right type of paint will make a huge difference in how your project holds up over time.
Here’s a quick comparison of a few options:
| Paint Type | Best For | Pros | Cons |
|---|---|---|---|
| Automotive Enamel | Car parts, faucets, door handles, high-use items | Extremely durable and chip-resistant. Designed for metal. | Can have stronger fumes. May be slightly more expensive. |
| Epoxy Paint | Appliances, industrial-style furniture | Very hard and chemical-resistant finish. Forms a tight bond. | Often comes in two parts that need mixing. Can be tricky to apply. |
| General-Purpose Spray Paint | Decorative items, picture frames, low-touch objects | Widely available in many colors and finishes. Affordable. | Less durable. More prone to chipping on metal without a strong primer and clear coat. |
My advice for beginners? Go with an automotive enamel spray paint. It’s designed for the tough conditions a car faces, so it’s more than strong enough for most household items. It’s easy to use and provides a fantastic finish.
Your Step-by-Step Guide to Painting Chrome Black
Alright, you’ve gathered your supplies and you’re ready to go. Let’s transform that chrome! Follow these steps carefully, and take your time. Remember, the prep work is key.
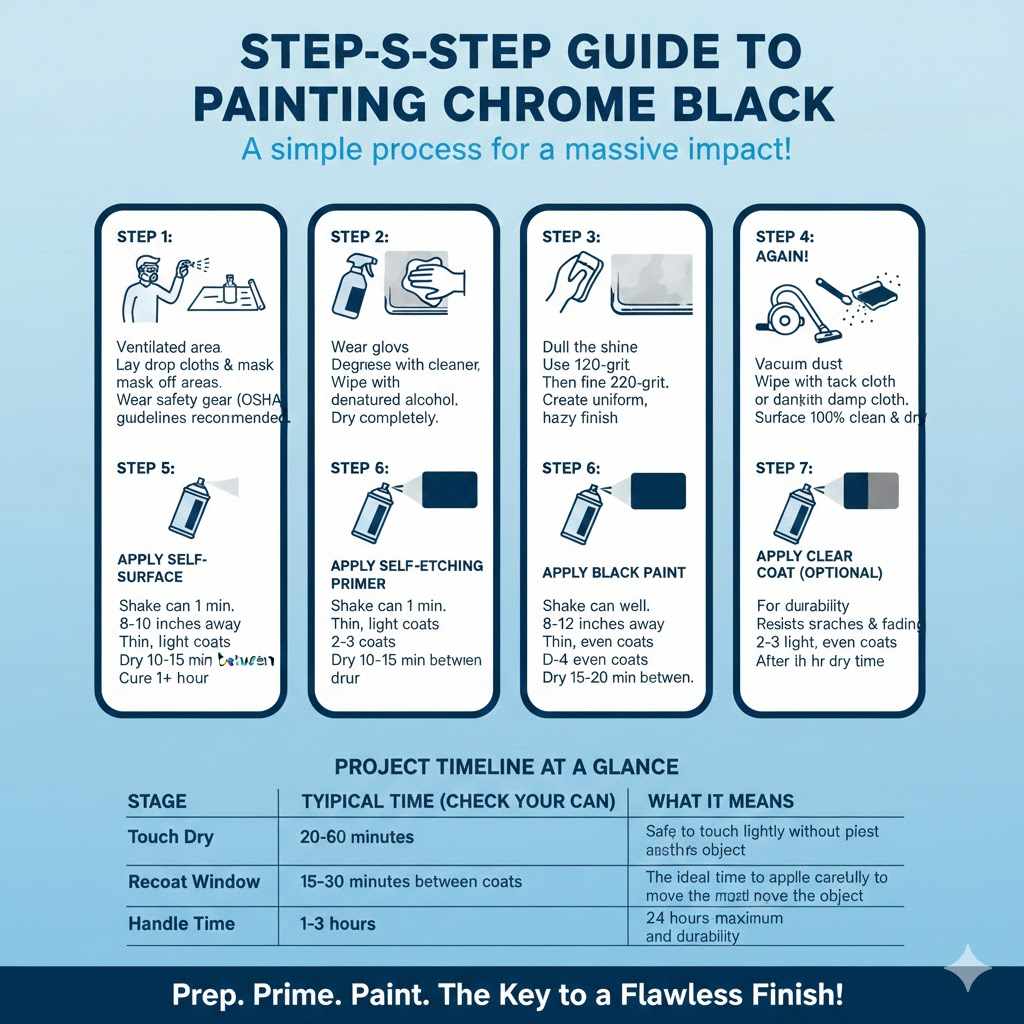
Step 1: Set Up Your Workspace
Find a well-ventilated area to work in. A garage with the door open, an outdoor space on a calm day, or a workshop is ideal. Good airflow is critical for safety when using spray paints. The Occupational Safety and Health Administration (OSHA) highlights the importance of proper ventilation to reduce exposure to harmful vapors. Lay down your drop cloths to protect the floor and surrounding areas. If the chrome piece is attached to something larger (like a faucet on a sink), use painter’s tape and plastic to mask off everything you don’t want painted.
Step 2: Clean the Chrome Surface Thoroughly
Put on your gloves. Spray your degreasing cleaner onto a clean, lint-free cloth and wipe down the entire chrome surface. You want to remove all fingerprints, soap scum, grease, and dust. If the piece is very dirty, you may need to wash it with warm, soapy water first. Once it’s clean, wipe it again with a cloth dampened with denatured alcohol to remove any last bit of residue. Dry it completely with another clean cloth.
Step 3: Scuff the Surface (Sanding)
This is where the magic happens! Take your 120-grit sandpaper and begin sanding the entire chrome surface. Your goal is not to remove the chrome plating but simply to dull its mirror-like shine. Apply light to medium pressure and sand in a circular or back-and-forth motion. You want to create a uniform, hazy finish across the whole piece. Make sure you get into all the nooks and crannies. Once you’ve scuffed the entire surface, switch to the finer 220-grit sandpaper and go over it again lightly. This will smooth out the scratches from the coarser sandpaper, giving you a better final finish.
Step 4: Clean Again!
Sanding creates a lot of fine dust. This dust is the enemy of a smooth paint job. Take a clean, dry cloth and wipe away as much dust as you can. Then, use a slightly damp cloth (or a tack cloth if you have one) to pick up the remaining fine particles. Make sure the surface is 100% clean and dry before moving on.
Step 5: Apply the Self-Etching Primer
It’s time to prime. Shake your can of self-etching primer for at least a minute, listening for the mixing ball rattling inside. Hold the can about 8-10 inches away from the surface. Start spraying just off the piece and move across it in a steady, sweeping motion. Release the nozzle after each pass.
The key here is to apply thin, light coats. A thick coat will lead to drips and an uneven texture. Your first coat should be very light, almost see-through. Let it dry for about 10-15 minutes (check the can for specific instructions). Then, apply a second light coat. Two or three light coats are much better than one heavy one. Let the primer dry completely. This usually takes at least an hour.
Step 6: Apply the Black Paint
Once the primer is dry to the touch, you can start with your black paint. Just like with the primer, shake the can very well. Use the same spraying technique: hold the can 8-12 inches away and apply light, even coats. Move steadily to avoid runs and drips. Let each coat dry for 15-20 minutes before applying the next one. It will probably take 2-4 coats to get full, even coverage. Be patient!
Step 7: Apply a Clear Coat (Optional but Recommended)
If your project is something that will be handled a lot, a clear coat is a great idea. It adds a protective layer that resists scratches, chipping, and fading from sunlight. Once your final black coat has dried for at least an hour, you can apply the clear coat using the same technique—two or three light, even coats.
Step 8: Let It Cure
This final step requires only patience. Your painted piece might feel dry to the touch within an hour, but the paint is not yet “cured.” Curing is the chemical process where the paint fully hardens and reaches maximum durability. This can take anywhere from 24 hours to a full week, depending on the paint, temperature, and humidity. Check the paint can for its specific cure time. During this time, handle the piece as little as possible to avoid smudges or dents. Once it’s fully cured, your newly black-painted chrome is ready for use!
Here’s a handy table to help you keep track of drying times:
| Stage | Typical Time (Check Your Can) | What It Means |
|---|---|---|
| Touch Dry | 20-60 minutes | Safe to touch lightly without paint coming off. |
| Recoat Window | 15-30 minutes between coats | The ideal time to apply the next coat of paint. |
| Handle Time | 1-3 hours | Safe to handle carefully to move the object. |
| Full Cure | 24 hours to 7 days | Paint has reached maximum hardness and durability. |
Frequently Asked Questions (FAQ)
Do I really have to sand chrome before painting?
Yes, absolutely. This is the most important step. Without sanding, the smooth chrome surface has nothing for the primer to grip onto, and your paint will quickly peel and chip away. You don’t need to sand aggressively, just enough to dull the shine.
What is the best kind of black paint for chrome?
An automotive enamel or a durable spray paint specifically formulated for metal will give you the best results. These paints are designed to be tough and chip-resistant. For finish, a satin or matte black is often more forgiving than gloss.
Can I use a brush instead of spray paint?
While you can, it’s much harder to get a smooth, even finish with a brush on a non-porous surface like chrome. Brush strokes are often visible. Spray painting provides a thin, even coat that looks much more professional and is easier for beginners to master.
How do I fix a mistake or a run in the paint?
If you get a drip or run while the paint is still wet, you can try to lightly dab it with the corner of a foam brush to smooth it out. If it has already started to dry, it’s best to leave it alone. Let it dry completely for at least 24 hours, then sand the drip smooth with fine-grit sandpaper (220-grit or higher), wipe away the dust, and apply another light coat of paint to that area.
How long will a painted chrome finish last?
If you follow all the preparation steps correctly—clean, sand, and prime—the finish can last for years, even on high-touch items. Using a quality automotive paint and adding a clear coat will provide the most durability and longevity.
Can I paint plastic chrome pieces the same way?
Mostly, yes. Many “chrome” items, especially on cars or modern furniture, are actually chrome-plated plastic. The process is the same, but be sure to use a primer and paint that are labeled as suitable for plastic. Sand very lightly to avoid damaging the plastic underneath the plating.
What happens if I don’t use a primer?
If you skip the self-etching primer, the paint will have a very weak bond to the sanded chrome. It may look fine at first, but it won’t be durable. It will be very susceptible to scratching, chipping, and peeling off in sheets over time.
You Can Do This!
Painting chrome might have seemed intimidating at first, but now you see it’s all about a simple, proven process. By taking the time to prepare the surface properly, you are setting yourself up for success. You’ve learned why that shiny surface needs to be dulled, why a special primer is your best friend, and how to apply light coats for a flawless finish.
Now you have the knowledge to look at those outdated chrome fixtures not as a problem, but as a blank canvas. You can update your home, refresh old furniture, and bring your creative ideas to life. Grab your tools, work safely, and have fun transforming that shiny chrome into a beautiful, modern black.