Can You Paint a Garage Door? Here’s How to Do It Right
Yes, you can paint a garage door yourself — steel, aluminum, wood, and vinyl all accept paint, but vinyl needs a bonding primer and a light color, since dark shades can warp the panels in the sun. Skip the primer or paint over dirt and rust, and the finish peels within months instead of lasting 5 to 10 years. This guide covers matching primer and paint to your door’s material, the 8-step process, and the tools for a one-weekend job.
Why Give Your Garage Door a Fresh Coat of Paint?
Best Garage Door Paint Sprayer Pick
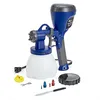
HomeRight Super Finish Max HVLP Sprayer – $57.00
Sprays the 100% acrylic latex exterior paint this guide recommends with three brass tips, so you can match the tip to primer, paint, or stain without buying a second sprayer.
- Best for: First-time sprayer users painting one or two doors
- Why we picked it: Amazon Choice pick, 4.4 stars from over 10,000 buyers, priced low enough to justify skipping brush marks entirely
- Main drawback: 40 oz. tank means refilling partway through a two-car door
Compare more garage door paint sprayer options
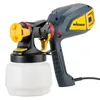 Option 1 Wagner FLEXiO 1500 – $139.00
|
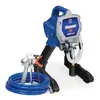 Option 2 Graco Magnum X5 – $314.00
|
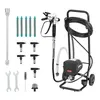 Option 3 VEVOR 650W Stand Sprayer – $146.79
|
As an Amazon Associate we earn from qualifying purchases.
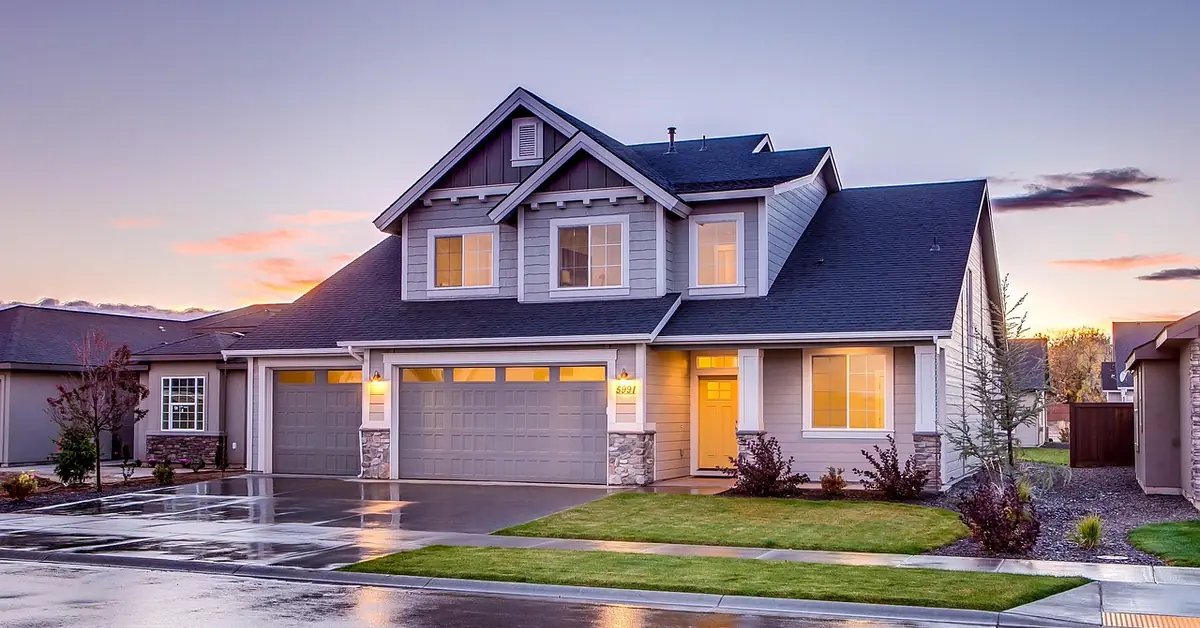
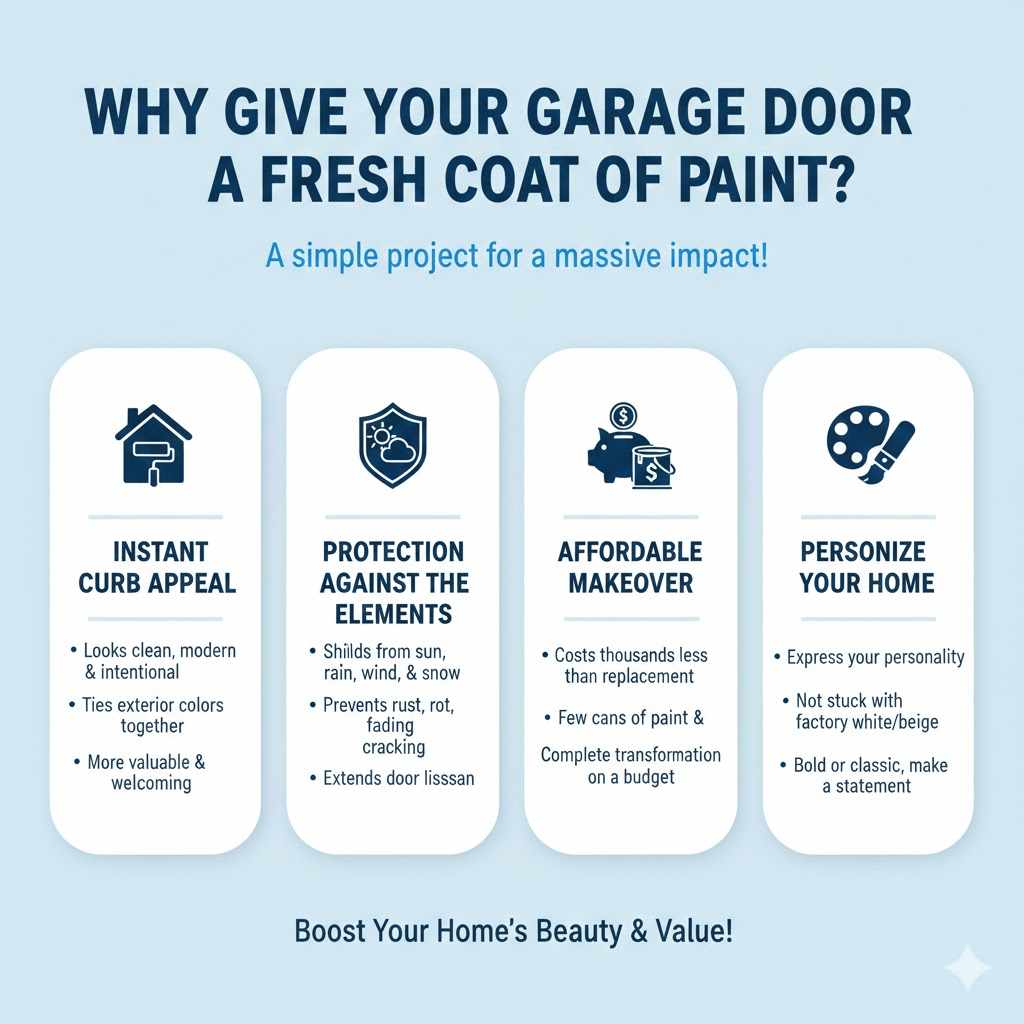
You might be thinking, “It’s just a garage door.” But it often takes up a huge chunk of your home’s facade! Giving it a fresh coat of paint is one of the quickest and most cost-effective ways to make a massive impact. Let’s look at the amazing benefits.
- Instant Curb Appeal: A newly painted garage door looks clean, modern, and intentional. It can tie your whole exterior color scheme together or provide a beautiful accent color. It’s a weekend project that makes your home look more valuable and welcoming instantly.
- Protection Against the Elements: Your garage door is constantly exposed to sun, rain, wind, and snow. A quality coat of exterior paint acts as a protective shield. It helps prevent rust on metal doors, rot on wooden doors, and fading or cracking on vinyl and composite doors.
- An Affordable Makeover: Compared to replacing a garage door, which can cost thousands of dollars, painting is incredibly budget-friendly. For the cost of a few cans of paint and some basic supplies, you can achieve a complete transformation.
- Personalize Your Home: Don’t feel stuck with the factory-finish white or beige! Painting your garage door lets you inject your own personality into your home’s exterior. Choose a bold color to make a statement or a classic shade to complement your brick or siding.
📊 Most garage doors need repainting every 5 to 10 years, depending on climate exposure and paint quality — sooner for south-facing doors in intense sun. — Source: Precision Door Service
First Things First: Can Your Garage Door Be Painted?
Before you get excited and head to the paint store, we need to answer the most important question: is your specific garage door a good candidate for painting? The great news is that almost all of them are! The key is to identify the material so you can prepare it and choose the right products.
Checking Your Door’s Material
Most modern garage doors are made of steel, aluminum, wood, or a composite/vinyl material. Here’s a simple way to figure out what you have.
- The Magnet Test (For Metal Doors): Take a simple refrigerator magnet and see if it sticks to your door. If it sticks, you have a steel door. If it doesn’t stick, it’s likely an aluminum door. Both are highly paintable!
- The Knock Test (For Wood vs. Others): Gently knock on the door. A wooden door will produce a solid, low-thud sound. Steel and aluminum doors will have a more hollow, metallic sound.
- Look for Grain and Texture: A real wood door will have a visible, natural wood grain pattern. Some steel or fiberglass doors have a stamped or molded fake wood grain, but on close inspection, you can tell it’s not real. Vinyl and composite doors often have a smooth, slightly plastic-like finish.
Once you know your door’s material, you’re ready for the next crucial step: picking the right supplies for the job.
Choosing the Perfect Paint and Primer
Choosing the right paint is the secret to a long-lasting finish, and it starts with the primer. Browse our full exterior paint and primer guides for more product-specific picks once you know your door’s material.
Why Primer is Non-Negotiable
Primer is the glue that makes paint stick to a garage door. It does three essential things:
“Skipping the primer is the single most common mistake I see DIYers make on a garage door — it’s what causes the paint to bubble and peel within months instead of holding up for years.”
- It ensures the paint adheres properly to the surface, preventing peeling and chipping down the road.
- It blocks stains, especially rust spots on metal doors or tannin bleeds on wood doors.
- It creates a uniform base so your final color looks even and true, often meaning you need fewer coats of the more expensive topcoat paint.
Always use a high-quality exterior-grade primer. For metal doors (steel or aluminum), look for a rust-inhibiting primer. For wood doors, an oil-based or stain-blocking latex primer is best. For vinyl or composite, you need a special bonding primer designed to stick to slick surfaces.
The Best Paint for Your Garage Door
After priming, you need a durable topcoat that can stand up to the weather. The best choice is a high-quality 100% acrylic latex exterior paint. This type of paint is flexible, so it can expand and contract with the temperature changes your door experiences without cracking. It’s also resistant to fading from UV rays and is easy to clean up with soap and water.
A brush and roller work fine, but if you want the smoothest, most even finish on a paneled door with the least effort, a paint sprayer is the upgrade most DIYers reach for once they have painted a door the slow way.
Here’s a handy table to help you match the right products to your door type:
| Garage Door Material | Recommended Primer | Recommended Paint Type | Helpful Tips |
|---|---|---|---|
| Steel | Exterior Rust-Inhibiting Metal Primer | 100% Acrylic Latex Exterior Paint (Satin or Semi-Gloss) | Ensure all rust is removed and spot-primed before applying a full coat of primer. |
| Aluminum | Exterior Acrylic Metal Primer | 100% Acrylic Latex Exterior Paint (Satin or Semi-Gloss) | Aluminum is softer than steel; be gentle when sanding to avoid gouges. |
| Wood | Exterior Oil-Based or Stain-Blocking Latex Primer | 100% Acrylic Latex Exterior Paint (Satin or Semi-Gloss) | Sand the door well to open up the wood grain so the primer can soak in effectively. Fill any cracks with wood filler. |
| Vinyl / Composite | Exterior Bonding Primer for Slick Surfaces | “Vinyl-Safe” 100% Acrylic Latex Exterior Paint | Choose a “vinyl-safe” paint color. Very dark colors can absorb too much heat and cause the vinyl panels to warp. Paint manufacturers list these colors on their swatches. |
Your Complete Toolkit: What You’ll Need
Gather everything below before you start so you are not running back to the store mid-project.
For Preparation & Cleaning:
- Drop cloths or plastic sheeting
- Painter’s tape
- Bucket and large sponge or soft-bristled brush
- Degreasing cleaner (like TSP substitute or a dedicated exterior cleaner)
- Hose with a spray nozzle
- Clean, lint-free rags
- Wire brush (for rust on metal doors)
- Medium-grit sandpaper or a sanding block (120-150 grit)
- Scraper (for peeling paint)
- Exterior spackle or wood filler (if needed for repairs)
For Painting:
- High-quality exterior primer
- High-quality 100% acrylic latex exterior paint
- Paint trays
- 2-inch angled paintbrush (for cutting in edges and grooves)
- High-density foam roller or a 3/8-inch nap roller
- Paint sprayer (optional, but great for a smooth finish)
For Safety:
- Safety glasses or goggles
- Dust mask (especially for sanding)
- Gloves
- Sturdy step ladder
Your Step-by-Step Guide to a Professional Finish
With your material identified and supplies gathered, follow these eight steps in order for a durable, professional-looking finish.
Step 1: Pick the Perfect Day
This is more important than you might think! Paint needs specific conditions to dry and cure properly. Check the weather forecast for two consecutive clear, dry days. The ideal temperature range for painting is between 50°F and 85°F (10°C to 29°C). Avoid painting in direct, harsh sunlight, as it can cause the paint to dry too quickly, leaving brush marks. Low humidity is also your friend.
Step 2: Set Up Your Workspace
Lay down drop cloths or plastic sheeting to protect your driveway from any drips or spills. Use painter’s tape to carefully mask off anything you don’t want to get paint on. This includes the weather stripping around the door, any windows on the door, handles, locks, and the wall surrounding the garage door frame. If your door has an automatic opener, unplug it or disconnect the trolley from the carriage before you start — this stops the door from being triggered accidentally while you are taping off hardware and reaching across the track.
Step 3: A Deep, Thorough Clean
Paint will not stick to dirt, grime, or mildew. This is a non-negotiable step! Mix your cleaning solution (like TSP substitute) in a bucket with warm water according to the manufacturer’s directions. Use a large sponge or soft-bristled brush to scrub the entire surface of the garage door from top to bottom. Pay extra attention to the bottom panel, which tends to collect the most dirt. Once scrubbed, rinse the door thoroughly with a hose and let it dry completely. This can take several hours, so be patient.
Step 4: Smooth the Surface (Scrape, Sand, and Repair)
Now we create the perfect canvas for our paint. Inspect the door closely.
- For Peeling Paint: Use a paint scraper to gently remove any loose, flaking paint.
- For Rust Spots: Use a wire brush to scrub away any rust on a steel door. You want to get down to the bare, clean metal.
- For a Glossy Finish: If your door has a glossy old coat of paint, you need to “de-gloss” it so the new primer can grip. Lightly scuff the entire surface with medium-grit sandpaper. You’re not trying to remove all the old paint, just roughing it up.
- For Dents or Holes: Fill small dents or cracks with an appropriate filler (exterior spackle for metal, wood filler for wood). Follow the product instructions, let it dry, and then sand it smooth.
After all your scraping and sanding, wipe the entire door down with a clean, damp cloth to remove all dust. As recommended by the Environmental Protection Agency (EPA), containing dust is crucial, especially if you suspect the old paint might contain lead (common in homes built before 1978).
Step 5: Apply a Quality Primer
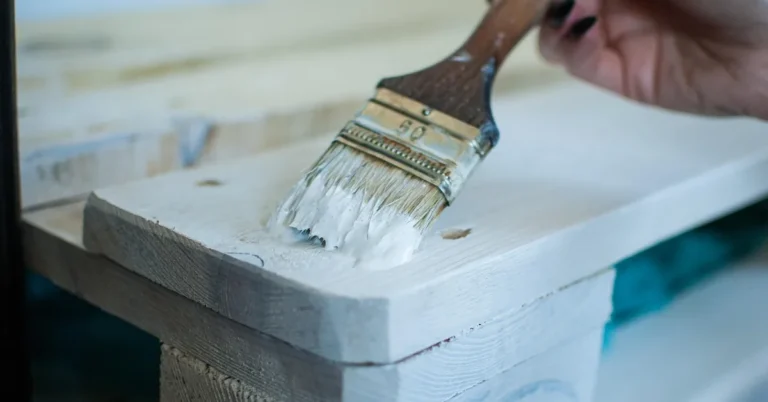
With a clean, dry, and dull surface, it’s time to prime. Use your 2-inch angled brush to “cut in” the primer around the edges and inside any recessed panels. Then, use your roller to apply a thin, even coat of primer to the flat sections. Work from top to bottom, one panel at a time. The goal is a consistent, even layer, not a thick one. Let the primer dry completely as directed on the can (usually a few hours).
Step 6: Time to Paint! (First Coat)
The moment of truth! Stir your paint thoroughly. Just like with the primer, use your angled brush to cut in the edges and panel grooves first. Then, switch to your roller for the large, flat areas. Use long, even strokes and maintain a “wet edge” by slightly overlapping your previous stroke. This helps prevent roller marks. Don’t try to cover everything perfectly in one coat; a thin, even coat is better than a thick, drippy one.
Step 7: The Finishing Touch (Second Coat)
Let the first coat dry for the recommended time (check the paint can—it’s usually 4-6 hours, but can vary). Once it’s dry to the touch, apply a second coat using the same technique as the first. This second coat is what will give you that deep, rich, and uniform color. For some very light or very dark colors, a third coat might be necessary, but two is usually perfect.
Step 8: Let It Cure and Clean Up
Once you’re happy with the coverage, carefully remove the painter’s tape while the paint is still slightly tacky. This gives you the cleanest lines. Leave the garage door open for a few hours to help with drying, but be mindful of security. While the paint may feel dry to the touch in a few hours, it takes several days—or even weeks—to fully “cure” and harden. Be gentle with the door during this time to avoid scratches. Clean your brushes and rollers thoroughly with soap and water (for latex paint).
Brush, Roller, or Sprayer? Choosing Your Weapon
How you apply the paint can affect the final look and the time it takes. All three methods work great, but they have their pros and cons.
| Application Method | Pros | Cons | Best For |
|---|---|---|---|
| Brush & Roller | – Inexpensive and easy to control. – Minimal prep and cleanup. – Great for beginners. | – Slower than spraying. – Can leave behind brush strokes or roller texture if not done carefully. | Most DIY projects, especially for doors with raised panels that require “cutting in.” |
| Paint Sprayer | – Incredibly fast. – Delivers a super smooth, factory-like finish. – Excellent for flat, modern-style doors. | – Requires extensive masking to prevent overspray. – More expensive equipment. – Has a learning curve to avoid drips and runs. | Experienced DIYers or those aiming for a flawless, professional look on a simple door design. |
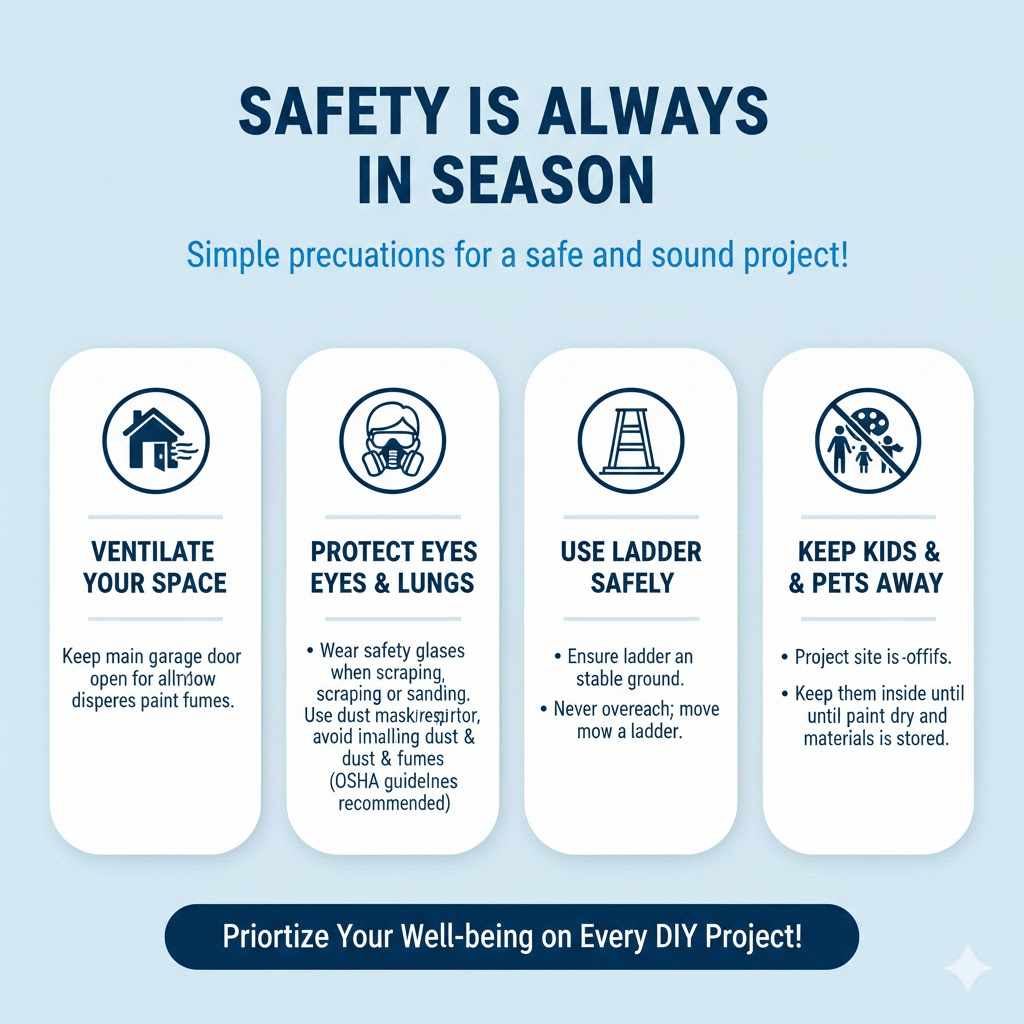
Safety is Always in Season
A few simple precautions keep this project safe from start to finish.
- Ventilate Your Space: Even though you’re outside, paint fumes can be strong. Keep the main garage door open as much as possible to allow for airflow.
- Protect Your Eyes and Lungs: Always wear safety glasses, especially when scraping or sanding. A dust mask is essential to avoid inhaling dust particles and paint fumes. For more information on respirators, the Occupational Safety and Health Administration (OSHA) has comprehensive guides.
- Use Your Ladder Safely: Make sure your step ladder is on stable, level ground. Never overreach; it’s always safer to get down and move the ladder.
- Keep Kids and Pets Away: A project site is no place for children or pets. Keep them safely inside until the paint is dry and all materials are put away.
Frequently Asked Questions
What’s the best finish for garage door paint?
A satin or semi-gloss finish is usually the best choice. These finishes are durable, easy to clean, and have a slight sheen that looks great without highlighting every tiny imperfection, unlike a high-gloss finish. A flat or matte finish is generally not recommended as it holds onto dirt and is harder to wipe down.
How much paint do I need for a garage door?
One gallon of high-quality paint is almost always enough to apply two full coats to a standard two-car garage door. For a single-car garage door, you may even have some leftover. Always check the coverage information on the paint can to be sure.
Do I need to paint the inside of my garage door?
You don’t have to, but it can create a very clean and finished look for your garage interior. If you choose to paint the inside, follow the same prep and application steps. Since the inside isn’t exposed to weather, you may be able to use a quality interior paint instead of exterior.
Can I paint my garage door a dark color?
You can, but be careful if you have a vinyl or composite door. Dark colors absorb a lot of heat from the sun, which can cause these materials to warp or buckle. Many paint brands now offer “vinyl-safe” color palettes that are formulated to prevent this. For wood or metal doors, any color is generally fine.
How long does it take to paint a garage door?
Plan for this to be a weekend project. The actual work of cleaning, prepping, and painting might take about 4-6 hours total. However, you need to account for drying time between cleaning, priming, and each coat of paint. Rushing the process is the fastest way to get a poor result.
Can I use a power washer to clean my garage door?
Yes, you can, but you must be very careful. Use a wide spray tip and keep it a safe distance from the door to avoid damaging the surface or forcing water into seams. For most DIYers, a bucket of soapy water and a good scrub brush is safer and just as effective.
Conclusion: Stand Back and Admire Your Work
Proper prep and the right primer-and-paint match matter more than experience level — a freshly painted garage door protects the material underneath and typically holds up for 5 to 10 years before it needs another coat.
Sponsored / affiliate links. As an Amazon Associate I earn from qualifying purchases. I may earn additional commission from eligible campaigns.