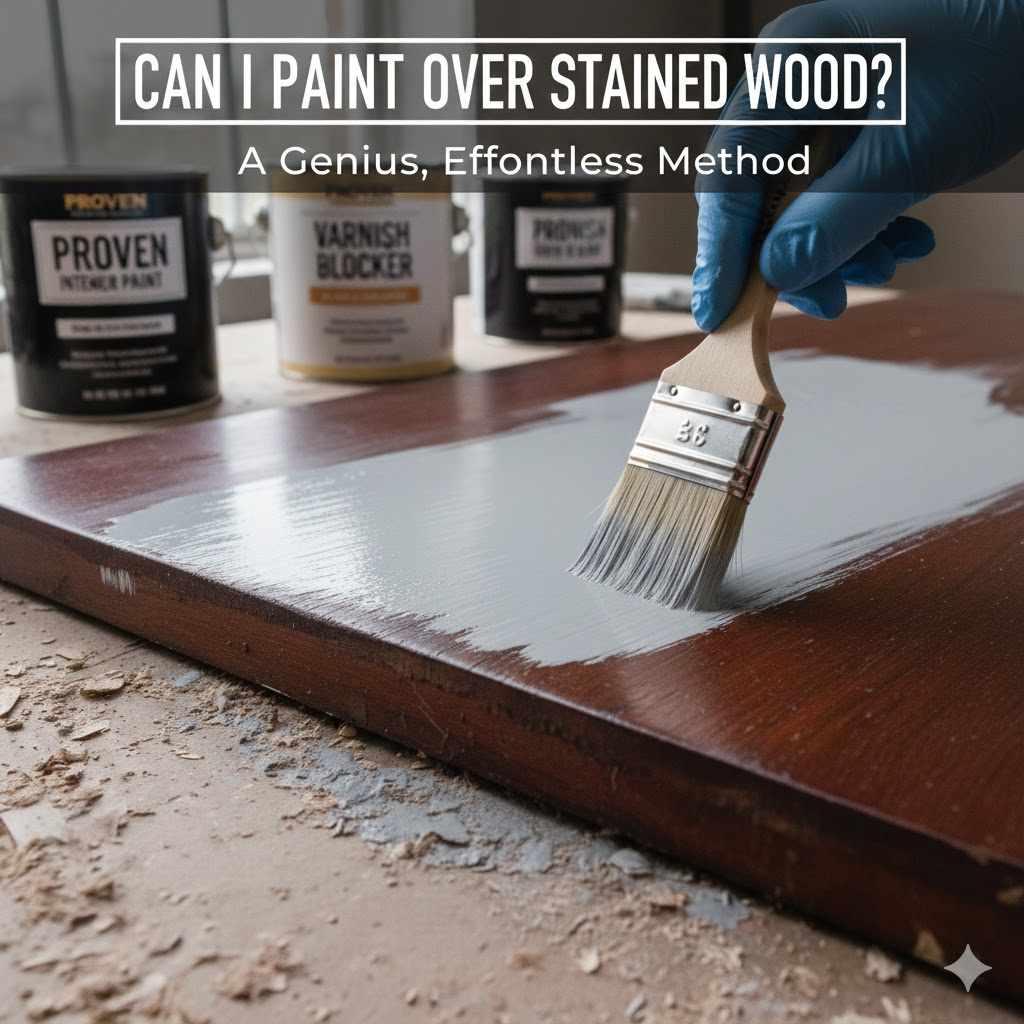
Can I Paint Over Stained Wood? A Proven, Effortless Method
Yes, you can absolutely paint over stained wood, and you don’t need to completely strip the old finish. The key to a durable, professional-looking finish is proper preparation. By thoroughly cleaning, lightly sanding, and using a high-quality stain-blocking primer, you can ensure your paint adheres beautifully without any old stain bleeding through.
Have you ever looked at an old, dark-stained piece of furniture and wished you could give it a fresh, modern look? Maybe it’s a dated kitchen cabinet, a family heirloom bookcase, or a thrift store find with good bones but a gloomy finish. Many people think they have to go through a long, messy stripping process. But I’m here to tell you there’s an easier way.
Painting over stained wood is one of the most rewarding DIY projects you can tackle. It transforms pieces from dated to delightful. With the right method, you can achieve a flawless, lasting finish that looks like it came straight from a high-end store. In this guide, I’ll walk you through my proven, effortless method step by step. Let’s get that piece ready for its new life!
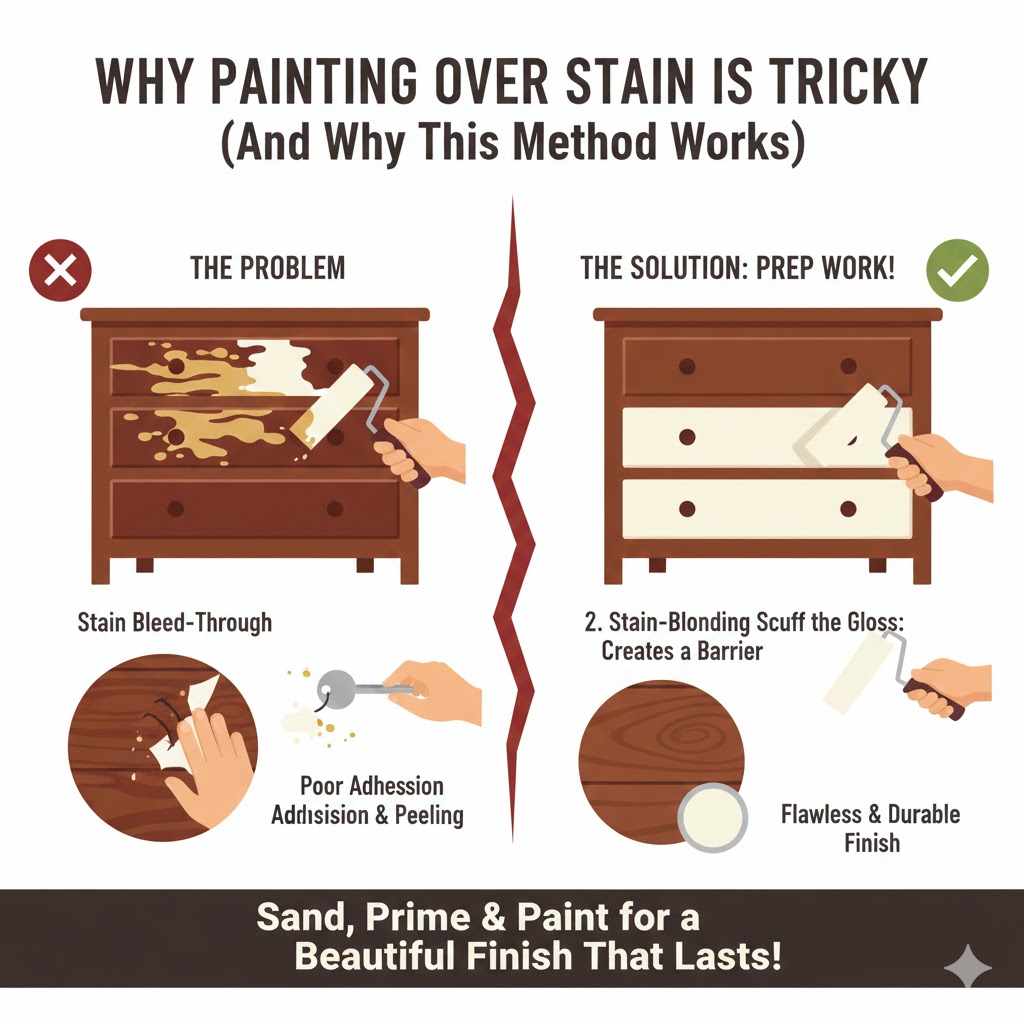
Why Painting Over Stain Can Be Tricky (And Why This Method Works)
You might be wondering why you can’t just slap a coat of paint on stained wood and call it a day. The problem lies with the oils and pigments in the wood stain. These substances are designed to penetrate the wood, and they can often “bleed” through layers of paint, causing ugly yellow or brownish splotches to appear over time. This is especially true with older, oil-based stains.
Furthermore, many stained pieces have a clear topcoat, like polyurethane or lacquer, for protection. Paint has a hard time gripping onto these smooth, non-porous surfaces. Without proper preparation, your beautiful new paint job could easily scratch, chip, or peel right off.
My method tackles both of these problems head-on:
- Light Sanding: We don’t need to sand down to bare wood. We just scuff the surface to break the gloss of the topcoat. This gives the primer something to grip onto.
- Stain-Blocking Primer: This is the hero of the story. A good quality primer creates a barrier between the old stain and the new paint, preventing bleed-through and ensuring excellent adhesion.
By following these simple but crucial steps, you create the perfect canvas for your paint, guaranteeing a finish that is both beautiful and built to last.
Gather Your Tools and Materials
Having everything ready before you start makes the process smooth and enjoyable. You don’t need a professional workshop for this project. Most of these items are easily found at your local hardware store.
For Preparation and Safety:
- Drop cloths or plastic sheeting
- Painter’s tape
- Cleaner: A degreaser like TSP substitute or a simple mix of warm water and dish soap
- Clean rags or tack cloths
- Sanding sponge or sandpaper (120 to 220-grit)
- Safety glasses
- Dust mask or respirator
- Gloves
For Priming and Painting:
- High-quality stain-blocking primer (shellac-based or oil-based is often best)
- Your choice of paint (latex or acrylic enamel is great for furniture and cabinets)
- High-quality paint brushes (a 2-inch angled brush is very versatile)
- Small foam roller for a smooth finish on flat surfaces
- Paint tray
Step-by-Step: The Proven, Effortless Method to Paint Stained Wood
Ready to transform your piece? Follow these steps carefully, and you’ll be amazed at the professional-quality results you can achieve. Remember, patience is a key ingredient in any good finishing project!
Step 1: Prepare Your Workspace and the Piece
First things first, set up in a well-ventilated area. Lay down your drop cloths to protect the floor. If your piece has any hardware like knobs, handles, or hinges, remove them and place them in a labeled bag so you don’t lose any screws. If you’re working on something with drawers or doors, take them off for easier painting.
Step 2: Clean the Wood Thoroughly
This is a step people often skip, but it’s absolutely critical. Over the years, furniture and cabinets collect grease, dirt, and waxes from cleaning products. Paint and primer will not stick to a grimy surface. Use a good degreasing cleaner like a TSP (trisodium phosphate) substitute mixed with water. Wearing gloves, scrub the entire piece with a clean rag. Afterward, wipe it down again with a rag dampened with plain water to remove any cleaning residue. Let it dry completely.
Step 3: De-Gloss and Scuff Sand
Now it’s time to sand. Remember, our goal is not to remove the old stain or finish, but simply to scuff up the surface to help the primer stick. This is called “de-glossing.” Take your 120- or 180-grit sandpaper or sanding sponge and lightly go over every surface you plan to paint. You’re done when the original sheen is gone and the surface feels slightly rough and looks dull. After sanding, vacuum up the dust and wipe the piece down with a tack cloth or a damp microfiber cloth to remove every last particle of dust.
For older homes and furniture (pre-1978), it’s important to be aware of potential lead-based paint or finishes. If you suspect lead, use wet sanding techniques and take extra precautions. You can find excellent safety guidelines from the Environmental Protection Agency (EPA).
Step 4: Prime, Prime, Prime! (Your Secret Weapon)
Here’s where the magic happens. A quality stain-blocking primer is non-negotiable for this project. It will seal in the old stain and prevent it from bleeding through your new paint. For covering dark stains or woods that are known to bleed (like mahogany or pine with knots), a shellac-based primer like Zinsser B-I-N is my top choice. It dries quickly and blocks even the toughest stains.
Using a brush or foam roller, apply a thin, even coat of primer to the entire piece. Don’t worry if the coverage looks a little streaky; its main job is to seal and provide a grip for the paint. Let the primer dry completely according to the manufacturer’s instructions. If you’re covering a very dark stain, a second coat of primer is a great idea for extra insurance against bleed-through.
| Primer Type | Best For | Pros | Cons |
|---|---|---|---|
| Shellac-Based | Blocking severe stains (oils, tannins, smoke) and odors. Great for pine knots. |
|
|
| Oil-Based | Blocking water and oil stains on wood, metal, and interiors/exteriors. |
|
|
| Water-Based (Latex) | General purpose use on drywall, raw wood, and previously painted surfaces. |
|
|
Step 5: Apply Your First Coat of Paint
Once the primer is fully cured, it’s time for color! Stir your paint thoroughly. Using a high-quality brush for corners and details and a foam roller for flat surfaces, apply your first coat of paint. Work in long, even strokes, following the direction of the wood grain. The goal is a thin, even coat. Don’t try to get full coverage in one go—that’s how you get drips and an uneven finish. Let this first coat dry completely, usually for at least 4-6 hours, but check the can for specific recommendations.
Step 6: Sand Lightly Between Coats
After the first coat of paint is dry, you might notice the surface feels a little rough. This is normal. Take a very fine-grit sandpaper (220-grit is perfect) and give the whole piece a very gentle sanding. You are just smoothing the surface, not removing paint. This tiny step makes a huge difference in the quality of the final finish. After sanding, wipe away the dust with a tack cloth.
Step 7: Apply the Final Coat of Paint
Now, apply your second coat of paint just like you did the first. This coat should give you full, beautiful coverage. Take your time and look at your work from different angles to make sure you haven’t missed any spots. Let the final coat dry for at least 24 hours before you handle it too much.
Step 8: (Optional) Apply a Protective Topcoat
For high-traffic pieces like kitchen cabinets, tabletops, or coffee tables, I highly recommend adding a protective topcoat for extra durability. A water-based polyurethane is a great choice as it dries clear and doesn’t yellow over time like oil-based options. Apply 2-3 thin coats with a high-quality brush, letting each coat dry and lightly sanding with 220-grit sandpaper in between (but not after the final coat!).
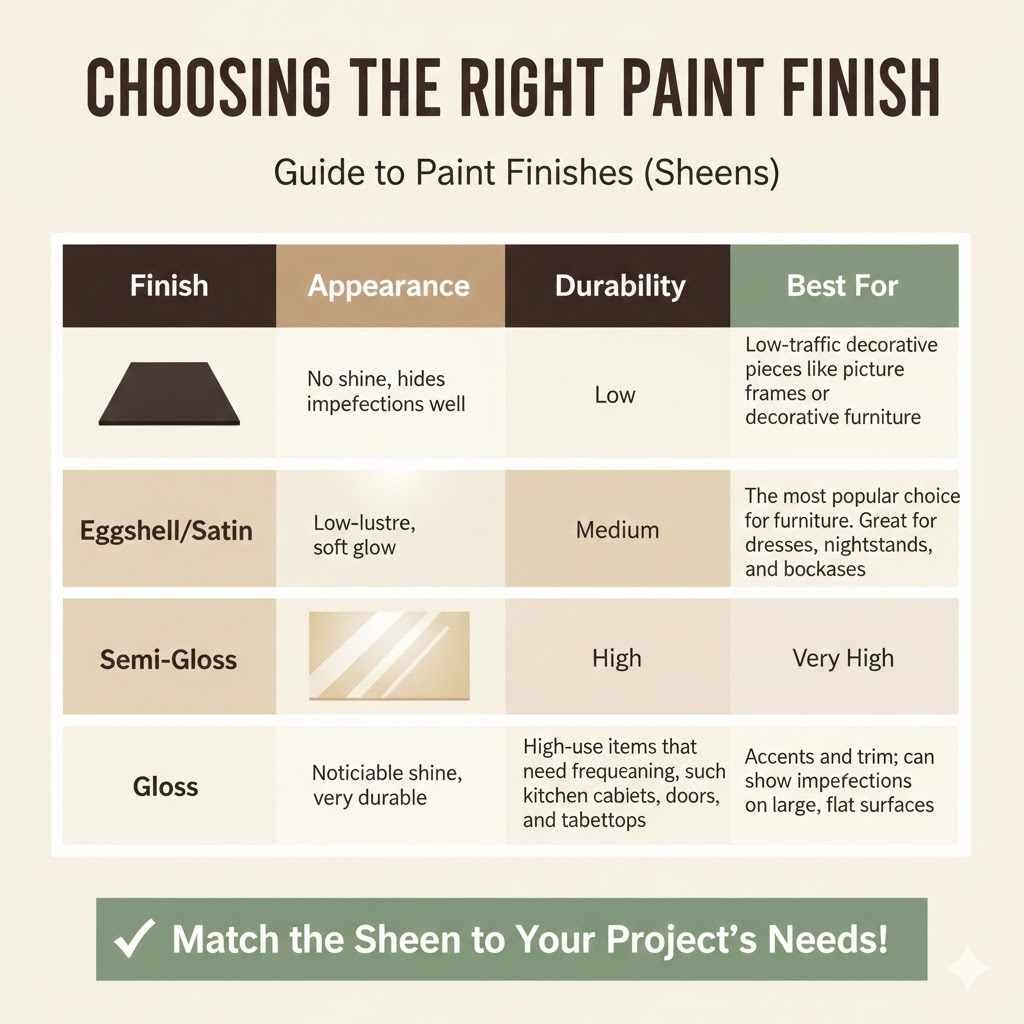
Choosing the Right Paint Finish
The paint finish, or sheen, you choose affects both the look and durability of your project. Here’s a quick guide to help you decide.
| Finish | Appearance | Durability | Best For |
|---|---|---|---|
| Matte (Flat) | No shine, hides imperfections well | Low | Low-traffic decorative pieces like picture frames or decorative furniture. |
| Eggshell/Satin | Low-lustre, soft glow | Medium | The most popular choice for furniture. Great for dressers, nightstands, and bookcases. |
| Semi-Gloss | Noticeable shine, very durable | High | High-use items that need frequent cleaning, such as kitchen cabinets, doors, and tabletops. |
| Gloss | Very shiny, almost reflective | Very High | Accents and trim; can show imperfections on large, flat surfaces. |
Frequently Asked Questions (FAQ)
Do I absolutely have to sand before painting over stained wood?
Yes, but it’s not as hard as you think! A light scuff-sanding is all you need. This quick step is crucial for helping the primer grip the old surface. Without it, your new paint job could easily peel or chip. Think of it as giving the surface a “tooth” for the primer to hold onto.
What is the best primer for covering a dark stain?
For covering dark stains or woods prone to bleeding tannins (like pine knots or mahogany), a shellac-based primer is your best friend. Zinsser B-I-N is a popular and highly effective choice. Oil-based primers are also excellent at stain blocking. I would generally avoid water-based primers for this specific task unless they are specifically formulated for stain blocking.
Can I use chalk paint over stained wood without sanding or priming?
While many chalk paint brands advertise “no prep,” I always recommend a light sanding and, more importantly, a coat of stain-blocking primer. Stains, especially from oil-based products or tannins in the wood, can bleed right through chalk paint over time, ruining your finish. Taking the extra priming step is worth it for a lasting result.
How can I tell if the old stain is oil-based or water-based?
Here’s an easy test. Find an inconspicuous spot and dab a cotton ball soaked in rubbing alcohol on it. If some color comes off, the stain is likely water-based. If nothing comes off, try the same test with a cotton ball soaked in mineral spirits. If color comes off now, it’s likely an oil-based stain. This is helpful to know but doesn’t change the process—a good shellac or oil-based primer works over both.
How long should I wait between priming and painting?
Always follow the instructions on the primer can. Drying times vary by type and brand, as well as by temperature and humidity. Shellac-based primers often dry to the touch in under an hour, while oil-based primers may need to dry overnight. Rushing this step can ruin your finish, so be patient!
Will the wood grain show through the paint?
Yes, typically it will, especially on woods with a strong grain pattern like oak. Painting preserves the texture of the wood underneath. If you want a completely smooth, grain-free finish, you would need to fill the grain with a wood grain filler before you begin priming and painting. This is a more advanced step but achievable for a flawless look.
What should I do if the stain bleeds through my primer?
If you see a yellowish or brownish spot appear on your white primer, that’s bleed-through. Don’t panic! Simply apply another thin coat of your stain-blocking primer directly over the spot. Wait for it to dry completely. This second barrier is almost always enough to seal the stain for good before you apply your paint color.
Conclusion
And there you have it! The next time you see a piece of dark, dated stained furniture, I hope you don’t see an obstacle—you see an opportunity. By following this simple but effective process of cleaning, scuff-sanding, and using a high-quality stain-blocking primer, you can confidently paint over any stained wood surface.
You’ve learned that the secret isn’t about heavy-duty stripping but about smart preparation. This method not only saves you time and effort but also guarantees a beautiful, durable finish that will make you proud. So go ahead, grab that old piece of furniture, and give it the fresh new look it deserves. Happy painting!