Can You Apply Stain With A Roller? Discover the Powerful Technique!
Yes, you can apply stain with a roller. In fact, using a roller is a common and efficient method for staining various surfaces.
Rollers apply stain faster than a brush, but they also deposit more product per pass than the wood can absorb — without back-brushing immediately behind the roller, oil-based and gel stains tend to pool in low spots and dry with visible lap marks, especially on porous woods like pine and oak.
The key is to choose the appropriate roller nap for your project and ensure that it is clean and free of debris. Additionally, using a roller can save you time and effort compared to applying stain with a brush. With proper technique and some practice, you can achieve professional-looking results using a roller to apply stain.
Benefits Of Using A Roller For Stain Application
A roller can be a convenient tool for applying stain, providing several benefits such as quick and even coverage, reducing brush marks, and saving time and effort. Stain application with a roller is an effective technique that yields professional-looking results.
Applying stain to your woodwork or furniture can bring new life to an old piece, but it can also be a time-consuming and messy process. However, with the right tools, the task can become much easier and more efficient. Using a roller for stain application has several benefits that can make your project faster, simpler, and provide a more even finish.
Even Application
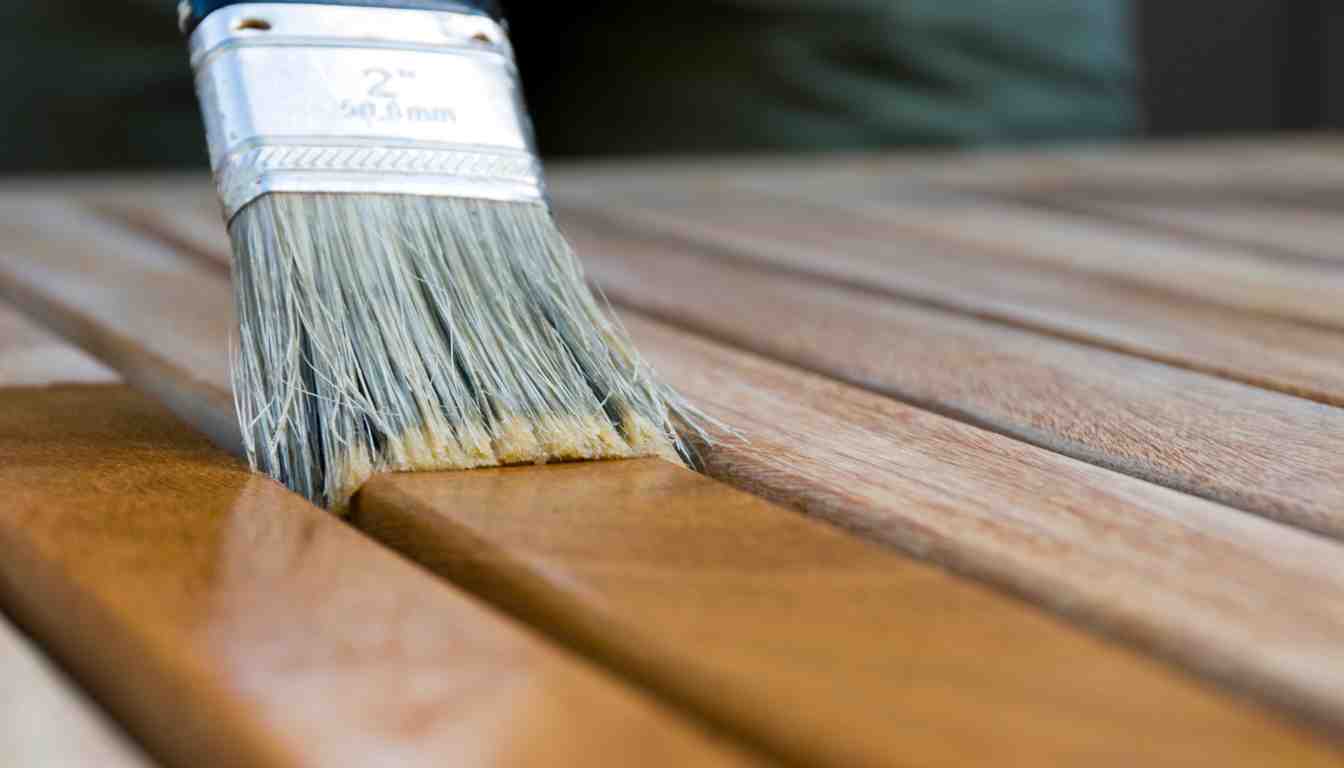
When it comes to applying stain, achieving an even application can often be a challenge. Using a brush may lead to visible brush strokes or inconsistent color distribution. However, using a roller can help you achieve a smooth and even finish across the entire surface, leaving no brush marks or uneven spots.
A roller’s design allows it to distribute the stain evenly, making it the perfect tool for larger surfaces like decks, fences, or wooden floors. The roller’s absorbent nap ensures that the stain is evenly spread, ensuring a consistent color and finish throughout.
Time And Effort Saving
Another significant benefit of using a roller for stain application is the time and effort it can save you. Unlike a brush, which requires careful and precise strokes, a roller can cover a larger surface area in less time. This speed can be particularly advantageous when working on extensive projects like outdoor decking or large furniture pieces.
Additionally, using a roller reduces the need for multiple touch-ups or reapplication of stain. Since the roller provides an even coat, you can typically achieve the desired coverage with just one application. This not only saves you time but also reduces the amount of stain needed, making the project more cost-effective.
Furthermore, using a roller makes the application process less tiring and physically demanding. The roller’s handle allows for a comfortable grip, reducing strain on your hand and wrist compared to wielding a brush for an extended period.
Preparation For Stain Application With A Roller
Preparation is key to achieving a professional-looking stain application with a roller. By following the proper steps, you can ensure a smooth and even finish on your desired surface. In this section, we will discuss the necessary preparations in detail, including surface cleaning and masking off areas.
Surface Cleaning
To achieve the best results, it’s important to start with a clean surface. Before you begin the stain application process, you must thoroughly clean the area to remove any dirt, dust, or debris. This will ensure that the stain adheres properly and provides a long-lasting finish.
You can clean the surface using a mild detergent mixed with water. Gently scrub the area with a soft bristle brush, working in circular motions. Rinse the surface thoroughly with clean water and allow it to dry completely before moving on to the next step.
Masking Off Areas
Masking off areas that you don’t want to be stained is an essential step in the preparation process. This prevents any unintentional staining and ensures a neat and tidy application.
Start by identifying the areas that need to be masked off, such as trim, windows, or any other surfaces that should not come into contact with the stain. Use painter’s tape to cover these areas, pressing it firmly to create a tight seal. Make sure the tape is applied smoothly and in a straight line for a professional look.
After you have masked off the desired areas, take a moment to inspect your work. Ensure that all edges are secure and that there are no gaps where the stain might seep through. This attention to detail will lead to a clean and precise stain application.
By following these steps of surface cleaning and masking off areas, you are laying the foundation for a successful stain application with a roller. Taking the time to properly prepare the surface will result in a professional finish and ultimately enhance the overall appearance of your project.
Choosing The Right Roller For Stain Application
When it comes to applying stain to your surfaces, selecting the right roller is crucial. A roller allows for quick and even application, ensuring a smooth and professional finish. However, with so many options available, it can be overwhelming to choose the right one for your project. In this article, we will guide you through the key factors to consider when selecting a roller for stain application.
Nap Length
One important factor to consider when choosing a roller for stain application is the nap length. The nap refers to the length of the fabric covering on the roller. A longer nap is suited for rough or textured surfaces, as it allows the stain to penetrate into crevices and provide better coverage. On the other hand, a shorter nap is ideal for smooth surfaces, as it provides a smoother and more even finish. Consider the surface type you will be staining and choose a nap length accordingly.
Surface Type
The surface type also plays a crucial role in selecting the right roller for stain application. Different surfaces require different roller materials to achieve optimal results. Here are a few common surface types and the corresponding roller materials:
| Surface Type | Recommended Roller Material |
|---|---|
| Rough or Textured | Lambswool or Synthetic |
| Smooth | Foam or Microfiber |
| Decking | Specialized Decking Roller |
Choosing the right roller material for your surface type ensures better adherence and a more professional-looking finish. Be sure to consider the recommendations above when selecting your roller for stain application.
In conclusion, when it comes to applying stain with a roller, selecting the right one can make all the difference. Consider the nap length and surface type to determine the most suitable roller for your project. By choosing the right roller, you can achieve an even and flawless finish on any surface. Happy staining!
Recommended Rollers for Stain
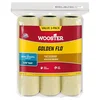
Wooster Golden Flo 3/8″ Nap Cover
A 3/8″ nap matches this article’s own recommendation for smooth surfaces, giving an even coat without leaving heavy stipple texture.
Best for: Smooth wood surfaces like furniture, doors, and trim
Why we picked it: Wooster is a long-trusted brand for consistent nap quality
Main drawback: Too short a nap for rough or textured surfaces like fences and decking
Check Price on Amazon


As an Amazon Associate, Woodworking Advisor earns from qualifying purchases.
Techniques For Applying Stain With A Roller
Discover the optimal approach to applying stain with a roller, achieving professional results without the need for additional tools. Transform your surfaces effortlessly with this efficient technique.
When it comes to applying stain, many people automatically reach for a brush. But did you know that you can also apply stain with a roller? While it may not be the most traditional method, using a roller can save you time and effort, especially when working on large surfaces like decks or fences.
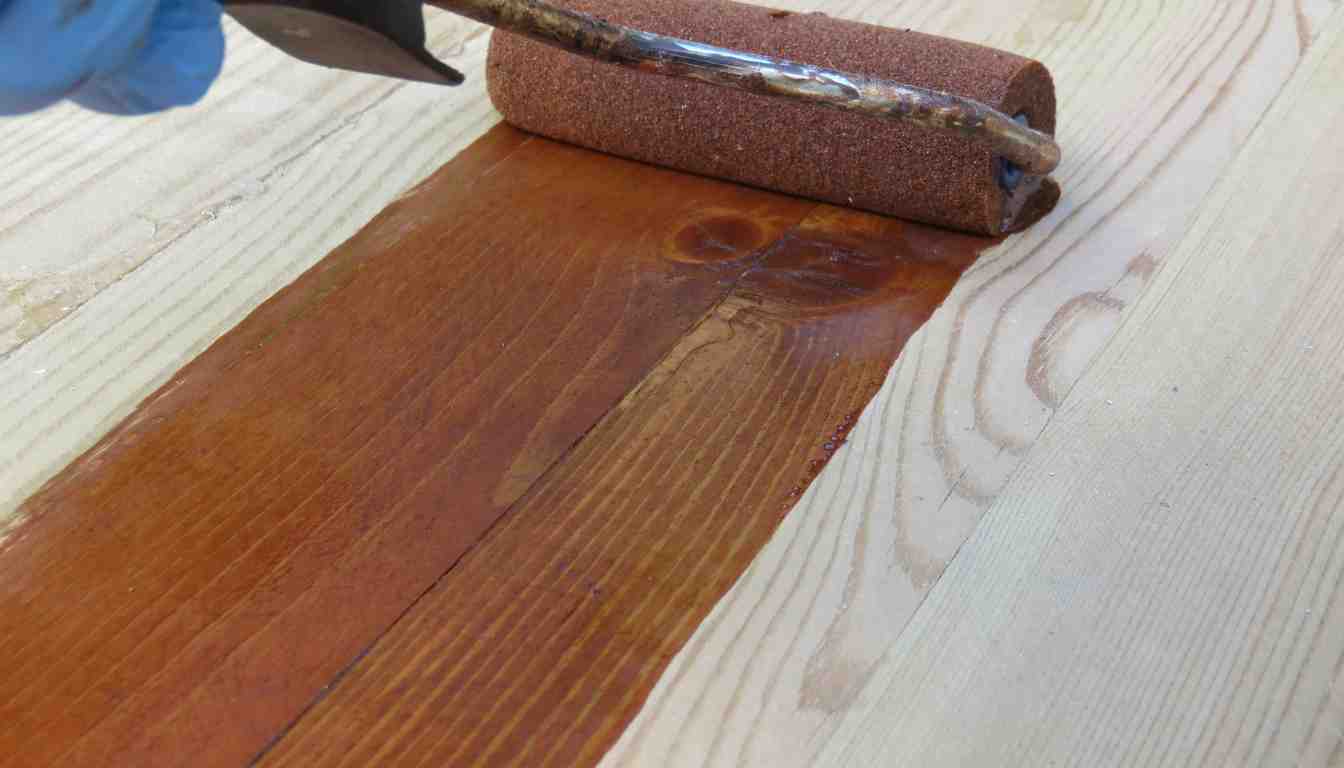
Roller Loading
Properly loading your roller with stain is the first step towards achieving a smooth and even application. Start by pouring the stain into a paint tray or a roller pan. Then, dip your roller cover into the stain and roll it back and forth in the tray, ensuring that the cover absorbs an even amount of stain.
Proper Pressure And Direction
Applying the right pressure and direction with your roller is crucial for an even and consistent finish. When applying stain with a roller, it’s important to use light to medium pressure. Pressing too hard can cause the stain to puddle or leave streaks, while using too little pressure may result in an uneven application.
Additionally, always roll in the same direction as the wood grain to achieve a professional-looking finish. Rolling against the grain can cause the stain to be distributed unevenly and create an undesirable appearance.
Remember, practice makes perfect, so don’t be discouraged if your first attempt doesn’t turn out as expected. With a little patience and these techniques for applying stain with a roller, you’ll soon be able to achieve a flawless finish on your project.
Tips And Tricks For A Successful Stain Application With A Roller
Tips and Tricks for a Successful Stain Application with a Roller
Staining your wood surfaces can be a rewarding and transformative project that breathes new life into your home. While many people opt for brushes or sprayers to apply stain, using a roller can be a convenient and effective method. In this section, we will discuss some essential tips and tricks for achieving a successful stain application with a roller, ensuring even coverage and a professional finish.
Testing On A Small Area
Before diving into staining your entire surface, it is crucial to test the stain on a small, inconspicuous area. This step allows you to assess how the color looks on your wood and determine if any adjustments are needed. Choose an area that is easy to cover or repair, such as the backside of a cabinet or a hidden corner. Apply the stain with the roller and let it dry completely, paying close attention to the color and consistency. This simple test will help you avoid unpleasant surprises and ensure you achieve the desired look.
Maintenance And Cleaning Of The Roller
Maintaining a clean roller is vital for achieving a smooth and consistent stain application. After each use, thoroughly clean the roller with an appropriate solvent or cleaner recommended for the type of stain you are using. Remove any excess stain by rinsing the roller until the water runs clear. Once cleaned, allow the roller to dry completely before storing it away. Regularly inspect the roller for signs of wear and tear, such as fraying or matting. If necessary, replace the roller to ensure optimal performance during your staining project.
By following these simple tips and tricks, you can confidently apply stain with a roller for a flawless finish. Remember to test on a small area and properly maintain your roller for optimal results. Now that you have these valuable guidelines, you are well on your way to achieving a professional-looking stain application with ease.
Conclusion
Applying stain with a roller is a convenient and efficient method that can achieve satisfactory results. It allows for quick coverage and smooth application, making it ideal for large surfaces. However, it is important to consider the type of stain being used and the surface being treated.
Overall, a roller can be a valuable tool in the staining process, but it’s always recommended to test in a small area first to ensure desired outcomes. Happy staining!