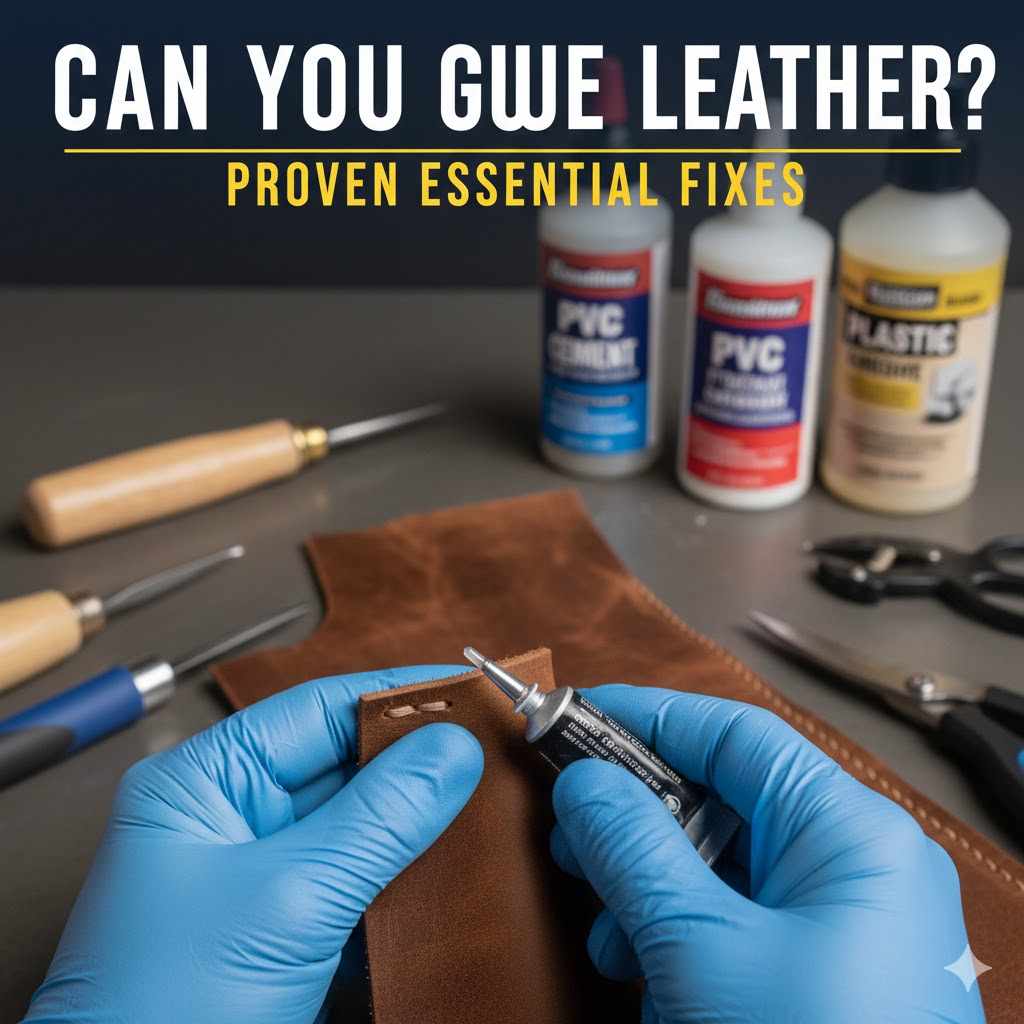
Can You Glue Leather? Proven Essential Fixes
Yes, you absolutely can glue leather, but success hinges on choosing the right adhesive and properly preparing the surfaces. For reliable, long-lasting leather repairs—from minor tears to separating seams—using specialized leather cement or contact cement, followed by proper clamping, is essential for a professional-looking fix.
When a favorite leather wallet tears or the stitching on your old armchair starts pulling apart, it’s easy to feel defeated. Fixing leather used to seem like a job only cobblers could handle. You might look at that flexible material and wonder, “Can you glue leather?” The answer is a definite yes! With the right glue and a few simple techniques, you can secure those troublesome spots yourself. You don’t need years of experience to make a repair that lasts. We are going to walk through exactly which glues work best and the easy steps to ensure your repair holds tight for years to come. Ready to save that beloved piece? Let’s dive into the secrets of strong leather adhesion.
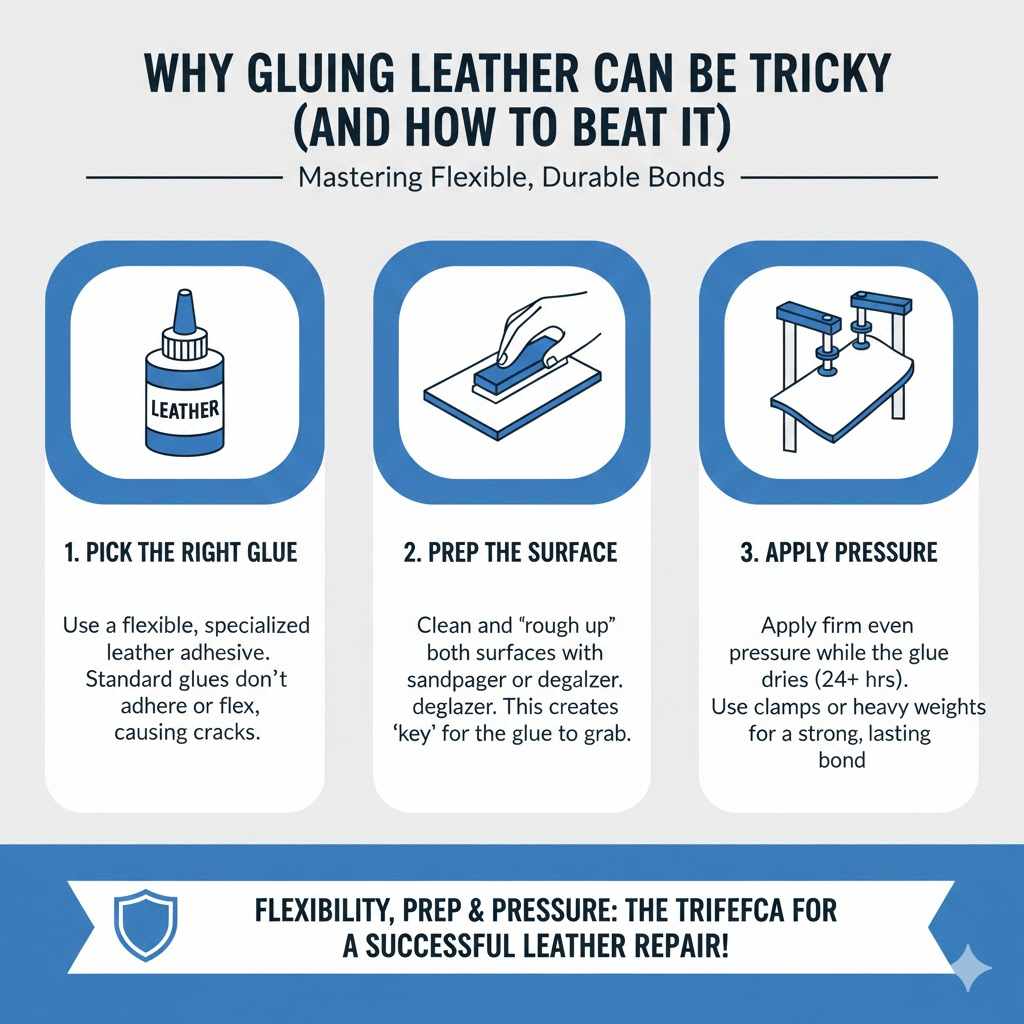
Why Gluing Leather Can Be Tricky (and How to Beat It)
Leather isn’t like wood or paper. It’s porous, flexible, and often treated with oils or finishes that make it resistant to standard glues. That runny white school glue? It won’t stand a chance. The main challenge is achieving a bond strong enough to handle stretching, flexing, and everyday wear without cracking or peeling away.
The key to beating these challenges lies in three simple areas:
- Picking an adhesive formulated for leather and flexibility.
- Making sure the leather surfaces are clean and roughed up (or “scuffed”).
- Applying correct pressure during the curing time.
Mastering these three steps turns a potentially frustrating repair into a straightforward DIY success.
Essential Adhesives for Leather Repair: What Sticks Best?
Choosing the correct glue is 80% of the battle won when fixing leather. Standard household adhesives lack the flexibility and strength required for this unique material. Here are the top two types you should always look for when undertaking a leather repair project.
1. Leather Cement (Contact Cement)
Leather cement, often sold as contact cement, is the industry standard for leatherworking and upholstery repair. These adhesives form incredibly strong, flexible bonds once fully cured.
How Contact Cement Works:
Contact cement is unique because you apply it to both surfaces that need joining. You let the glue get tacky (usually about 5 to 15 minutes, depending on the product), and then when the two tacky surfaces meet, they instantly bond with extreme strength. This instant grab is what makes it perfect for preventing pieces from slipping while you clamp them.
Pros and Cons of Leather Cement:
| Pros | Cons |
|---|---|
| Extremely strong and flexible bond | Often requires ventilation due to strong fumes |
| Ideal for seams, deep tears, and large patches | Can be difficult to reposition once the surfaces touch |
| Water-resistant once cured | Requires thorough surface preparation |
2. Polyurethane Adhesives (for Heavier/Thicker Leather)
Polyurethane glues (like some heavy-duty construction adhesives) work very well on thick, stiff leather—think boots, heavy belts, or thick saddlery. These tend to dry clearer than standard leather cement, which is a benefit if the glue line might be visible. They offer a powerful grip and excellent resistance to water.
What to Avoid (The Beginner Traps)
To save yourself a mess and ensure a lasting fix, never rely on these common household glues for significant leather repairs:
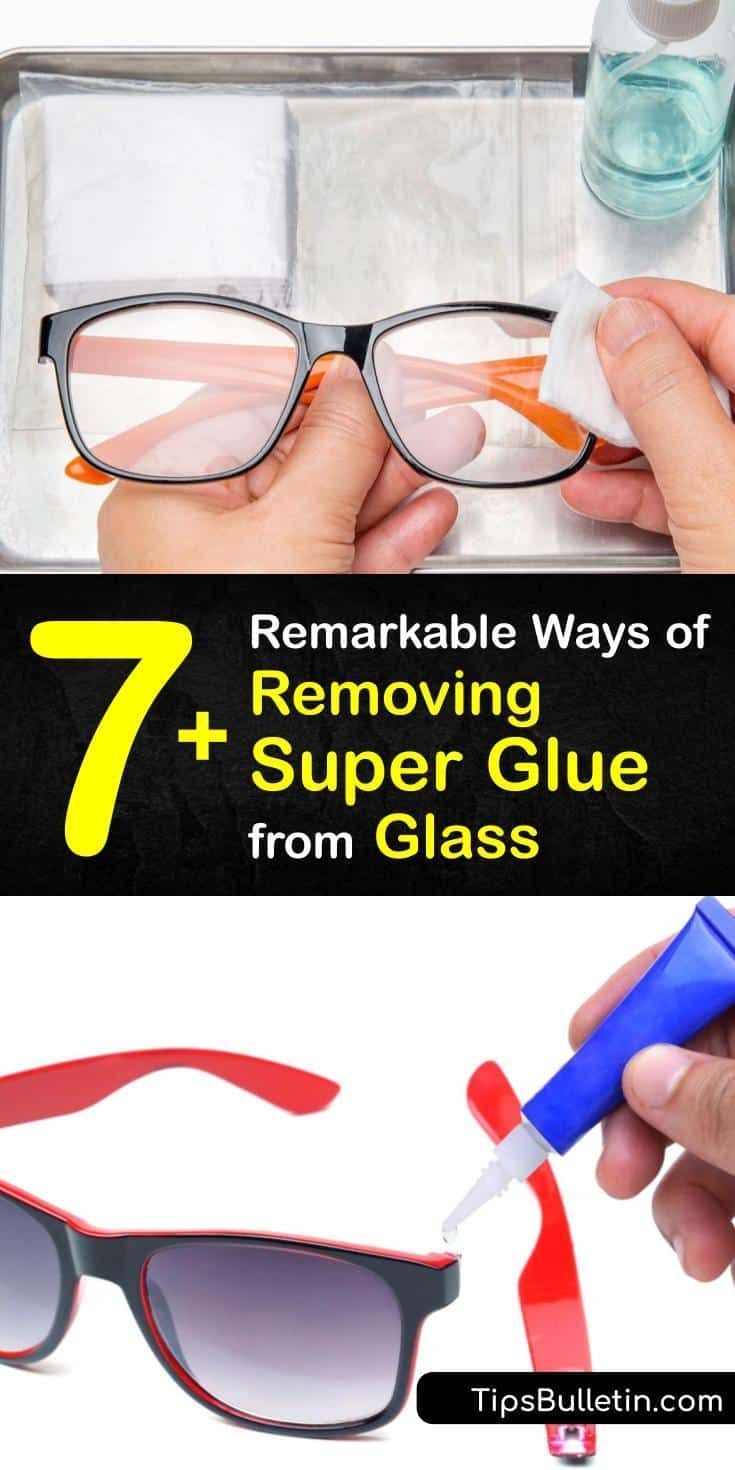
- Super Glue (Cyanoacrylate): It dries very rigid. Leather flexes, so super glue will instantly crack, creating a worse failure point than the original tear.
- Wood Glue (PVA): While great for wood, it lacks the necessary flexibility and chemical makeup to adhere strongly to oily leather surfaces.
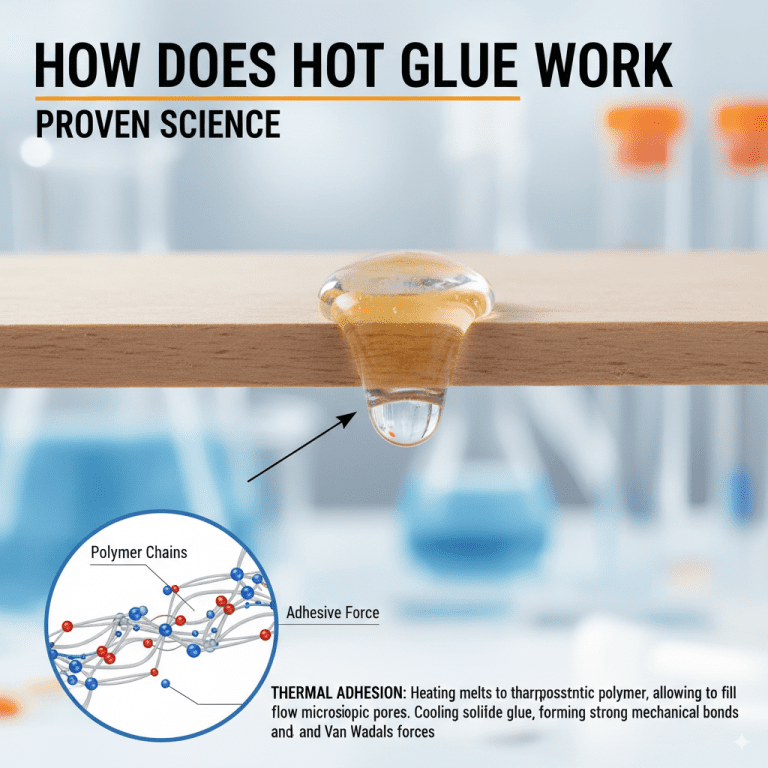
- Hot Glue: Too brittle when cool, and the heat can damage or scorch delicate leather.
Tools and Supplies You Need for a Successful Leather Fix
Before you mix a single drop of glue, gather your supplies. Having everything ready ensures the process moves smoothly while the cement is “open” (before it dries too much).
Your Leather Repair Toolkit:
- Your chosen Leather Cement or Contact Cement
- Fine-grit sandpaper or a stiff brush (for scuffing)
- Denatured alcohol or acetone (for cleaning)
- Applicator brush, popsicle stick, or cotton swab
- Clamps, heavy books, or binder clips (for clamping pressure)
- A protective drop cloth or old newspaper
- A razor blade or sharp craft knife (for trimming excess glue)
If you are working on thin leather or need a very subtle repair, you might also consider a specialized vinyl/leather repair kit that includes colorants to match the leather tone after patching.
Step-by-Step Guide: How to Glue Leather for a Permanent Fix
This process works for fixing tears in upholstery, mending cracked leather bags, or reattaching soles on dress shoes. The prep work is what makes all the difference!
Step 1: Clean and Prepare the Area (The Most Important Step)
Glue needs a surface it can physically grab onto. Any oils, dirt, or smooth factory finishes must go.
- Inspect and Align: Carefully line up the pieces of torn or separated leather exactly as they should look when the repair is finished. This visualization is critical because once contact cement grabs, it doesn’t let go easily.
- Clean Away Residue: Wipe the area surrounding the repair thoroughly with a cloth lightly dampened with denatured alcohol or acetone. This removes surface oils. Allow this to dry completely—usually just a minute or two.
- Scuff the Surfaces: Using your fine-grit sandpaper or a stiff wire brush (if the leather is very heavy-duty), gently but thoroughly scuff the edges that will be glued together. You are aiming to break the smooth seal of the finish so the glue has tiny valleys to grip into. For interior tears (where the back surfaces meet), ensure you sand away any slick backing material until you reach the fibrous hide underneath.
- Remove Debris: Brush away all the sanding dust with a dry cloth.
Step 2: Apply the Contact Cement
Remember: Contact cement goes on both sides that are being joined. This is crucial for achieving maximum strength.
- Thin Coat: Using a small applicator (like a craft stick or small brush), apply a thin, even layer of the contact cement to the prepared surface of both pieces of leather. Think “thin” rather than “globby.”
- Cover Edges: Ensure you coat right up to the very edge of the tear or seam, but try not to let the glue spread out onto the visible surface too much.
- Wait for Tackiness: Follow the manufacturer’s instructions precisely! Most leather cements require 5 to 15 minutes to fully dry to the touch (tacky). If you join the pieces while the glue is still wet, the bond will be weak and sloppy. The glue should look dull, not shiny wet.
Safety Note: While waiting for the glue to cure, work in a well-ventilated area or open windows, as the solvents in contact cement can be harsh on the lungs.
Step 3: Joining and Clamping (The Moment of Truth)
This step requires promptness and accuracy, as the bond will be immediate.
- Alignment Check: Hold one piece ready and slowly line up the second piece exactly as you want them to set. Double-check that the edges meet perfectly.
- The Touch: Bring the two tacky surfaces together firmly, ensuring complete contact across the entire glued area. Try not to reposition once they touch.
- Apply Pressure: You need heavy, even pressure applied across the bond line to force the adhesive into all the microscopic fibers you created during scuffing.
- For Flat Areas: Place a sheet of wax paper over the repair, then cover that with a flat piece of scrap wood. Clamp the wood tightly to the surface or place very heavy objects (like stacks of textbooks or bricks) directly onto the glued area.
- For Curved Areas (like edges or seams): Use strong binder clips or specialized spring clamps to apply constant inward pressure.
Step 4: Curing Time and Finishing
Leather repairs need time to fully harden and gain maximum tensile strength.
- Patience is Key: Allow the repair to cure under pressure for the time recommended by the glue manufacturer—usually at least 24 hours. Resist the temptation to test the strength too soon.
- Remove Clamps: After 24 hours, carefully remove the pressure. The bond should be incredibly solid.
- Final Touches: If any hardened glue bled out onto the visible surface, you can sometimes carefully score it with a very sharp razor blade held almost flat against the leather surface and gently flick it away. Never use chemicals on the surface after the repair is done unless the product is specifically meant for finishing leather.
Troubleshooting Common Leather Gluing Mistakes
Even with great tools, beginners sometimes run into hiccups. Here is how to fix the most common adhesion problems.
Mistake 1: The Glue Won’t Hold or Peels Up
The Cause: Usually insufficient surface preparation (not sanding enough) or not letting the contact cement dry tacky enough before joining. If the glue is too wet, it won’t form a true structural bond.
The Fix: Carefully peel the pieces apart (if they aren’t fully bonded yet). Scuff the surfaces again thoroughly, clean them well, reapply the cement thinly, and wait significantly longer for it to fully set before joining under pressure.
Mistake 2: The Repair Stretches Open After Drying
The Cause: The material needed more flexibility, or the initial piece of leather was pulled too far into position before the glue set.
The Fix: For areas that take constant strain (like the corner of a stressed briefcase), you often need a reinforcing patch underneath. Cut a piece of leather slightly larger than the tear, glue that patch underneath the tear first, and then glue the top layers together over the patch for double reinforcement. For an outside-of-the-box perspective on material repair, the National Institute of Standards and Technology (NIST) emphasizes that achieving good substrate interaction (your scuffing) is critical for any flexible joint.
Mistake 3: The Glue Seems Too Thick or Gummy
The Cause: Sometimes, the adhesive sitting in the container gets old or too much humidity gets into the can, altering the consistency.
The Fix: If the glue is thick and gummy right out of the can, do not use it. If the product instructions allow for thinning (check the label!), use the recommended solvent. Otherwise, it’s safest to buy a fresh can of specialized leather cement to ensure reliable results.
Gluing Different Types of Leather Materials
Not all leather is created equal. Real leather behaves differently than synthetic materials or leather that has been heavily treated.
Genuine (Finished) Leather
This is smooth, often shiny leather found on sofas, purses, and quality shoes. It requires heavy scuffing to penetrate the clear protective finish layer. Use flexible contact cement here.
Suede and Nubuck
These leathers are soft and fuzzy and soak up glue immediately. Be extremely careful applying contact cement here, as it can quickly soak through the suede pile and leave a hard, shiny spot visible on the exterior. Apply glue in extremely thin layers and use minimal pressure when setting the pieces.
Bonded Leather and Vinyl (Faux Leather)
Bonded leather (a composite of leather scraps mixed with binding agents) and vinyl (synthetic plastic) are smoother and less porous than natural hides. For these, a specific Vinyl/Plastic Adhesive often works better than traditional leather cement, though a very high-quality contact cement formulated for rubber and flexible plastics will also bond them well.
Here is a quick comparison chart for choosing based on your project type:
| Project Type | Leather Type Likely Used | Recommended Adhesive Approach |
|---|---|---|
| Repairing a sofa tear | Finished Leather, Split Leather | Thick layer of Contact Cement + Heavy Clamping |
| Re-attaching a loose shoe welt | Thick Vegetable-Tanned or Oil-Tanned Hide | Polyurethane Adhesive (stronger for thick layers) |
| Patching a thin wallet lining | Suede or Fabric Backing | Very thin coat of Contact Cement, applied sparingly |
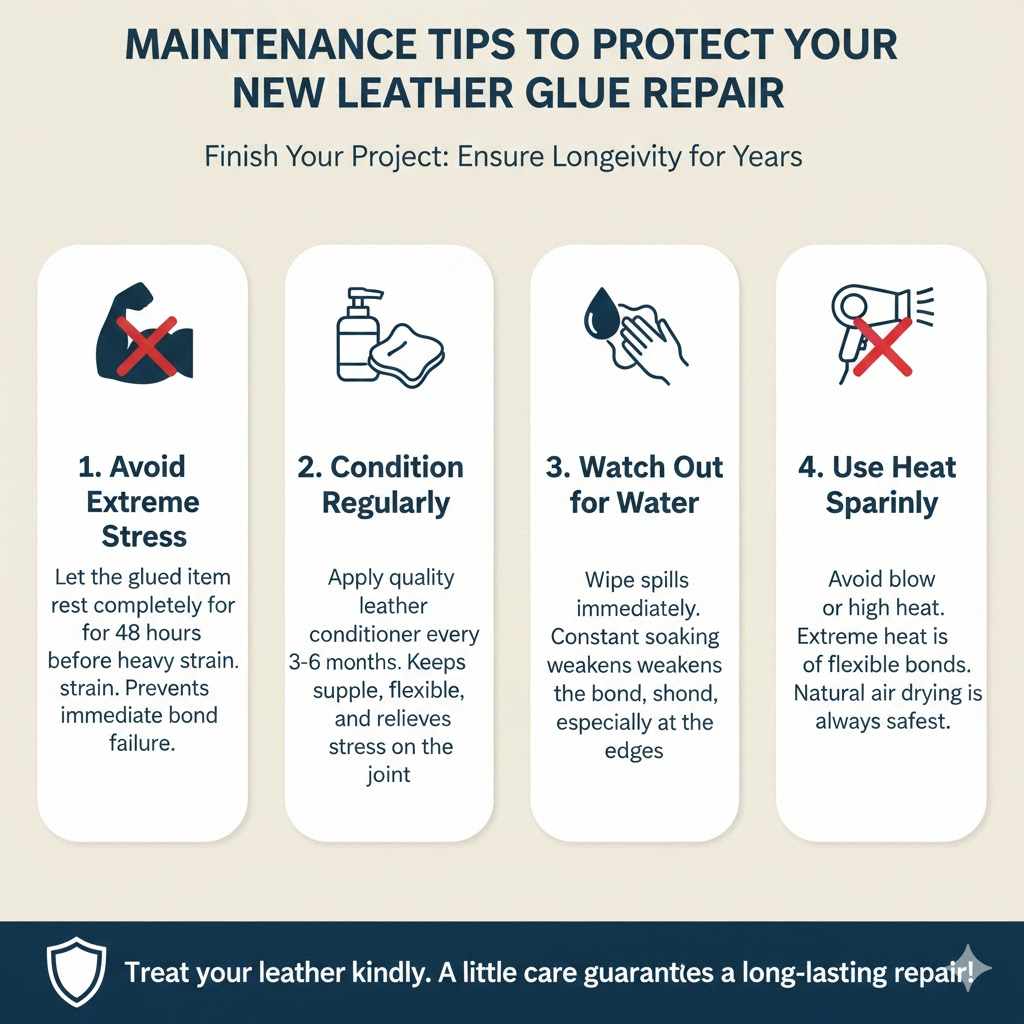
Maintenance Tips to Protect Your New Leather Glue Repair
Gluing leather is only the first step; keeping that bond strong involves treating the repaired leather kindly moving forward. Think of this as finishing your project—a step that guarantees longevity!
1. Avoid Extreme Stress Immediately: Let the glued item rest completely before putting it under heavy strain. Give the repair a full 48 hours to settle into its environment.
2. Condition Regularly: Dry leather becomes brittle leather, and brittle leather cracks and pulls at its seams. Use a quality leather conditioner every 3 to 6 months on the item (especially on the area you just fixed) to keep the material supple and flexible. This flexibility relieves stress on the glued joint.
3. Watch Out for Water: While good leather cements are water-resistant, constant soaking can eventually weaken the bond, especially near the edges. Wipe spills immediately.
4. Use Heat Sparingly: Avoid using blow dryers or high heat to “dry” a glue repair faster. Extreme heat is the enemy of flexible bonds and can damage the leather itself. Natural air drying is always the safest route.
Frequently Asked Questions About Gluing Leather
Q1: Is Super Glue safe to use for a quick fix on leather?
A: No. While Super Glue (cyanoacrylate) is strong, it dries extremely hard and inflexible. Leather bends and stretches, causing the rigid Super Glue joint to crack or pop almost immediately.
Q2: How long does a glued leather repair need to stay clamped?
A: For best results with contact cement, you should maintain strong, even pressure for a minimum of 12 to 24 hours. If the repair is load-bearing (like a belt or a strap), wait 48 hours before using it normally.
Q3: Can I glue two pieces of leather together if I can only access one side?
A: It is extremely difficult and generally unreliable. Contact cement requires applying adhesive to both mating surfaces before pressing them together. If you can only reach one side, consider drilling very small holes to thread the patch material through to create an anchor, or use a specialized needle and heavy-duty thread to stitch the pieces together first, and use glue primarily as a seam sealer.
Q4: Will the glue discoloration show on my light-colored leather bag?
A: If you use standard dark-colored leather cement, yes, dark stains or bleed-through can be visible, especially on white or pale tan leather. Look for specialized clear contact cements or flexible polyurethane adhesives formulated to dry nearly clear for cosmetic repairs.
Q5: What should I do if the tear is through the material, not just separating at a seam?
A: For a tear where material is missing or completely separated, you must use a patch. Glue a strong piece of scrap leather (or reinforcing material like canvas) underneath the tear first, letting it cure. Then, glue the top ripped edges together over the patch. This is crucial for structural integrity.
Q6: Are leather glues waterproof?
A: Most high-quality leather cements are described as “water-resistant” once fully cured. They handle light exposure well, but submersion in water or constant exposure to rain can eventually compromise the bond. Always choose a reputable brand specifically stating high water resistance for outdoor gear.
Conclusion: Gaining Confidence in Leather Restoration
There you have it—the secrets to confidently answering, “Can you glue leather?” are now in your hands. It’s not about magical glues; it’s about following simple, repeatable steps: clean thoroughly, scuff intentionally, use contact cement on both sides, and clamp firmly. Remember that piece of leather you thought was headed for the trash? With these proven techniques, you’ve given it new life using nothing more than a bit of elbow grease and the right supplies. Don’t shy away from the next minor tear; approach it like the craftsman you are becoming. That rewarding feeling of saving something functional and durable yourself is what DIY is all about. Happy repairing!