Can You Spray Kilz? Unlock the Secrets for Flawless Finishes
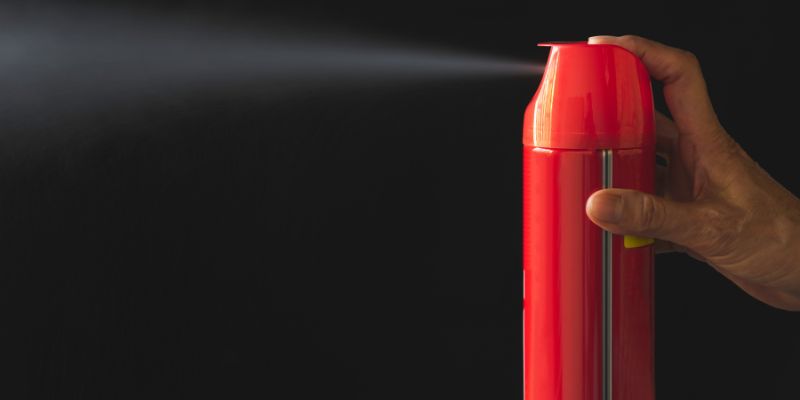
Yes, you can spray Kilz. Using a spray application can provide an even finish and reduce brush marks.
Kilz is a popular brand known for its high-quality primers, sealers, and stains. Many homeowners and professionals use Kilz to prepare surfaces for painting. Its effective stain-blocking properties make it ideal for covering water damage, smoke stains, and other imperfections.
Spraying Kilz can save time and ensure a smooth application, especially in large areas. It’s essential to follow safety guidelines and use proper equipment when spraying. Always ensure good ventilation and wear protective gear. Understanding the best practices for applying Kilz can help achieve a flawless finish, making your painting project easier and more efficient.
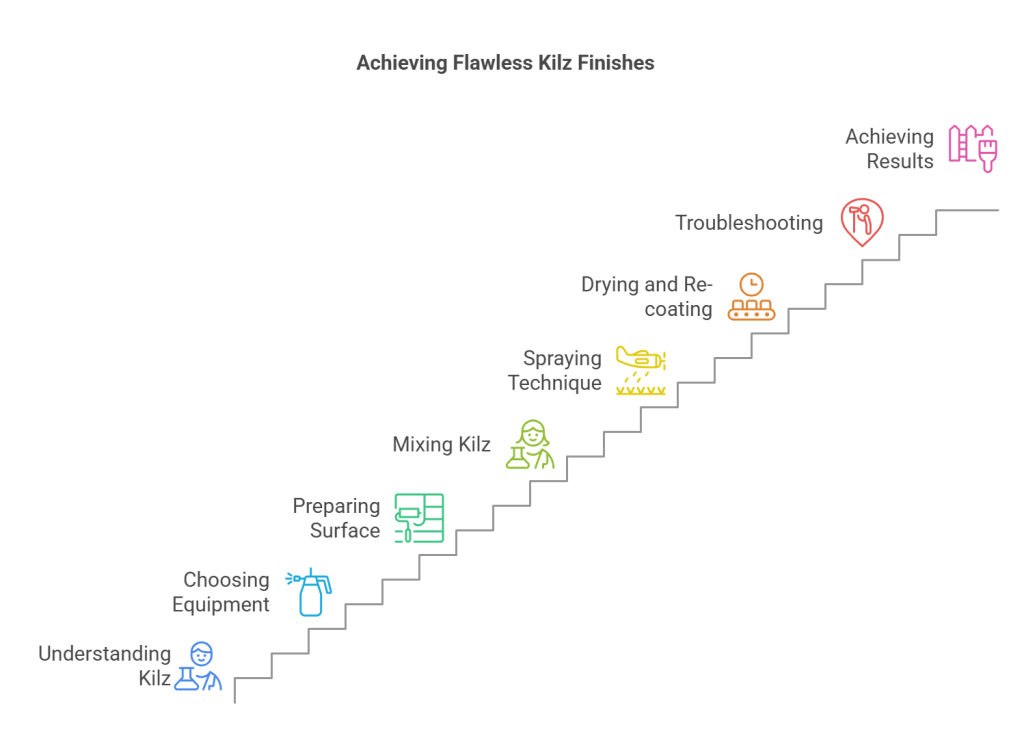
Introduction To Kilz Primers
Kilz primers have a rich history in the painting industry. They were first introduced in the 1970s. Since then, they have gained popularity for their quality and effectiveness.
Many people use Kilz for its strong stain-blocking abilities. It helps hide tough stains like water damage and smoke. Kilz also provides excellent adhesion to various surfaces. This makes it a top choice for both indoor and outdoor projects.
Another key benefit is its mold and mildew resistance. This helps protect walls and ceilings in damp areas. Kilz primers come in different types, including oil-based and water-based options.
They are easy to apply, whether by brush or spray. Using Kilz can save time and effort in your painting projects.
Types Of Kilz Primers And Their Uses
Kilz offers different types of primers for various needs. Oil-based options are perfect for tough stains. They create a strong barrier and dry slowly. Use them on wood, metal, or masonry surfaces.
Water-based solutions are great for interior use. They dry quickly and have low odor. These primers work well on drywall and previously painted surfaces.
Aerosol variants provide easy application. They are perfect for small projects or touch-ups. Spray these for a smooth finish without brush marks.
| Type | Best Use |
|---|---|
| Oil-Based | Tough stains, wood, metal |
| Water-Based | Interior, drywall |
| Aerosol | Small projects, touch-ups |
Preparation Steps Before Spraying Kilz
Surface cleaning is crucial before spraying Kilz. Start by removing dust and dirt. Use a damp cloth or sponge. Make sure the surface is dry before applying. This helps Kilz stick better.
Taping and covering protect areas not meant for painting. Use painter’s tape around edges and trim. Cover floors and furniture with drop cloths. This keeps everything clean and safe from overspray.
Equipment Essentials For Spraying Kilz
Choosing the right sprayer is important for a smooth application of Kilz. Airless sprayers work well for large areas. They provide a strong finish and cover quickly. HVLP sprayers are great for detailed work. They create less overspray and are easy to control.
Protective gear is essential for safety. Always wear goggles to protect your eyes. A respirator helps avoid inhaling fumes. Gloves protect your hands from chemicals. Coveralls keep your clothes clean and safe.
| Equipment | Purpose |
|---|---|
| Airless Sprayer | Best for large areas |
| HVLP Sprayer | Ideal for detailed work |
| Goggles | Eye protection |
| Respirator | Inhalation safety |
| Gloves | Hand protection |
| Coveralls | Clothing protection |
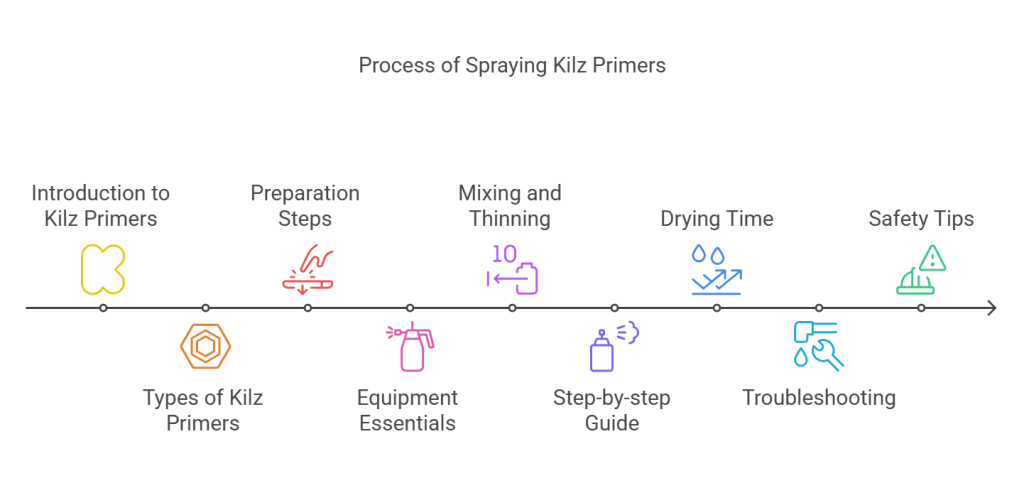
Mixing And Thinning Kilz For Optimal Results
To achieve the best results, check the consistency of Kilz. The ideal thickness helps with coverage. A thin layer prevents drips and uneven spots.
For thinning Kilz, use water or a paint thinner. Always follow the manufacturer’s instructions. Start with a small amount and mix well. Test the mix on a small area.
| Thinning Technique | Recommended Ratio |
|---|---|
| Water | Up to 10% of Kilz |
| Paint Thinner | Follow product label |
Regular checks ensure that the spraying process remains smooth. A consistent mix leads to a better finish.
Step-by-step Guide To Spraying Kilz
Start by cleaning the sprayer. Remove any old paint or residue. This step is crucial for a smooth application.
Next, thin the Kilz primer as needed. Check the manufacturer’s instructions for the right thinning ratio. Use a paint strainer to avoid clogs.
Adjust the sprayer settings. Set the pressure to a low or medium level. Test on cardboard to see the spray pattern.
For the best results, use smooth, even strokes. Keep the sprayer about 12 inches away from the surface. Overlap each stroke slightly to ensure even coverage.
To deal with overspray, cover nearby surfaces with drop cloths. Use painter’s tape on edges to protect them. Work in a well-ventilated area for safety.
Drying Time And Re-coating
The average drying time for Kilz is about 1 hour for the first coat. It can take up to 2 hours for a second coat. Humidity and temperature can affect these times. Always check the surface before applying another coat.
When planning to apply the topcoat, wait at least 1 hour after the last coat of Kilz. For best results, allow 24 hours before adding a final finish. This gives the primer time to cure properly.
| Condition | Drying Time |
|---|---|
| Normal Conditions | 1 hour |
| High Humidity | Up to 2 hours |
| Cold Temperatures | Longer than 2 hours |
Troubleshooting Common Issues When Spraying Kilz
Clogging problems can happen due to dried paint in the nozzle. Clean the spray tip regularly. Check the filter for any blockages. Using the right tip size helps prevent clogs.
Uneven coverage may occur if the spray distance is inconsistent. Maintain a steady distance of about 12 inches. Overlapping strokes can help cover missed spots evenly.
Drips and runs often result from applying too much paint at once. Spray in light, even coats. Allow each coat to dry before applying another one. This prevents excess buildup.
Cleaning And Maintenance Post Spraying
Cleaning the sprayer is important after using Kilz. First, empty the sprayer completely. Then, rinse it with water or the recommended cleaner. Use a brush to scrub any leftover paint. Make sure all parts are cleaned well.
For proper disposal of waste, follow local regulations. Never pour leftover paint down the drain. Use a sealed container for any unused product. Check for recycling programs in your area. Always dispose of materials safely to protect the environment.
Safety Tips And Best Practices
Proper ventilation is crucial when using Kilz. Open windows and doors to allow fresh air. Use fans to circulate air. This helps reduce strong odors and fumes.
Be aware of fire hazards. Keep Kilz away from flames and heat sources. Avoid smoking in the area where you spray. Store Kilz in a cool, dry place.
Take health precautions seriously. Wear a mask to protect your lungs. Use gloves to avoid skin contact. Goggles can protect your eyes from splashes.
Comparing Spraying Vs. Rolling Kilz
Spraying Kilz can be faster than rolling. A sprayer covers large areas quickly. It can save time on big projects.
Rolling Kilz gives a different finish. It allows for more control over the paint. Some people prefer the texture from a roller.
Situational preferences matter. For ceilings or large walls, spraying is best. For detailed work, rolling works well. Choose based on the project size and detail needed.
| Method | Efficiency | Finish |
|---|---|---|
| Spraying | Fast for large areas | Smooth, even coat |
| Rolling | Slower, but precise | Textured, controlled finish |
Case Studies: Success Stories With Sprayed Kilz
Many homeowners have found success using sprayed Kilz for various projects. It effectively covers stains and odors. Spraying allows for an even coat, which is great for ceilings and walls.
In residential projects, time-saving is a major benefit. The quick-drying formula means less waiting. Homeowners enjoy a smooth finish that looks great.
Commercial applications also show strong results. Businesses use sprayed Kilz to protect high-traffic areas. It shields surfaces from wear and tear. The durability of Kilz keeps commercial spaces looking fresh.
| Project Type | Benefits |
|---|---|
| Residential | Time-saving, smooth finish, odor blocking |
| Commercial | Durable, protects high-traffic areas, shields from wear |
Conclusion: Achieving Professional Results With Sprayed Kilz
Using sprayed Kilz can lead to great results. Follow some simple tips for the best finish.
- Always prepare the surface before spraying.
- Use a high-quality sprayer for even application.
- Maintain a consistent distance from the surface.
- Apply in thin layers for better coverage.
- Allow drying time between coats.
Don’t hesitate to try spraying. With practice, anyone can achieve a professional look.
Frequently Asked Questions
Can You Spray Kilz Paint?
Yes, you can spray Kilz paint. Using a spray gun can provide a smooth finish. Ensure proper thinning and follow the manufacturer’s instructions. Spraying is effective for large areas and intricate surfaces. Always use protective gear and work in a well-ventilated area to ensure safety.
What Surfaces Can Kilz Be Sprayed On?
Kilz can be sprayed on various surfaces, including wood, drywall, and metal. It effectively seals stains and prevents odors. For best results, ensure the surface is clean and dry. Always test a small area first. This ensures compatibility and desired finish before full application.
Is Kilz Spray Durable?
Kilz spray is known for its durability. It offers excellent adhesion and stain-blocking properties. Once dry, it resists chipping and peeling. For maximum durability, allow adequate drying time between coats. Proper preparation and application can enhance its lifespan significantly.
How Long Does Kilz Spray Take To Dry?
Kilz spray typically dries to the touch in about 30 minutes. However, full curing may take up to 1 hour or more. Factors like humidity and temperature can affect drying times. Always check the label for specific drying recommendations. Allow ample time before applying additional coats.
Conclusion
Spraying Kilz can be an effective way to achieve a smooth finish. Proper preparation and technique are essential for the best results. Always ensure adequate ventilation and wear protective gear. With the right approach, you can successfully use Kilz to tackle tough stains and odors in your home.
Happy painting!