How to Use Kilz Primer: Formula, Prep, Coats and Dry Times
To use Kilz, wash the surface with a non-soapy detergent, let it dry, apply one even coat with a brush or roller at 50-90F, and topcoat after the recoat time on your can: 1 hour for most Kilz formulas. The part most guides skip is that “Kilz” is not one product, so the coat count, cleanup and recoat time depend on which can you bought.
This guide walks through the choice, the prep the labels actually require, the application steps, and the drying rules, with the numbers taken from Kilz technical data sheets and labels. For the paint-and-primer product lineup see our Kilz paint guide; this page is about getting a primer coat right on wood, trim and walls.
Pick the Right Kilz Before You Open the Can
Best All-Purpose Kilz Pick
 |
KILZ 2 All-Purpose Interior/Exterior Primer, 1 Quart – $22.69 The water-based Kilz to grab when the job is a normal repaint, a bare-wood trim run, or a wall with light stains, and you want soap-and-water cleanup.
|
Four common cans cover most jobs. The differences that change how you work are the base, the stain rating, and the recoat time:
| Formula | Base | Stains it is sold for | Touch / recoat | Cleanup |
|---|---|---|---|---|
| Kilz Original No. 1000 (450 VOC) | Oil (modified alkyd), interior | Heavy stains: water, smoke, tannin, ink, pencil, marker, grease; seals odors | 30 min / 1 hr | Mineral spirits |
| Kilz Original No. 1003 (350 VOC) | Oil (modified alkyd), interior | Same claims as No. 1000 | 1 hr / 2 hr | Mineral spirits |
| Kilz 2 All-Purpose | Water-based acrylic, interior/exterior | Light-to-medium stains | 30 min / 1 hr | Water |
| Kilz 3 Premium | Water-based, interior/exterior | Most stains: water, tannin, ink, pencil, marker, grease | 30 min / 1 hr | Soap and water |
One detail that explains a lot of conflicting advice online: the Kilz Original technical data sheet lists two versions. No. 1000 (450 VOC) is touch-dry in 30 minutes and recoatable in 1 hour. No. 1003 (350 VOC) is touch-dry in 1 hour and recoatable in 2 hours. If one page says “1 hour” and another says “2 hours,” both can be reading a real label. Check the product number printed on your can before you plan the day.
If you are still deciding between formulas, our Kilz 2 vs Kilz 3 breakdown and Kilz vs Kilz 2 comparison go deeper, and Zinsser vs Kilz covers the main rival.
What You Need
- A nylon/polyester brush for edges and trim (the data sheets specify a nylon/polyester blend)
- A roller: 3/8 to 1/2 inch nap on smooth surfaces, 1/2 to 3/4 inch nap on semi-rough or porous ones (Kilz 3 label)
- Non-soapy detergent or a TSP substitute, clean rags, and a sanding sponge for glossy spots
- Painter’s tape and drop cloths
- Mineral spirits if you chose Kilz Original, plain water if you chose a water-based Kilz
- Eye protection, gloves and a way to move fresh air through the room
To estimate how much to buy, the data sheets give 300 to 400 square feet per gallon, “depending on the surface texture, porosity and application method,” and that figure does not include spray loss. Rough wood and bare drywall sit near the 300 end. Our paint and finish quantity calculator does the room math.
Prep the Surface the Way the Label Says
Kilz sticks to a lot of surfaces, but only clean ones. The Kilz Original data sheet asks for a surface “free of dust, grease, wax, peeling paint, mold, mildew and wallpaper paste.” In practice that means:
- Wash with a non-soapy detergent or a TSP substitute, rinse well, and let it dry completely. Regular soapy cleaners can leave a film.
- Scrape and sand any peeling or checked paint to a smooth edge. If the house predates 1978, treat old paint as lead paint until tested; the label warns that sanding or removing paint containing lead is hazardous.
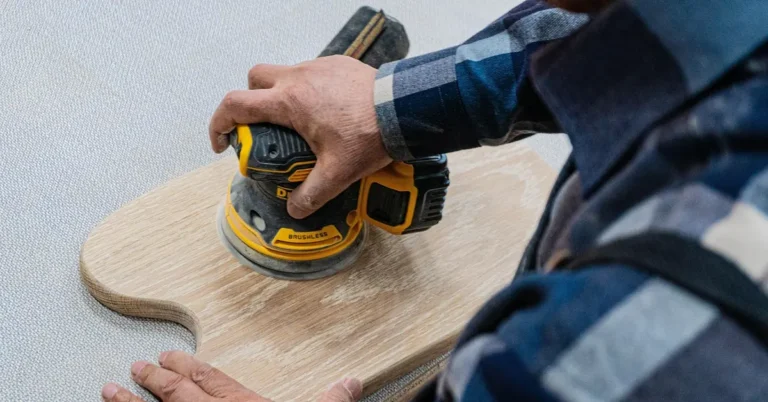
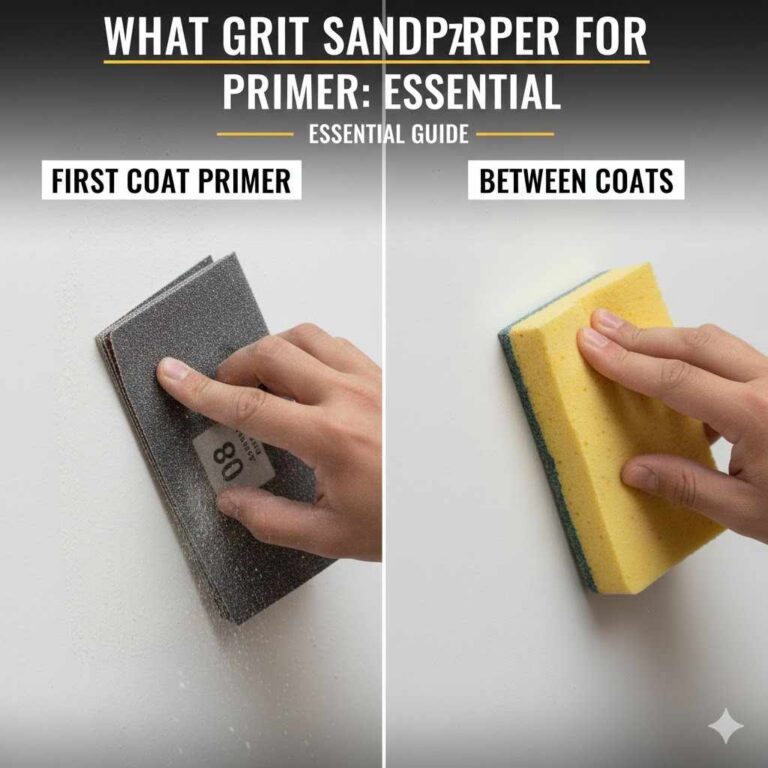
- Scuff-sand glossy surfaces thoroughly before priming. This is the one place the label requires sanding for adhesion. Bare, clean wood does not need it.
- Fill and sand holes and cracks first, so the primer seals the repair instead of flashing over it.
- Deal with mold before priming. The Kilz 3 label says to wash mold and mildew off with a mildew remover, rinse, and let the area dry before priming. Kilz 3 is described as a mildew-resistant coating, which is not the same as killing mold that is already there.
New masonry is a separate case: Kilz Original wants surfaces cured at least 90 days, and Kilz 3 Premium at least 30 days. Neither belongs on floors.
How to Apply Kilz, Step by Step
- Check the temperature. The Kilz 3 label says to apply only when the surface, air and product are all between 50 and 90F. The Original data sheet suggests 45 to 90F and warns that heat above 90F can make it dry too fast. Avoid direct sun.
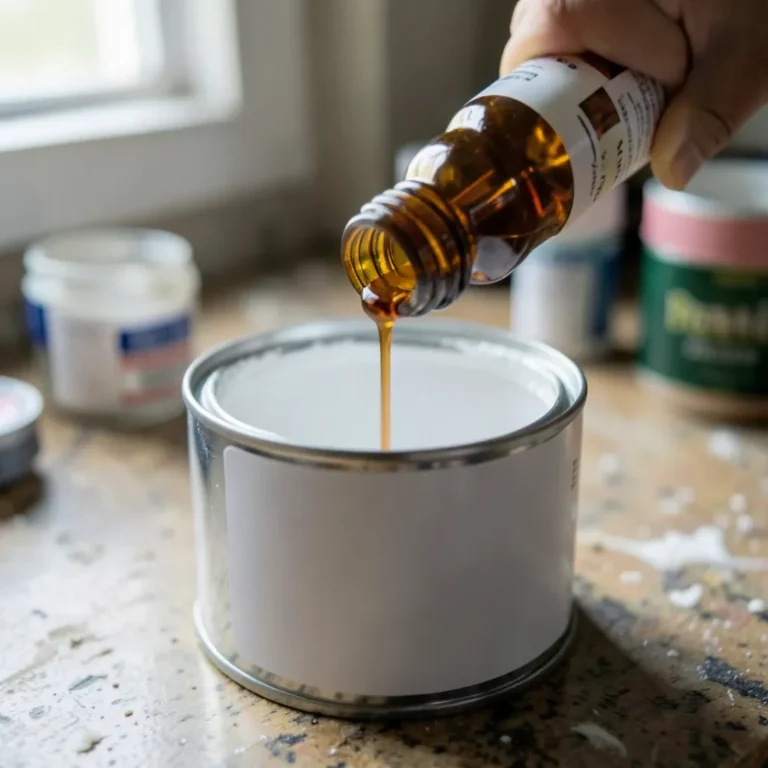
- Stir thoroughly before you start and now and then while you work; the Kilz 3 label asks for occasional stirring during use. See our note on whether Kilz needs to be shaken.
- Do not thin Original. Its data sheet says thinning is “not recommended.” The Kilz 3 label allows up to half a pint of water per gallon for spraying only, and says not to thin when you are blocking stains.
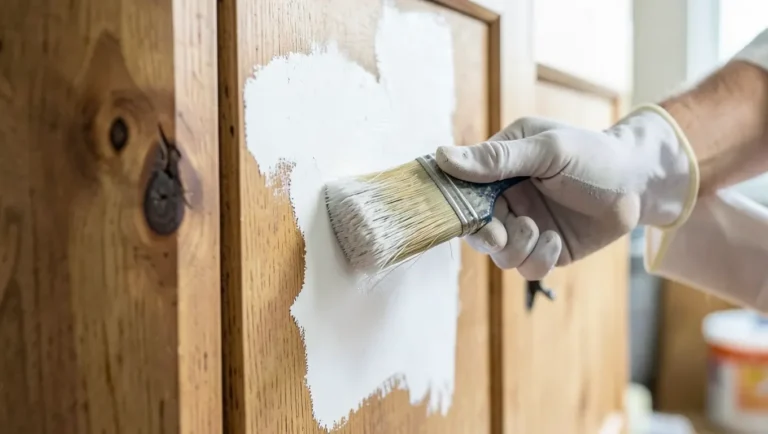
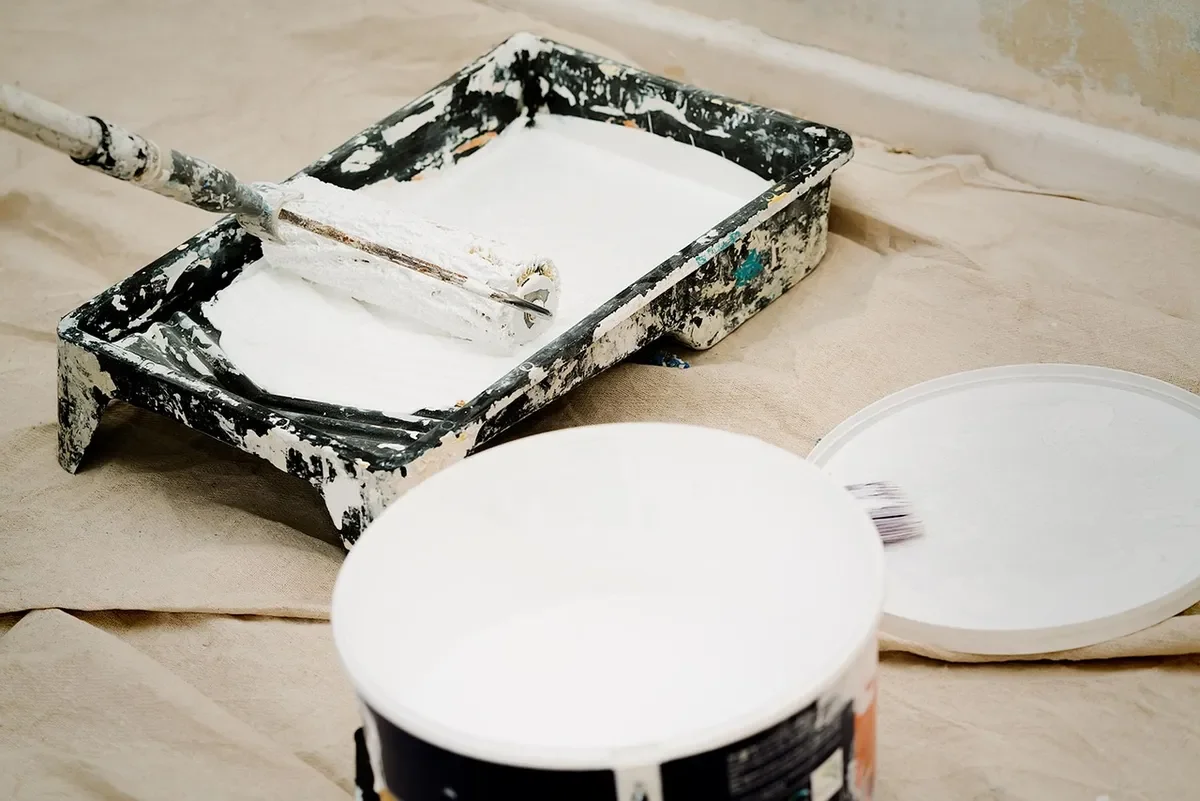
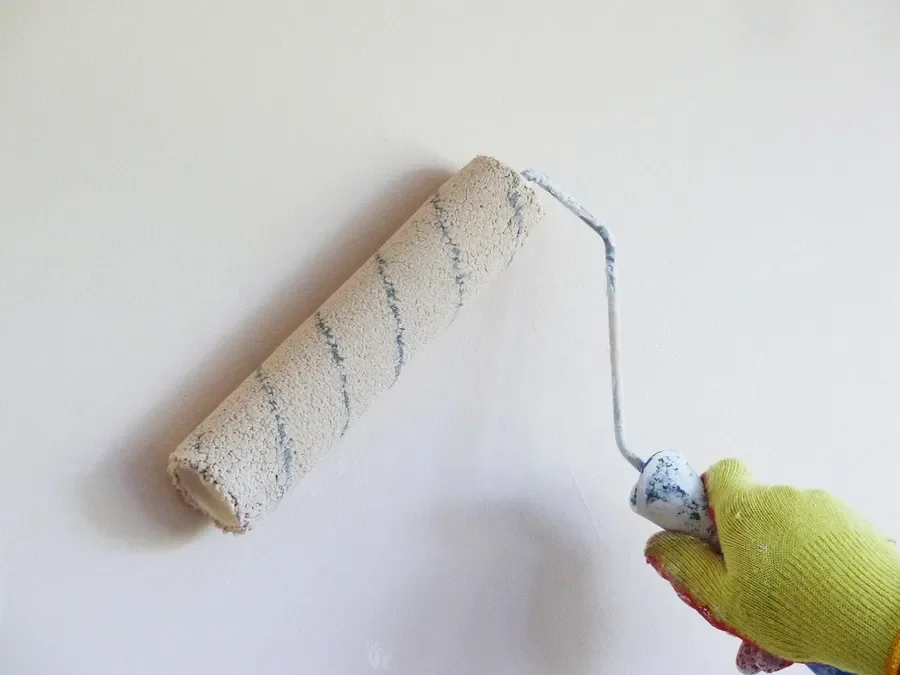
- Cut in edges and corners with the brush first, then roll the field while the edge is still wet so the two blend.
- Prime the entire surface, not just the stained patch. The Kilz 3 label explains why: it keeps the topcoat looking uniform.
- Run the bleed-through test (next section) before you paint the whole area.
- Clean up: mineral spirits for Original, water for the water-based lines.
Spraying works, and the Original data sheet lists an airless setup of a .015 to .021 inch tip, 60 mesh filter and 1,800 to 3,000 psi fluid pressure. Rollers and brushes are simpler for most home jobs. See our spraying page for sprayer setups.
Drying Time, Recoat Time and the Bleed-Through Test
Plan around the recoat time on the label, not a “cure” time. The figures are for 77F and 50% humidity, and the data sheets say more time is needed when it is cooler or more humid. On a cold, damp garage day, allow extra time rather than trusting the clock.
One claim that still floats around the web does not match the data sheets: you do not need a 24-hour cure before painting over Kilz 2, Kilz 3 or Original No. 1000. The listed recoat time is 1 hour. Touch-dry at 30 minutes is not the same as ready to topcoat, so keep the paint off until the recoat time has passed.
The bleed-through test is where Kilz earns its reputation. The Original and Kilz 3 sheets give the same method:
- Prime and let the primer dry for the recoat time.
- Brush your topcoat onto one small test patch.
- If the stain shows through the test patch, apply a second coat of primer, let it dry, and test again.
- If stain still bleeds, the label says a longer dry time is needed before topcoating.
That is also the honest answer to “how many coats?” One coat is the target, and a second coat is triggered by the test, not by habit. For sanding between coats on wood see our primer sanding guide.
Using Kilz on Wood
This is where woodworkers get surprised. Kilz Original and Kilz 3 both list tannin among the stains they block, which matters on oak, cedar, redwood and other woods that can stain paint. Kilz 2 is sold for light-to-medium stains, so a tannin-heavy board is a better fit for Original or Kilz 3. Test on a scrap or a hidden area with your actual topcoat, the same way you would test a wall stain.
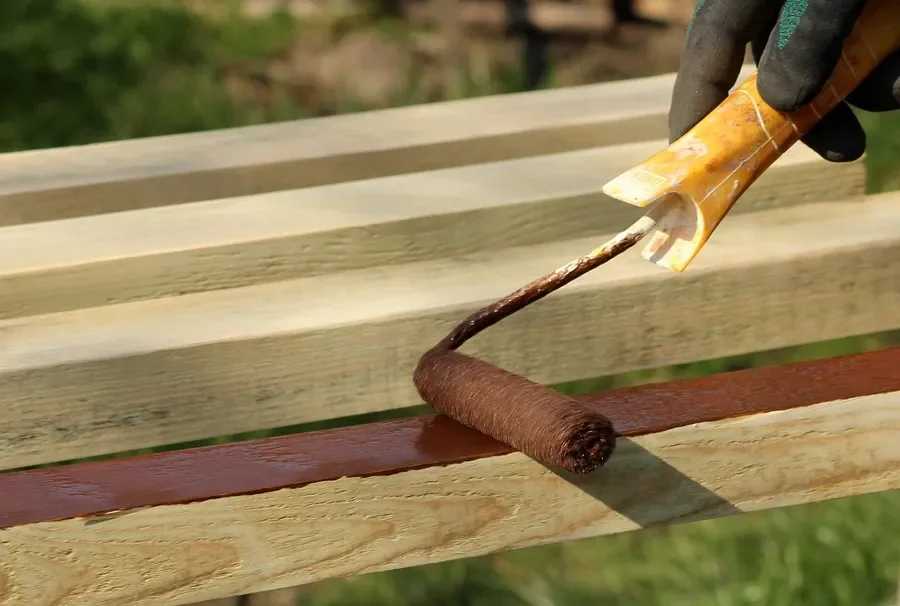
Water-based primers can raise wood grain slightly as they dry. A light pass with fine sandpaper once the primer is dry will smooth it before the topcoat; this is general finishing practice rather than a label instruction. Do not sand through the primer film on stained areas. Our Kilz on wood page and the roundups of wood primers and shellac-based primers compare alternatives if a board keeps bleeding through.
For outdoor jobs, use a formula rated for it: Kilz 2 and Kilz 3 are interior/exterior water-based primers, while Kilz Original No. 1000 is labeled interior. See using Kilz outside.
Safety and Storage
- Ventilate. The labels call for adequate ventilation: open windows and doors and move fresh air through the room during application and drying. Stop and get fresh air if you get watery eyes, headache or dizziness.
- Oil-based Original is flammable. The data sheet lists a flash point of 75F for No. 1000 and 102F for No. 1003. Keep it away from pilot lights, sparks and heaters.
- Rags soaked in oil-based primer can heat up and ignite as they dry. Spread them flat outdoors or soak them in water before disposal, as with any oil-based coating. This is standard oil-finish safety rather than a line from the Kilz sheet.
- Keep it from freezing, seal partly used cans tightly so they do not skin over, and note the Original data sheet gives two years of shelf life unopened. Smell lingering? See how long Kilz smells.
- Do not pour leftovers down a drain. Follow your local household waste rules.
Common Mistakes to Avoid
- Priming over mold instead of cleaning and drying it first.
- Skipping the scuff sand on a glossy finish, then blaming the primer when the paint peels.
- Thinning Kilz Original to make it flow, which the data sheet advises against.
- Recoating at the 1-hour mark in a cold, humid room.
- Painting the whole wall before running the bleed-through test.
- Assuming any can works outdoors. Check that your formula is interior/exterior.
- Tinting too far: Kilz can take up to 2 ounces of universal colorant per gallon for non-stainblocking jobs, and the label recommends tinting lighter than the topcoat (see tinting Kilz).
Frequently Asked Questions
How long should Kilz dry before painting?
On the Kilz 2, Kilz 3 and Kilz Original No. 1000 data sheets the recoat time is 1 hour at 77F and 50% humidity, with touch-dry at 30 minutes. Kilz Original No. 1003 is 1 hour to touch and 2 hours to recoat. Allow longer in cool or humid conditions.
How many coats of Kilz do I need?
Usually one. Apply your topcoat to a small test patch after the primer dries. If the stain shows through, apply a second coat of primer and test again, as the Kilz labels instruct.
Do I need to sand before using Kilz?
Only where the label says so: scuff-sand glossy surfaces and sand peeling or checked paint smooth. Clean, dry, bare wood does not need sanding for adhesion.
Can Kilz cover mold?
No. The label tells you to clean mold and mildew off with a mildew remover, rinse, and let the surface dry before priming. Kilz 3 forms a mildew-resistant coating on a clean surface, but it does not kill mold that is already there.
Sponsored / affiliate links. As an Amazon Associate I earn from qualifying purchases. I may earn additional commission from eligible campaigns.