DIY Bed Slats: Transform Your Bedroom with Easy Solutions
Are you tired of your sagging mattress? DIY bed slats might be your solution.
With a few tools and some effort, you can improve your bed’s support and comfort. DIY bed slats are an easy and cost-effective way to upgrade your bed. They provide better mattress support, which can enhance your sleep quality. Making your own bed slats allows you to customize the fit and strength according to your needs.
Plus, it’s a fun project that can be completed in a weekend. By using simple materials, you can create sturdy slats that will last for years. In this guide, we will walk you through the steps to make your own bed slats, ensuring your bed is both comfortable and durable.
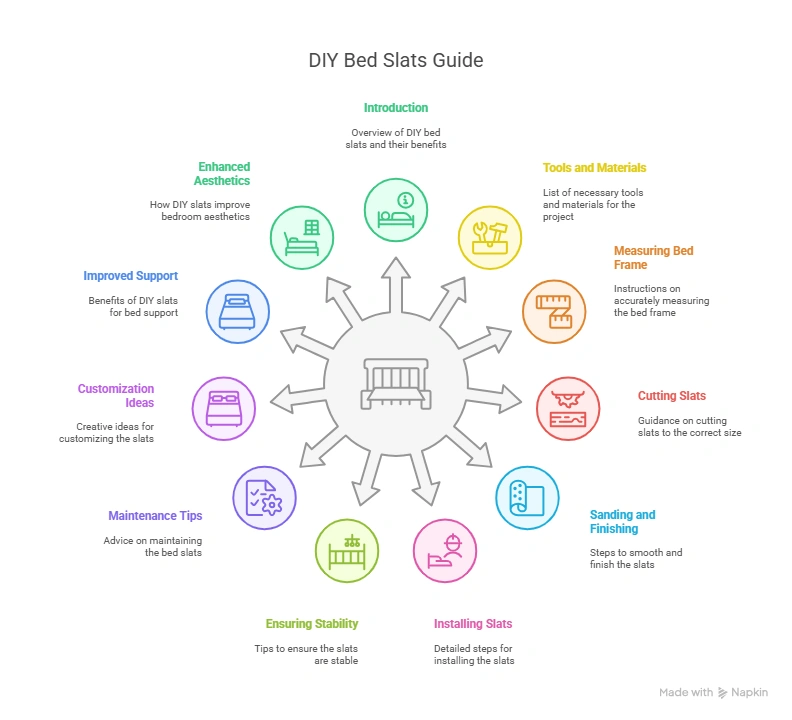
Introduction To DIY Bed Slats
DIY bed slats can improve your bed. They make your bed sturdier. Bed slats also help your mattress last longer. They are easy to make. You save money by making them yourself. Bed slats can fit any bed frame. They are customizable. Wood is the best material for bed slats. Pine or oak works well. You can find these at local stores.
Bed slats provide strong support. This helps you sleep better. Your bed feels more stable. They also allow air to flow. This keeps your mattress fresh. No need for a box spring. Bed slats are cost-effective. You can build them with simple tools. They are easy to install. Just place them on the bed frame.
Choose sturdy wood for bed slats. Pine is cheap and strong. Oak is more durable. Both are good choices. Measure your bed frame. Cut the wood to fit. Sand the edges to make them smooth. This will prevent splinters. Check for knots in the wood. Avoid these areas. They can weaken the slats. Use a saw to cut the wood. A hand saw works fine.
Tools And Materials Needed
You will need a saw. A hand saw or circular saw works well. A measuring tape is important. You must measure wood pieces carefully. A drill is also needed. It helps in making holes for screws. Don’t forget a screwdriver. It can be manual or electric.
Wood slats are the main material. Pine wood is a good choice. It is strong and light. You need screws to attach the slats. Wood screws are best. Sandpaper is useful for smooth edges. Finally, a wood finish or paint is optional. It makes the slats look nice.
Measuring Your Bed Frame
First, measure the length and width of the bed frame. Use a tape measure for this. Make sure to measure the inside dimensions. This is important for fitting the slats. Double-check the measurements to avoid errors. Write down the measurements. This will help you remember later. Measure twice to be sure.
| Bed Size | Width | Length |
|---|---|---|
| Twin | 38 inches | 75 inches |
| Full | 54 inches | 75 inches |
| Queen | 60 inches | 80 inches |
| King | 76 inches | 80 inches |
| California King | 72 inches | 84 inches |
Cutting The Slats
Always wear safety goggles to protect your eyes. Use gloves to keep your hands safe. Measure the wood twice before cutting. This avoids mistakes. Keep your work area clean. Remove any clutter. Unplug tools when not in use. This prevents accidents. Use clamps to hold the wood steady. This ensures a straight cut.
Mark the cut line clearly with a pencil. Use a straight edge to guide your saw. Cut slowly to ensure accuracy. Check your measurements again before you start cutting. Sand the edges after cutting. This makes them smooth. Double-check the size of each slat after cutting. They should all be the same length.
Sanding And Finishing
Start with coarse sandpaper to remove rough spots. Move to finer grit for smooth finish. Always sand along the wood grain. This avoids scratches. Take your time. Sanding well makes a big difference.
Choose between paint or stain. Paint covers wood completely. Stain shows wood’s natural look. Both need protective coat after. This keeps wood safe and looking good. Apply thin coats. Let dry between each. This ensures even finish.
Installing The Bed Slats
Installing bed slats can strengthen your bed’s frame and offer better support. Simply align the slats evenly and secure them with screws or brackets for stability. This DIY project is straightforward and enhances your bed’s durability.
Step-by-step Installation
Start by measuring the bed frame width. Cut the slats to match the width. Place the first slat at one end of the bed frame. Secure it with screws or nails. Ensure the slat is level and stable. Continue placing each slat about 2-3 inches apart. This spacing allows for good support and airflow. Check each slat for stability before securing. Repeat until all slats are in place.
Ensuring Stability
Check that all slats are even and secure. Press down on each slat to test strength. Add extra screws if a slat feels loose. Use a level tool to ensure alignment. Use brackets for added support if needed. These will prevent slats from shifting. Regularly inspect the slats for wear and tear. Replace any damaged slats promptly. This ensures a safe and stable bed.
Maintenance Tips
Check bed slats for damage every few months. Look for cracks, splinters, or loose slats. Replace damaged slats to keep the bed strong. Tighten screws to prevent wobbling. Clean slats with a damp cloth to remove dust. This keeps the bed fresh and clean.
Wood slats may wear out over time. Sand rough edges to prevent splinters. Use wood filler to fix small cracks. Apply a protective finish to the slats. This helps them last longer. Inspect metal slats for rust or bends. Use a rust remover if needed. Replace bent slats to keep the bed sturdy.

Credit: www.youtube.com
Creative Customization Ideas
Paint your bed slats in bright colors. It can make the room fun. Use matching colors for a neat look. Stains can give a natural feel. Pick a stain that fits your room’s style. Both paint and stain protect the wood. This makes slats last longer.
Stencils can add cool designs. You can create patterns or shapes. Stickers and decals work too. They are easy to apply. Ribbon or fabric strips can wrap around slats. This adds a soft touch. Consider using small lights. They can make the bed look magical at night.
Conclusion And Benefits
Creating DIY bed slats offers a cost-effective solution for bed support. Enjoy enhanced comfort and durability without breaking the bank.
Improved Bed Support
DIY bed slats give better support to your bed. They make the mattress firm and comfortable. The bed frame will also last longer. Slats stop the mattress from sagging. This means a better sleep for you.
Enhanced Bedroom Aesthetics
Bed slats can make your bedroom look nicer. They fit well with many bed frames. Wood slats look neat and stylish. Your room feels more put together. It’s a simple way to upgrade your bed. The room will look more modern and tidy.
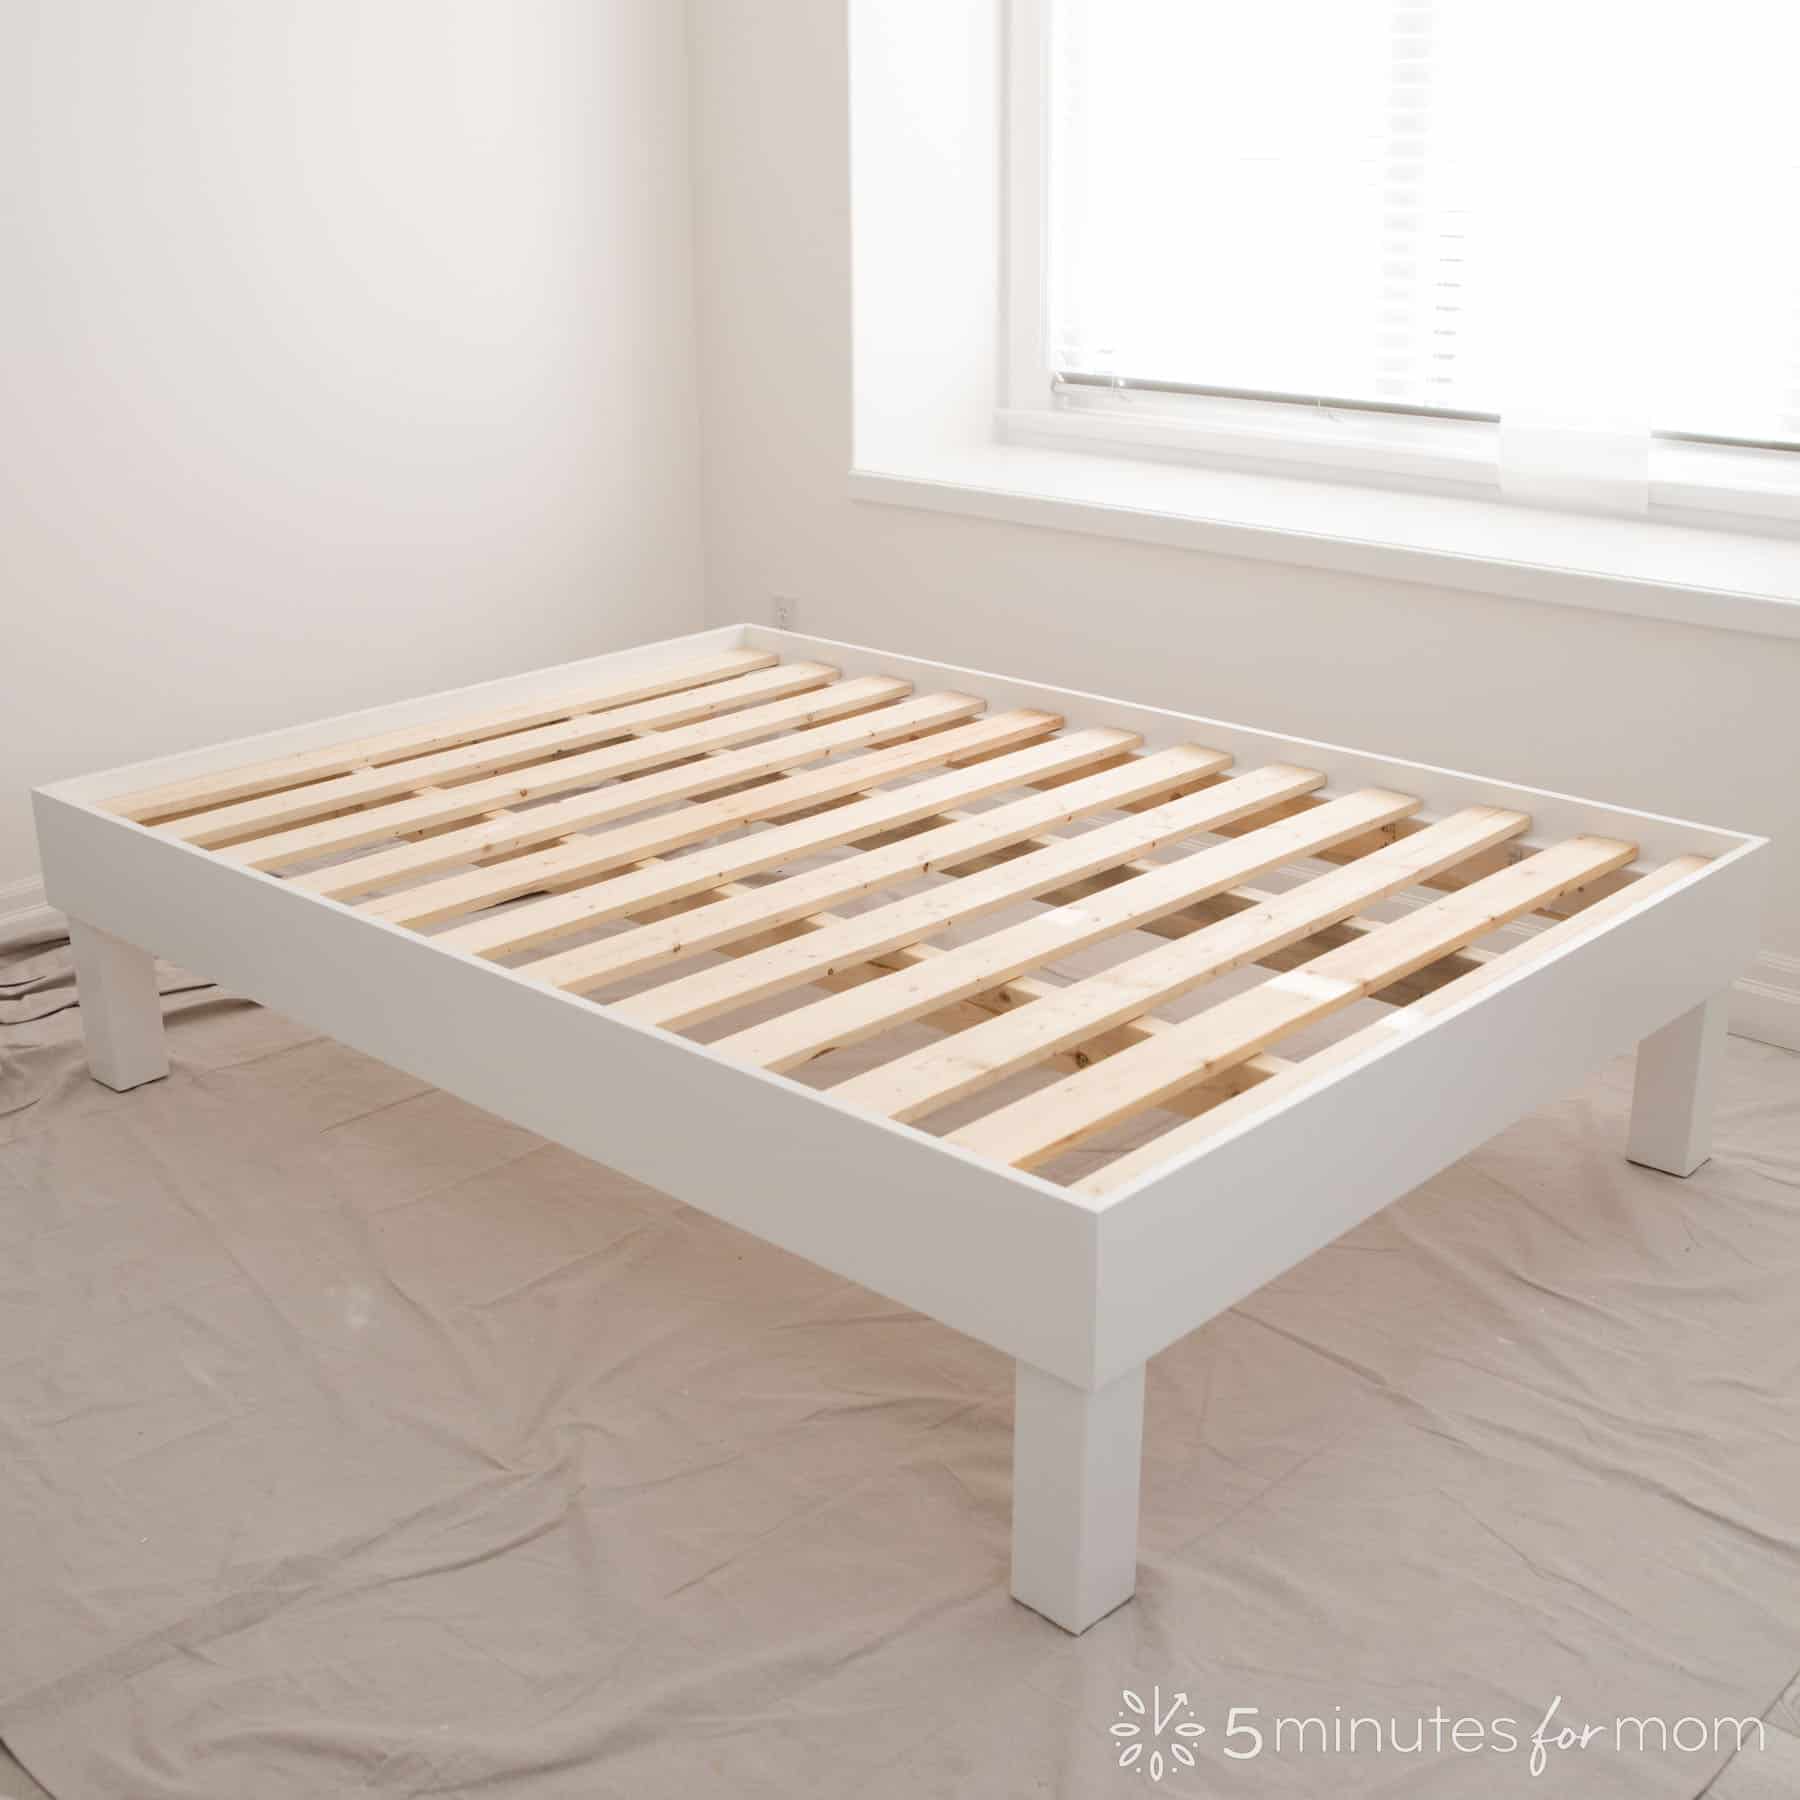
Credit: www.5minutesformom.com

Credit: www.youtube.com
Frequently Asked Questions
What Can I Use Instead Of Bed Slats?
Use plywood sheets, bunkie boards, or a metal bed frame instead of bed slats for support.
What Kind Of Wood Can I Use For Bed Slats?
Use sturdy wood types like pine, oak, or birch for bed slats. These woods provide strength and durability.
Can I Use 1×4 For Bed Slats?
Yes, you can use 1×4 for bed slats. Ensure they are properly spaced and supported for stability and comfort.
Can I Use 2x4s As Bed Slats?
Yes, you can use 2x4s as bed slats. Ensure they are evenly spaced and properly supported for durability.
Conclusion
Building DIY bed slats is easy and budget-friendly. You save money and customize your bed. These steps ensure a sturdy, comfortable sleeping surface. Enjoy the satisfaction of creating your own furniture. Remember, proper measurements are key. Gather all materials before starting.
Follow the instructions carefully. Your personalized bed will offer great support and durability. Have fun crafting your own bed slats!